
This little lamb set has a name in my pattern notebook. I call it the "Sunday Best" because I originally designed it for my niece’s baptism three years ago. She wore the tiny romper with the matching hat, and my sister cried before we even left the house. I dug out that old notebook last month, rewrote every instruction from scratch, and sized it up properly. Now you can make your own version for that special baby in your life.
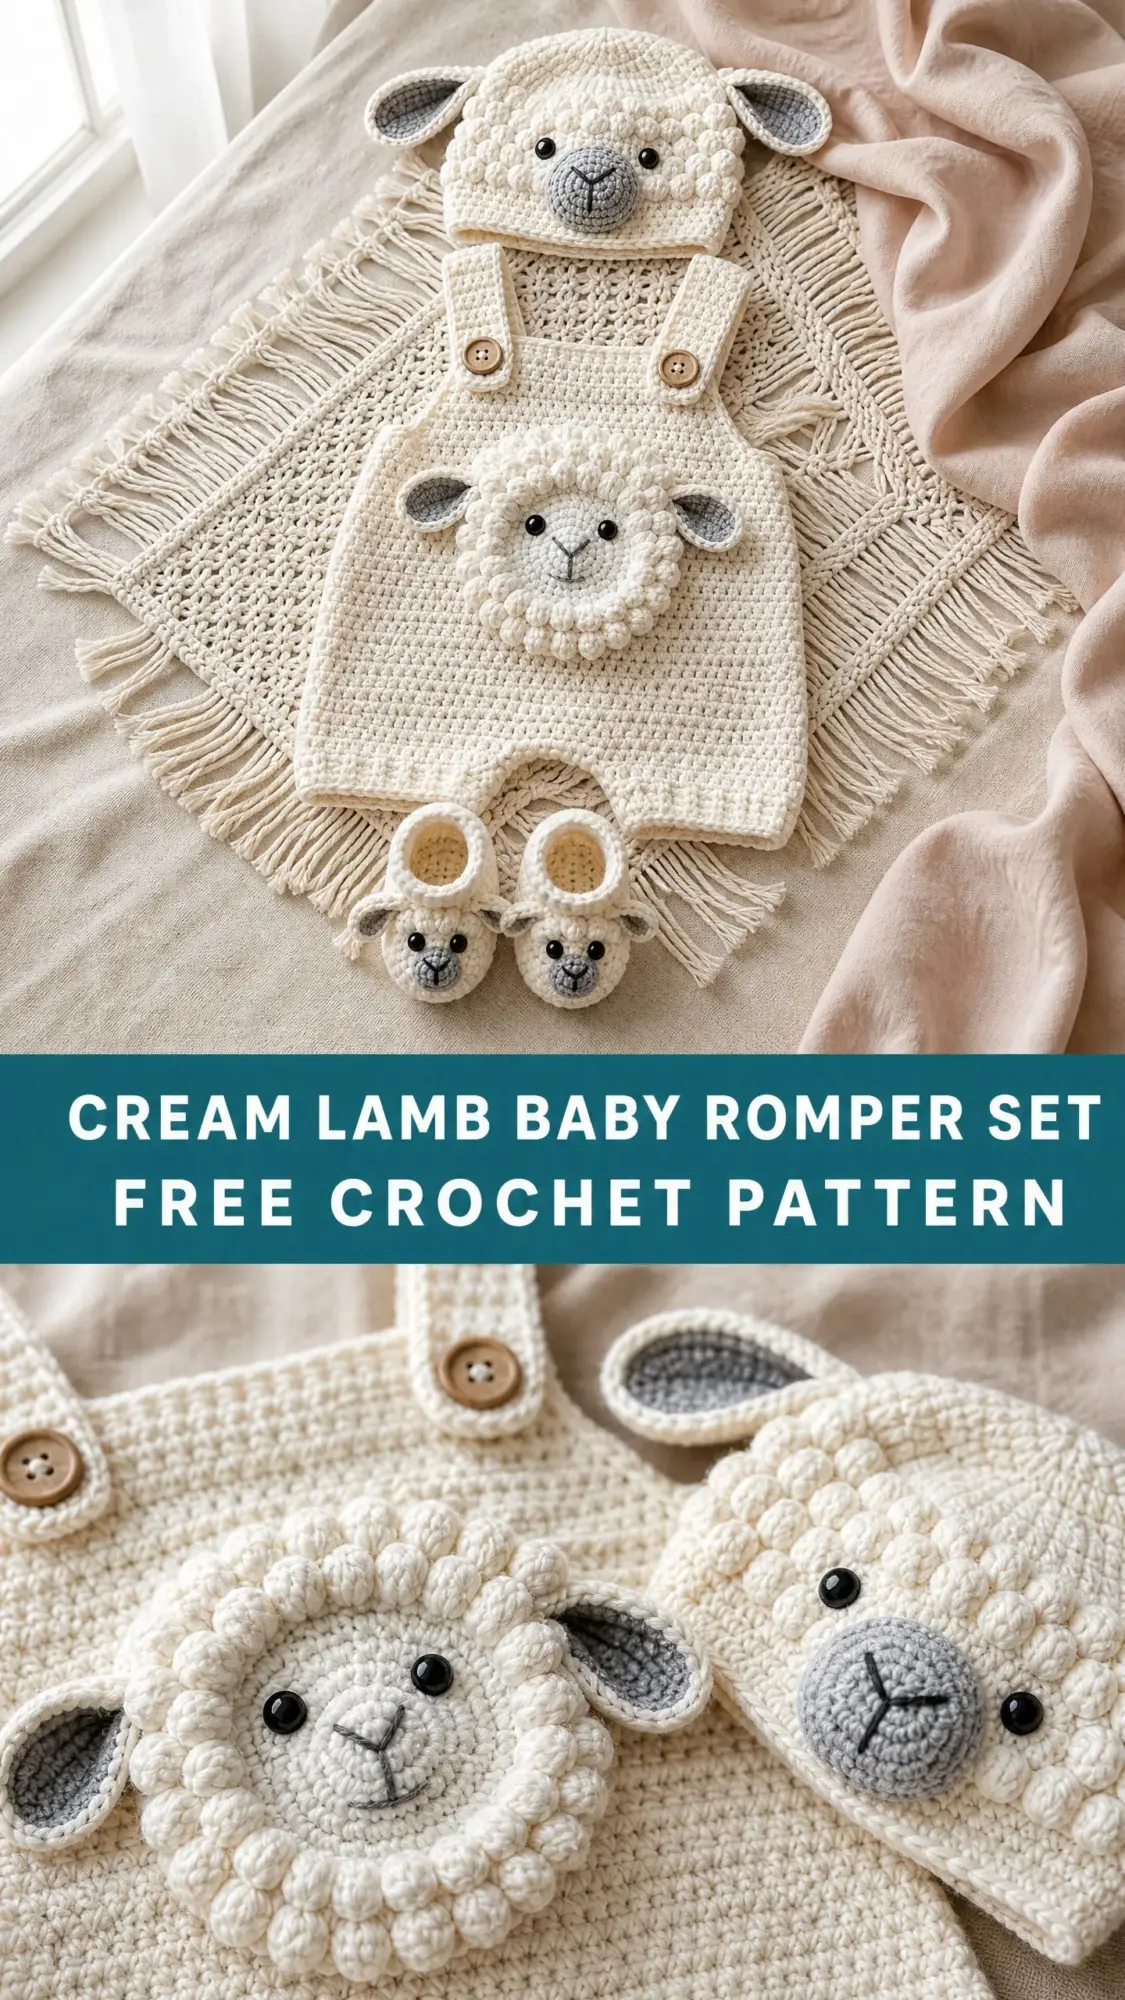
The bobble stitches around the lamb faces give this set its fluffy, textured look. The construction is simpler than you might expect. You will work flat panels for the legs, join them in the round for the body, then shape the bib and straps separately.
If you have made at least one or two garment projects before, you can absolutely handle this. I will walk you through every single step.
What Makes This Crochet Baby Romper Set Special
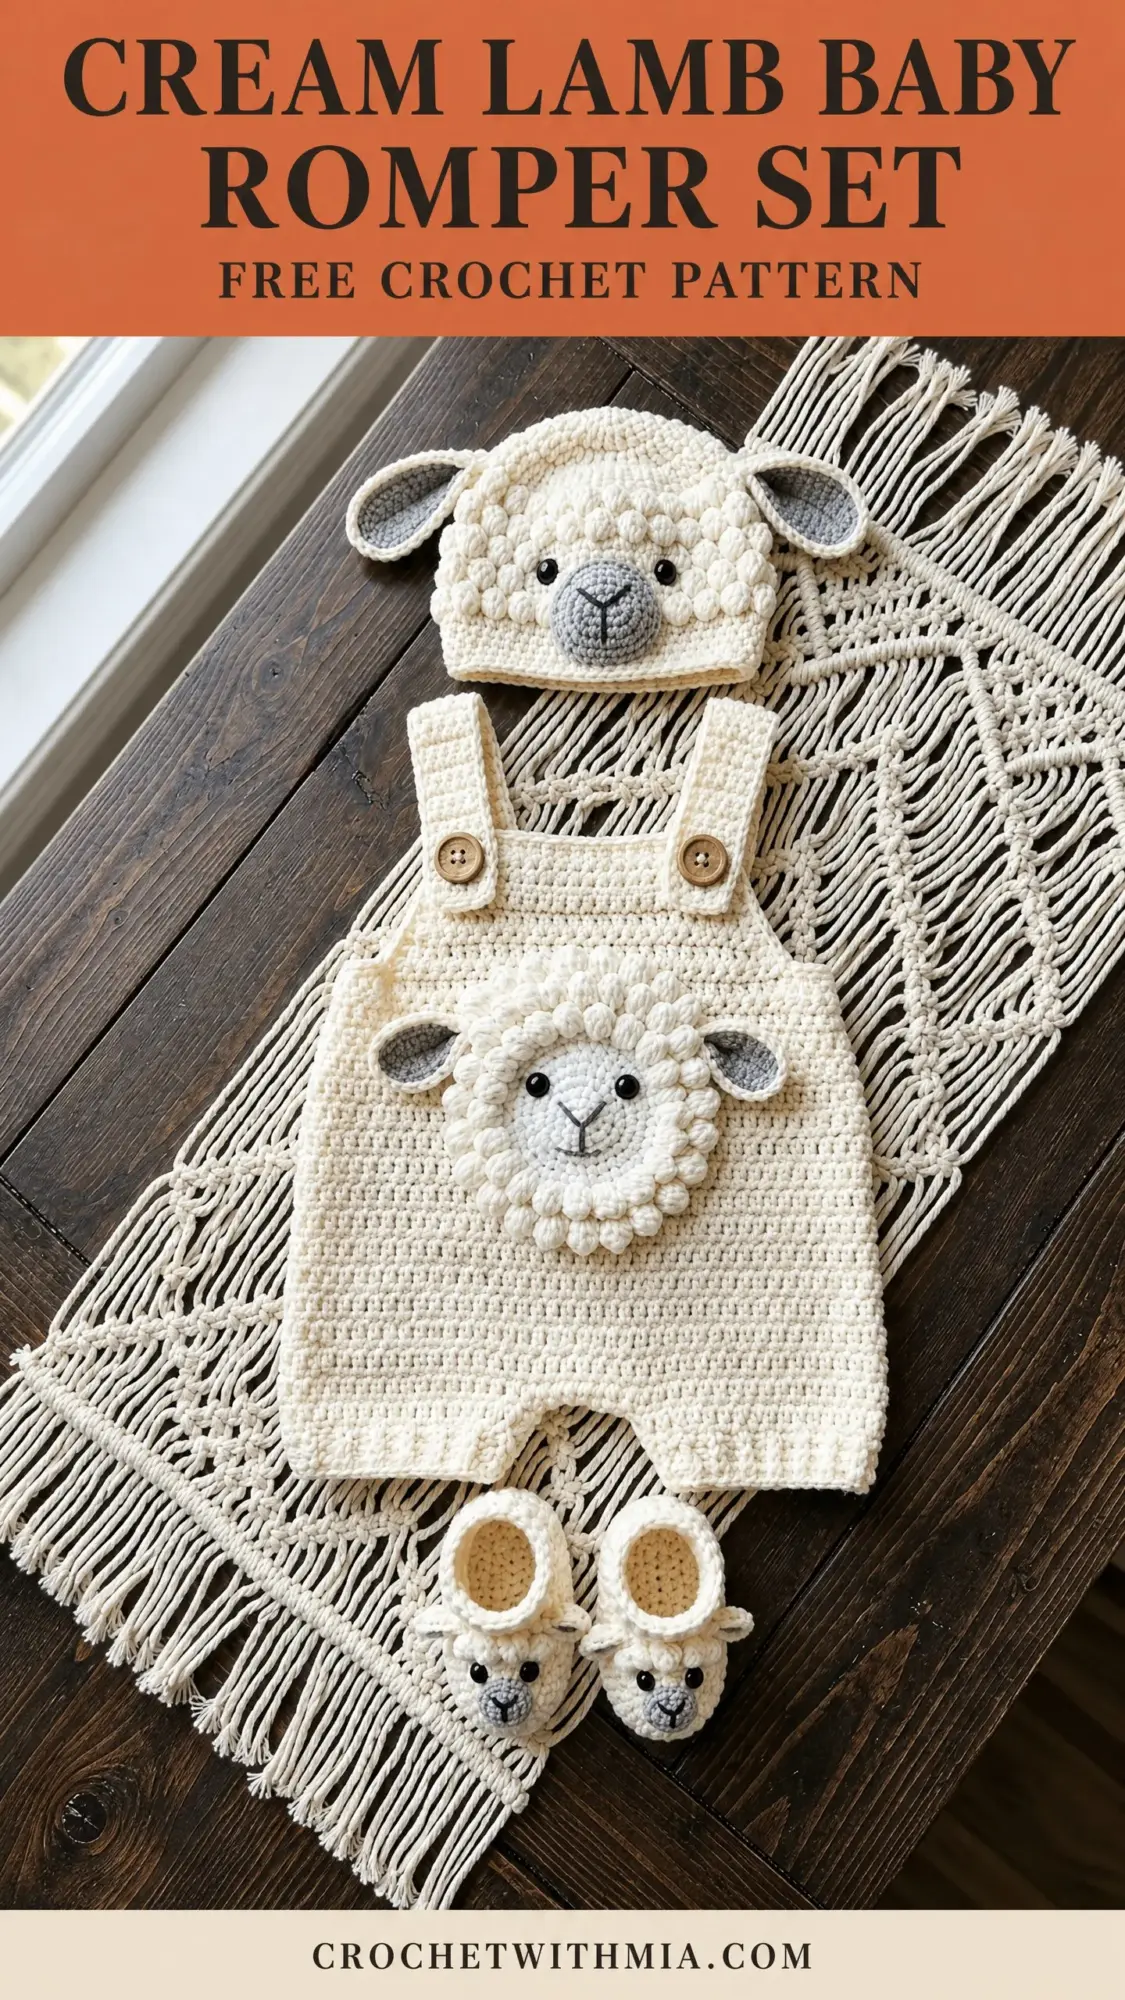
This pattern creates a complete three piece outfit. You get a romper with adjustable button straps, a cozy lamb ear hat, and the sweetest little booties with tiny lamb faces on the toes. Everything coordinates in creamy off white yarn with soft gray accents.
The dimensional lamb face appliques are the real showstopper. They use bobble stitches to create that characteristic woolly texture around each face. The bobbles push outward from the fabric, giving a three dimensional effect that looks impressive but works up in a straightforward repeat pattern.
I sized this set for 0 to 3 months, 3 to 6 months, and 6 to 12 months. The instructions are written for the smallest size with larger sizes in parentheses throughout. This makes it perfect for baby showers when you are not sure exactly when the little one will arrive.
Skill Level and Time Estimate
This is an intermediate level pattern. You should feel comfortable working in rows and rounds, doing basic garment shaping, and attaching appliques. If you have completed a hat and a simple sweater or romper before, you have the skills you need.
Time estimate: Plan for 12 to 18 hours total for the complete set. The romper body takes approximately 8 to 10 hours, the hat needs 2 to 3 hours, and the booties take another 2 to 3 hours. I recommend spreading this across several crafting sessions rather than trying to marathon it.
Finished Measurements
Size 1 (0 to 3 months):
Size 2 (3 to 6 months):
Size 3 (6 to 12 months):
Throughout this pattern, instructions appear as Size 1 (Size 2, Size 3).
Materials Needed for This Crochet Lamb Romper Pattern
Yarn:
Hook: US size G-6 / 4.00 mm crochet hook
Notions:
Yarn Suggestions: Lion Brand Pound of Love works beautifully for this project. Cascade 220 Superwash is another excellent choice if you want natural fiber. Any worsted weight yarn that achieves gauge will work. For baby garments, prioritize yarns labeled soft, superwash, or baby safe.
Gauge
With MC and US G-6 / 4.00 mm hook:
18 sc x 20 rows = 4 in / 10 cm in single crochet worked flat
18 sc x 20 rounds = 4 in / 10 cm in single crochet worked in the round
Gauge is critical for correct sizing. Please make a swatch and adjust your hook size if needed before starting the garment.
Abbreviations and Stitch Definitions
ch: chain, the foundation stitch made by yarning over and pulling through the loop on your hook
sc: single crochet, insert hook into stitch, yarn over, pull up a loop (2 loops on hook), yarn over, pull through both loops
sl st: slip stitch, insert hook into stitch, yarn over, pull through both the stitch and the loop on your hook in one motion
inc: single crochet increase, work 2 sc in the same stitch
inv dec: invisible decrease, a neater decrease method explained in Special Stitches below
bo: bobble stitch, a textured stitch that creates a raised bump, explained in Special Stitches below
BLO: back loop only, insert your hook under just the back loop of the stitch instead of both loops
RS: right side, the side that faces outward when worn
WS: wrong side, the inside of the garment
BOR: beginning of round
pm: place marker
ch-sp: chain space
Special Stitches for This Baby Romper Crochet Tutorial
Bobble Stitch (bo)
This stitch creates the fluffy lamb texture. It looks complicated but follows a simple rhythm once you get going.
Step 1: Yarn over, insert hook into the indicated stitch.
Step 2: Yarn over, pull up a loop. Yarn over, pull through 2 loops on hook. You have made one incomplete double crochet.
Step 3: Repeat Steps 1 and 2 four more times in the same stitch. You will have 5 incomplete double crochets with 6 loops total on your hook.
Step 4: Yarn over, pull through all 6 loops on hook. One bobble complete.
Step 5: Chain 1 to close and secure the bobble. This chain 1 does not count as a stitch unless specifically noted.
Invisible Decrease (inv dec)
This creates a much neater decrease than the standard sc2tog, which is why I use it for shaping.
Step 1: Insert hook through the front loop only of the next stitch.
Step 2: Without completing the stitch, insert hook through the front loop only of the following stitch.
Step 3: Yarn over, pull through both front loops. Two loops on hook.
Step 4: Yarn over, pull through both loops. One inv dec complete. This counts as 1 stitch.
Surface Slip Stitch
With RS facing and yarn held behind work, insert hook from front to back through the fabric at the starting point, pull up a loop, then insert hook at the next point, pull up a new loop through both the fabric and the loop on hook. Continue along the desired line.
Join With SC
Make a slip knot on hook. Insert hook into indicated stitch, yarn over, pull up a loop, yarn over, pull through both loops. This counts as 1 sc.
Pattern Notes Before You Begin
1. The romper is constructed in two separate leg panels worked flat. You then join them to work the body in the round from the crotch upward. The bib and chest area are worked flat after the body rounds.
2. The lamb face appliques are worked as separate flat pieces and sewn on after blocking. This gives the bobble texture its characteristic dimensional relief.
3. The hat is worked in the round from the crown downward. Ear flaps and lamb ears are added after the body is complete.
4. The booties are worked from the toe outward using an oval foundation chain, then shaped upward with a cuff.
5. All turning chains at the beginning of single crochet rows count as 0 stitches unless specifically noted. The first sc is always worked in the first stitch.
6. When changing colors, complete the last yarn over of the final stitch in the old color with the new color yarn.
7. Important: Safety eyes should be inserted and secured before stuffing or seaming the applique pieces closed.
8. Stitch counts are given at the end of each row or round in parentheses.
Romper Instructions
Leg Panels (Make 2)
Using MC and G-6 hook, ch 29 (33, 37).
Row 1 (RS): Sc in 2nd ch from hook and in each ch across. Turn. (28, 32, 36 sc)
Rows 2 through 16 (2 through 18, 2 through 20): Ch 1, sc in each st across. Turn. (28, 32, 36 sc)
At the end of the last row, do not fasten off the first leg panel. Place a stitch marker in the last stitch to hold. Set aside. Work the second leg panel through the same rows and fasten off.
Checkpoint: Each completed leg panel should measure approximately 3 in / 7.5 cm wide (3.5 in / 9 cm, 4 in / 10 cm) and 3.25 in / 8.5 cm tall (3.75 in / 9.5 cm, 4.25 in / 10.5 cm).
Joining the Legs and Working the Body
Lay both leg panels flat with RS facing upward.
With RS of first leg panel facing, join yarn at the left edge of the first leg panel at the top of the last row.
Round 1 (joining round): Ch 1. Sc across 28 (32, 36) sts of first leg panel. Ch 3 (crotch bridge). Sc across 28 (32, 36) sts of second leg panel. Ch 3 (crotch bridge on back). Join with sl st to first sc of round. Do not turn. Place BOR marker. (62, 70, 78 sts including ch bridge sts counted as working sts)
The chain bridges at the crotch create a total working stitch count of 62 (70, 78) when you count the 3 ch on each side as stitches. From this point forward, work in continuous rounds.
Round 2: Sc in each st and each ch around. (62, 70, 78 sc)
Rounds 3 through 22 (3 through 24, 3 through 28): Sc in each st around. (62, 70, 78 sc)
Checkpoint: After Round 22 (24, 28), the body tube from the crotch upward should measure approximately 4.5 in / 11.5 cm (5 in / 13 cm, 5.75 in / 14.5 cm).
Dividing Front and Back Panels
The body is now divided into a front bib section and a plain back section, both worked flat.
The front panel uses the first 31 (35, 39) sts of the round and the back uses the remaining 31 (35, 39) sts.
Back Panel
Row 1 (RS): With RS facing, sl st to the 32nd (36th, 40th) st of the last round to reposition. Ch 1, sc in same st and in next 30 (34, 38) sts. Turn. (31, 35, 39 sc)
Rows 2 through 8 (2 through 9, 2 through 10): Ch 1, sc in each st across. Turn. (31, 35, 39 sc)
Fasten off.
Bib / Front Panel
Row 1 (RS): With RS facing, join MC at the center front of the last body round (the 1st stitch of the round). Ch 1, sc in same st and in next 30 (34, 38) sts. Turn. (31, 35, 39 sc)
Rows 2 through 8 (2 through 9, 2 through 10): Ch 1, sc in each st across. Turn. (31, 35, 39 sc)
The bib front is now the same height as the back panel.
Checkpoint: After the bib section is complete, the romper body measured from crotch to the top of the bib/back should be approximately 8 in / 20.5 cm (9 in / 23 cm, 10.5 in / 26.5 cm).
Shaping the Bib Neckline
Row 9 (10, 11) (RS): Ch 1, sc in first 10 (11, 12) sts. Leave remaining sts unworked. Turn. (10, 11, 12 sc)
This forms the left strap base.
Rows 10 through 16 (11 through 18, 12 through 20): Ch 1, sc in each st across. Turn. (10, 11, 12 sc)
Fasten off, leaving a 12 in / 30.5 cm tail for seaming.
Rejoin yarn at the 22nd (24th, 27th) st of the last full bib row (leaving center 11, 13, 15 sts unworked for the neckline opening).
Row 9 (10, 11) second side (RS): Ch 1, sc in same st and in next 9 (10, 11) sts. Turn. (10, 11, 12 sc)
Rows 10 through 16 (11 through 18, 12 through 20): Ch 1, sc in each st across. Turn. (10, 11, 12 sc)
Fasten off, leaving a 12 in / 30.5 cm tail for seaming.
Back Straps
Reattach MC to the back panel at the left top corner.
Row 1 (RS): Ch 1, sc in first 10 (11, 12) sts. Turn. (10, 11, 12 sc)
Rows 2 through 14 (2 through 16, 2 through 18): Ch 1, sc in each st across. Turn. (10, 11, 12 sc)
Row 15 (17, 19) buttonhole row: Ch 1, sc in first 3 (4, 4) sts, ch 2, skip 2 sts, sc in last 5 (5, 6) sts. Turn. (10, 11, 12 sts including ch-2 sp)
Row 16 (18, 20): Ch 1, sc in first 3 (4, 4) sts, 2 sc in ch-2 sp, sc in last 5 (5, 6) sts. Turn. (10, 11, 12 sc)
Fasten off.
Rejoin yarn at the right top corner of the back panel.
Row 1 (RS): Ch 1, sc in same st and in next 9 (10, 11) sts. Turn. (10, 11, 12 sc)
Rows 2 through 14 (2 through 16, 2 through 18): Ch 1, sc in each st across. Turn. (10, 11, 12 sc)
Row 15 (17, 19) buttonhole row: Ch 1, sc in first 5 (5, 6) sts, ch 2, skip 2 sts, sc in last 3 (4, 4) sts. Turn. (10, 11, 12 sts including ch-2 sp)
Row 16 (18, 20): Ch 1, sc in first 5 (5, 6) sts, 2 sc in ch-2 sp, sc in last 3 (4, 4) sts. Turn. (10, 11, 12 sc)
Fasten off.
Finishing the Romper Body Edges
With RS facing, join MC at the bottom edge of one leg opening. Work 1 sc in every row end around the complete leg opening. Sl st to join. Fasten off. Repeat for the second leg.
Work 1 sc in each stitch along the top edge of the bib neckline and each row end of the bib sides to clean up the edge. Sl st to join. Fasten off.
Seam the side edges of the leg panels closed using the mattress stitch and the yarn tails, RS together, or use a sl st seam if preferred.
Thread button onto the front strap tips. Position each back strap over its corresponding front strap, aligning the buttonhole over the button position on the front strap. Mark, sew buttons firmly through both layers. Repeat for second strap.
Lamb Face Applique for Romper
This applique is worked in the round and sewn onto the front bib panel.
Face Circle
Using CB and G-6 hook, make a magic ring.
Round 1: Ch 1, 6 sc in ring, sl st to first sc to join. (6 sc)
Round 2: Ch 1, 2 sc in each st around, sl st to join. (12 sc)
Round 3: Ch 1, (sc in next st, 2 sc in next st) around, sl st to join. (18 sc)
Round 4: Ch 1, (sc in next 2 sts, 2 sc in next st) around, sl st to join. (24 sc)
Round 5: Ch 1, (sc in next 3 sts, 2 sc in next st) around, sl st to join. (24 sc)
This forms the white face base circle, approximately 2 in / 5 cm in diameter.
Fasten off, leaving a long tail for sewing. Insert safety eyes between Rounds 2 and 3 with approximately 5 stitches between the eye centers. Set the backs firmly.
Lamb Face Fleece Border (Bobble Surround)
Using CB and G-6 hook, make a magic ring.
Round 1: 6 sc in ring, sl st to join. (6 sc)
Round 2: Ch 1, 2 sc in each st around, sl st to join. (12 sc)
Round 3: Ch 1, (sc in 1, 2 sc in next) around, sl st to join. (18 sc)
Round 4: Ch 1, (sc in 2, 2 sc in next) around, sl st to join. (24 sc)
Round 5: Ch 1, (sc in 3, 2 sc in next) around, sl st to join. (30 sc)
Round 6: Ch 1, (sc in 4, 2 sc in next) around, sl st to join. (36 sc)
Round 7 (bobble round): Ch 1, (bo in next st, sc in next st) around, sl st to join. (18 bobbles, 18 sc, 36 total sts)
This forms the fluffy fleece border ring, approximately 3.5 in / 9 cm outer diameter.
Fasten off, leaving a long sewing tail.
Lamb Ears for Applique (Make 2)
Inner ear: Using CA, make a magic ring.
Round 1: 6 sc in ring, sl st to join. (6 sc)
Round 2: Ch 1, (sc in 1, 2 sc in next) around, sl st to join. (9 sc)
Round 3: Ch 1, sc in each st around, sl st to join. (9 sc)
Fasten off, leaving a tail. Do not stuff.
Outer ear: Using CB, make a magic ring.
Round 1: 6 sc in ring, sl st to join. (6 sc)
Round 2: Ch 1, (sc in 1, 2 sc in next) around, sl st to join. (9 sc)
Round 3: Ch 1, (sc in 2, 2 sc in next) around, sl st to join. (12 sc)
Fasten off, leaving a tail.
Place the inner ear (CA) centered on the outer ear (CB), RS facing up. Sew together around the perimeter using the CA tail. Fold the bottom of the assembled ear piece slightly inward to cup it and tack in place.
Nose
Using CA, embroider a small inverted triangle over 2 to 3 stitches at the center front of the face circle below the eyes.
Assembly of Applique
Center the fleece border ring on the bib front, approximately 1.5 in / 3.8 cm up from the crotch join on the bib, and approximately 0.5 in / 1.3 cm down from the center top of the bib area. Sew the border ring down around its outer and inner edges. Center the face circle over the fleece ring, stuff lightly with fiberfill for dimension, and sew down around the outer edge. Position one ear on each side of the face at approximately the 10 o’clock and 2 o’clock positions. Sew ears firmly.
Hat Instructions
Using MC and G-6 hook, make a magic ring.
Round 1: Ch 1, 6 sc in ring, sl st to first sc to join. (6 sc)
Round 2: Ch 1, 2 sc in each st around, sl st to join. (12 sc)
Round 3: Ch 1, (sc in 1, 2 sc in next) around, sl st to join. (18 sc)
Round 4: Ch 1, (sc in 2, 2 sc in next) around, sl st to join. (24 sc)
Round 5: Ch 1, (sc in 3, 2 sc in next) around, sl st to join. (30 sc)
Round 6: Ch 1, (sc in 4, 2 sc in next) around, sl st to join. (36 sc)
Round 7: Ch 1, (sc in 5, 2 sc in next) around, sl st to join. (42 sc)
Size 1 only:
Round 8: Ch 1, sc in each st around, sl st to join. (42 sc)
Size 2 only:
Round 8: Ch 1, (sc in 6, 2 sc in next) around, sl st to join. (48 sc)
Round 9: Ch 1, sc in each st around, sl st to join. (48 sc)
Size 3 only:
Round 8: Ch 1, (sc in 6, 2 sc in next) around, sl st to join. (48 sc)
Round 9: Ch 1, (sc in 7, 2 sc in next) around, sl st to join. (54 sc)
Round 10: Ch 1, sc in each st around, sl st to join. (54 sc)
All sizes continue from here using the stitch count established above: 42 (48, 54) sc.
Work straight (no increases or decreases):
Rounds 9 through 16 (10 through 18, 11 through 20): Ch 1, sc in each st around, sl st to join. (42, 48, 54 sc)
Checkpoint: The hat should measure approximately 4.5 in / 11.5 cm (5 in / 12.7 cm, 5.5 in / 14 cm) from crown to current round. The circumference should be approximately 9.5 in / 24 cm (10.5 in / 26.5 cm, 12 in / 30.5 cm). It will stretch to finished size with blocking.
Edging Round: Ch 1, sc in each st around, sl st to join. Fasten off. (42, 48, 54 sc)
Hat Lamb Face Applique
Work the same face circle, fleece border ring, and ears as described under the Romper Lamb Face Applique section, with the following size adjustment:
For the fleece border on the hat, work only through Round 6 of the border ring pattern (36 sts total, 18 bobbles in bobble round) before working the bobble round. This creates a slightly smaller applique proportional to the hat.
Center the assembled applique on the front of the hat, approximately 1 round up from the bottom edge. Sew firmly through all layers.
Hat Lamb Ears (Make 2)
Outer ear: Using MC, make a magic ring.
Round 1: 6 sc in ring, sl st to join. (6 sc)
Round 2: Ch 1, (sc in 1, 2 sc in next) around, sl st to join. (9 sc)
Round 3: Ch 1, (sc in 2, 2 sc in next) around, sl st to join. (12 sc)
Round 4: Ch 1, sc in each st around, sl st to join. (12 sc)
Fasten off, leaving a long sewing tail.
Inner ear: Using CA, make a magic ring.
Round 1: 6 sc in ring, sl st to join. (6 sc)
Round 2: Ch 1, (sc in 1, 2 sc in next) around, sl st to join. (9 sc)
Round 3: Ch 1, sc in each st around, sl st to join. (9 sc)
Fasten off, leaving a long sewing tail.
Place inner ear centered on outer ear, RS up. Sew together around perimeter. Flatten the assembled ear slightly. Position one ear on each side of the crown, approximately 2 rounds down from the top, approximately 8 stitches away from center on each side. Sew ears firmly through the hat fabric.
Booties Instructions (Make 2)
Sole
Using MC and G-6 hook, ch 8 (9, 10).
Round 1: 2 sc in 2nd ch from hook, sc in next 5 (6, 7) ch, 4 sc in last ch. Working back along the other side of the foundation ch: sc in next 5 (6, 7) ch, 2 sc in first ch (same ch as first 2 sc), sl st to first sc to join. (18, 20, 22 sc)
Round 2: Ch 1, 2 sc in first st, 2 sc in next st, sc in next 5 (6, 7) sts, 2 sc in each of next 4 sts, sc in next 5 (6, 7) sts, 2 sc in last st, sl st to join. (26, 28, 30 sc)
Round 3: Ch 1, working in BLO: sc in each st around, sl st to join. (26, 28, 30 sc)
This BLO round creates the sharp ridge at the base of the bootie sides.
Sides
Rounds 4 through 7 (4 through 8, 4 through 9): Ch 1, sc in each st around through both loops, sl st to join. (26, 28, 30 sc)
Toe Shaping
Round 8 (9, 10): Ch 1, sc in first 8 (9, 10) sts, (inv dec) 5 times, sc in remaining 8 (9, 10) sts, sl st to join. (21, 23, 25 sc)
Round 9 (10, 11): Ch 1, sc in first 7 (8, 9) sts, (inv dec) 3 times, sc in remaining 8 (8, 9) sts, sl st to join. (18, 20, 22 sc)
Size 1 only: Fasten off and proceed to cuff.
Sizes 2 and 3 only:
Round 11 (12): Ch 1, sc in first 7 (8) sts, inv dec, inv dec, sc in remaining 7 (8) sts, sl st to join. (18, 20 sc)
Fasten off and proceed to cuff.
Cuff
Rejoin MC at the back center of the top opening.
Work 1 sc in each st around the opening edge, sl st to join. (18, 20, 22 sc)
Cuff Round 2: Ch 1, sc in each st around, sl st to join. (18, 20, 22 sc)
Cuff Round 3: Ch 1, sc in each st around, sl st to join. (18, 20, 22 sc)
Fasten off.
Bootie Lamb Face Mini Applique (Make 2)
Using CB and G-6 hook, make a magic ring.
Round 1: 6 sc in ring, sl st to join. (6 sc)
Round 2: Ch 1, (sc in 1, 2 sc in next) around, sl st to join. (9 sc)
Fasten off, leaving a sewing tail.
Insert 4 mm safety eyes between Rounds 1 and 2, approximately 3 stitches apart. Embroider a tiny nose with CA.
Bootie Fleece Ring (Make 2)
Using CB and G-6 hook, make a magic ring.
Round 1: 6 sc in ring, sl st to join. (6 sc)
Round 2: Ch 1, 2 sc in each st around, sl st to join. (12 sc)
Round 3: Ch 1, (bo in next st, sc in next st) around, sl st to join. (6 bobbles, 6 sc, 12 sts)
Fasten off, leaving a sewing tail.
Sew the fleece ring to the center front of the bootie cuff. Sew the mini face circle centered on the fleece ring.
Finishing Your Crochet Baby Romper Set
Weave in all yarn ends securely using a yarn needle, working ends back through several stitches in different directions.
Seam the inner leg seam of each leg panel using mattress stitch or your preferred seaming method, matching row for row with RS facing out.
Sew all appliques as described in their respective sections. Make sure safety eyes are secured before any piece is fully assembled.
Sew buttons onto the front strap tips. Cross each back strap over the corresponding front strap and button through the buttonhole. Adjust strap crossing for best fit.
Lightly stuff the romper face applique with a small amount of fiberfill before completing the final sewing edge, for a raised three dimensional effect.
Blocking Instructions
Wet blocking is recommended for best results.
Soak all pieces in cool water with a small amount of gentle, no rinse wool wash or baby safe detergent for 15 to 20 minutes. Gently press out excess water by rolling pieces in a clean towel. Do not wring.
Lay pieces flat on a blocking mat. Use rust proof pins to pin the romper to its finished measurements. Smooth seams and edges. Pin the hat over a balloon or hat form, or stuff lightly with plastic bags, to hold the round shape