
I don’t know about you, but I have a serious weakness for tiny handmade baby clothes. There’s just something about a little dress made entirely by hand that store-bought items can never replicate. The time, the love, the careful stitch work. It all shows.
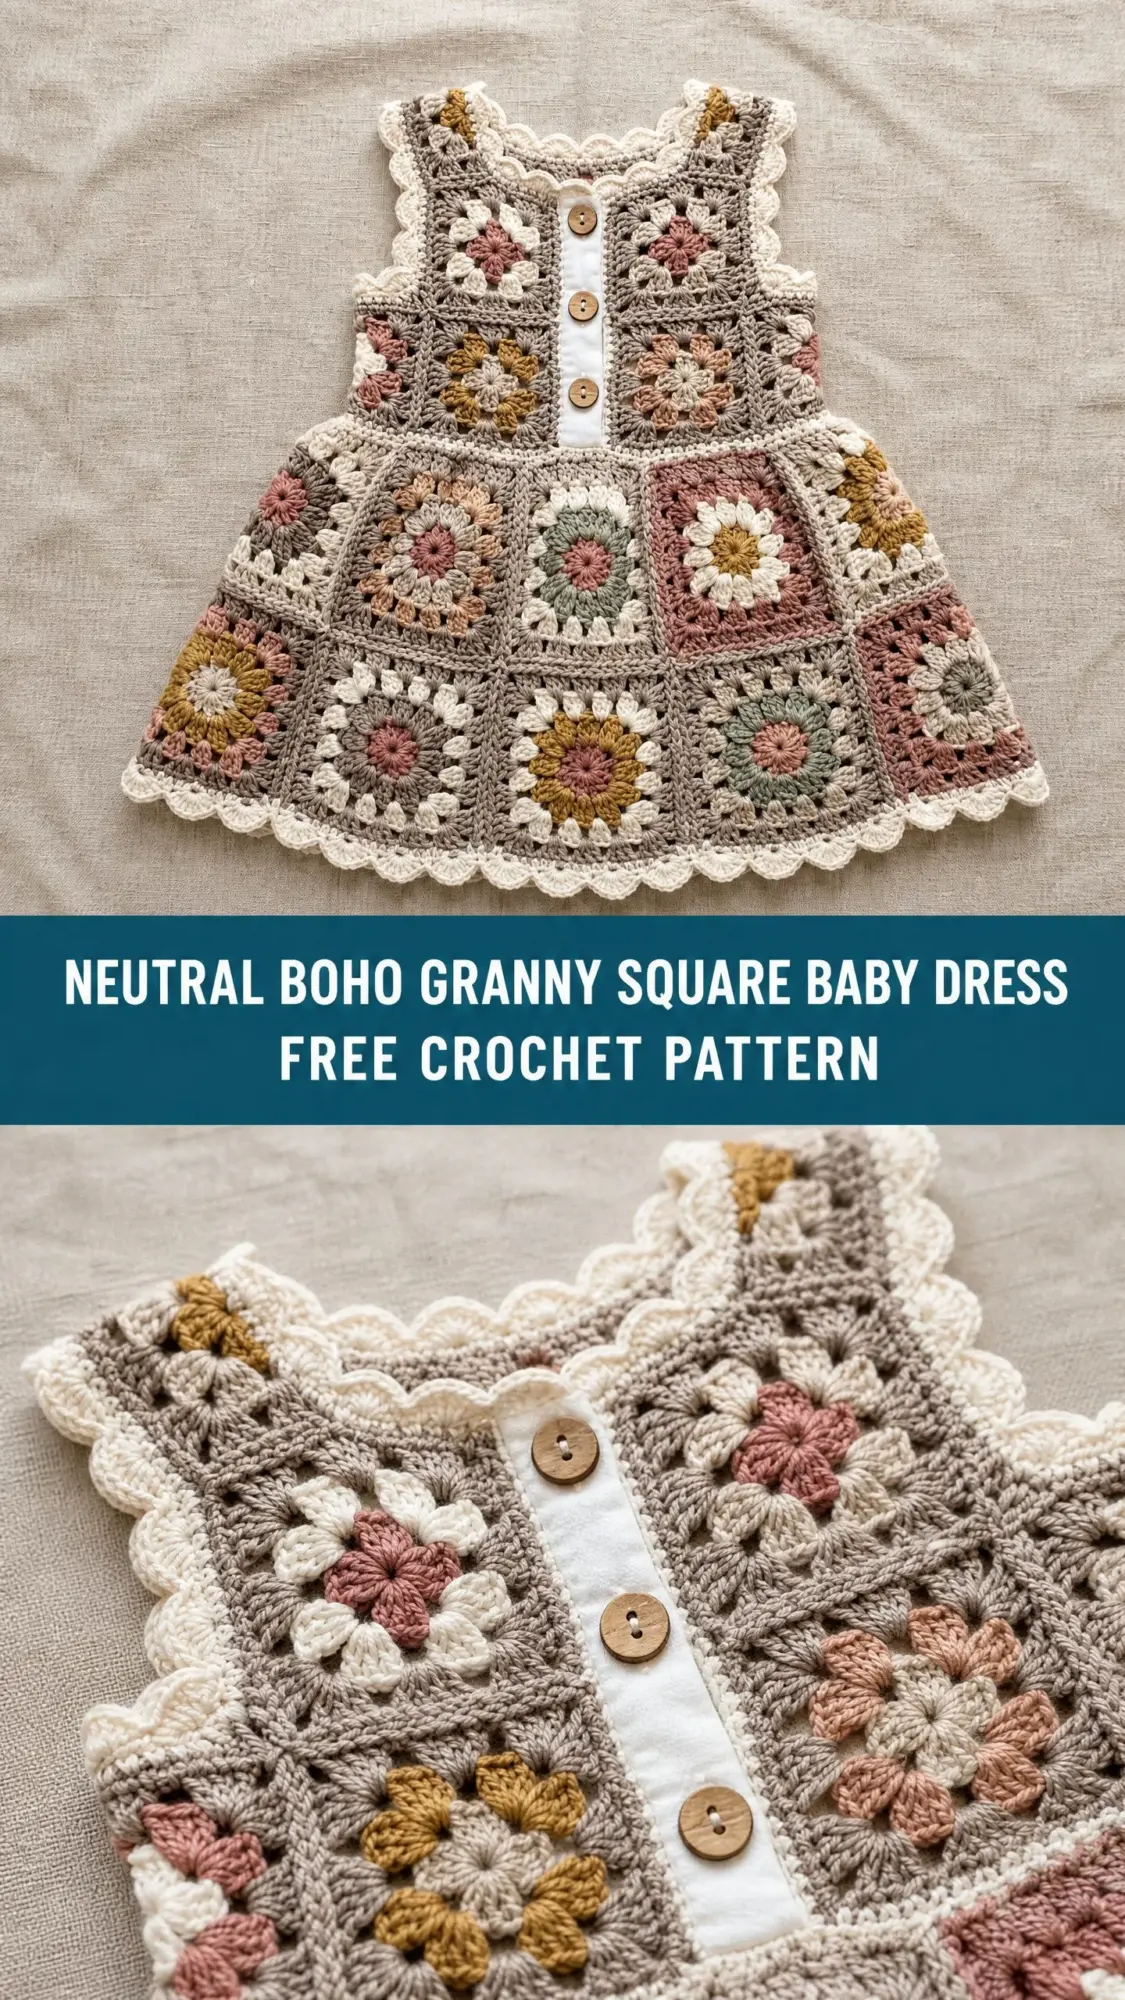
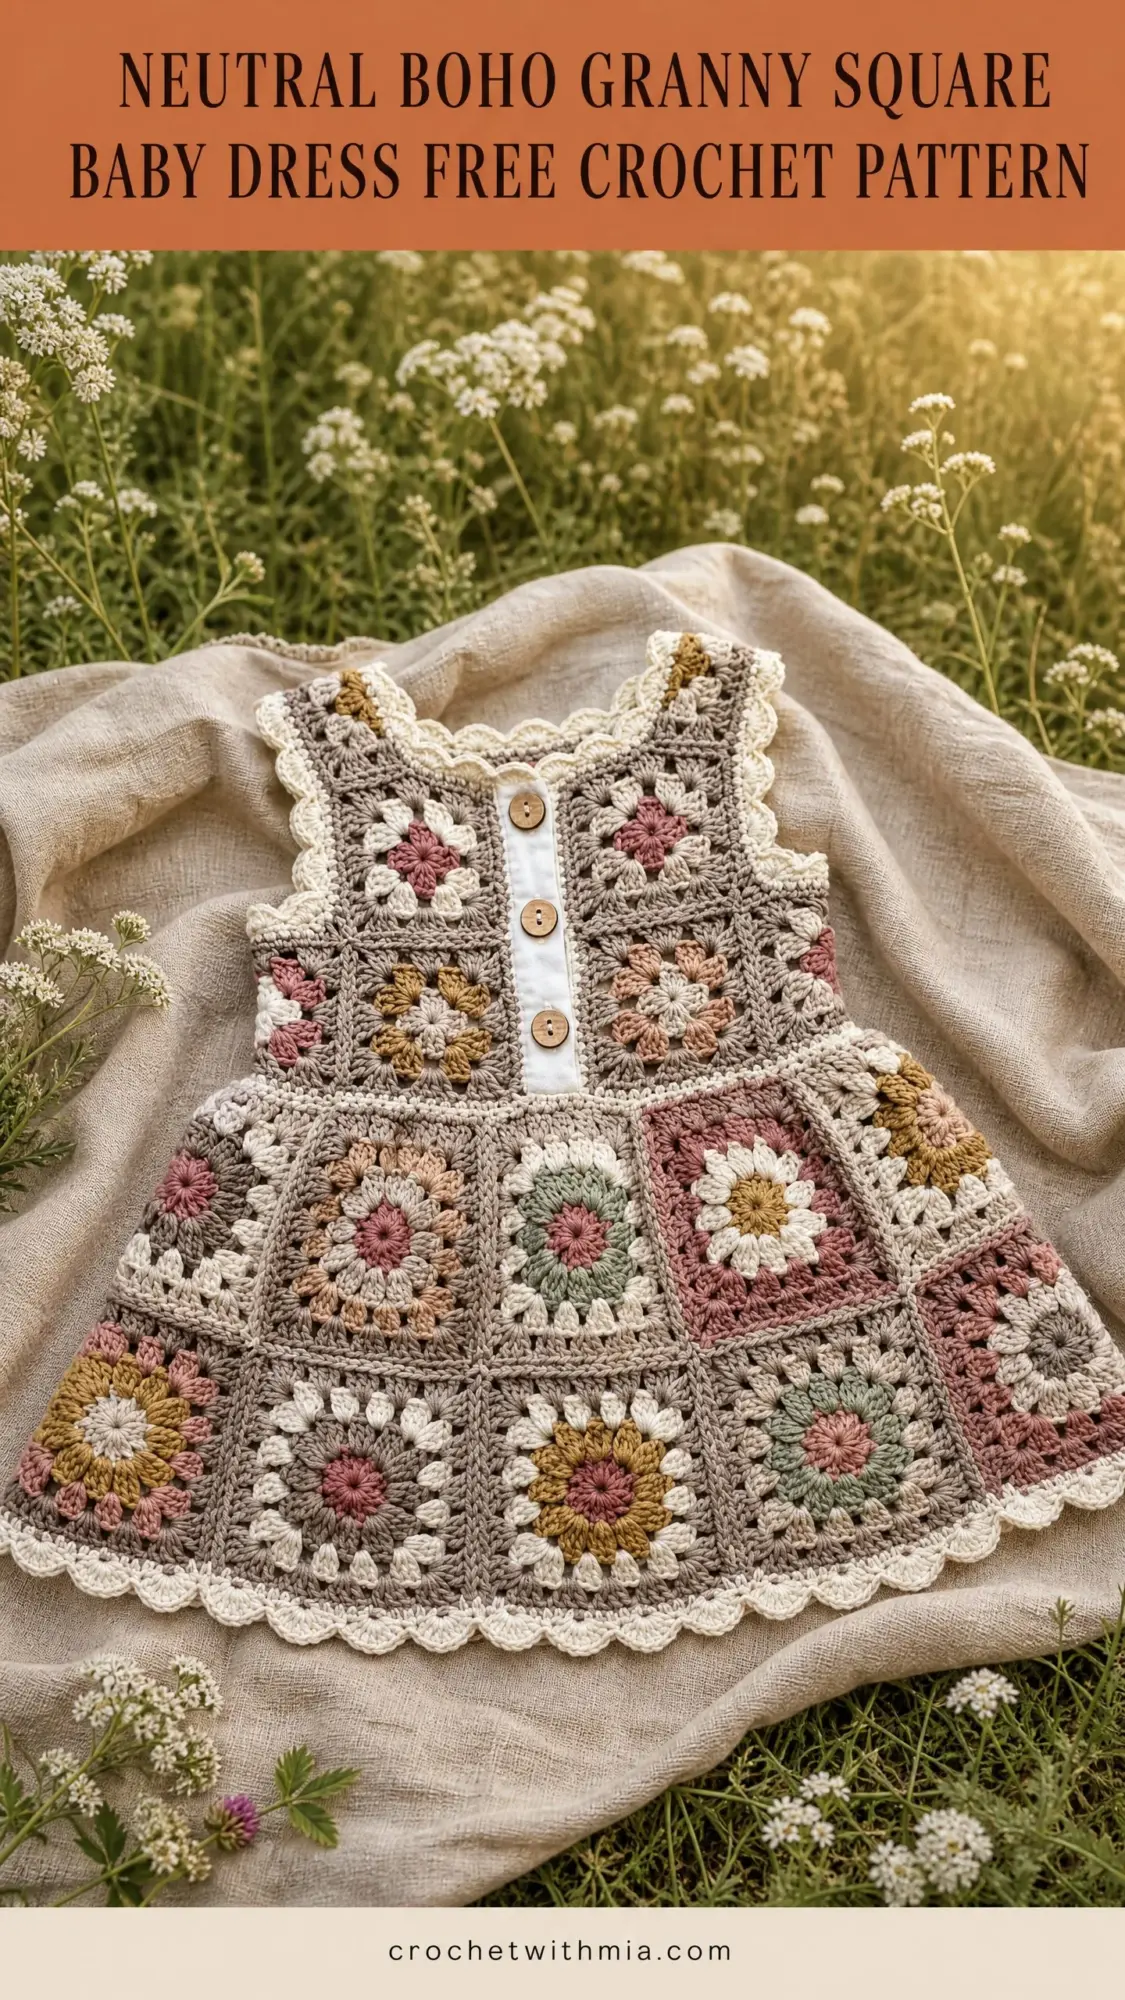
This granny square baby dress has been living rent-free in my head since I first sketched it out. The muted earthy tones, the classic granny square construction, those sweet wooden buttons down the front. It looks like something passed down through generations, but you can make it yourself starting today.
If you’ve been wanting to try a garment project but felt intimidated, this one breaks everything down into manageable pieces. Literally. You’re just making squares, joining them, and adding some pretty edging. That’s it. Let me walk you through every single step.
Why This Granny Square Baby Dress Works So Well
The beauty of this crochet baby dress pattern lies in its modular construction. Instead of complex shaping or confusing decreases, you’re building the entire garment from individual granny squares. Make them one at a time while watching TV. Stuff a few in your bag for waiting rooms. There’s no pressure to finish a whole section in one sitting.
The color palette keeps everything feeling cohesive even though you’re mixing things up. That warm taupe background color ties all your accent squares together, whether you’ve got dusty rose, sage green, antique gold, or creamy off-white in the center. The result looks intentionally varied rather than chaotic.
And can we talk about the scalloped edging? That delicate border around the neckline, armholes, and hem transforms basic granny squares into something that looks far more sophisticated than a bunch of joined squares has any right to look.
Skill Level and Time Commitment
I’m calling this one intermediate level. Here’s why.
The individual granny square is absolutely beginner-friendly. If you can chain, double crochet, and work in the round, you can make these squares. But the joining method, the bodice shaping, and the structured edgings require you to read carefully and keep track of where you are in the construction.
Time estimate: Plan for 18 to 25 hours total for a size 6-12 months. Most of that time goes into making and weaving in the 44 individual squares. The assembly and finishing move pretty quickly once all your pieces are ready.
Materials You’ll Need
Yarn: Worsted weight (category 4), approximately 400 to 450 yards total
Here’s the color breakdown:
Hook: US size G-6 / 4.0 mm (adjust as needed to meet gauge)
Notions:
Yarn Suggestions That Work Beautifully
Lion Brand Pound of Love (100% acrylic, 975 yards per skein) gives you soft, machine-washable fabric with a slight sheen that makes those clusters pop. You’ll only use a fraction of one skein per color.
Paintbox Yarns Simply DK held double works wonderfully if you want more color options. Holding two strands together brings this DK weight yarn up to worsted effectively.
WeCrochet Mighty Stitch (80% acrylic, 20% superwash wool, 208 yards per skein) adds memory and structure that helps squares keep their shape after washing.
Choose any smooth worsted weight yarn that achieves gauge. Avoid fuzzy or brushed yarns since they’ll obscure that pretty cluster definition. Stick with machine-washable fibers for baby items.
Gauge (Please Don’t Skip This)
One completed granny square after Round 4 should measure 3.5 inches x 3.5 inches blocked.
In single crochet with MC: 10 sc x 12 rows equals 4 inches x 4 inches.
Gauge matters here because you’re joining modular pieces. If your squares are too big or too small, your final garment won’t fit properly. Take ten minutes to make a test square and block it before diving in.
Finished Sizes
This pattern is written for size 6-12 months with adjustments noted for other sizes.
Abbreviations and Stitch Definitions
Let me break down every stitch you’ll use in this crochet tutorial.
Special Stitches Explained
3-dc Cluster: This is the building block of every granny square. Yarn over, insert hook into space, pull up loop, yarn over, draw through 2 loops. Repeat twice more in the same space so you have 4 loops on hook total. Yarn over and draw through all 4 loops. One cluster made.
Picot: Chain 3, slip stitch into the third chain from hook. Creates a small decorative bump.
Scallop Edging: Slip stitch into first stitch. Skip 2 stitches, work 5 dc into next stitch to form a shell, skip 2 stitches, slip stitch into next stitch. Repeat around. This creates that beautiful wavy border.
Join As You Go (JAYG): When finishing a new square, at each corner or side where it touches an existing square, replace the regular chain space with: chain 1, slip stitch into the corresponding chain space of the adjacent finished square, chain 1. This joins squares flat without a separate seaming step.
How Many Squares Do You Need?
For size 6-12 months, you’ll make:
Small squares work through Round 3 and measure approximately 2.75 inches square blocked. Large squares work through Round 4 and measure approximately 3.5 inches square blocked.
Small Square Pattern (For Bodice)
Make a magic ring or chain 4 and join with slip stitch to form a ring.
Round 1: Using accent color of your choice (CA, CB, CC, or CD), chain 3 (counts as first dc), work 2 dc into ring, chain 2, [3 dc into ring, chain 2] 3 times. Join with slip stitch to top of beginning chain-3. (4 clusters of 3 dc, 4 ch-2 corner spaces) Fasten off accent color. Pull ring closed.
Round 2: Join MC with slip stitch into any ch-2 corner space. Chain 3, work 2 dc into same space, chain 2, 3 dc into same space (first corner made). Chain 1, [3 dc, ch 2, 3 dc] into next ch-2 corner space. Repeat from 2 more times. Chain 1. Join with slip stitch to top of beginning chain-3. (8 clusters of 3 dc, 4 ch-2 corner spaces, 4 ch-1 side spaces) Fasten off MC.
Round 3: Join CD with slip stitch into any ch-2 corner space. Chain 3, 2 dc into same space, chain 2, 3 dc into same space (corner made). Chain 1, 3 dc into next ch-1 side space, chain 1, [3 dc, ch 2, 3 dc] into next ch-2 corner space. Repeat from 2 more times. Chain 1, 3 dc into next ch-1 side space, chain 1. Join with slip stitch to top of beginning chain-3. (12 clusters of 3 dc, 4 ch-2 corner spaces, 8 ch-1 side spaces) Fasten off.
Weave in ends and block to 2.75 inches square.
Large Square Pattern (For Skirt)
Work Rounds 1 through 3 exactly as for Small Square above.
Round 4: Join MC with slip stitch into any ch-2 corner space. Chain 3, 2 dc into same space, chain 2, 3 dc into same space (corner made). [Chain 1, 3 dc into next ch-1 space] twice, chain 1, [3 dc, ch 2, 3 dc] into next ch-2 corner space. Repeat from 2 more times. [Chain 1, 3 dc into next ch-1 space] twice, chain 1. Join with slip stitch to top of beginning chain-3. (16 clusters of 3 dc, 4 ch-2 corner spaces, 12 ch-1 side spaces) Fasten off.
Weave in ends and block to 3.5 inches square.
Color Distribution Guide
The photographed sample uses a loose random arrangement with taupe tying everything together. Here’s a suggested distribution:
For Bodice (24 Small Squares):
For Skirt (20 Large Squares):
Mix all four accent colors freely across both tiers. Scatter more CD squares toward the hem for a lighter feel at the bottom.
Feel free to rearrange colors however you like. That organic patchwork look is part of the charm.
Bodice Assembly
Each bodice panel is 4 squares wide and 3 squares tall.
Step 1: Arrange 12 Small Squares in a 4-column, 3-row grid. Plan your color placement before joining.
Step 2: Join Row 1 of front bodice. Hold first and second squares with right sides facing you and wrong sides together along one side edge. Using MC, work slip stitches through each corresponding chain space pair along the shared edge. At corners, slip stitch through both ch-2 corner spaces. Continue joining all 4 squares of Row 1.
Step 3: Join Rows 2 and 3 to Row 1 using the same method, attaching along both horizontal and vertical edges.
Step 4: Repeat to make the back bodice panel.
Checkpoint: Each panel should measure approximately 11 inches wide and 8.25 inches tall before edging.
Step 5: Join front and back panels at shoulders. The two outer squares on each side form the shoulder straps. Join front to back at the top edges of the two outermost squares on each side using a slip stitch flat seam on the wrong side. Leave the center 2 squares open to form the neckline.
Step 6: Join side seams. Join front and back along the bottom two squares on each side. Leave the top row open on each side for armholes.
Skirt Assembly
Upper Skirt Tier (Tier 1): Join 8 Large Squares end to end, then join first and last squares to form a ring.
Attach Tier 1 to the bottom edge of the bodice all the way around using slip stitch joins through matching chain spaces.
Lower Skirt Tier (Tier 2): Join 12 Large Squares into a ring.
To create the A-line flare, attach Tier 2 to Tier 1 by joining 3 squares of Tier 2 for every 2 squares of Tier 1 at 4 evenly spaced intervals around the skirt. This adds fullness at the hem.
Button Placket
Split the center front of the bodice between columns 2 and 3. If you joined those squares during assembly, carefully undo that center vertical join.
Right Placket Band: With RS facing and MC, join yarn at top of center-right edge. Work 1 sc into each available stitch down the full length, approximately 24 to 28 sc. Fasten off.
Left Placket Band with Button Loops: Work 1 sc along the edge, then on the next row work button loops: chain 3, skip 2 sc, sc in next sc, sc in next 5 sc. Repeat from twice more for 3 button loops.
Sew 3 wooden buttons onto right placket band aligned with loops. For extra stability, back both bands with white cotton fabric stitched to the wrong side.
Neckline Edging
With RS facing and CD, join yarn anywhere along neckline opening.
Round 1: Chain 1. Work 1 sc evenly around the entire neckline opening. Approximately 48 sc total (adjust to multiple of 6). Join with slip stitch. (48 sc)
Round 2: Slip stitch into first sc. Skip 2 sc, work 5 dc into next sc, skip 2 sc, slip stitch into next sc. Repeat from around. (8 shells) Fasten off.
Armhole Edging
Work the same edging for each armhole.
Round 1: Join CD at underarm. Chain 1. Work 1 sc evenly around armhole opening, approximately 24 to 30 sc. Adjust to multiple of 6. Join with slip stitch.
Round 2: Work scallop edging same as neckline. Fasten off.
Repeat for second armhole.
Hem Edging
With RS facing and CD, join yarn anywhere along bottom edge of lower skirt tier.
Round 1: Chain 1. Work 1 sc into every available stitch along the bottom edge. Approximately 78 sc around full hem. Adjust to multiple of 6. Join with slip stitch.
Round 2: Work scallop edging around. (13 shells) Fasten off.
Finishing Your Baby Dress
Weave in all remaining ends on the wrong side. Give each tail a gentle tug to seat it securely.
Blocking is essential. Wet block the entire assembled dress by submerging in cool water, gently squeezing excess water into a towel, and laying flat on a blocking mat. Pin hem, neckline, and armholes to finished measurements. Allow to dry completely.
Sew buttons firmly onto right placket band.
Size Customization
Size 0-3 months: Bodice 3 squares wide x 2 rows tall. Upper skirt 6 Large Squares, lower skirt 8 Large Squares.
Size 12-18 months: Bodice 4 squares wide x 3 rows tall using Large Squares instead of Small Squares. Upper skirt 10 Large Squares, lower skirt 14 Large Squares.
Size 2T: Bodice 5 squares wide x 3 rows tall. Upper skirt 12 Large Squares, lower skirt 16 Large Squares.
Going up one hook size (to H-8 / 5.0 mm) increases each square by approximately 0.5 inches, effectively sizing up one level.
Care Instructions
Machine wash cold on gentle cycle inside a mesh laundry bag. Lay flat to dry. Do not tumble dry. For wool-content yarns, hand wash only with wool wash.
I really hope you love making this granny square baby dress as much as I loved designing it. There’s something so satisfying about watching all those individual squares come together into a wearable heirloom piece.
If you make this dress, I would absolutely love to see it! Tag me on Instagram or share a photo in my Facebook group. Seeing your finished projects genuinely makes my whole week.
Don’t forget to save this pattern to your Pinterest boards so you can find it when you’re ready to start. And if you have any questions as you work through the pattern, drop a comment below. I’m always happy to help troubleshoot!