
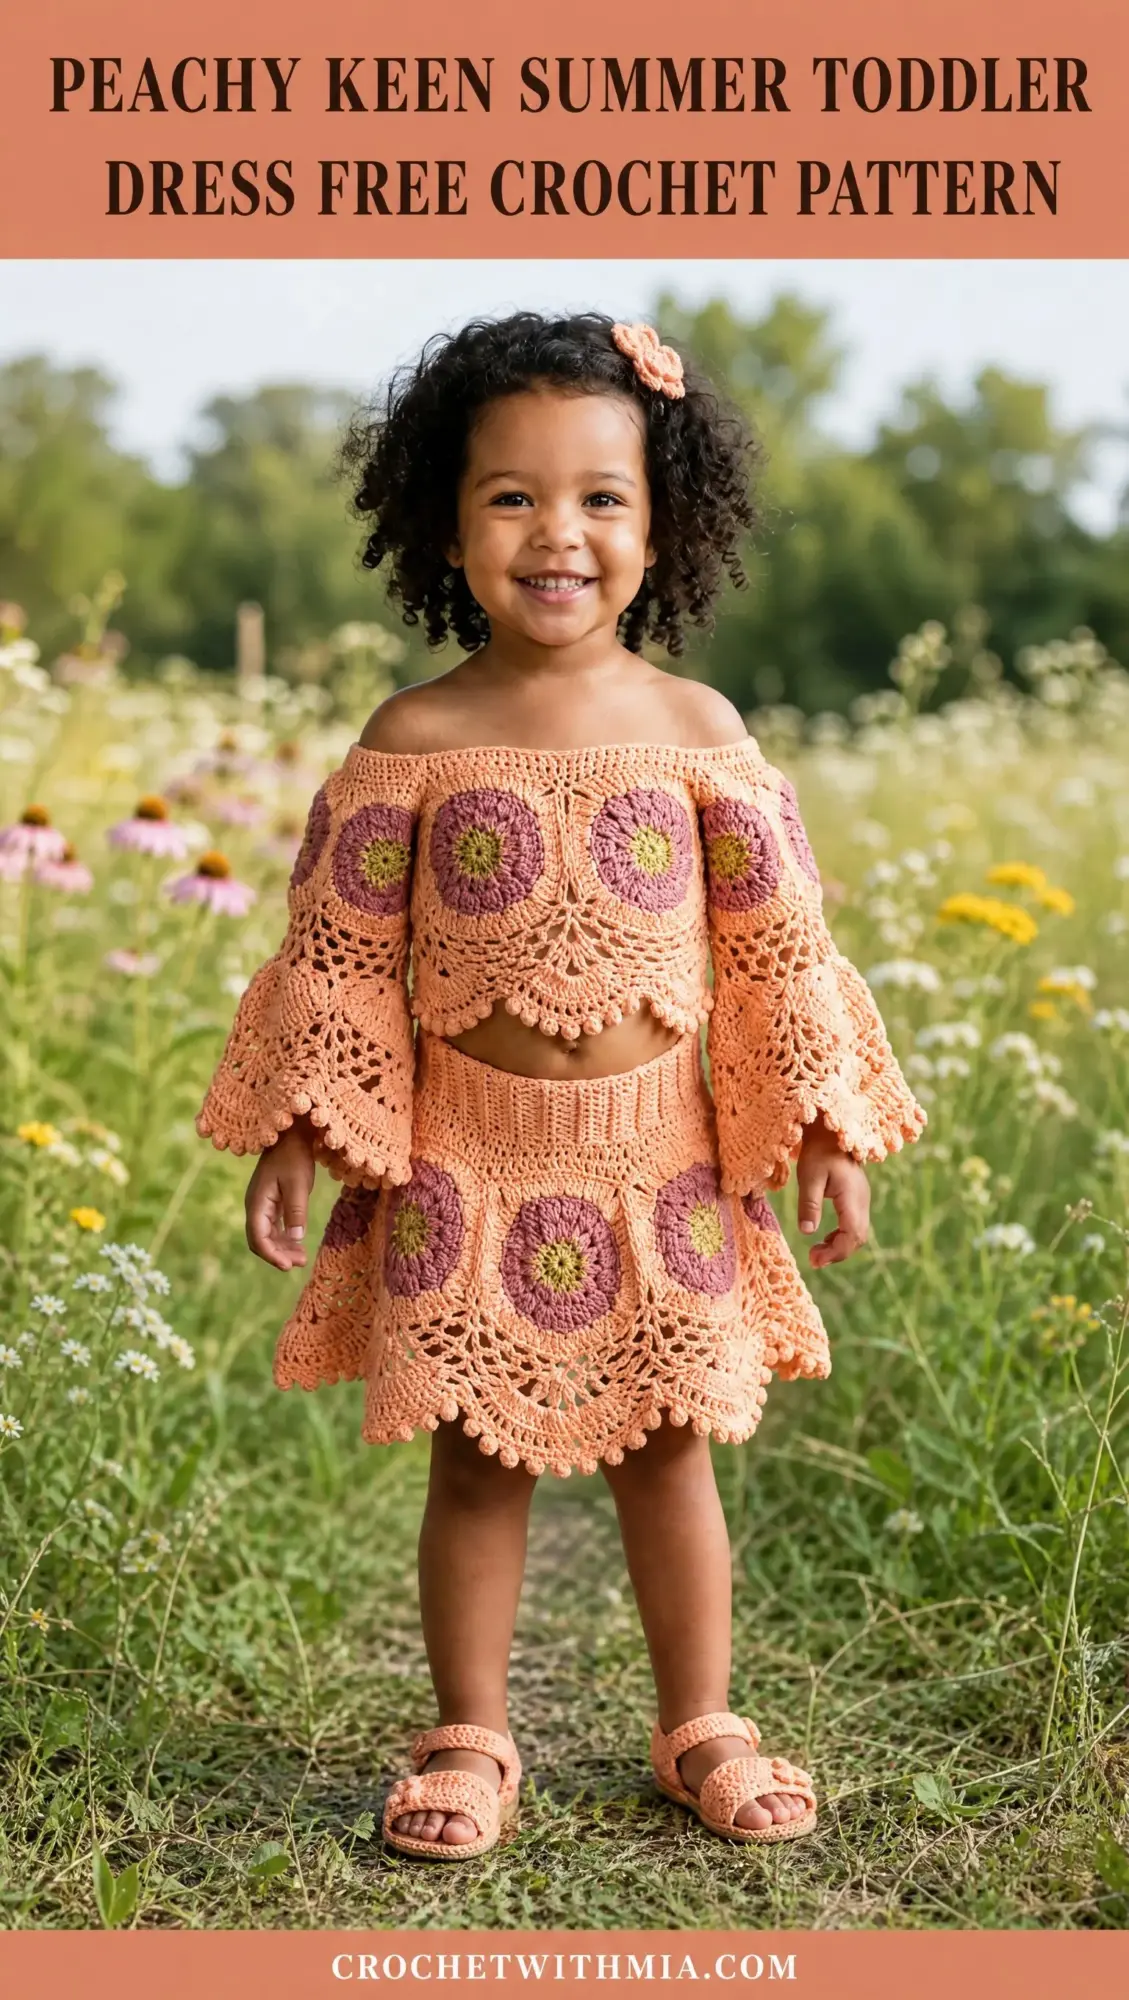
Looking for the perfect warm-weather outfit for a little one in your life? This adorable two-piece toddler set combines an off-shoulder crop top with bell sleeves and a coordinating A-line mini skirt. The whole project uses beautiful granny circle motifs in soft peach, dusty rose, and olive tones.
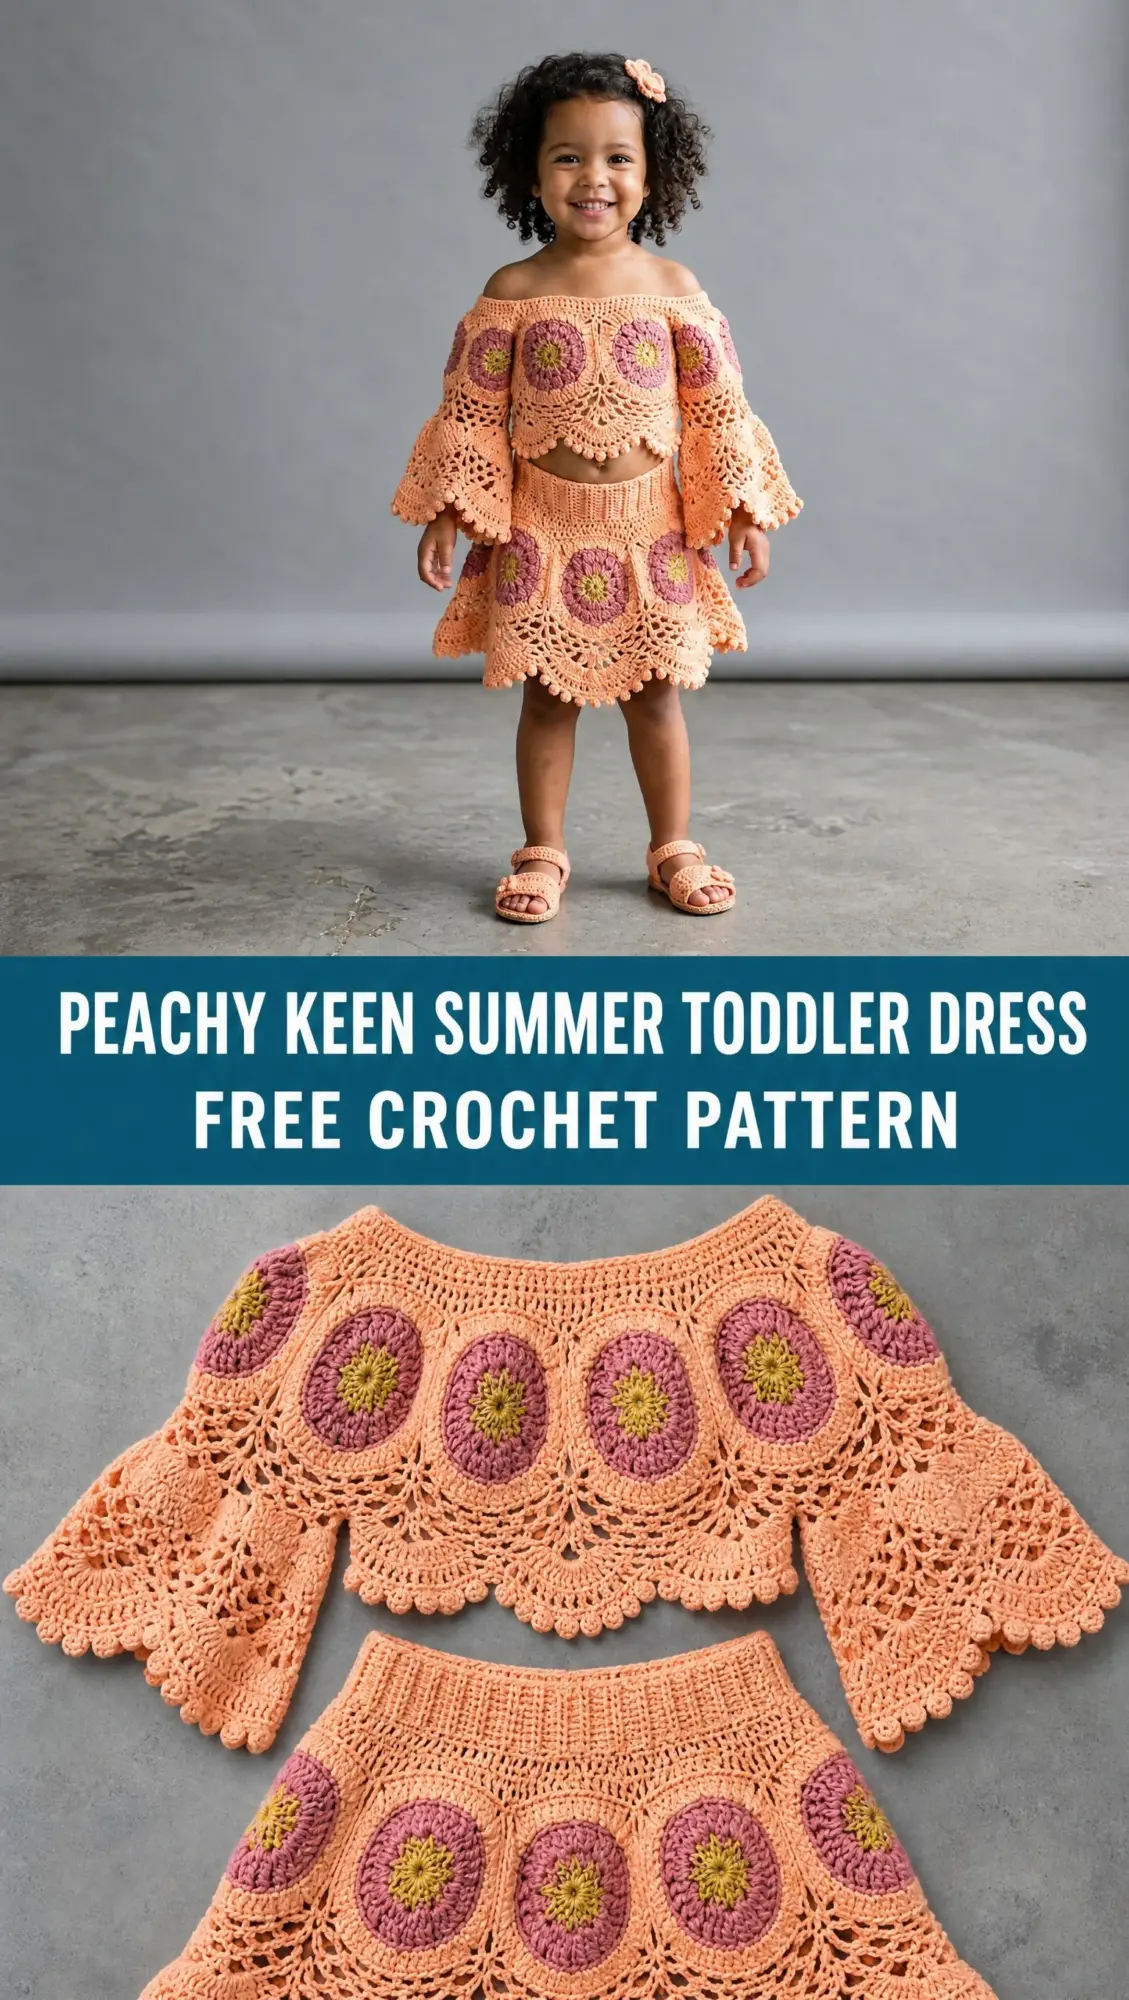
This crochet pattern works up in about 10 to 14 hours total, making it a realistic weekend project or a satisfying week-long make. The construction is straightforward once you understand the motif-first approach. You make the circles, join them together, then add the finishing touches like waistbands and sleeve cuffs.
Whether you are making this for a granddaughter, a friend’s toddler, or a charity donation, the finished set looks far more complicated than it actually is. The lacy fan edging and colorful flower centers create that impressive handmade look that gets compliments at every family gathering. Let me walk you through exactly how to make it.
About This Crochet Pattern
This pattern produces a complete two-piece set sized for toddlers 2T to 3T. The off-shoulder crop top features flared bell sleeves with delicate picot edging, while the skirt has a comfortable ribbed waistband and a flirty scalloped hem. Both pieces are constructed from large circular granny motifs joined together, then finished with bands and edging worked in the round.
The skill level sits at advanced beginner to intermediate. If you have completed at least two projects beyond a basic rectangle, you will succeed with this pattern. The individual motif rounds are straightforward, but joining them seamlessly and working the fan lace edging requires comfort with basic crochet skills plus the ability to follow multi-round instructions.
Finished Measurements
Top:
Skirt:
Materials Needed
Yarn (DK weight cotton or cotton-blend):
Recommended Yarn Options:
Hook: US size E-4 / 3.5 mm crochet hook (or size needed to obtain gauge)
Notions:
Substitution note: Any DK weight (Light 3) yarn with good stitch definition will work. Avoid overly fuzzy or hairy yarns, as the fan lace detail will be obscured. Cotton or cotton-blend yarns are strongly recommended for comfort and washability in childrenswear.
Gauge
Motif gauge: 1 completed motif (after Round 5) = 4.25 inches / 10.8 cm point to point
Ribbing gauge: In flat single crochet worked in back loops only: 22 stitches = 4 inches / 10 cm; 24 rows = 4 inches / 10 cm
Gauge is critical for this garment. Motif gauge determines the final circumference of both pieces. Please make a test motif and measure before proceeding. Block your test motif before measuring.
Abbreviations and Stitch Definitions
Special Stitches
Picot: Chain 3, slip stitch into first chain made. This creates a small decorative loop. Work this at the top of a stitch where directed.
Beginning Cluster (Beg-Cl): Ch 2 (counts as first dc), yo, insert hook into same sp, yo and pull up loop, yo and draw through 2 loops on hook. You now have 2 loops on hook. Yo and draw through both loops. One beginning cluster made.
Cluster (Cl): Yo, insert hook into indicated space, yo and pull up loop, yo and draw through 2 loops on hook. [Yo, insert hook into same space, yo and pull up loop, yo and draw through 2 loops on hook] twice more. Yo and draw through all 4 loops on hook. One 3-dc cluster made.
Fan Stitch: [3 dc, ch 2, 3 dc] all into the same stitch or space. This creates a fan shell shape used in the hem edging.
Join-As-You-Go (JAYG): When completing Round 5 of any motif after the first, instead of working a ch 2 at a joining point, work ch 1, sl st into the corresponding ch-2 sp of the adjacent completed motif, ch 1. This joins the two motifs without seaming.
Dc2tog: [Yo, insert hook into next st, yo and pull up loop, yo and draw through 2 loops] twice. Yo and draw through all 3 loops on hook. One decrease made.
Pattern Notes Before You Begin
1. The set is made from 12 total motifs: 6 for the top and 6 for the skirt.
2. Each motif is a large circular granny square worked in the round with Color C at center, Color B for Rounds 2 and 3, and Color A for Rounds 4 and 5.
3. The top uses a 2-motif by 3-motif flat rectangle, joined, then a band is worked along the top edge and sleeves are added at each end.
4. The skirt uses a 2-motif by 3-motif flat rectangle joined into a tube, with the waistband worked along the top and the fan edging worked along the bottom.
5. All rounds are worked with RS facing unless otherwise noted.
6. Turning chains: the top band and waistband are worked in rows with a ch 1 turning chain that does NOT count as a stitch.
7. Block all motifs before joining for best results.
Granny Circle Motif Instructions (Make 12 Total)
Make 6 motifs for the top and 6 for the skirt. Each motif uses the same instructions.
Round 1 (Color C):
Magic ring (or ch 4 and join with sl st to form ring).
Ch 3 (counts as first dc throughout), work 11 dc into ring, join with sl st to top of ch-3.
(12 dc)
Round 2 (Color B, join with sl st to any st, ch 1):
Sc in same st as join. Ch 3. [Sc in next st, ch 3] around. Join with sl st to first sc.
(12 sc, 12 ch-3 sps)
Round 3 (Color B, continue or rejoin):
Sl st into first ch-3 sp. Beg-Cl in same sp. Ch 3. [Cl in next ch-3 sp, ch 3] around. Join with sl st to top of Beg-Cl.
(12 Cl, 12 ch-3 sps)
Round 4 (Color A, join with sl st to any ch-3 sp):
Sl st into first ch-3 sp. Ch 3 (counts as dc). Work 2 dc in same sp. Ch 2. [3 dc in next ch-3 sp, ch 2] around. Join with sl st to top of ch-3.
(36 dc, 12 ch-2 sps)
You now have 12 petals arranged evenly around the circle.
Round 5 (Color A, continue):
Sl st to first ch-2 sp. Ch 3, [2 dc, ch 2, 3 dc] in same sp (fan made). Ch 2. Sk next ch-2 sp. [3 dc, ch 2, 3 dc] in next ch-2 sp (fan made). Ch 2. Sk next ch-2 sp. Rep from to 4 more times. Join with sl st to top of ch-3.
(6 fans, 6 ch-2 sps between fans, 36 dc in fan groups)
Your motif now has 6 petal fans separated by ch-2 spaces, forming a hexagonal-ish large circle roughly 4.25 inches across.
Fasten off Color B. Fasten off Color C. Weave in ends on each motif as you go or after all 12 are made.
Motif Layout for the Top
Arrange 6 motifs in a 2-row by 3-column grid:
Row 1 (top): Motif 1, Motif 2, Motif 3 (left to right)
Row 2 (bottom): Motif 4, Motif 5, Motif 6 (left to right)
Use the JAYG method on Round 5 of each subsequent motif. When working Round 5 on Motif 2, at the fan that will align with Motif 1’s corresponding fan, replace the ch 2 at the peak of that fan with: ch 1, sl st into corresponding ch-2 sp of Motif 1’s fan, ch 1.
The joined panel will be approximately 12.75 inches wide by 8.5 inches tall.
Motif Layout for the Skirt
Use 6 motifs in a 2-row by 3-column grid, same arrangement as the top. After joining horizontally and vertically, join the left edge of Motif 1 / Motif 4 column to the right edge of Motif 3 / Motif 6 column using a sl st seam along the fan edges to form a tube.
The joined skirt tube will be approximately 12.75 inches in circumference (measuring flat, so 25.5 inches around) and 8.5 inches tall before adding waistband and hem edging.
Top Construction: Upper Band and Off-Shoulder Edge
With Color A and RS facing, join yarn to the top edge of the joined motif panel.
Upper Band Setup Row (RS):
Join Color A with sc in any corner or fan tip. Work sc evenly across the entire top edge of the panel, placing 1 sc in each dc, 2 sc in each ch-2 sp, and 1 sc in each ch-1 sp. Target stitch count: 60 sc.
Top Band Rows 1-6 (worked flat):
Row 1 (WS): Ch 1, turn. Sc in blo of each sc across. (60 sc)
Row 2 (RS): Ch 1, turn. Sc in blo of each sc across. (60 sc)
Row 3 (WS): Ch 1, turn. Sc in blo of each sc across. (60 sc)
Row 4 (RS): Ch 1, turn. Sc in blo of each sc across. (60 sc)
Row 5 (WS): Ch 1, turn. Sc in blo of each sc across. (60 sc)
Row 6 (RS): Ch 1, turn. Sc in blo of each sc across. (60 sc)
The band is now 6 rows of blo sc, approximately 1 inch tall.
Do not fasten off. Fold the band to the WS and sl st the live stitches to the pickup row on the inside, leaving a small opening to thread elastic through if desired. Thread a piece of quarter-inch elastic cut to 18 inches / 46 cm through the casing, secure both ends together, and sl st the opening closed.
Sleeve Construction (Make 2)
The sleeves are worked in the round, beginning at the side edge fan openings of the joined top panel.
Sleeve Setup Round:
With Color A, RS facing, join yarn with sc at the bottom corner of the armhole opening. Work sc evenly around the armhole edge. Target count: 36 sc. Join with sl st to first sc. Place marker.
(36 sc)
Sleeve Round 1: Ch 3 (counts as dc), dc in each sc around. Join with sl st to top of ch-3. (36 dc)
Sleeve Round 2: Ch 3, dc in same st, dc in next 5 sts. [2 dc in next st, dc in next 5 sts] around. Join with sl st to top of ch-3. (42 dc)
Sleeve Round 3: Ch 3, dc in each st around. Join. (42 dc)
Sleeve Round 4: Ch 3, dc in same st, dc in next 6 sts. [2 dc in next st, dc in next 6 sts] around. Join. (48 dc)
Sleeve Round 5: Ch 3, dc in each st around. Join. (48 dc)
The sleeve tube is now approximately 3 inches long and 48 stitches around, creating the bell silhouette.
Cuff Round 1 (Fan Edging):
Ch 1. Sc in same st. Sk 2 sts. [Fan in next st. Sk 2 sts. Sc in next st. Sk 2 sts.] around. Join with sl st to first sc.
(8 fans, 8 sc)
Cuff Round 2 (Picot Edging):
Sl st into first dc of nearest fan. [Sc in next dc. Picot. Sc in ch-2 sp of fan. Picot. Sc in next dc. Picot. Sl st in sc between fans.] around. Fasten off.
(24 sc, 24 picots)
Repeat for second sleeve.
Skirt Construction: Waistband
With Color A, RS facing, join yarn at any point along the top edge of the skirt tube.
Waistband Setup Round:
Work sc evenly around the entire top edge of the skirt tube. Target count: 90 sc. Join with sl st to first sc.
(90 sc)
Waistband Rounds 1-8:
Ch 1. Sc in blo of each sc around. Join.
(90 sc each round)
The waistband is now 8 rounds of blo sc ribbing, approximately 1.5 inches / 3.8 cm tall.
Fold waistband to WS and sl st the live stitches to the setup round on the inside of the skirt, leaving an opening. Thread a piece of quarter-inch elastic cut to 18 inches / 46 cm through the casing, overlap ends by 1 inch and stitch together securely, then sl st the opening closed.
Skirt Hem Edging
With Color A, join yarn at any bottom fan tip of the skirt hem.
Hem Round 1:
Sc evenly around the bottom fan edge. Target count: 72 sc. Join with sl st to first sc.
(72 sc)
Hem Round 2 (Picot):
[Sc in next sc. Picot. Sc in next sc. Picot. Sc in next sc. Sl st in next sc.] around.
(54 sc, 36 picots)
Fasten off Color A. Weave in all ends.
Optional Flower Hair Clip
With Color B:
Magic ring. Ch 3. [Dc, ch 2, sl st into ring] 5 times. Join to form 5-petal flower. Fasten off, leaving a tail. With Color C, work a French knot or small surface sl st in the center. Attach to a small hair clip or bobby pin using the yarn tails.
Size Customization Tips
To size up to 4T to 5T: Make the motifs slightly larger by adding one additional round of dc fans before Round 5. Each motif will be approximately 5 inches across. Increase the top band and waistband stitch counts proportionally (approximately 72 for the top band, 108 for the waistband).
To size down to 18 to 24 months: Use a US size D-3 / 3.25 mm hook with the same yarn. Motifs will shrink to approximately 3.75 inches across. Check gauge carefully and adjust elastic length to 16 inches.
To adjust circumference: Add or remove one column of motifs. Each motif column adds approximately 4.25 inches of circumference.
To adjust length: Add one additional row of motifs below the existing two rows. Each motif row adds approximately 4.25 inches of length.
Blocking and Finishing
Wet blocking is strongly recommended for this set.
1. Weave in all yarn ends securely before blocking.
2. Fill a basin with cool water and a small amount of wool wash. Submerge the pieces and gently press to saturate. Do not wring or twist.
3. Remove and press excess water out by rolling each piece in a clean dry towel.
4. Lay flat on a blocking mat. Use rust-proof T-pins to pin the fan lace points out to their full extension.
5. Shape the sleeves over a cylinder (a paper towel roll works well) to hold the bell shape.
6. Allow to dry completely (12 to 24 hours) before unpinning.
Care Instructions
Machine wash on gentle/delicate cycle in cool water. Use a mesh laundry bag to protect the lace detail. Lay flat to dry. Do not tumble dry as heat will shrink cotton yarn. Do not iron directly on the crochet. Store folded, not hung, to prevent stretching.
Stitch Count Quick Reference
Motif Round 1: 12 dc
Motif Round 2: 12 sc, 12 ch-3 sps
Motif Round 3: 12 Cl, 12 ch-3 sps
Motif Round 4: 36 dc, 12 ch-2 sps
Motif Round 5: 6 fans, 6 ch-2 sps between fans
Top Band Setup Row: 60 sc
Top Band Rows 1-6: 60 sc each
Sleeve Setup Round: 36 sc
Sleeve Round 1: 36 dc
Sleeve Round 2: 42 dc
Sleeve Rounds 3-5: 42 dc, 42 dc, 48 dc
Cuff Round 1: 8 fans, 8 sc
Cuff Round 2: 24 sc, 24 picots
Skirt Waistband Setup Round: 90 sc
Skirt Waistband Rounds 1-8: 90 sc each
Skirt Hem Round 1: 72 sc
Skirt Hem Round 2: 54 sc, 36 picots
I hope you love making this sweet summer set as much as I enjoyed designing it. The combination of colorful granny motifs and delicate lace edging creates something truly special that any little one would be lucky to wear. If you make this pattern, I would absolutely love to see your finished project! Save this to your Pinterest boards so you can find it when you are ready to start, and please leave a comment below to share your version or ask any questions. Happy crocheting!