
I have been dreaming about designing a perfect summer anklet for ages. Something delicate but eye-catching. Something that feels like walking through a wildflower field barefoot. When I finally sat down to create this Daisy Meadow Anklet, I wanted it to work for different ankle sizes, feature those gorgeous three-dimensional daisies, and have that whimsical vine trailing across the foot.
Get the Ad-Free PDF Pattern
You can find the free pattern below, or you can purchase the ad-free printable PDF from my shop.
Get the Printable PDF →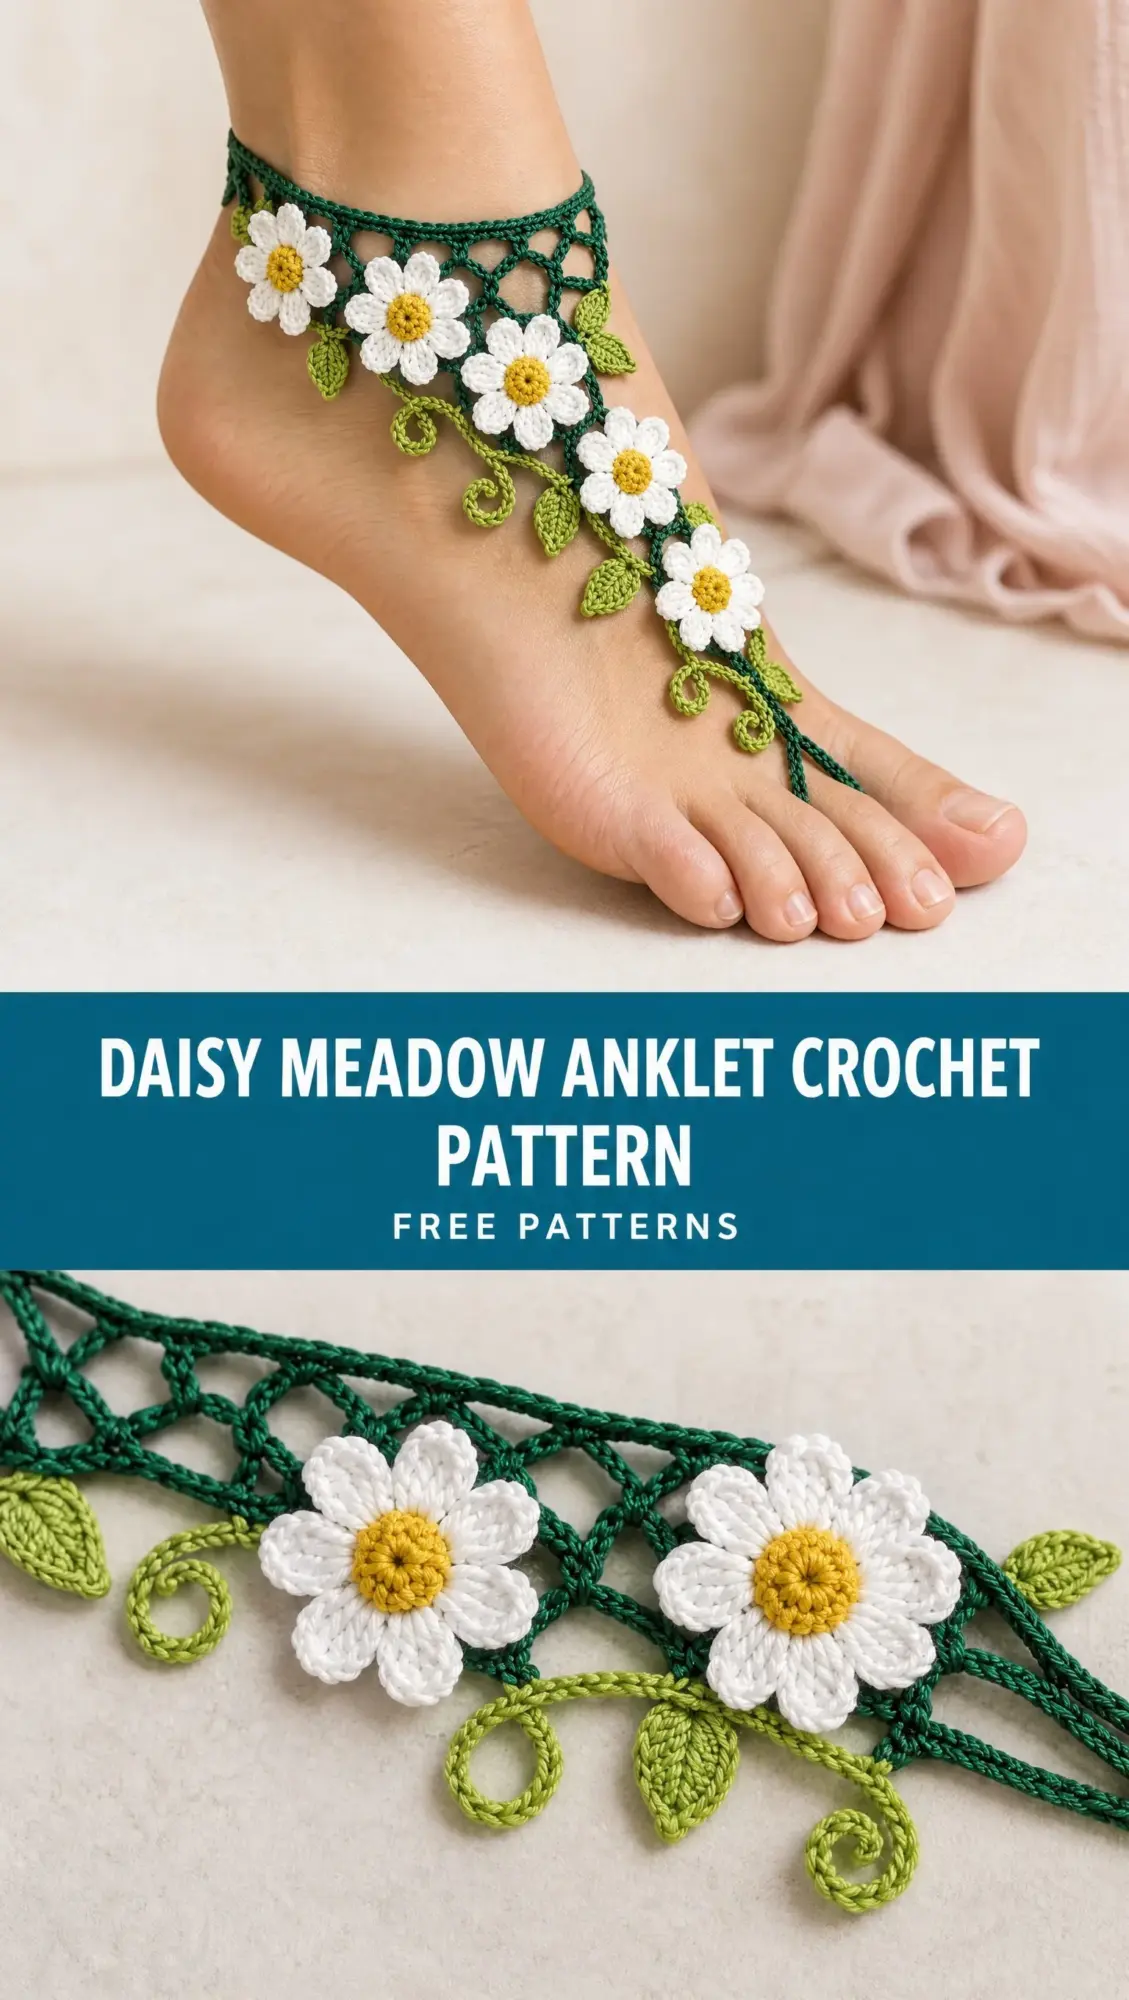
The construction needed to be approachable for intermediate crocheters while still looking like a showstopper. I played with leaf placements, tested different petal counts, and fussed over the vine length until everything felt just right.
I am SO pleased with how this turned out! The way those raised daisies pop against the green vine is exactly what I pictured. If you love botanical accessories or want something special for beach weddings, summer festivals, or just feeling like a meadow fairy on a Tuesday, this pattern is for you.
About This Daisy Meadow Anklet Crochet Pattern
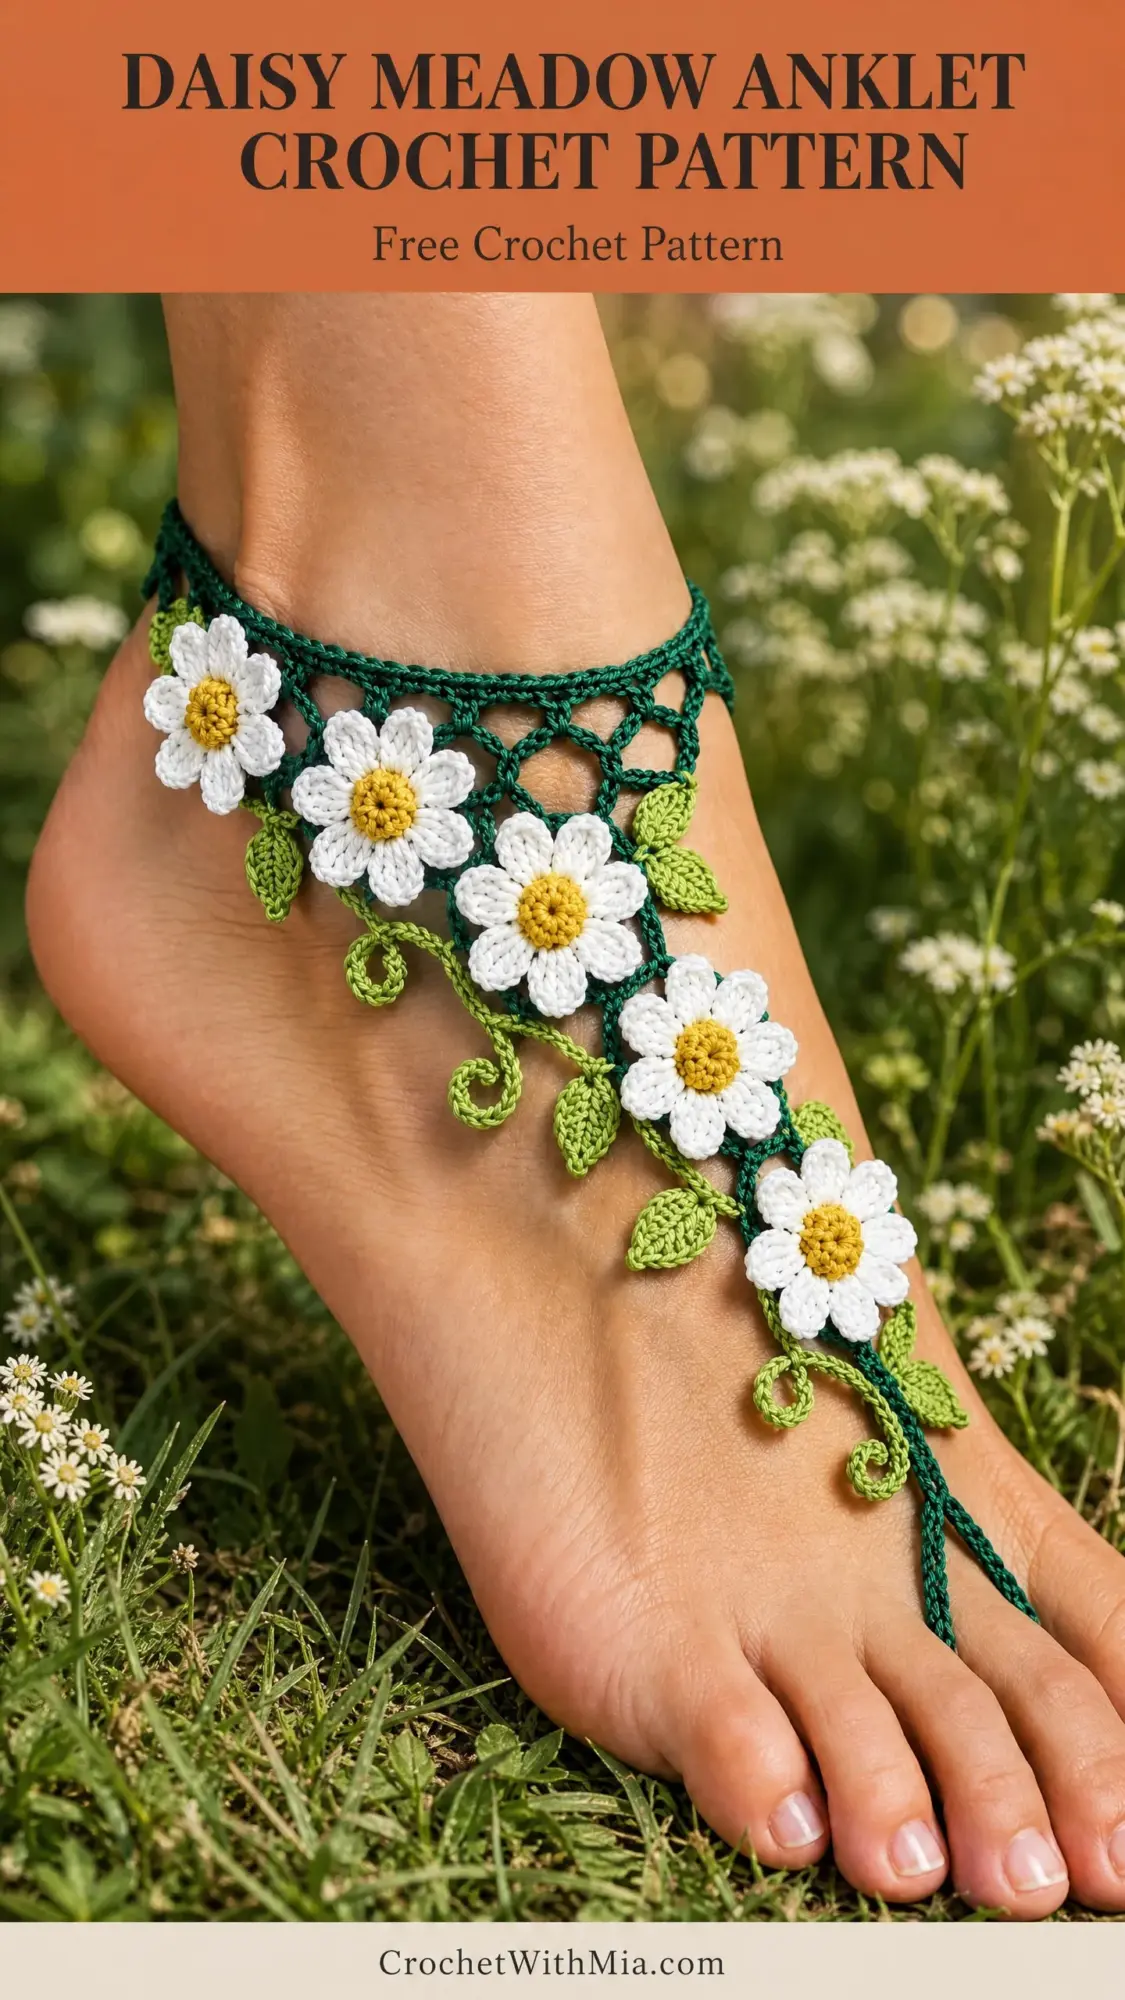
This floral barefoot anklet features a lightweight lace ankle strap with a diagonal vine crossing the top of your foot. Five adorable three-dimensional daisies attach to the vine after you complete the base. The whole piece has that dreamy, meadow-inspired aesthetic that looks absolutely stunning against sun-kissed skin.
The finished size fits adult ankles with a circumference of approximately 20 to 26 cm. Because you control the starting chain length and can leave an adjustment opening, you have flexibility to customize the fit perfectly.
What I love most about this design is how each element comes together. You crochet the ankle band first, then create the vine, make your daisies separately, and finally assemble everything into one cohesive piece. It sounds like a lot, but each component is manageable on its own.
Skill Level
This pattern is rated intermediate. You should feel comfortable with basic stitches, working in the round, creating a magic ring, and joining separate pieces together. If you have made granny squares and simple amigurumi, you have the skills for this project.
The trickiest parts are keeping your tension consistent with fingering weight yarn and a small hook, plus attaching the flowers neatly. Take your time with those joins and you will be fine.
Materials You Will Need
Gather these supplies before you start:
Yarn:
Tools:
Cotton yarn works beautifully here because it holds its shape, has nice stitch definition, and feels comfortable against skin in warm weather. The small hook size creates that delicate, lacy look that makes this anklet so pretty.
Gauge
Working in open lace stitch, 10 cm equals approximately 28 stitches and 14 rows.
Check your gauge before starting the ankle band. If your stitches are too tight, go up a hook size. Too loose? Try a smaller hook. Getting gauge right ensures your anklet fits properly and has that airy, lightweight feel.
Abbreviations and Stitch Definitions
Let me walk you through every abbreviation used in this pattern:
ch (chain): The foundation stitch. Yarn over, pull through the loop on your hook. This creates the base for most crochet projects.
sl st (slip stitch): Insert hook into stitch, yarn over, pull through both the stitch and the loop on your hook in one motion. Used for joining and creating flat surface details.
sc (single crochet): Insert hook, yarn over, pull up a loop (two loops on hook), yarn over, pull through both loops. A short, dense stitch that creates firm fabric.
hdc (half double crochet): Yarn over, insert hook, yarn over, pull up a loop (three loops on hook), yarn over, pull through all three loops. Slightly taller than single crochet.
dc (double crochet): Yarn over, insert hook, yarn over, pull up a loop, yarn over, pull through two loops, yarn over, pull through remaining two loops. Creates a taller, more open fabric.
tr (treble crochet): Yarn over twice, insert hook, yarn over, pull up a loop, then yarn over and pull through two loops three times. The tallest basic stitch.
inc (increase): Work two stitches into the same stitch to add width.
st (stitch): A single unit of crochet work.
sp (space): The gap created between stitches, often a chain space.
rep (repeat): Do the indicated sequence again.
Pattern Instructions
Step 1: Crochet the Ankle Band
The ankle band forms the foundation of your anklet. You will work it flat in rows, then join it into a circle.
Row 1: Using your light green or aqua yarn, ch 54 (or adjust this number to fit comfortably around your ankle). Sc in the second chain from hook and in each chain across. Ch 1, turn.
Row 2: Sc across, placing your stitches into the back loops only for texture. Ch 1, turn.
Rows 3 through 8 (or 10): Repeat Row 2 until your band reaches the desired width. The texture from working in back loops only creates lovely horizontal ridges.
Joining: Fold the ends together and join with slip stitches. You can leave a small opening for adjustment if you prefer, or close it completely for a seamless look.
Tip for beginners: If 54 chains feels too long or short for your ankle, measure a piece of yarn around your ankle first. You want it snug but not tight. Adjust your starting chain in increments of 2 stitches.
Step 2: Create the Foot Vine
Now for the fun part! The vine creates that beautiful diagonal line across your foot.
1. Attach your soft green yarn at the center front of the anklet.
2. Ch 18, then sl st back along the chain to create a raised vine. This technique makes the vine slightly three-dimensional rather than flat.
3. Repeat to create a second vine branch beside the first. Having two branches adds visual interest and gives you more places to attach flowers.
4. Add small leaves along the vines using this sequence:
5. Space your leaves naturally along both sides of the vines. Look at real plants for inspiration. Leaves do not grow in perfect symmetry, so a slightly random placement looks more organic.
Designer note: When I make leaves, I like to vary them slightly. Some get an extra chain at the start for a longer leaf. Some I shape more aggressively with my fingers after crocheting. Play around and see what looks best to you.
Step 3: Crochet the Daisy Flowers
You will make 5 daisies total. Each daisy has a yellow center and white petals.
Flower Center:
1. With your pale yellow yarn, make a magic ring. (If magic rings intimidate you, you can ch 4 and join with a slip stitch to form a ring instead.)
2. Round 1: Work 6 sc into the ring. Join with a slip stitch to the first sc.
3. Fasten off and pull the magic ring closed.
Petals:
1. Attach your white or ivory yarn to any stitch on the yellow center.
2. Ch 3, 2 dc in the same stitch, ch 3, sl st into the same stitch. This creates one petal.
3. Move to the next stitch and repeat around the entire center. You will create 5 petals total, one in each remaining stitch.
4. Fasten off and leave a tail for sewing.
5. Shape the petals gently with your fingers. Pinch each petal tip slightly and fan them out so they lay flat and look like a real daisy.
Troubleshooting: If your petals curl too much, try blocking them lightly with a damp cloth and some pins. The cotton yarn responds well to wet blocking.
Step 4: Attach the Flowers
Time to bring everything together!
1. Arrange your daisies along the vine, spacing them from the ankle area down toward the toe. I like to place the largest or most perfect daisy near the center of the foot where it gets the most attention.
2. Using your yarn needle and the tails you left, sew each flower center firmly to the vine. Go through the center several times to make sure it is secure. This anklet will move with your foot, so those joins need to hold.
3. Add tiny green leaf accents between flowers if needed. You can make a few extra leaves using the same technique from Step 2 and tuck them in wherever the design needs more greenery.
Step 5: Finishing
Almost done! These final touches make the difference between handmade and homemade.
1. Check all joins for strength. Tug gently on each flower and leaf to make sure nothing will come loose during wear.
2. Weave in every yarn tail. With fingering weight yarn, you have lots of little ends. Take your time here. Weave each tail through several stitches, then double back in a different direction.
3. Lightly block the anklet to open up the lace details in the ankle band. Dampen the piece, pin it to shape on a blocking mat or towel, and let it dry completely.
4. Add your optional closure. You can sew on a small button with a loop, attach a hidden clasp, or add tie strings at the ankle band opening.
Care Instructions for Your Daisy Meadow Anklet
Your beautiful handmade anklet deserves gentle care:
Cotton yarn holds up well to gentle hand washing, and the colors should stay vibrant if you treat the piece kindly.
Styling Your Finished Anklet
This Daisy Meadow Anklet looks stunning for beach weddings, summer music festivals, yoga sessions, or simply lounging in your backyard. Pair it with barefoot sandals, or wear it alone for that boho barefoot look.
The neutral white daisies and green vine complement almost any outfit. You could also experiment with different color combinations. Imagine pink flowers for a romantic vibe, or blue centers for something unexpected.
Final Thoughts on This Crochet Pattern
Creating this daisy meadow anklet crochet pattern has been such a joy. There is something incredibly satisfying about wearing your own handmade jewelry, especially something this pretty. The combination of textures, the raised flowers, and that trailing vine across your foot create a piece that always gets compliments.
Whether you make this for yourself or as a gift for someone who loves botanical accessories, I hope you enjoy every stitch. Take your time with the details, trust the process, and do not stress about perfection. Handmade means made with love, wobbly petals and all.
Thank you so much for choosing this pattern! I would absolutely love to see your finished anklet. Tag me on Instagram or share a photo in my Facebook group. Seeing your creations genuinely makes my day.
If you loved this Daisy Meadow Anklet pattern, save it to your Pinterest boards so you can find it when you are ready to start! And please drop a comment below if you make one. I cannot wait to hear how yours turns out.
Want a Quick & Easy Printable Version?
Get a clean, beautifully formatted PDF of this pattern — easy to follow step by step, ready to print or save on any device. No scrolling, no distractions, just the pattern.
Get the Printable PDF →