
SUPER EASY and absolutely gorgeous! This Ocean Blue Daisy Granny Square Pouch is one of those projects that looks impressive but comes together faster than you would expect. You can finish the whole thing in a weekend, and trust me, everyone will ask where you bought it.
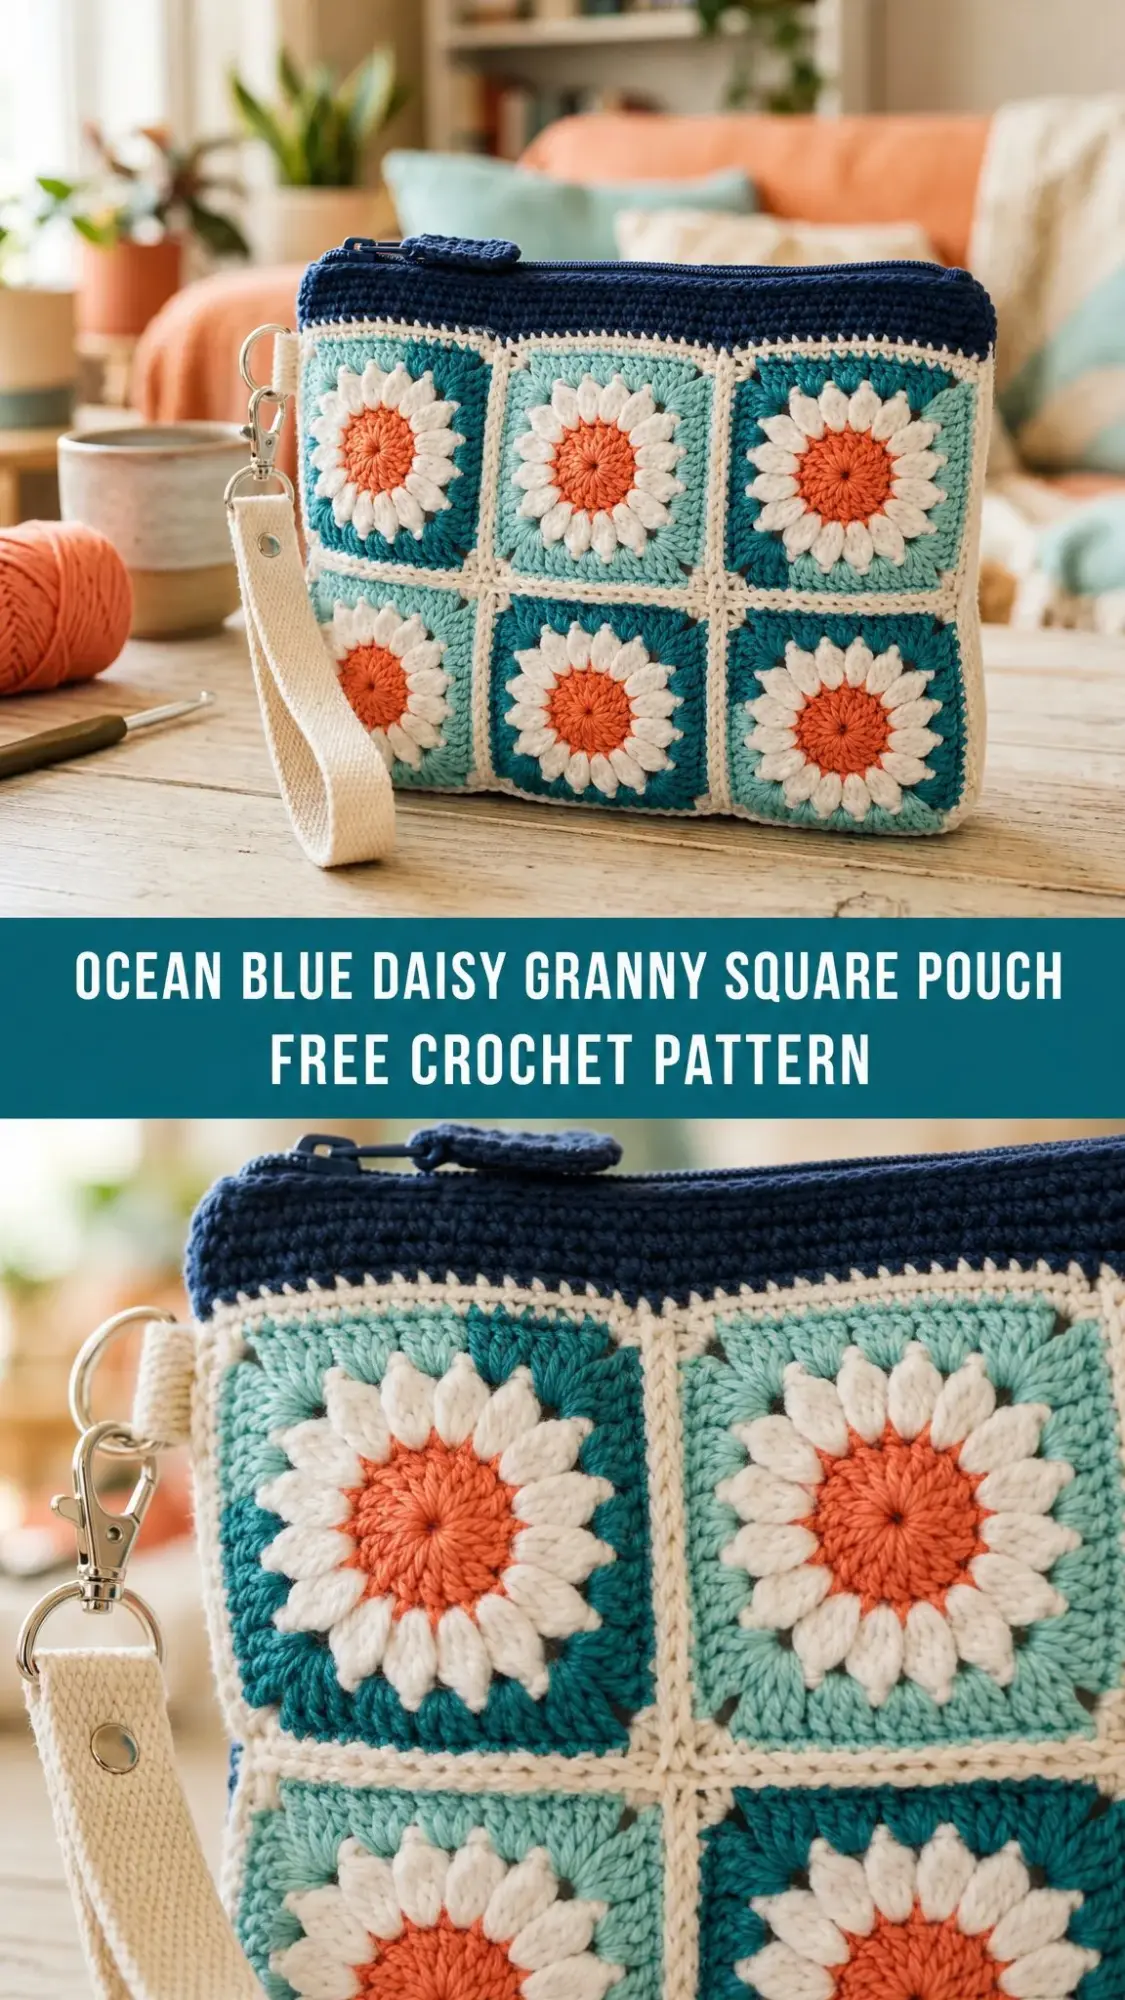
If you have been wanting to try granny squares but felt intimidated, this is your sign. The daisy motif is simple to memorize after just one or two squares, and the assembly is straightforward. Plus, that checkerboard color pattern? Chef’s kiss.
This makes an incredible gift for birthdays, holidays, or just because. Toss in a gift card and some lip balm, and you have got yourself a present that looks like you spent way more time and money than you actually did. Let me walk you through everything you need to know to make your own.
About This Crochet Pattern
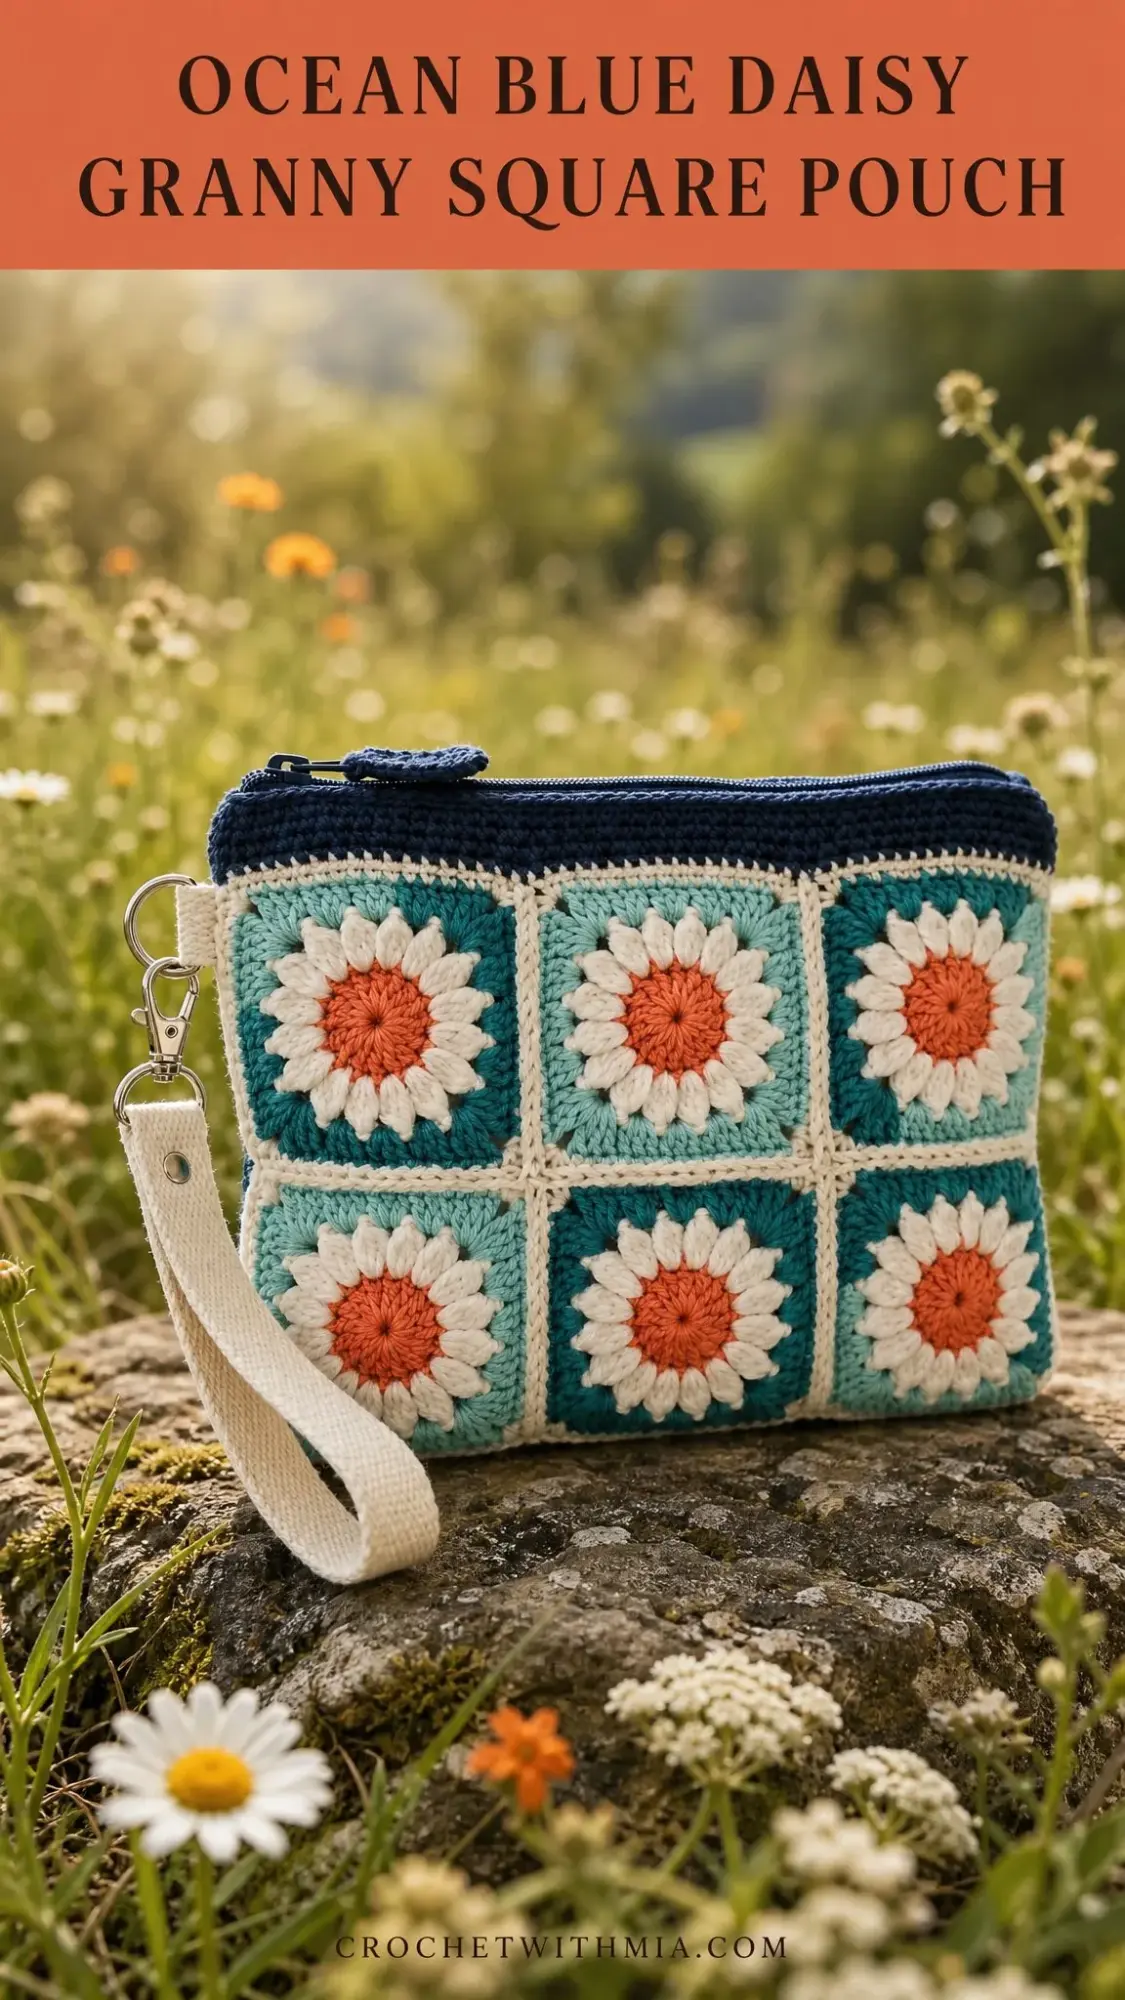
This little wristlet is built from twelve sunburst daisy squares. Each square features a warm orange center, a ring of cream petals, and a crisp border that alternates between deep teal and soft aqua. Six squares make up the front panel, six make up the back, and they are all crowned with a navy zip band and finished with a cream wrist strap on a swivel clasp.
The finished pouch measures 9 inches wide by 7 inches tall (23 cm x 18 cm), excluding the strap. Each individual daisy square measures 3 inches by 3 inches (7.5 cm x 7.5 cm) after the cream border round.
This pattern is rated as Confident Beginner level. If you are comfortable with double crochet (dc), single crochet (sc), the magic ring, and simple seaming, you have all the skills you need. The construction is logical and repetitive, which means you will build confidence as you go.
Expect to spend about 6 to 9 hours on this project. Each square takes roughly 25 to 40 minutes, plus time for assembly and finishing.
Materials You Will Need
Gather these supplies before you start:
Yarn: Worsted weight (Aran / #4) cotton in five colors. You only need small amounts of each, so one ball per color is plenty.
Great yarn choices include Lily Sugar’n Cream, Paintbox Yarns Cotton Aran, or Bernat Handicrafter Cotton. Any smooth worsted cotton with good stitch definition works beautifully.
Hook: 5.0 mm (US H-8)
Additional Supplies:
Gauge
One finished daisy square measures 3 inches (7.5 cm) square through Round 5 using a 5.0 mm hook.
As a quick check, 16 single crochet stitches by 9 rows should equal 4 inches (10 cm).
Three squares across give you the 9 inch (23 cm) width. Two squares plus the navy band give you the 7 inch (18 cm) height. Match the square size and the whole pouch falls into place.
Quick tip: If your squares are too small, go up a hook size. If they are too big, go down a hook size. Blocking can help with minor differences, but getting close to gauge makes assembly much easier.
Abbreviations
This pattern is written in US crochet terms. Here are all the abbreviations you will encounter:
Important reminder: The ch-3 that begins a double crochet round counts as the first dc throughout this pattern.
Special Stitches Explained
Magic Ring (MR): This is an adjustable loop worked into the center of Round 1, then pulled tight to close the hole completely. If you have never done a magic ring before, there are plenty of video tutorials online. It is easier than it sounds!
Corner: Worked as (2 dc, ch 3, 2 dc) into one stitch on the border round. This is what transforms the circle into a square.
Whipstitch Join: With a tapestry needle and cream yarn, sew through the back loops of matching stitches on two squares held side by side. This creates a flat, tidy seam that barely shows.
Pattern Notes Before You Begin
The pouch is made of two flat panels, a front and a back, each containing six daisy squares arranged 3 across by 2 down.
Make 12 squares total: 6 with a Deep Teal border (Color C) on Round 4 and 6 with a Light Aqua border (Color D) on Round 4. This creates the checkerboard effect.
Rounds 1 through 3 are identical for every square. Only the Round 4 border color changes.
Work in continuous joined rounds, fastening off and weaving in ends as you change colors for the cleanest look.
Pro tip: Block your squares lightly to 3 inches (7.5 cm) before joining. It makes seaming so much easier and gives your finished pouch a polished, professional look.
The Daisy Square Pattern
Make 12 squares total. Six with Deep Teal (C) on Round 4 and six with Light Aqua (D) on Round 4. Rounds 1 through 3 and Round 5 are identical for every square.
Round 1 (Orange, Color A)
Into a magic ring: ch 3 (counts as first dc), 11 dc into the ring, pull the ring closed, sl st to top of beginning ch-3. (12 dc)
Round 2 (Cream, Color B)
Join Cream to any st. Ch 3, dc in same st, then 2 dc in each st around, sl st to top of beginning ch-3. (24 dc)
Round 3 (Cream, Color B)
Ch 1, sc in same st, sc in each st around, sl st to first sc. This sets the petal ring. (24 sc)
Round 4 (Deep Teal, Color C OR Light Aqua, Color D)
Join border color to any st. Ch 3, dc in next 4 sts, (2 dc, ch 3, 2 dc) in next st (corner made), dc in next 5 sts; rep from twice more, (2 dc, ch 3, 2 dc) in next st, sl st to top of beginning ch-3. (36 dc and 4 corner spaces)
Round 5 (Cream, Color B)
Join Cream to any corner ch-3 sp. Ch 1, (sc, ch 2, sc) in same sp, sc in each st to next corner, (sc, ch 2, sc) in corner sp, sc in each st to next corner; rep from around, sl st to first sc. Fasten off and weave in ends. (44 sc and 4 corner spaces)
Building the Front and Back Panels
Step 1: Lay Out the Front
Arrange 6 squares in a 3 across by 2 down layout, alternating deep teal and light aqua borders in a checkerboard pattern. Do the same for the back panel.
Step 2: Join Into Rows
Hold two squares side by side, wrong sides together, right sides facing out. With Cream yarn and a tapestry needle, whipstitch through the back loops of matching stitches from corner to corner to join. Join 3 squares into a row.
Step 3: Join the Two Rows
Whipstitch the lower edge of the top row to the upper edge of the bottom row in Cream, lining up the seams carefully. You now have one 3×2 panel. (1 panel complete)
Step 4: Repeat for the Back
Make the second panel exactly the same way. (2 panels total)
Tidying the Panels
The cream Round 5 on every square already frames each daisy, so the joins read as neat cream lines across the panel. Before adding the top band, settle the edges with one quick round.
Step 1: Edge Each Panel
With Cream yarn and RS facing, join to any edge st of a finished panel. Ch 1, sc evenly around all four sides, working (sc, ch 2, sc) in each of the four outer corners. Sl st to first sc. Keep the count even along the top edge for the band to come. (approximately 39 sc across the top edge of each panel)
Helpful tip: "Sc evenly" means about 9 sc along each square edge plus the corner stitches. Aim for 39 sc across three squares so the navy band lines up neatly.
Step 2: Press Lightly
Give both panels a gentle steam or spray block so they sit flat and square. (2 panels, blocked)
Navy Top Band and Side Seams
The band is worked separately along the top edge of each panel, then the two panels are seamed together around the sides and base.
Band Row 1 (Navy, Color E)
With RS facing, join Navy to the top-right st of a panel. Ch 1, sc across the top edge. (39 sc)
Band Rows 2 through 6 (Navy, Color E)
Ch 1, turn, sc in each st across. Repeat for a band about 1 inch (2.5 cm) tall, then fasten off. Work a matching band on the second panel. (39 sc per row)
Side and Bottom Seams
Step 1: Line Up the Panels
Hold front and back with wrong sides together, right sides facing out, navy bands aligned at the top.
Step 2: Seam Three Sides
With Cream yarn, sc through both layers across the bottom, then up each side, stopping at the base of the navy band so the top stays open. (approximately 39 sc base plus 26 sc each side)
Zip, Strap, and Finishing
Step 1: Set the Zip
Open the 9 inch (23 cm) navy zip. With sewing thread, pin it behind the navy band so the teeth sit just below the top edge. Backstitch each zip tape to the inside of the band, easing to fit. (1 zip set)
Step 2: Make the Strap Loop
With Cream yarn, ch 6 and sl st into the first ch to form a small loop. Fasten off and sew it firmly to the top-right corner of the pouch. (1 loop)
Step 3: Build the Wristlet
Thread approximately 6 inches (15 cm) of cream cotton webbing through a D-ring, fold, and secure with a snap, rivet, or a few firm stitches. Clip the swivel lobster clasp onto the corner loop. (1 strap)
Step 4: Final Touches
Weave in every remaining tail. Add a fabric lining now if you would like extra structure. Give the finished pouch one last light press. (0 ends showing)
Caring for Your Ocean Blue Daisy Pouch
Cotton yarn is sturdy, but a little care goes a long way:
Customization Ideas
Want to make this pattern your own? Here are some ideas:
Go bigger: Add a third row of squares (3×3) for a roomy clutch. The math stays the same!
Go mini: Switch to DK cotton and a 4.0 mm hook for a card-sized coin purse.
Recolor the daisies: Keep the cream petals and swap the borders for your own palette. This would look stunning in sunset colors, all pastels, or a monochromatic scheme.
Skip the strap: For a flat zip pouch, or lengthen the webbing for a crossbody clip.
Sizing reminder: Every square you add changes the finished size by about 3 inches (7.5 cm). Block to gauge first, then plan your layout.
Troubleshooting Tips
Squares not matching in size? Check your tension. If you crochet tightly, try going up a hook size. If you crochet loosely, try going down. Blocking helps even out minor differences.
Corners not lying flat? Make sure you are getting the full (2 dc, ch 3, 2 dc) into each corner stitch. Skipping the chain space is a common mistake.
Seams looking bumpy? Whipstitching through the back loops only creates the flattest seam. Take your time and keep your tension even.
Zip not fitting? You can adjust the zip length by sewing across the teeth and cutting off excess. Or, adjust your band row count to accommodate a different zip size.
You Did It!
Thank you so much for choosing this pattern for your next project! I hope you love making your Ocean Blue Daisy Granny Square Pouch as much as I loved designing it. The combination of cheerful daisies, that gorgeous color palette, and the practical wristlet design makes this such a satisfying make.
If you create this pouch, I would absolutely love to see it! Tag me on Instagram or share a photo in my Facebook group. There is nothing better than seeing your beautiful finished projects.
Go ahead and save this pattern to your Pinterest boards so you can find it easily when you are ready to start. And if you make one (or five!), drop a comment below. I read every single one and love hearing about your color choices and any tweaks you made to make it your own. Happy crocheting!