
Tapestry crochet looks intimidating, right? All those color changes, carrying yarn, reading charts. I get it. But here’s the truth: if you can single crochet, you can absolutely make this stunning botanical tote bag.
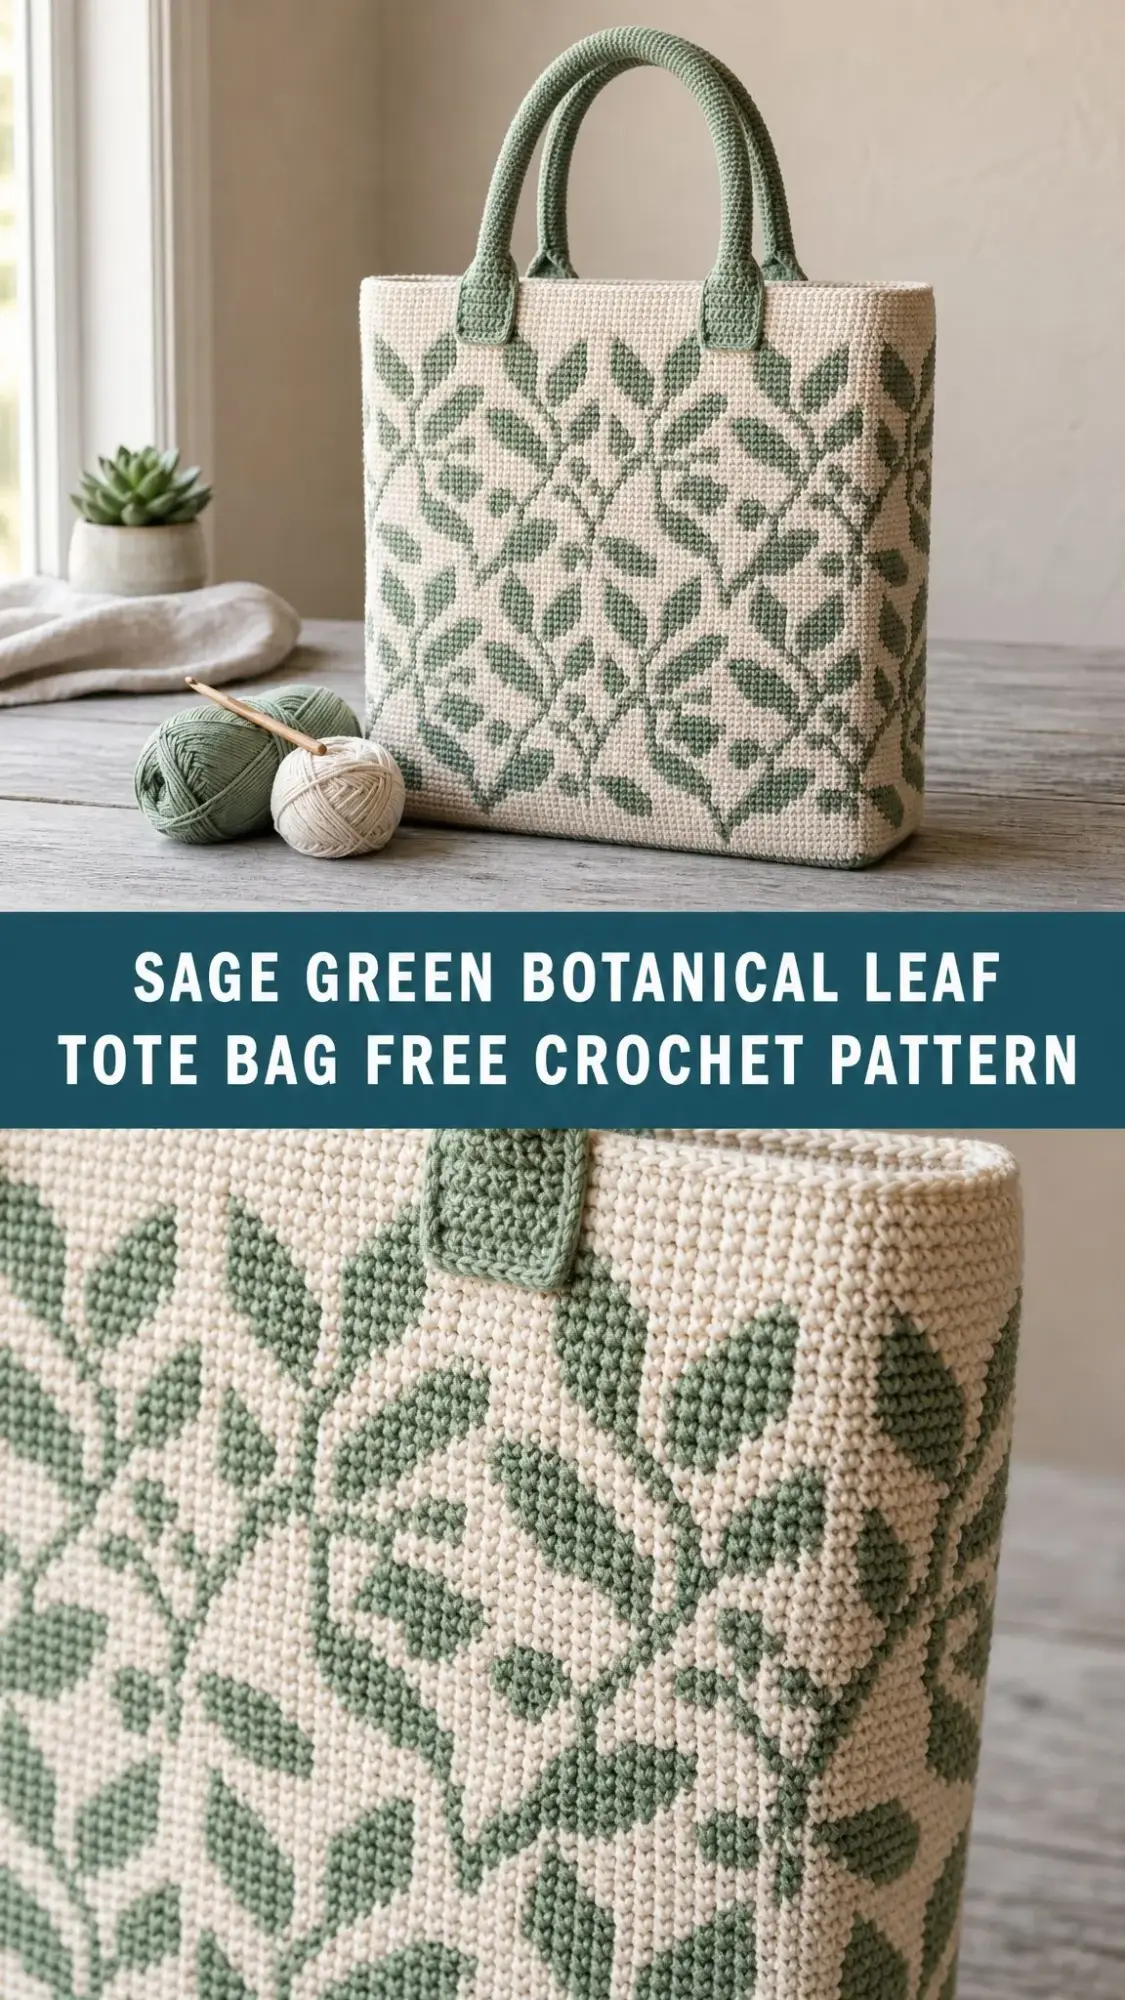
The Sage Botanical Leaf Tote uses just one stitch throughout the entire body. One stitch! The colorwork happens naturally as you follow the chart, switching between cream and sage green to build the leaf pattern right into the fabric. No sewing motifs on afterward, no complicated techniques you’ve never heard of.
Whether you’ve dabbled in colorwork before or this is your first attempt, I’ve broken everything down into manageable pieces. The chart is included, but I’ve also written out every single round stitch by stitch. Pick whichever method makes your brain happy, and let’s make something beautiful together.
About This Tapestry Crochet Tote Pattern
This structured market bag features a gorgeous trellis of climbing sage leaves worked in single crochet tapestry across a soft cream background. The result is a sturdy, heirloom quality tote that looks far more complicated than it actually is.
Skill Level: Intermediate
Finished Dimensions:
Time to Complete: 16 to 22 hours
The bag is worked from the bottom up. You’ll start with a flat rectangular base, pick up stitches around the entire edge, then work upward in joined rounds. The colorwork section covers most of the body, with a few plain rounds at the top before you add the handles.
Materials and Tools You’ll Need
Yarn
You’ll need worsted weight yarn (also called #4 or Aran weight) in 100% cotton. Cotton gives this bag its structure and durability, so I recommend sticking with it rather than substituting acrylic.
Main Color (MC) in Cream: approximately 400 yards (366 meters)
Contrast Color (CC) in Sage Green: approximately 320 yards (293 meters)
Suggested Yarn Brands:
Hooks
Notions
Gauge
20 single crochet stitches × 22 rows = 4 inches (10 cm) in single crochet tapestry, worked in the round, unstretched.
Gauge matters for this project! It keeps the bag’s shape and finished size accurate. Work a 5 inch swatch and adjust your hook size up or down if needed to match.
Abbreviations
Let me define all the abbreviations before we dive in. This pattern uses US crochet terms throughout. If you’re in the UK, remember that US single crochet equals UK double crochet.
Special Techniques
Tapestry Single Crochet
This is the heart of the colorwork technique. Lay the unused color along the top of the previous round and work your single crochet over it, so the yarn is carried invisibly inside the stitches. Pick it up the moment the chart calls for it. You won’t need to cut between colors at all.
Changing Colors Cleanly
Work the final single crochet of the current color until 2 loops remain on the hook. Then yarn over with the new color and draw through to finish. The next stitch now sits cleanly in the new color with no messy transitions.
Pattern Notes Before You Begin
Read through these tips before starting. They’ll save you confusion later!
Making the Base
The base is a firm cream rectangle worked back and forth in rows. You’ll then pick up stitches all the way around its edge to begin working in the round.
Row 1: With MC, ch 57. Sc in 2nd ch from hook and in each ch across; turn. (56 sc)
Rows 2 through 16: Ch 1, sc in each st across; turn. (56 sc)
Set-Up Round: Picking Up the Sides
Ch 1, then sc evenly around the whole rectangle: 56 sc across the top edge, 16 sc down the first short side (one per row end), 56 sc across the bottom edge, 16 sc up the second short side. Join with sl st to the first sc and place a marker. (144 sc)
This set-up round becomes the foundation for the body. From here you’ll work upward in continuous joined rounds, never turning.
Reading the Colorwork Chart
Read every round from right to left, beginning at Round 1 (bottom) and climbing to Round 24 (top). Work the 24 stitch panel, then repeat it 6 times to complete each round of 144 stitches. After Round 24, begin again at Round 1.
The chart shows cream squares for MC and sage green squares for CC.
If you prefer written instructions over charts, I’ve included the complete stitch by stitch breakdown below.
Stitch by Stitch Colorwork Key
Each line represents one 24 stitch panel. Repeat each line 6 times around to complete the round (144 sc total).
Round 1: 5 MC, 2 CC, 10 MC, 2 CC, 5 MC (24 sts)
Round 2: 5 MC, 2 CC, 10 MC, 2 CC, 5 MC (24 sts)
Round 3: 4 MC, 4 CC, 8 MC, 4 CC, 4 MC (24 sts)
Round 4: 4 MC, 1 CC, 1 MC, 2 CC, 8 MC, 1 CC, 1 MC, 2 CC, 4 MC (24 sts)
Round 5: 3 MC, 1 CC, 2 MC, 1 CC, 1 MC, 1 CC, 6 MC, 1 CC, 2 MC, 1 CC, 1 MC, 1 CC, 3 MC (24 sts)
Round 6: 3 MC, 1 CC, 1 MC, 2 CC, 1 MC, 1 CC, 6 MC, 1 CC, 1 MC, 2 CC, 1 MC, 1 CC, 3 MC (24 sts)
Round 7: 2 MC, 1 CC, 1 MC, 4 CC, 1 MC, 1 CC, 4 MC, 1 CC, 1 MC, 4 CC, 1 MC, 1 CC, 2 MC (24 sts)
Round 8: 2 MC, 1 CC, 1 MC, 4 CC, 1 MC, 1 CC, 4 MC, 1 CC, 1 MC, 4 CC, 1 MC, 1 CC, 2 MC (24 sts)
Round 9: 1 MC, 1 CC, 4 MC, 1 CC, 3 MC, 1 CC, 2 MC, 1 CC, 4 MC, 1 CC, 3 MC, 1 CC, 1 MC (24 sts)
Round 10: 1 MC, 1 CC, 3 MC, 2 CC, 3 MC, 1 CC, 2 MC, 1 CC, 3 MC, 2 CC, 3 MC, 1 CC, 1 MC (24 sts)
Round 11: 1 CC, 3 MC, 4 CC, 3 MC, 2 CC, 3 MC, 4 CC, 3 MC, 1 CC (24 sts)
Round 12: 1 CC, 3 MC, 4 CC, 3 MC, 2 CC, 3 MC, 4 CC, 3 MC, 1 CC (24 sts)
Round 13: 1 CC, 5 MC, 1 CC, 4 MC, 2 CC, 5 MC, 1 CC, 4 MC, 1 CC (24 sts)
Round 14: 1 CC, 4 MC, 2 CC, 4 MC, 2 CC, 4 MC, 2 CC, 4 MC, 1 CC (24 sts)
Round 15: 1 CC, 3 MC, 4 CC, 3 MC, 2 CC, 3 MC, 4 CC, 3 MC, 1 CC (24 sts)
Round 16: 1 MC, 1 CC, 2 MC, 4 CC, 2 MC, 1 CC, 2 MC, 1 CC, 2 MC, 4 CC, 2 MC, 1 CC, 1 MC (24 sts)
Round 17: 1 MC, 1 CC, 4 MC, 1 CC, 3 MC, 1 CC, 2 MC, 1 CC, 4 MC, 1 CC, 3 MC, 1 CC, 1 MC (24 sts)
Round 18: 2 MC, 1 CC, 2 MC, 2 CC, 2 MC, 1 CC, 4 MC, 1 CC, 2 MC, 2 CC, 2 MC, 1 CC, 2 MC (24 sts)
Round 19: 2 MC, 1 CC, 1 MC, 4 CC, 1 MC, 1 CC, 4 MC, 1 CC, 1 MC, 4 CC, 1 MC, 1 CC, 2 MC (24 sts)
Round 20: 3 MC, 6 CC, 6 MC, 6 CC, 3 MC (24 sts)
Round 21: 3 MC, 1 CC, 1 MC, 2 CC, 1 MC, 1 CC, 6 MC, 1 CC, 1 MC, 2 CC, 1 MC, 1 CC, 3 MC (24 sts)
Round 22: 4 MC, 1 CC, 1 MC, 2 CC, 8 MC, 1 CC, 1 MC, 2 CC, 4 MC (24 sts)
Round 23: 4 MC, 1 CC, 2 MC, 1 CC, 8 MC, 1 CC, 2 MC, 1 CC, 4 MC (24 sts)
Round 24: 5 MC, 2 CC, 10 MC, 2 CC, 5 MC (24 sts)
Working the Body
Join CC and begin the leaf trellis, following either the chart or the written key above. Carry the resting color along inside every stitch.
Rounds 1 through 24: Work the 24 stitch panel 6 times around, following the colorwork chart or key. Join each round to the first stitch. (144 sc)
Rounds 25 through 48: Repeat chart Rounds 1 through 24 once more. (144 sc)
Rounds 49 through 60: Repeat chart Rounds 1 through 12. Body measures approximately 11 inches (28 cm). (144 sc)
Rounds 61 through 64: With MC only, sc in each st around; join. Fasten off. (144 sc)
Helpful Tip: Pause at the end of each 24 round repeat to check that your diamonds line up vertically before continuing. This catches any mistakes early!
Making the Handles
Two firm sage straps fold into rounded handles that echo the leaf color.
Handles (Make 2)
Row 1: With CC, ch 9. Sc in 2nd ch from hook and each ch across; turn. (8 sc)
Rows 2 and onward: Ch 1, sc across until strap measures approximately 22 inches (56 cm). (8 sc)
Fold each strap in half lengthwise with RS out and whipstitch the long edges together to form a firm round cord.
Handle Tabs (Make 4)
For each strap end, with CC make a small tab: ch 5, work 4 rows of 4 sc. These wrap the strap ends over the rim for the neat upright look. (4 sc)
Assembly and Finishing
Now let’s put everything together!
1. On the front, position handle ends about 2.75 inches (7 cm) apart, centered, with ends sitting approximately 1.25 inches below the rim on the inside.
2. Stitch each end down firmly through several rounds, then make a second reinforcing pass. These handles will carry weight, so secure them well!
3. Fold a CC tab over the rim at each join and whipstitch in place to lock the handle and create the upright tab detail.
4. Repeat for the back handle, matching placement so the two align.
5. Weave in all ends along the wrong side and trim.
Optional Finishing Touches
Lining: Sew a fabric pouch approximately 12 × 24 inches with a 3.25 inch gusset and hand stitch it just below the rim. This protects the interior and adds polish.
Structure: Slip a firm 10.5 × 3 inch panel into the base. Craft foam, plastic canvas, or cardboard covered in fabric all work well.
Blocking: Mist lightly, shape into a crisp box, and let dry fully.
Care Instructions
Size Customization Options
Want to adjust the size? Here’s how to modify the pattern:
Wider bag: Add stitches to the base in multiples of 24 (for example, 168 stitches equals 7 panels) so the leaf repeat stays aligned. Each panel adds approximately 4.75 inches of circumference.
Taller bag: Add full chart repeats. Each 24 round repeat adds approximately 4.4 inches of height.
Deeper base: Lengthen the base rectangle, keeping the final round a multiple of 24.
Smaller bag: Switch to sport weight cotton and a 3.5 mm hook to shrink the finished size by roughly 15%.
Tips for Tapestry Crochet Success
If this is your first tapestry project, here are some things I wish someone had told me:
Watch your tension. The carried yarn can pull if you’re not careful. Check frequently that your fabric lies flat.
Count every round. With 144 stitches per round, it’s easy to lose track. Those stitch markers are your best friends.
Take breaks. This is a larger project at 16 to 22 hours. Don’t rush it. The rhythm of the colorwork becomes meditative once you get going.
Trust the process. The pattern might look like a jumble of numbers at first, but once you see those leaves emerging, it’s pure magic.
Final Thoughts on This Botanical Tote Pattern
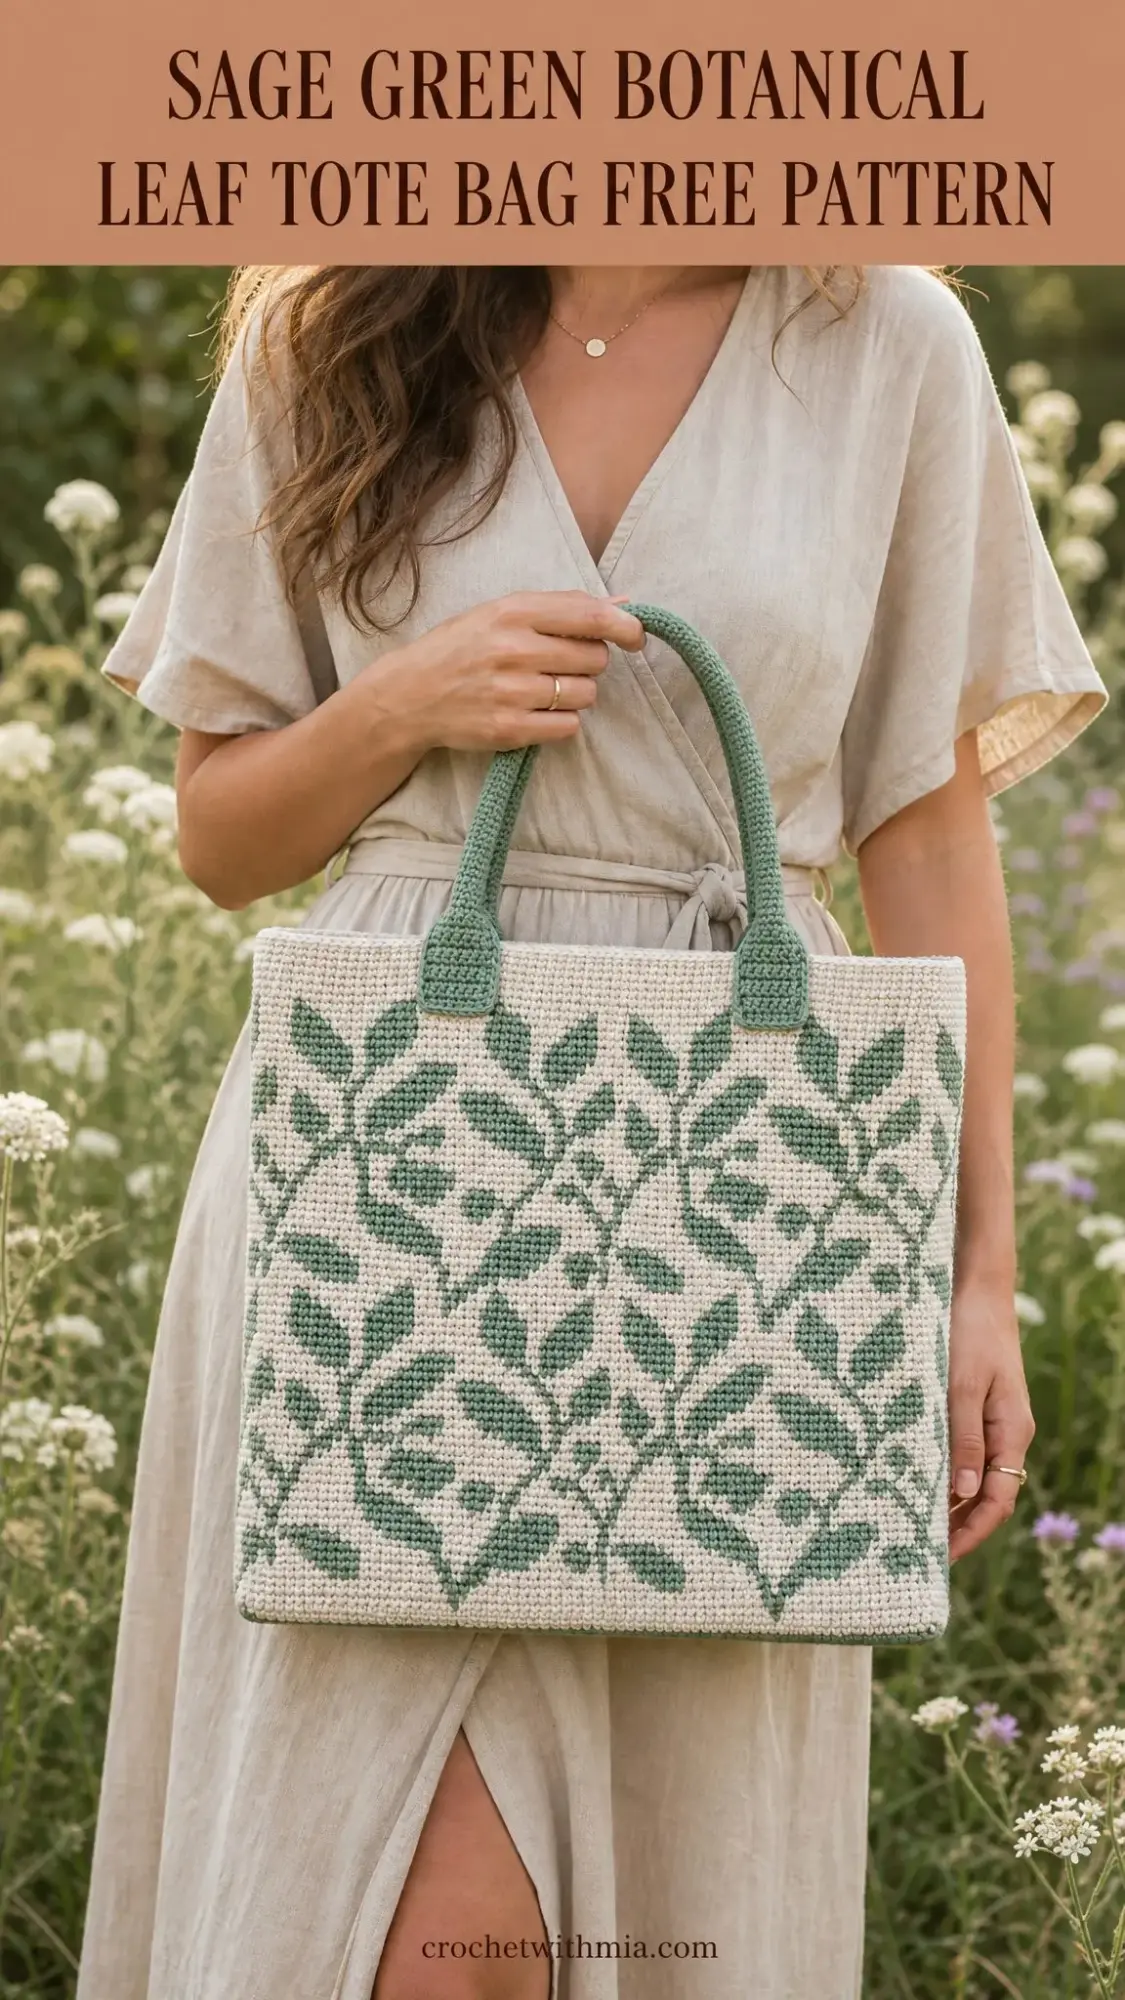
This Sage Botanical Leaf Tote makes a gorgeous market bag, a thoughtful handmade gift, or a statement accessory you’ll reach for constantly. The structured shape, the climbing leaf pattern, and those satisfying sage green handles all come together into something truly special.
The tapestry technique creates a dense, sturdy fabric that holds its shape beautifully. And because you’re working over the unused color, the inside looks almost as neat as the outside.
I hope you love making this bag as much as I loved designing it. There’s something so satisfying about watching that botanical pattern grow round by round.
If this pattern is calling your name, go ahead and save it to your Pinterest boards so you can find it when you’re ready to start! And if you make one, I would absolutely love to see it. Drop a comment below or tag me in your photos. Seeing your finished projects genuinely makes my day.