
A sturdy tote bag is one of those projects that feels practical and satisfying from start to finish. You get to make something useful, work through a classic technique, and end up with a bag you will actually carry around. This Monochrome Gray Granny Square Bag uses the timeless granny square construction in a calm palette of charcoal, gray, and ivory.
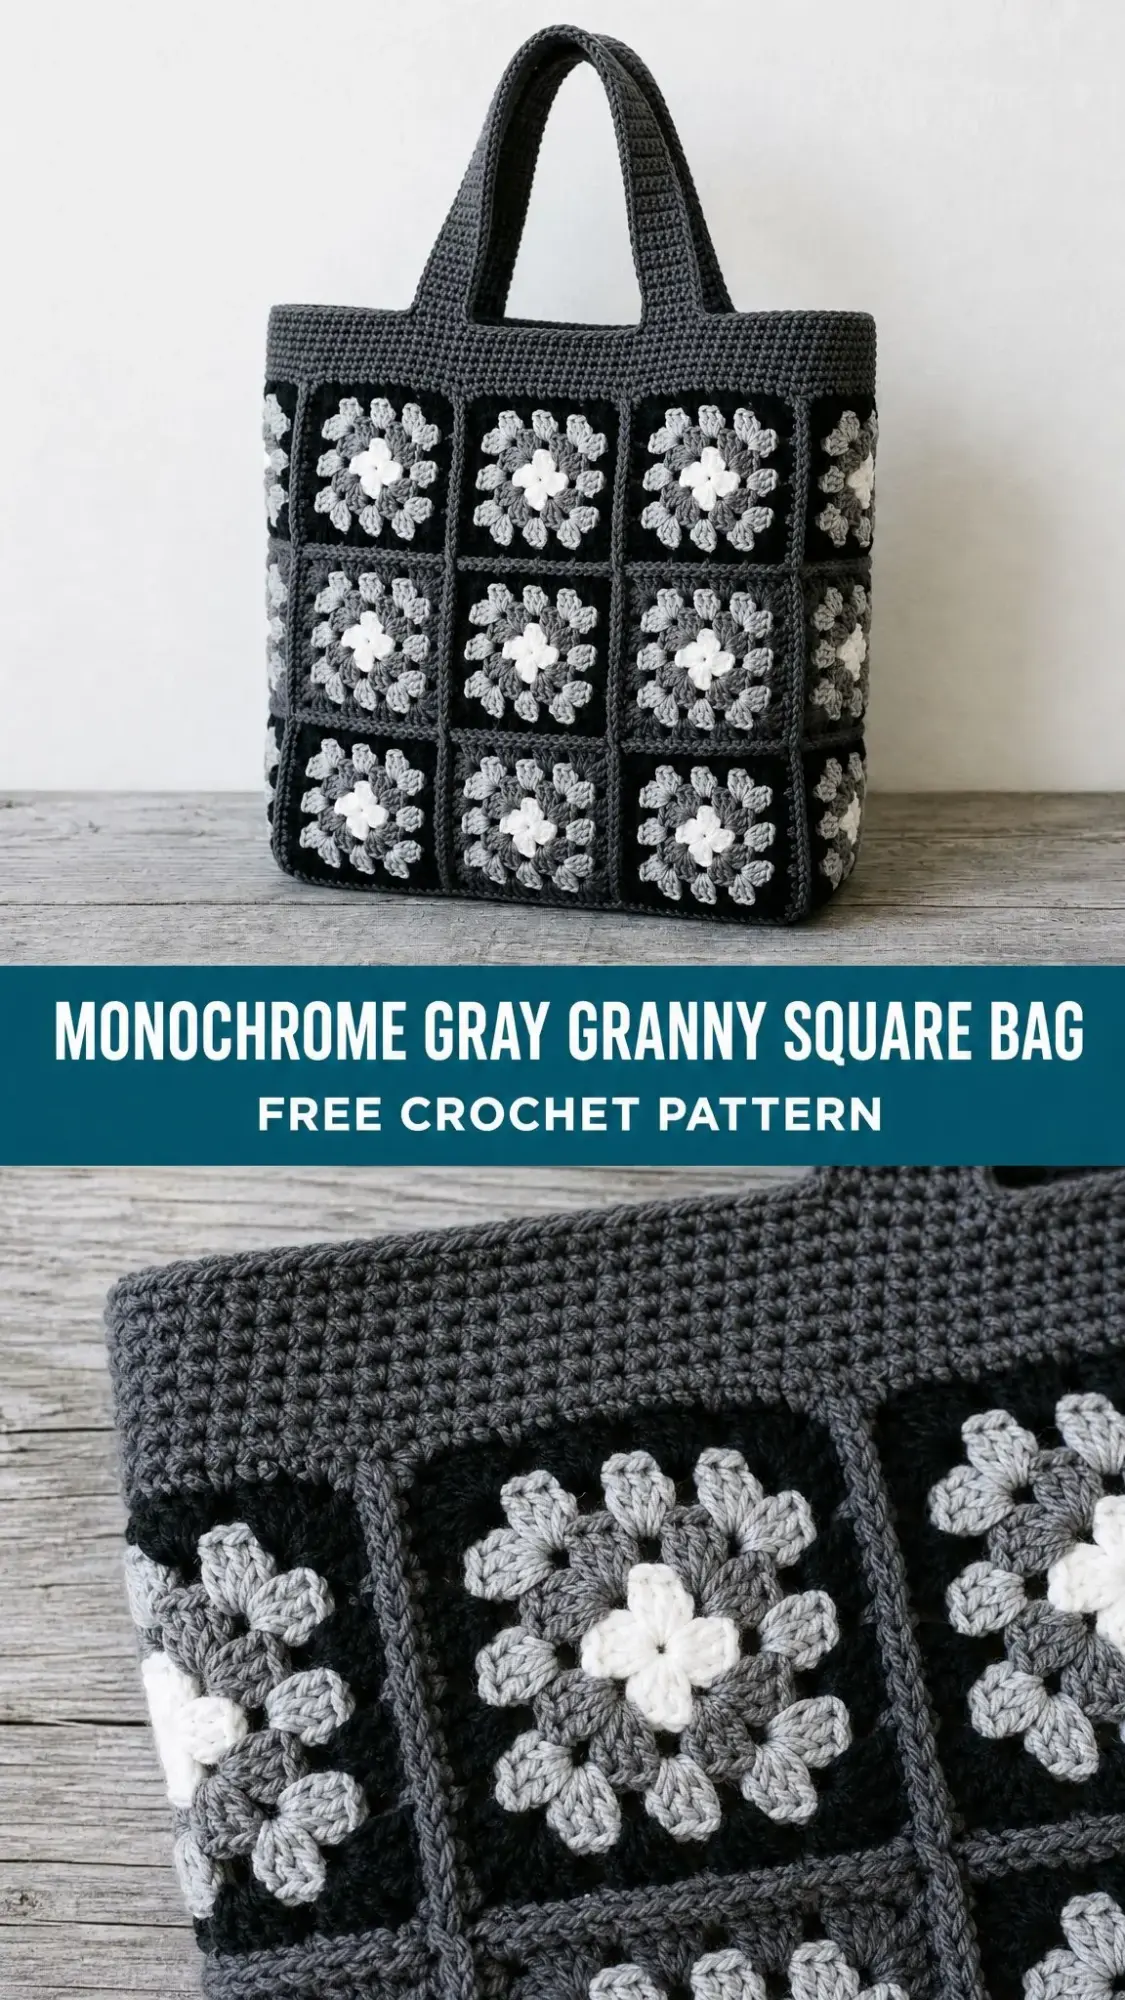
The stitches are straightforward double crochets (dc) worked in clusters, and the construction is built from 27 individual squares joined together. If you can make a basic granny square, you can make this bag. It works up in about 12 to 16 hours and makes a wonderful handmade gift for someone who appreciates understated, classic style.
The boxy shape holds its structure well, and the optional fabric lining adds even more durability. Whether you need a new market bag, a project tote, or a thoughtful present, this pattern delivers.
Why You Will Love This Granny Square Tote
This bag hits the sweet spot between vintage charm and modern minimalism. The monochrome color scheme keeps everything cohesive, while the scrappy variation in the center and middle rounds of each square adds visual interest without overwhelming the design.
Cotton yarn gives the bag a crisp stitch definition and helps it hold its shape over time. The charcoal border on every single square is what ties the whole look together. You can mix ivory, light gray, and medium gray freely in the centers and middles, and the consistent dark border will make everything look intentional.
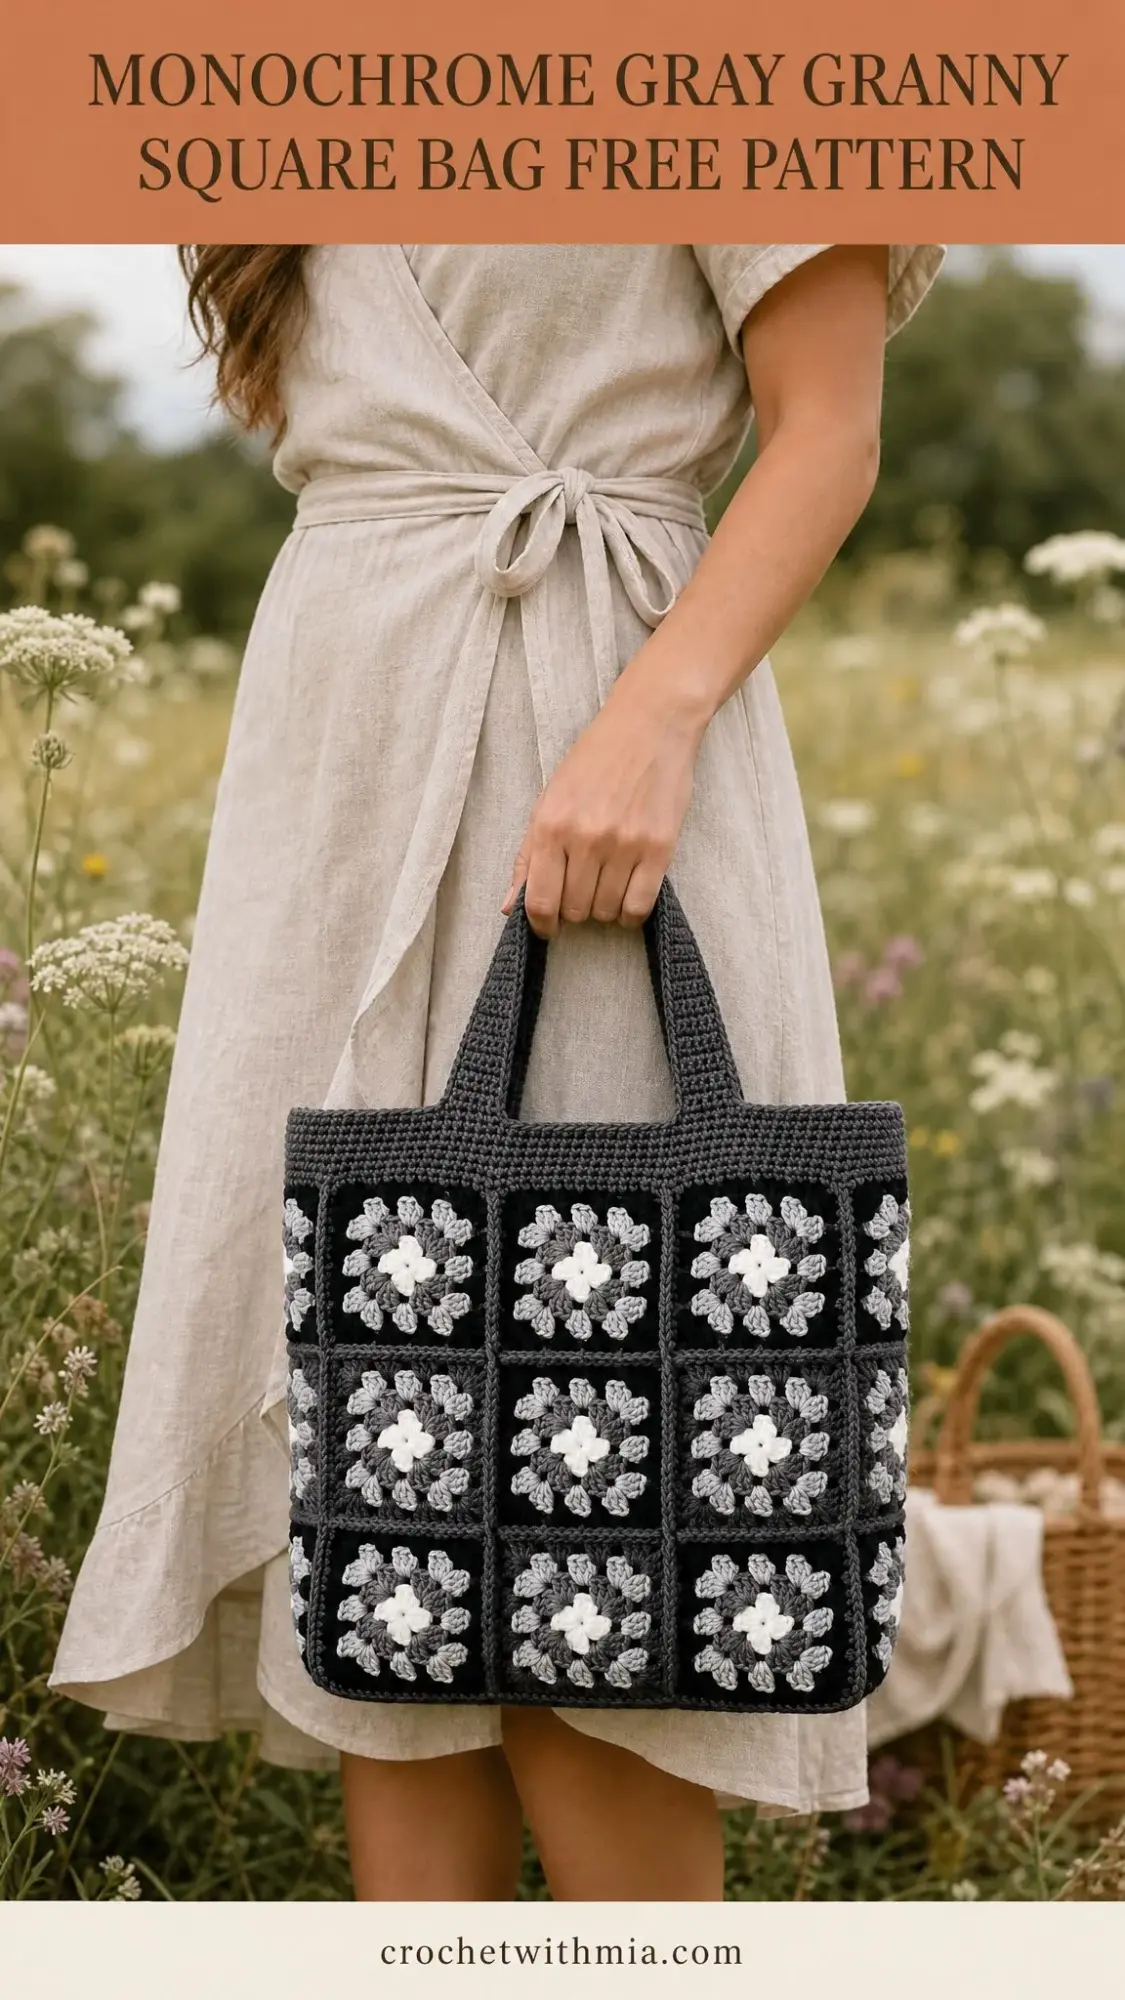
The finished tote measures approximately 10.5 inches wide, 12 inches tall (without handles), and 3.5 inches deep. The handle drop is about 6 inches, which is comfortable for carrying by hand or slipping over your forearm.
Materials and Yarn
You will need worsted weight or aran weight cotton yarn in four shades. Here is the breakdown:
Suggested yarns that work beautifully for this project include Paintbox Cotton Aran for crisp stitch definition and a wide range of gray shades, Lion Brand 24/7 Cotton for a smooth and slightly lustrous finish that holds its shape, or Scheepjes Catona held double for a softer, more refined look.
Tools you will need:
Gauge
One finished granny square should measure 3.5 inches / 9 cm square after 3 rounds. In worsted cotton, 14 dc by 7 rows equals 4 inches / 10 cm. Matching the square size matters more than hitting the exact row gauge, so make a test square and block it lightly before committing to all 27.
Stitch Abbreviations
This pattern uses US crochet terms throughout. UK crocheters should substitute as noted.
Special Stitch: Granny Cluster
A granny cluster is simply 3 dc worked into the same space. For corners, you will work (3 dc, ch 2, 3 dc) all in one corner space. This creates the characteristic openwork and the neat corner turns that make granny squares so satisfying.
Pattern Notes Before You Begin
The bag is constructed from 27 granny squares arranged as follows: a 3 by 3 front panel, a 3 by 3 back panel, two 1 by 3 side panels, and a 1 by 3 bottom strip.
Every square gets a charcoal final round. This is what unifies the monochrome look and makes all your squares work together as a cohesive piece. You only vary the center and middle rounds.
For the scrappy gray effect, mix your centers and middles freely across ivory, light gray, and medium gray. No two squares need to match exactly. This is a great way to use up yarn scraps from other projects.
Squares are joined with a charcoal whip stitch through back loops only for a soft ridge on the outside. If you prefer, you can use join-as-you-go, but the whip stitch method gives you more control over layout.
Begin each square with a magic ring for a tight center. If you are not comfortable with magic rings, a ch-4 ring joined with a sl st also works.
The ch-3 at the start of each round counts as the first dc unless stated otherwise.
A fabric lining is optional but gives the tote extra structure and a clean interior finish.
Step 1: The Granny Square (Make 27)
Choose a light center color (A), a gray middle color (B), and use charcoal for the border (C) on every square.
Round 1 (Color A): Into a magic ring: ch 3 (counts as dc), 2 dc, ch 2, [3 dc, ch 2] 3 times in ring; join with sl st to top of ch 3. Pull ring closed. (12 dc, 4 corner spaces)
Round 2 (Color B): Join in any corner ch-2 sp. Ch 3, (2 dc, ch 2, 3 dc) in same sp, ch 1, (3 dc, ch 2, 3 dc) in next corner sp; repeat from around; ch 1, join to top of ch 3. (24 dc, 4 corners)
Round 3 (Color C, charcoal): Join in any corner ch-2 sp. Ch 3, (2 dc, ch 2, 3 dc) in same sp, ch 1, 3 dc in next ch-1 sp, ch 1, (3 dc, ch 2, 3 dc) in corner sp; repeat from around, ending ch 1, 3 dc in last ch-1 sp, ch 1; join to top of ch 3. Fasten off. (36 dc, 12 clusters)
Helpful tip: Weave in ends as you go. With 27 squares, those tails add up fast. Block each square lightly so every one sits at a true 3.5 inches / 9 cm before joining.
Step 2: Building the Panels
Lay your 27 squares out and group them before joining:
| Panel | Squares | Arrangement |
|---|---|---|
| Front panel | 9 squares | 3 across × 3 down |
| Back panel | 9 squares | 3 across × 3 down |
| Side panels (×2) | 3 squares each | 1 across × 3 down |
| Bottom strip | 3 squares | 3 across × 1 down |
To join: Hold two squares with wrong sides together. With charcoal and a tapestry needle, whip stitch through the back loops only along one edge, working stitch for stitch from corner to corner. Each square edge has 15 stitches; match them one to one. (15 sts joined per seam)
Join squares into rows first, then join the rows together to complete each flat panel. Keep all charcoal ridges facing the same side. This becomes the outside of your bag.
Step 3: Assembling the Box
You now have four flat pieces. Seam them into a box using the same charcoal whip stitch.
1. Lay the bottom strip flat. Join the front panel’s bottom edge (3 squares) to one long edge of the bottom strip. (45 sts joined)
2. Join the back panel’s bottom edge (3 squares) to the opposite long edge of the bottom strip. (45 sts joined)
3. Stand the panels up. Set a side panel into one end. Join its bottom square to the end of the bottom strip, then join its two vertical edges to the side edges of the front and back. (3 seams, 45 sts each)
4. Repeat with the second side panel at the other end. The bag now holds a box shape.
Check your work: The top opening should be one continuous edge of 8 squares (front 3 + side 1 + back 3 + side 1).
Step 4: Top Band and Handles
Top Band (Charcoal)
Round 1: Join charcoal at any top corner. Sc evenly around the whole opening, 15 sc per square edge; join. (120 sc)
Rounds 2 through 5: Ch 1, sc in each st around; join. (120 sc each round)
You can work in a continuous spiral if you prefer. Just mark the round start with a stitch marker. The firm band keeps the rim from stretching out with use.
Handles (Make 2)
Foundation: With charcoal, ch 7. (7 ch)
Row 1: Sc in 2nd ch from hook and each ch across; turn. (6 sc)
Rows 2 through 70: Ch 1, sc in back loop of each st across; turn. (6 sc each row)
70 rows equals approximately 16 inches / 40 cm. Fasten off, leaving a long tail for sewing.
Attaching the handles: Position each handle’s ends on the band over the 1st and 3rd squares of the front, approximately 1.5 inches / 4 cm from the top edge. Sew securely, reinforcing each end with a few extra passes of yarn. Repeat on the back panel.
Finishing and Care
Finishing steps:
Care instructions:
Customization Ideas
Bigger tote: Work a 4 by 4 front and back (16 squares each), 1 by 4 sides, and a 1 by 4 bottom. That is 44 squares total for roughly a 14 inch / 36 cm wide bag.
Deeper base: Make the side and bottom strips 2 squares wide for a roomier, more structured box.
Taller handles: Add rows in pairs. Every 9 extra rows adds about 2 inches / 5 cm of drop, which is ideal for a shoulder carry.
Different color story: Keep the charcoal border constant and swap the centers and middles for warm neutrals, a single-color tonal scheme, or bright pops. They all work on the same grid.
Gauge shift: A 4.0 mm hook yields approximately 3 inch squares for a more compact bag. A 5.5 mm hook gives approximately 4 inch squares for a more generous size.
Quick math: Finished width equals squares across multiplied by square size. At 3.5 inches / 9 cm per square, 3 across equals 10.5 inches / 27 cm. Adjust your square count to hit your target size.
Final Thoughts on This Crochet Tote Bag Pattern
This Monochrome Gray Granny Square Bag is the kind of project that feels meditative once you get into a rhythm. The individual squares work up quickly, and watching your stack grow is genuinely satisfying. The assembly process turns all those small pieces into something substantial and useful.
The classic granny square technique means you are building on skills you likely already have, while the structured box construction teaches you something new about shaping a three-dimensional project. It is an intermediate level pattern, but confident beginners who take their time will do just fine.
Thank you so much for choosing this pattern. I hope you enjoy every stitch, and I would love to see your finished bag. If you make one, please share a photo on Instagram or Facebook and tag me so I can admire your work.
If this pattern caught your eye, go ahead and save it to your Pinterest boards so you can find it when you are ready to start. And if you do make this bag, please leave a comment below. I love hearing how projects turn out and seeing the color combinations you choose.