
This is a chunky baby beanie with bear ears. It uses single crochet throughout, works up in just a few hours, and fits newborns to three months.
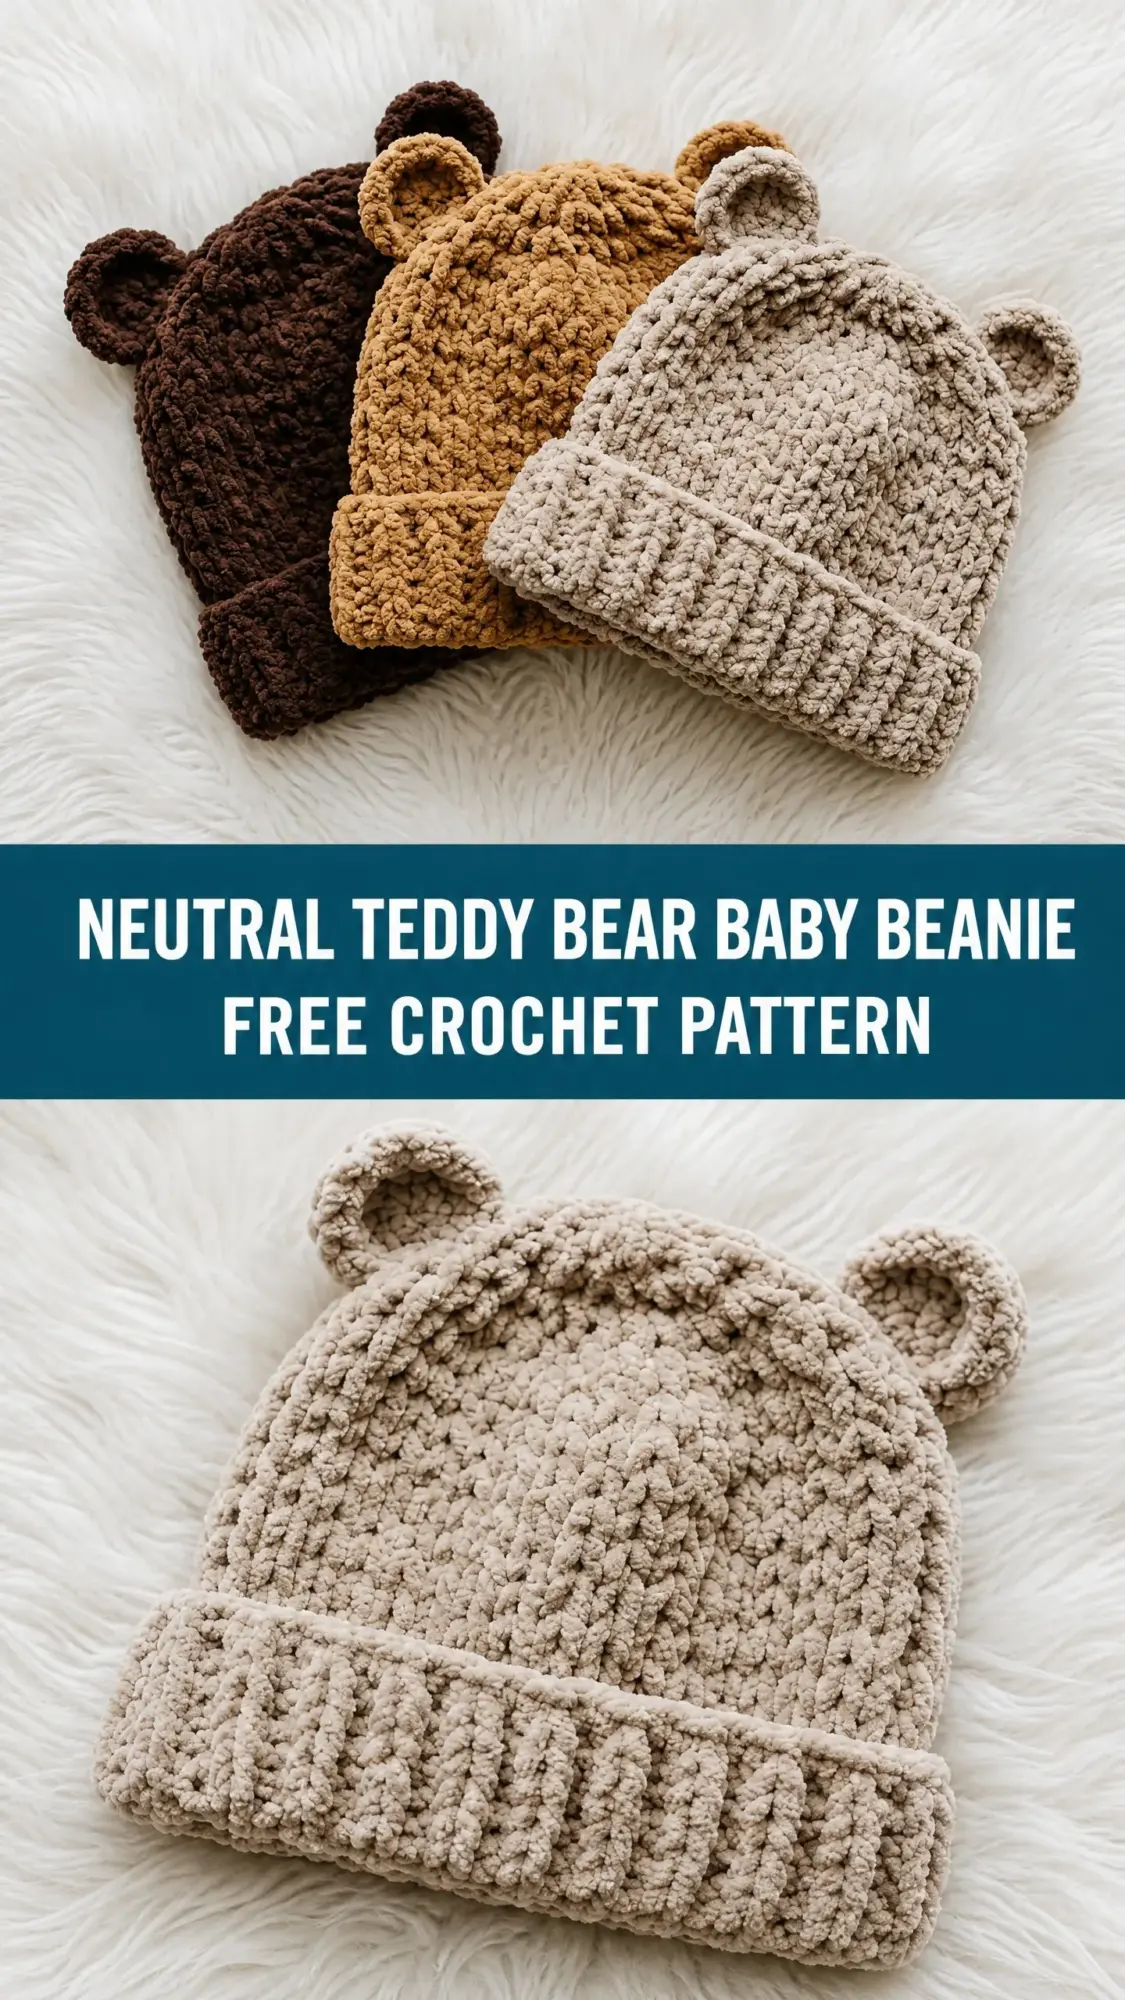
The construction is straightforward. You make a ribbed brim first, seam it into a ring, then work the hat body upward in continuous rounds. Two small ears get sewn on at the end. That’s it.
If you can single crochet and work in the round, you can make this hat. The plush chenille yarn does most of the heavy lifting for that cozy, textured look.
Why This Baby Beanie Pattern Works So Well
I love this design because it solves the most common baby hat problem. You know the one. You spend hours making a hat and it slides right off a wiggly newborn head. The deep ribbed brim on this beanie actually stays put. It folds up to create a snug, stretchy cuff that grips gently without being too tight.
The bear ears are the finishing touch that makes people say "oh my goodness" every single time. They’re small, subtle, and absolutely adorable. Not over the top, just perfectly sweet.
This pattern produces a structured, slouch-free hat that photographs beautifully for baby announcements, makes an incredible shower gift, and works up so quickly you can make a whole set in different neutral tones in one weekend.
Materials You Will Need
Yarn: Approximately 80 to 100 yards of bulky weight yarn (weight 5) in chenille or velvet texture. This gives you that pebbled, plush surface you see in the photos. One skein will make multiple hats.
Recommended yarns:
Hook: US size K / 6.5 mm crochet hook
Notions:
Gauge
13 single crochet stitches by 15 rows equals 4 inches (10 cm) worked in continuous rounds, unblocked.
Gauge matters here. A loose gauge makes a hat too big for a newborn head. A tight gauge makes it too small. Swatch first and adjust your hook size up or down until you hit this gauge.
Finished Size
Skill Level
Easy to intermediate. You should be comfortable with working in continuous rounds, seaming pieces together, and sewing on small embellishments. If you have made at least one hat before, you can handle this crochet pattern.
Abbreviations and Stitch Definitions
Before we dive into the step by step instructions, let me define every stitch and abbreviation you will encounter. Understanding these terms makes the whole pattern click.
ch = chain. Wrap yarn over hook and pull through the loop on your hook. This creates one chain stitch.
sc = single crochet. Insert hook into the stitch, yarn over and pull up a loop (two loops on hook), yarn over and pull through both loops.
sc2tog = single crochet two together. This is a decrease that turns two stitches into one. Insert hook into next stitch, yarn over and pull up a loop (two loops on hook). Without finishing, insert hook into the following stitch, yarn over and pull up a loop (three loops on hook). Yarn over and pull through all three loops. You just decreased by one stitch.
sl st = slip stitch. Insert hook into stitch, yarn over and pull through both the stitch and the loop on your hook in one motion.
st/sts = stitch/stitches
BLO = back loop only. Instead of inserting your hook under both loops of a stitch, insert it under only the back loop (the one farthest from you). This creates a ribbed texture.
rnd = round
pm = place marker
MR = magic ring (also called magic circle). An adjustable starting loop that closes tightly with no hole in the center.
RS/WS = right side/wrong side
Special Techniques Used in This Crochet Tutorial
Ribbed Single Crochet: The stretchy brim gets its texture from working single crochet in the back loop only across every row. This creates ridges that look like knit ribbing and stretch beautifully around a baby’s head.
Continuous Rounds: The hat body is worked in a spiral without joining at the end of each round. You just keep going, moving your stitch marker up to track where each round begins. This eliminates the visible seam line that joining creates.
Pattern Instructions
Section 1: Ribbed Brim
The brim is worked flat as a rectangle, then seamed into a ring.
Foundation chain: Ch 9.
Row 1: Sc in the 2nd ch from hook and in each ch across. Turn. (8 sc)
Row 2: Ch 1, sc in BLO of each st across. Turn. (8 sc)
Rows 3 through 45: Repeat Row 2. Ch 1, sc in BLO of each st across. Turn. (8 sc per row)
Continue until your strip measures approximately 14 inches (35.5 cm) long. This takes about 44 to 46 rows total.
After Row 45, do not fasten off.
Checkpoint: Your ribbed brim strip should measure approximately 14 inches long and 2.5 inches wide.
Seaming the brim: Fold the strip so the two short ends meet. Line up the stitches carefully. Using your working yarn and yarn needle, whipstitch or slip stitch the two short ends together through both loops. Fasten off and weave in that end. You now have a ribbed ring.
Section 2: Hat Body
Now you will pick up stitches along the top edge of your brim ring and work the hat body upward in continuous rounds.
Hold the brim with the seam at the back. Join your yarn with a slip stitch to the first row-end stitch along one long edge.
Round 1 (setup round): Sc evenly around the top edge of the brim, picking up approximately 1 sc per row-end stitch. Work one sc2tog somewhere in this round to arrive at an even stitch count. Pm in first st. (44 sc)
Rounds 2 through 12: Sc in each st around. (44 sc)
Work these 11 rounds even with no shaping.
Checkpoint: After Round 12, your hat body (above the brim) should measure approximately 3.5 inches tall.
Section 3: Crown Shaping
Time to close the top of the hat with evenly spaced decreases.
Round 13 (decrease round 1): (Sc in next 9 sts, sc2tog) 4 times. (40 sc)
Round 14: Sc in each st around. (40 sc)
Round 15 (decrease round 2): (Sc in next 8 sts, sc2tog) 4 times. (36 sc)
Round 16: Sc in each st around. (36 sc)
Round 17 (decrease round 3): (Sc in next 7 sts, sc2tog) 4 times. (32 sc)
Round 18: Sc in each st around. (32 sc)
Round 19 (decrease round 4): (Sc in next 6 sts, sc2tog) 4 times. (28 sc)
Round 20: Sc in each st around. (28 sc)
Round 21 (decrease round 5): (Sc in next 5 sts, sc2tog) 4 times. (24 sc)
Round 22 (decrease round 6): (Sc in next 4 sts, sc2tog) 4 times. (20 sc)
Round 23 (decrease round 7): (Sc in next 3 sts, sc2tog) 4 times. (16 sc)
Round 24 (decrease round 8): (Sc in next 2 sts, sc2tog) 4 times. (12 sc)
Round 25 (decrease round 9): (Sc in next st, sc2tog) 4 times. (8 sc)
Round 26 (decrease round 10): (Sc2tog) 4 times. (4 sc)
Fasten off, leaving a 6-inch tail. Thread tail onto yarn needle and draw through the remaining 4 stitches. Pull tightly to close the top. Knot securely on the inside and weave in.
Checkpoint: The crown should close neatly with no gap. The finished hat body measures approximately 5 inches tall above the unfolded brim.
Section 4: Bear Ears (Make 2)
Each ear is a small flat circle that gets flattened and sewn on.
Make a magic ring.
Round 1: Work 6 sc into the magic ring. Do not join. Work in continuous rounds. Pm. (6 sc)
Round 2: 2 sc in each st around. (12 sc)
Round 3: (Sc in next st, 2 sc in next st) 6 times. (18 sc)
Sl st in next st to close. Fasten off, leaving a 12-inch tail for sewing.
Flatten each ear circle so the slip stitch join sits at the bottom edge. The ear should look like a small half circle from the front. Pinch the bottom edge slightly, bringing the two bottom corners together to create a cupped, three-dimensional ear shape.
Section 5: Attaching the Ears
Position ears on the hat with the brim folded up. Place each ear approximately 1.5 inches from the center top, sitting at the upper curve of the crown just below where the decreases begin. The ears should be about 3 inches apart from inner edge to inner edge.
Pin both ears in place and check from all angles before sewing. They should look balanced from the front, back, and sides.
Using the long tail and yarn needle, whipstitch each ear to the hat around the entire base. Pull firmly so the ears stand up and do not flop. Knot securely inside and weave in all ends.
Size Customization Tips
For 3 to 6 months (16-inch head circumference): Work the brim to 16 inches (approximately 52 rows). Pick up 48 stitches in Round 1. Work 14 body rounds before crown shaping. Begin decreases with (sc in next 10 sts, sc2tog) 4 times.
For preemie (12-inch head circumference): Work the brim to 12 inches (approximately 38 rows). Pick up 36 stitches in Round 1. Work 9 body rounds before crown shaping. Begin decreases with (sc in next 7 sts, sc2tog) 4 times.
Finishing and Care
Weave in all remaining ends securely, splitting the yarn tail and weaving in two directions to prevent unraveling.
For chenille or velvet yarns, skip steam blocking. Instead, gently hand wash in cool water, press out moisture with a clean towel, and lay flat to dry. Blocking over a balloon inflated to the correct size gives the most polished finish.
Machine wash on gentle cycle in cold water if your yarn label allows. Lay flat to dry. Do not tumble dry on high heat or iron.
Time Estimate
An experienced crocheter can finish this baby beanie in 2 to 3 hours. If the construction method is new to you, allow 4 to 5 hours. The ears take about 10 minutes each.
Tips for Beginner Crocheters
Working with chenille yarn can be tricky because the stitches blend together visually. Use a stitch marker religiously and count your stitches at the end of each round until you feel confident.
If picking up stitches along the brim edge feels awkward, take it slow. Insert your hook under both loops of each row-end stitch and make sure each pickup is secure before moving to the next.
The ears might not look right until you flatten and pinch them. Trust the process. That pinch at the bottom is what transforms a flat circle into a cute cupped ear.
Why This Makes an Amazing Gift
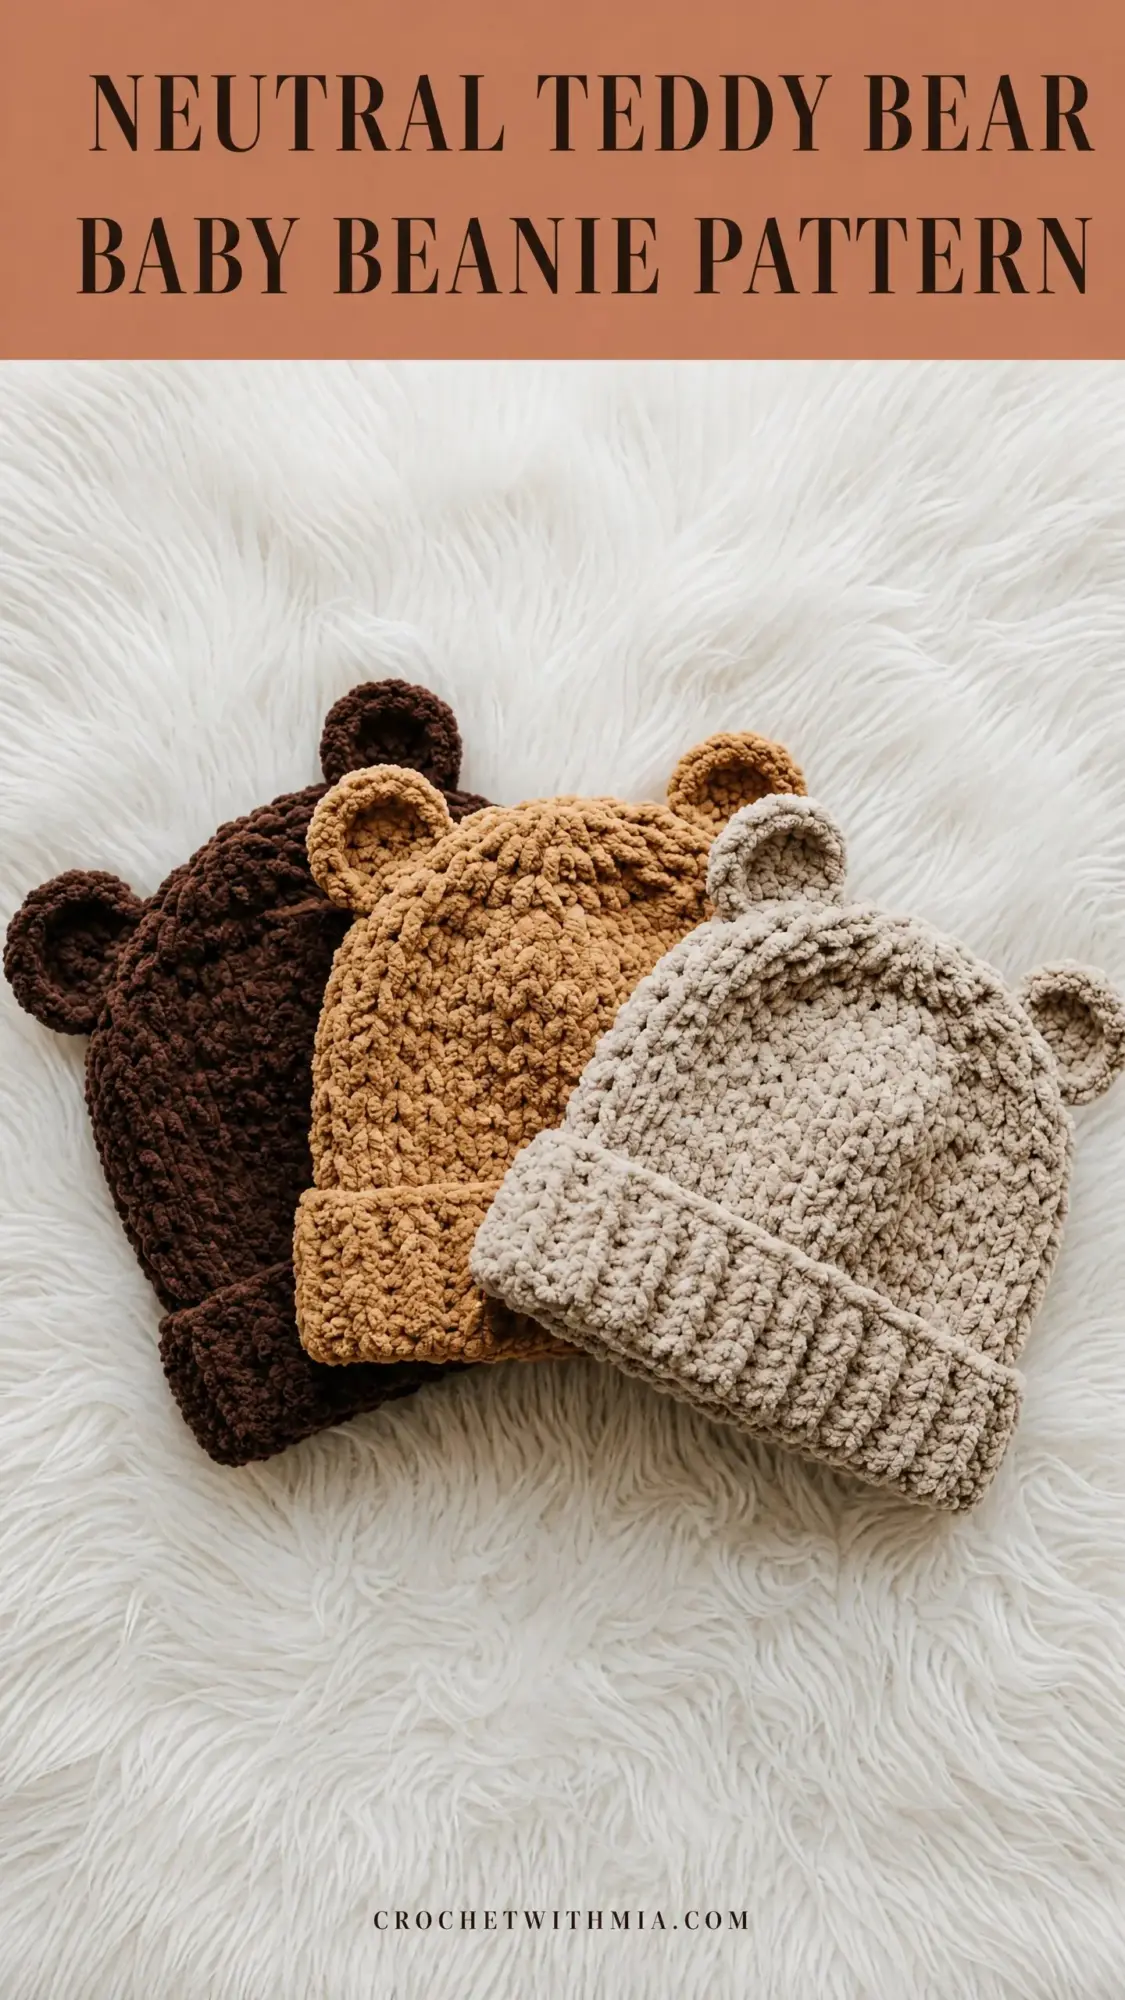
This neutral teddy bear beanie photographs beautifully in any nursery setting. The earth tones work for any baby, the construction is sturdy enough to survive many washes, and the bear ears add personality without being overwhelming.
Make a set of three in chocolate brown, caramel, and cream for the ultimate baby shower gift. Package them in a simple kraft box with tissue paper. Watch the recipient melt.
Thank you so much for choosing this pattern. I hope you love making this cozy little beanie as much as I loved designing it. If you make one, I would absolutely love to see it. Tag me on Instagram or share a photo on Facebook.
And hey, if you want to come back to this pattern later, save it to your Pinterest boards now so you do not lose it. Drop a comment below if you give it a try. I read every single one and love hearing which colors you chose.