
When I sat down to design this little hooded cardigan, I had a very specific vision in mind. I wanted something that would make parents smile the moment they saw it, with that irresistible combination of cozy texture and playful bunny ears. The basket weave stitch pattern gives it such a beautiful woven look, and those cream-lined ears? They absolutely steal the show.
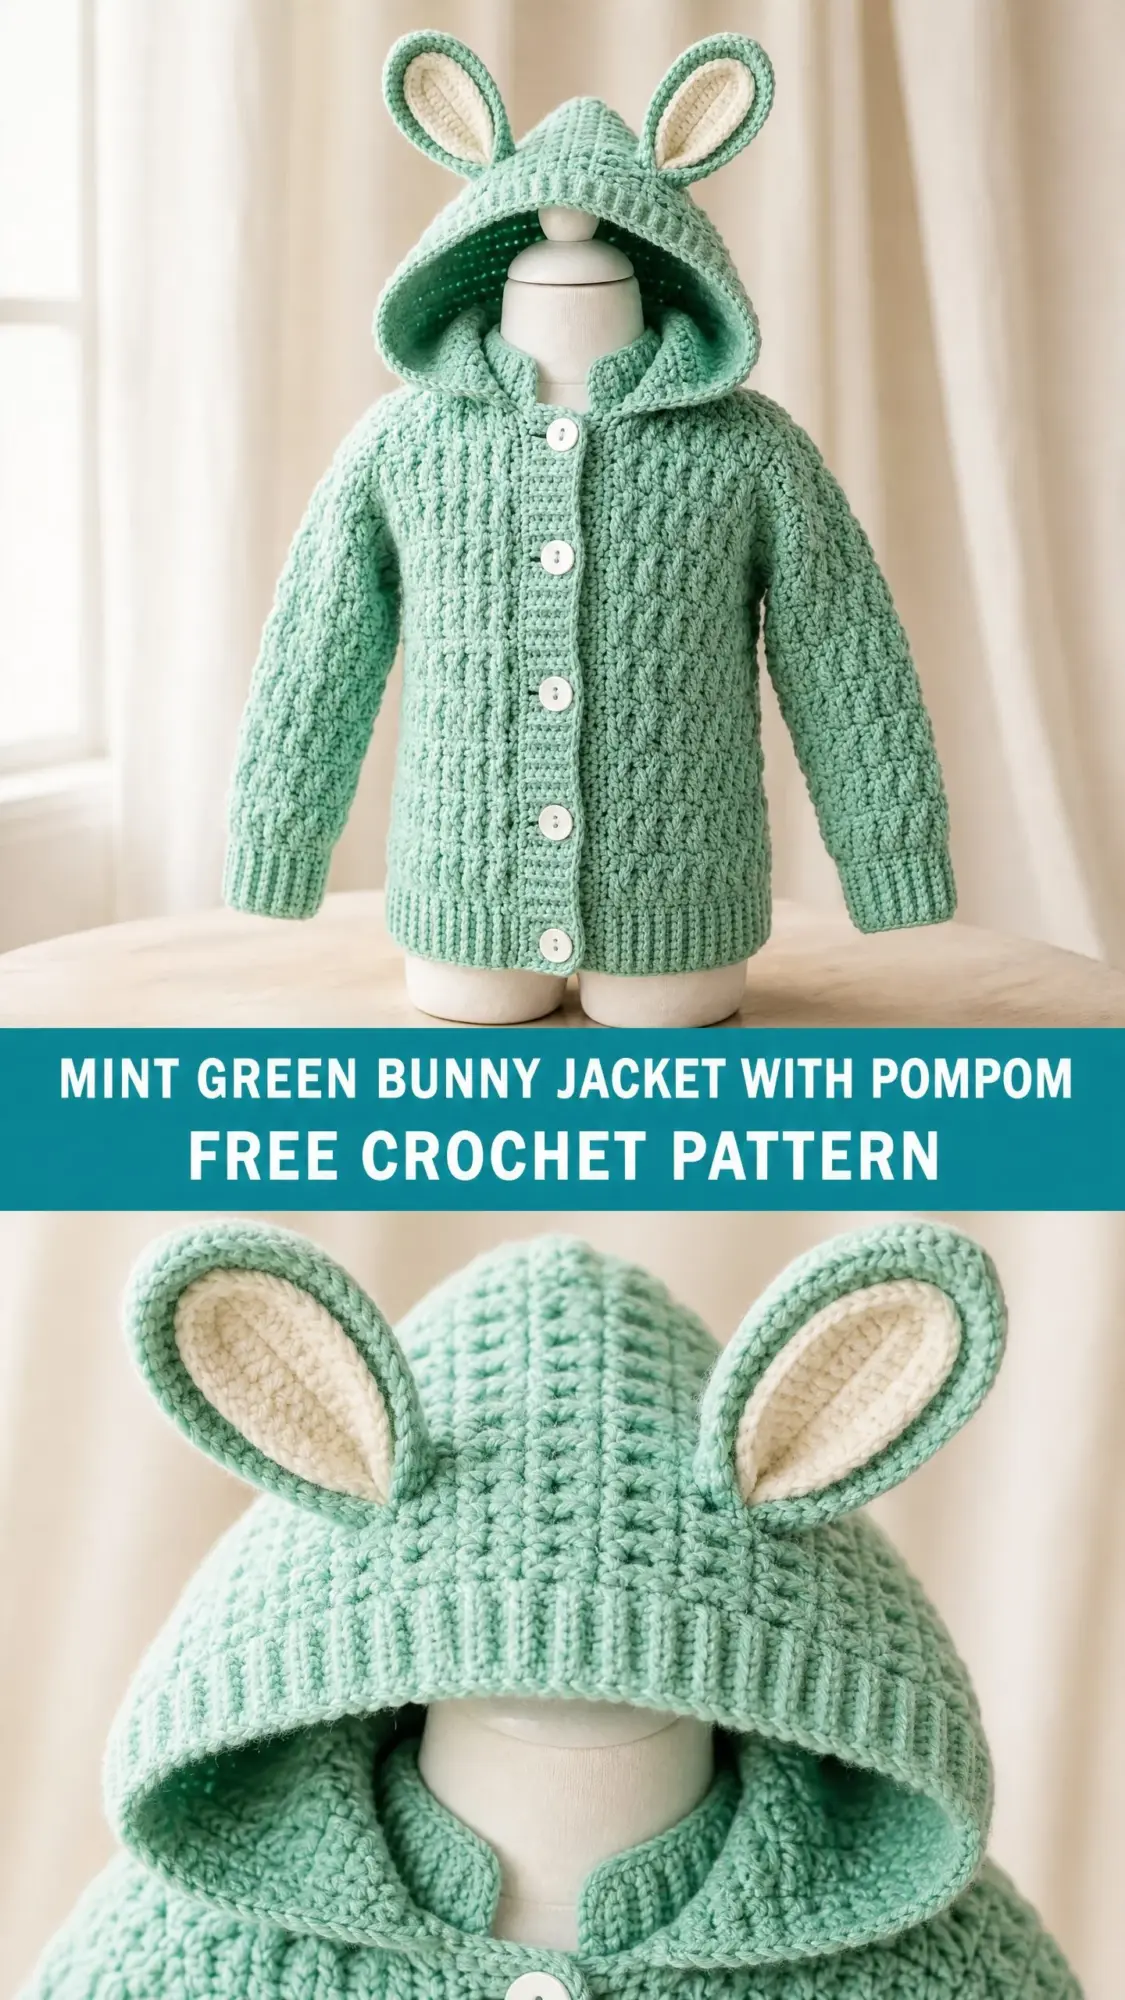
I spent a lot of time getting the construction just right. The pieces are worked flat and seamed together, which gives you so much more control over fit than working in the round for a garment like this. The button front makes it practical for real life, because anyone who has dressed a wiggly toddler knows that pull-over hoodies are a battle.
I am SO pleased with how this turned out. Every detail works together, from the ribbed cuffs to the roomy hood that actually stays up. If you have been looking for a special project that looks impressive but uses familiar techniques, this is the one.
About This Adorable Bunny Crochet Pattern
This hooded cardigan jacket features a textured basket weave style stitch body, a roomy hood with crocheted bunny ears lined in cream, and a button front closure. The jacket is worked flat in separate pieces, then seamed and finished with a button band. It is sized for a toddler aged approximately 12 to 18 months.
The textured body stitch creates a woven, dimensional fabric that reads as a cable-adjacent basket weave. You will love how the front post double crochet (FPdc) and back post double crochet (BPdc) stitches create those gorgeous raised ridges. If you have never worked post stitches before, do not worry. I will walk you through exactly how they work.
This crochet tutorial is rated intermediate. The construction requires working multiple flat pieces and seaming them together. You will need familiarity with post stitches, seaming, and picking up stitches for button bands. That said, if you are a confident beginner ready to level up, this is a wonderful project to stretch your skills.
Finished Size
12 to 18 months toddler
Time Estimate
Approximately 12 to 18 hours for an experienced crocheter working at a steady pace. If you are newer to garment construction, give yourself extra time and enjoy the process.
Materials Needed for the Mint Green Bunny Jacket
Yarn: Worsted weight (weight category 4), approximately 600 yards (550 meters) total in Mint Green (MC); approximately 60 yards (55 meters) in Cream (CC) for ear linings and optional hood interior accent.
Hooks:
Notions:
Yarn Suggestions
1. Lion Brand Pound of Love (100% acrylic, worsted weight, 1020 yards per 16 oz skein). Soft, washable, and widely available. Purchase 1 skein in Mint and a partial in Cream.
2. Paintbox Yarns Simply DK used double (100% acrylic, DK used doubled gives worsted gauge). Excellent stitch definition for post stitch texture.
3. Cascade 220 Superwash (100% superwash merino wool, worsted weight, 220 yards per 100g skein). Superior drape and stitch definition. Purchase 3 skeins in Mint and 1 partial in Cream.
Substitution Note: Choose any worsted weight yarn that achieves the stated gauge. Acrylic or superwash wool is recommended for a baby or toddler garment because it is machine washable. Avoid single-ply yarns as they will not hold the post stitch definition.
Gauge
With H-8 / 5.0 mm hook in basket weave pattern:
16 stitches x 12 rows = 4 inches x 4 inches (10 cm x 10 cm)
Gauge check swatch method: Chain 22. Work 16 rows of basket weave pattern. Block swatch before measuring. Adjust hook size as needed.
Gauge is mandatory for this garment. Even a small deviation multiplied across the chest circumference will cause a significant size difference. Please take the time to swatch. Your future self will thank you.
Abbreviations (US Terms)
Special Stitches Explained
FPdc (Front Post Double Crochet)
This stitch creates a raised ridge on the front of your fabric. Here is how to work it:
Yarn over. Insert hook from front to back to front around the post (the vertical bar) of the stitch below. Yarn over and pull up a loop. You now have 3 loops on hook. Yarn over and pull through 2 loops. Yarn over and pull through remaining 2 loops. The stitch sits on the front of the fabric, creating a raised ridge facing you.
BPdc (Back Post Double Crochet)
This stitch creates a raised ridge on the back of your fabric:
Yarn over. Insert hook from back to front to back around the post of the stitch below. Yarn over and pull up a loop. You now have 3 loops on hook. Yarn over and pull through 2 loops. Yarn over and pull through remaining 2 loops. The stitch sits on the back of the fabric, creating a raised ridge on the opposite side.
Basket Weave Pattern
The texture alternates columns of 4 FPdc and 4 BPdc in a 4-row sequence to produce a woven, dimensional look. The pattern repeats every 8 stitches horizontally and every 4 rows vertically. Here is the reference:
Row A (RS): Ch 2, turn. Dc in first st. (FPdc in next 4 sts, BPdc in next 4 sts) rep across to last st. Dc in last st.
Row B (WS): Ch 2, turn. Dc in first st. (BPdc in next 4 sts, FPdc in next 4 sts) rep across to last st. Dc in last st.
Row C (RS): Ch 2, turn. Dc in first st. (BPdc in next 4 sts, FPdc in next 4 sts) rep across to last st. Dc in last st.
Row D (WS): Ch 2, turn. Dc in first st. (FPdc in next 4 sts, BPdc in next 4 sts) rep across to last st. Dc in last st.
Rows A through D form one complete 4-row texture repeat. Continue cycling through A, B, C, D for the full length of each piece.
Pattern Notes Before You Begin
1. The cardigan is worked in flat pieces: back panel, left front panel, right front panel, two sleeves, one hood. All pieces are then seamed using a flat slip stitch seam on the wrong side.
2. The basket weave texture begins on Row 3 of every piece, after a foundation of 2 plain dc rows that stabilize the edge.
3. Turning chains: On dc rows, ch 2 and turn. The ch-2 does NOT count as a stitch in this pattern. The first stitch is worked into the first stitch at the base of the ch-2. On sc rows (ribbing and button bands), ch 1 and turn. The ch-1 does NOT count as a stitch.
4. The button band is picked up along both front edges after assembly. Right front gets buttonholes; left front gets plain button band (or reverse for boy version).
5. Bunny ears are worked in MC with a CC lining piece. The two layers are held wrong sides together and slip stitched around the edge to join.
6. The hood is worked flat, seamed along the top (back of head seam), then attached around the neckline.
7. All stitch counts listed in parentheses at the end of each row reflect the total working stitches in that row, not counting turning chains.
8. Block all pieces before seaming for best results and accurate measurements.
Step by Step Crochet Pattern Instructions
Back Panel
With MC and H-8 hook, chain 44.
Foundation Row (WS): Dc in 3rd ch from hook. Dc in each ch across. Turn. (42 dc)
Row 1 (RS): Ch 2, turn. Dc in each st across. (42 dc)
Row 2 (WS): Ch 2, turn. Dc in each st across. (42 dc)
Row 3 (RS) – Basket Weave Row A: Ch 2, turn. Dc in first st (selvedge). (FPdc in next 4 sts, BPdc in next 4 sts) rep 5 times. Dc in last st (selvedge). (42 sts)
Row 4 (WS) – Basket Weave Row B: Ch 2, turn. Dc in first st. (BPdc in next 4 sts, FPdc in next 4 sts) rep 5 times. Dc in last st. (42 sts)
Row 5 (RS) – Basket Weave Row C: Ch 2, turn. Dc in first st. (BPdc in next 4 sts, FPdc in next 4 sts) rep 5 times. Dc in last st. (42 sts)
Row 6 (WS) – Basket Weave Row D: Ch 2, turn. Dc in first st. (FPdc in next 4 sts, BPdc in next 4 sts) rep 5 times. Dc in last st. (42 sts)
Rows 3 through 6 form one complete 4-row basket weave repeat. Continue repeating Rows 3 through 6 until the back panel measures 11.5 inches (29 cm) from foundation, ending after a WS row. Work approximately 34 rows total.
CHECKPOINT: After completing the back panel body, the piece should measure approximately 11.5 inches (29 cm) tall and 10.5 inches (26.5 cm) wide.
Shoulder and Neck Shaping for Back
Row 35 (RS) – Right Shoulder: Work in established basket weave pattern across first 14 sts. Leave remaining sts unworked. Turn. (14 sts)
Row 36 (WS): Sl st across first 2 sts. Ch 2, work in pattern to end. Fasten off. (12 sts for right shoulder)
Re-join yarn to center back. Skip center 14 sts (this is the back neck). Join yarn to next stitch for left shoulder.
Row 35L (RS) – Left Shoulder: Work in established pattern across 14 sts. Turn. (14 sts)
Row 36L (WS): Work in pattern across to last 2 sts. Leave last 2 sts unworked. Fasten off. (12 sts for left shoulder)
Mark the 14 center neck stitches with a marker. Set back panel aside.
Right Front Panel
With MC and H-8 hook, chain 24.
Foundation Row (WS): Dc in 3rd ch from hook. Dc in each ch across. Turn. (22 dc)
Row 1 (RS): Ch 2, turn. Dc in each st across. (22 dc)
Row 2 (WS): Ch 2, turn. Dc in each st across. (22 dc)
Row 3 (RS) – Basket Weave Row A: Ch 2, turn. Dc in first st. (FPdc in next 4 sts, BPdc in next 4 sts) rep 2 times. FPdc in next 4 sts. Dc in last st. (22 sts)
Row 4 (WS) – Basket Weave Row B: Ch 2, turn. Dc in first st. BPdc in next 4 sts. (FPdc in next 4 sts, BPdc in next 4 sts) rep 2 times. Dc in last st. (22 sts)
Row 5 (RS) – Basket Weave Row C: Ch 2, turn. Dc in first st. BPdc in next 4 sts. (FPdc in next 4 sts, BPdc in next 4 sts) rep 2 times. Dc in last st. (22 sts)
Row 6 (WS) – Basket Weave Row D: Ch 2, turn. Dc in first st. FPdc in next 4 sts. (BPdc in next 4 sts, FPdc in next 4 sts) rep 2 times. Dc in last st. (22 sts)
Continue repeating Rows 3 through 6 until right front measures 9.5 inches (24 cm) from foundation, ending after a WS row. Approximately 29 rows total.
Neck Shaping for Right Front
Row 30 (RS): Work in pattern across first 17 sts. Leave last 5 sts unworked. Turn. (17 sts)
Row 31 (WS): Sl st across first 2 sts. Ch 2, work in pattern to end. Turn. (15 sts)
Row 32 (RS): Work in pattern across first 13 sts. Leave last 2 sts unworked. Turn. (13 sts)
Row 33 (WS): Sl st across first 1 st. Ch 2, work in pattern to end. Turn. (12 sts)
Row 34 (RS): Work even in pattern. (12 sts)
Row 35 (WS): Work even in pattern. Fasten off. (12 sts)
Left Front Panel
Work as Right Front Panel through Row 29, but reverse the neck shaping as follows:
Row 30 (RS): Skip first 5 sts (leave unworked for neck). Re-join yarn and work in pattern to end. Turn. (17 sts)
Row 31 (WS): Work in pattern to last 2 sts. Leave last 2 sts unworked. Turn. (15 sts)
Row 32 (RS): Sl st across first 2 sts. Ch 2, work in pattern to end. Turn. (13 sts)
Row 33 (WS): Work in pattern to last 1 st. Leave last 1 st unworked. Turn. (12 sts)
Row 34 (RS): Work even in pattern. (12 sts)
Row 35 (WS): Work even in pattern. Fasten off. (12 sts)
Sleeves (Make 2)
The sleeve is worked flat from cuff to cap. The cuff is worked in ribbed sc, then the sleeve body is worked in basket weave with gradual increases.
Cuff
With MC and G-6 hook, chain 26.
Cuff Row 1: Sc in 2nd ch from hook. Sc in each ch across. Turn. (25 sc)
Cuff Rows 2 through 8: Ch 1, turn. Sc in BLO of each st across. Turn. (25 sc)
After Row 8 the cuff measures approximately 2 inches (5 cm). The BLO rows create a horizontal ribbed effect.
Sleeve Body
Switch to H-8 hook.
Sleeve Foundation Row (RS): Ch 2, turn. Dc in first 24 sts. Work 2 dc in last st. Turn. (26 dc)
Sleeve Row 1 (WS): Ch 2, turn. Dc in each st. (26 dc)
Sleeve Row 2 (RS) – Basket Weave Row A: Ch 2, turn. Dc in first st. (FPdc in next 4 sts, BPdc in next 4 sts) rep 3 times. Dc in last st. (26 sts)
Sleeve Row 3 (WS) – Basket Weave Row B: Ch 2, turn. Dc in first st. (BPdc in next 4 sts, FPdc in next 4 sts) rep 3 times. Dc in last st. (26 sts)
Sleeve Row 4 (RS) – Basket Weave Row C: Ch 2, turn. Dc in first st. (BPdc in next 4 sts, FPdc in next 4 sts) rep 3 times. Dc in last st. (26 sts)
Sleeve Row 5 (WS) – Basket Weave Row D: Ch 2, turn. Dc in first st. (FPdc in next 4 sts, BPdc in next 4 sts) rep 3 times. Dc in last st. (26 sts)
Sleeve Increases
On increase rows, work 2 dc in first st (selvedge increase), work in established pattern across to last st, work 2 dc in last st (selvedge increase).
Rows 6 through 10: Work even in established pattern. (26 sts)
Row 11 (Increase Row): 2 dc in first st. Work in pattern across to last st. 2 dc in last st. (28 sts)
Row 12: Ch 2, turn. Dc in each of first 2 sts. Work pattern across. Dc in each of last 2 sts. (28 sts)
Rows 13 through 16: Establish new edge sts into pattern. Work even. (28 sts)
Row 17 (Increase Row): 2 dc in first st. Work in pattern across. 2 dc in last st. (30 sts)
Rows 18 through 22: Work even, incorporating new edge sts into pattern. (30 sts)
Row 23 (Increase Row): 2 dc in first st. Work in pattern to last st. 2 dc in last st. (32 sts)
Rows 24 through 28: Work even in established pattern. Fasten off. (32 sts)
CHECKPOINT: Each sleeve should measure approximately 7 inches (18 cm) from cuff-body join to top edge, and 8 inches (20 cm) wide at the widest point.
Assembly Instructions
Step 1: Seam Shoulders. Hold back and right front with right sides together. Using yarn needle and MC, work a flat sl st seam along the 12-stitch right shoulder. Repeat for left shoulder.
Step 2: Mark Armholes. Lay the assembled body flat, RS up. Measure 4 inches (10 cm) down from each shoulder seam along the side edges of the back and fronts. Place markers at these points.
Step 3: Set Sleeves. Fold each sleeve in half vertically to find the center top edge. Pin center of sleeve top edge to shoulder seam. Pin sleeve edges to body at armhole markers. Seam using flat sl st seam on WS. Repeat for second sleeve.
Step 4: Seam Sides and Sleeves. Fold garment with right sides together. Seam the underarm and side seam from hem to armhole on each side. Continue seaming down the sleeve underarm from armhole to cuff. Weave in all ends.
Button Band and Buttonhole Band
Right Front Button Band (Buttonholes)
With MC and G-6 hook, RS facing, join yarn at bottom right front edge.
Pick up and sc evenly along the front edge: approximately 1 sc per dc row end, totaling approximately 36 sc along the full front opening from hem to beginning of neck shaping.
Row 1 (WS): Ch 1, turn. Sc in each st across. (36 sc)
Row 2 (RS) – Buttonhole Row: Ch 1, turn. Sc in first 3 sts. (Ch 2, sk next 2 sts, sc in next 5 sts) rep 4 times. Ch 2, sk next 2 sts. Sc in last 3 sts.
Row 3 (WS): Ch 1, turn. Sc in each st and 2 sc in each ch-2 sp across. (36 sc)
Row 4 (RS): Ch 1, turn. Sc in each st. Fasten off. (36 sc)
Left Front Button Band (Plain)
With MC and G-6 hook, RS facing, join yarn at top left front edge.
Pick up and sc evenly along the front edge: approximately 36 sc.
Rows 1 through 4: Ch 1, turn. Sc in each st. Fasten off after Row 4. (36 sc each row)
Hood Instructions
The neckline opening after assembly measures approximately 34 stitches total.
Hood Foundation
With MC and H-8 hook, RS facing, join yarn at right front neck edge (at button-band edge).
Pick up and sc evenly around the neckline: 34 sc total. (34 sc)
This pick-up row is the base of the hood. Continue working the hood flat from this foundation, following your preferred hood construction method or the remaining pattern instructions.
Finishing Your Bunny Jacket Crochet Pattern
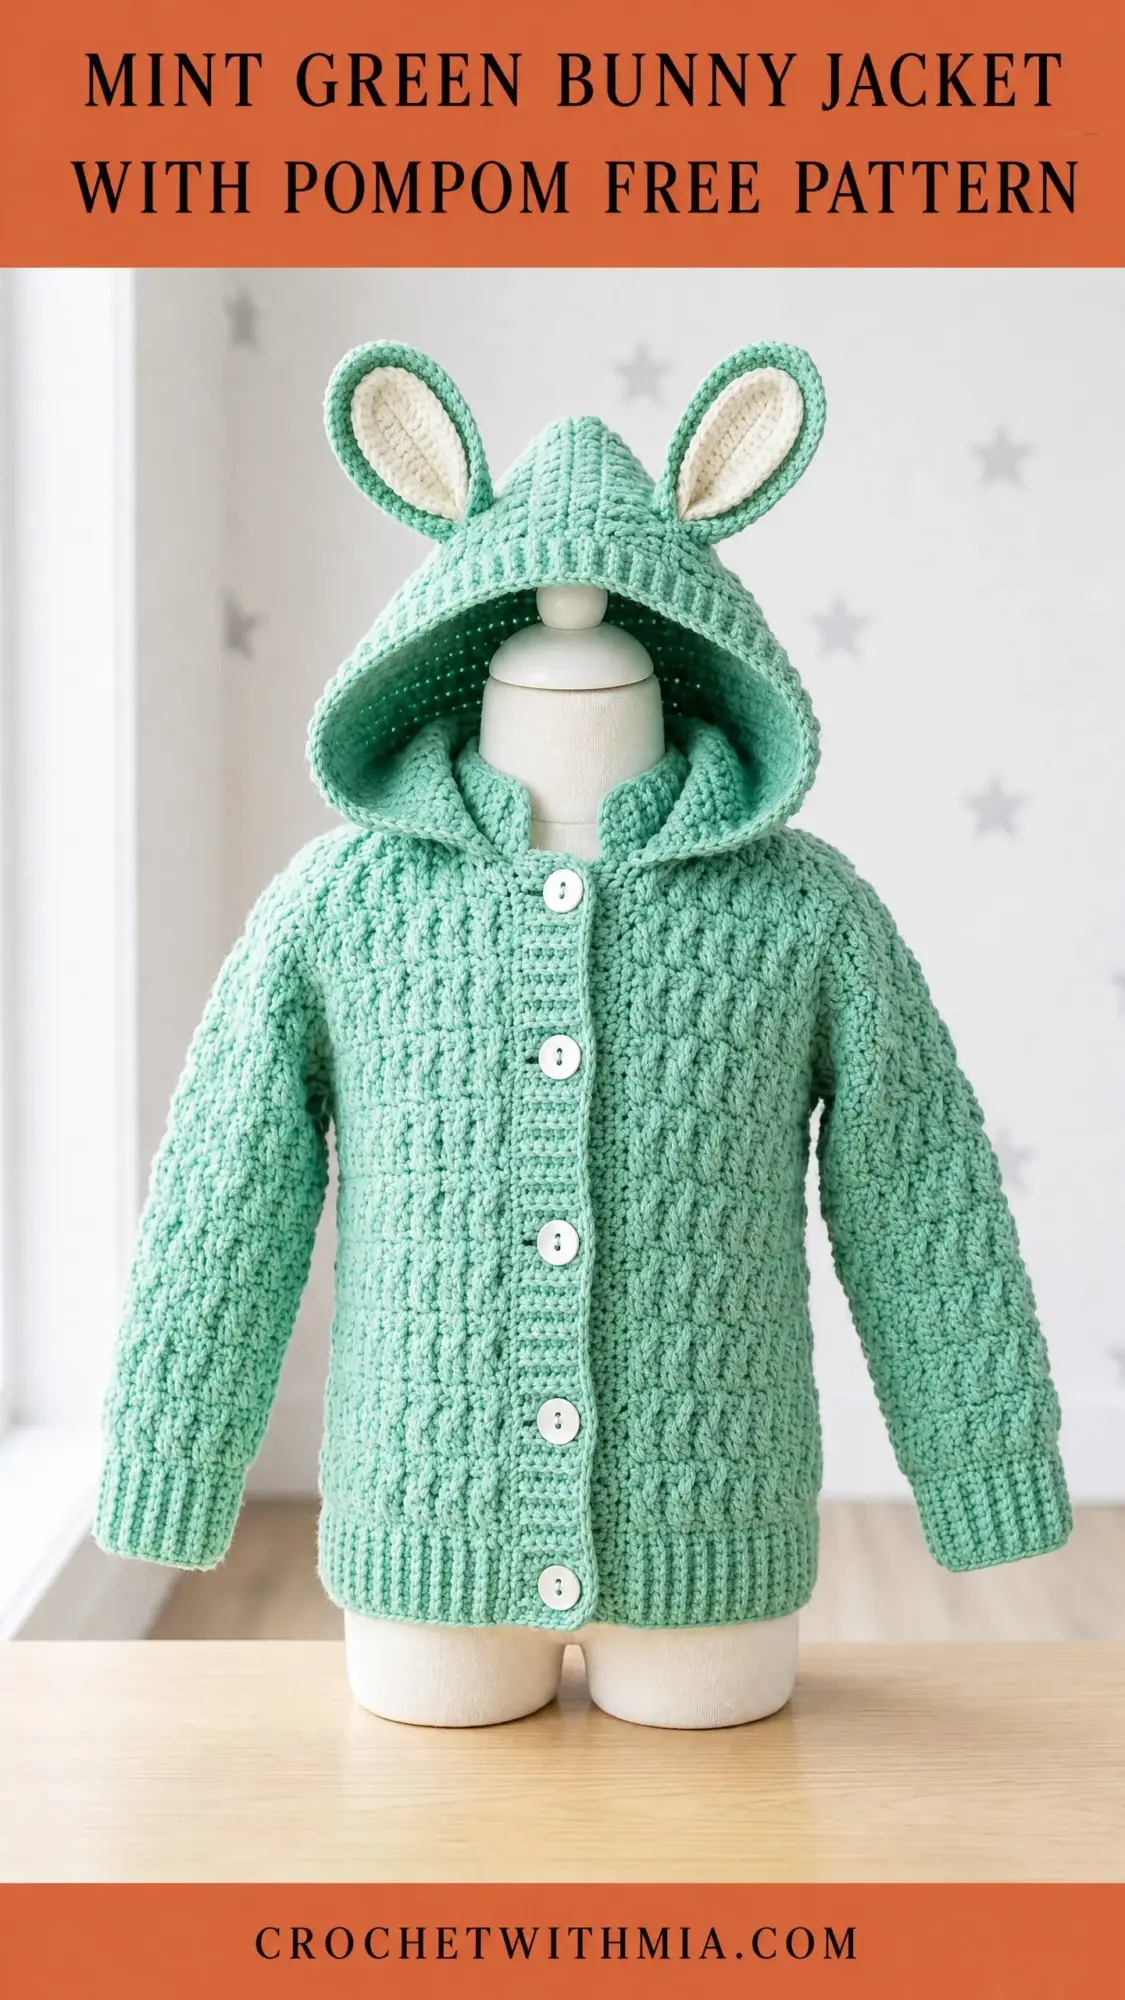
Block all pieces before final assembly for the best results. Attach the bunny ears to the top of the hood by holding the MC outer ear and CC lining wrong sides together, slip stitching around the edges to join, then sewing securely to the hood top.
Sew buttons to the left front band, aligning with buttonholes. Use a sewing needle and thread for extra security on baby garments.
Weave in all remaining ends. Give the finished jacket a final steam block or gentle wash and lay flat to dry.
Thank you so much for choosing this pattern for your next project. I truly hope you enjoy making this sweet little bunny jacket as much as I enjoyed designing it. There is something so satisfying about creating a handmade garment that a little one will actually wear and love.
If you make this jacket, I would absolutely love to see it! Tag me on Instagram or share a photo in my Facebook group. Seeing your finished projects makes my whole week.
Go ahead and save this pattern to your Pinterest boards so you can find it when you are ready to cast on. And if you have any questions or just want to share your progress, drop a comment below. Happy hooking!