
Alright, yarn lovers, this one’s for you. Remember that gorgeous skein of deep navy cotton you’ve been saving for "something special"? This is it. The Navy Coastal Granny Square Tote combines classic granny squares with a structured, modern silhouette that’s surprisingly straightforward to construct.
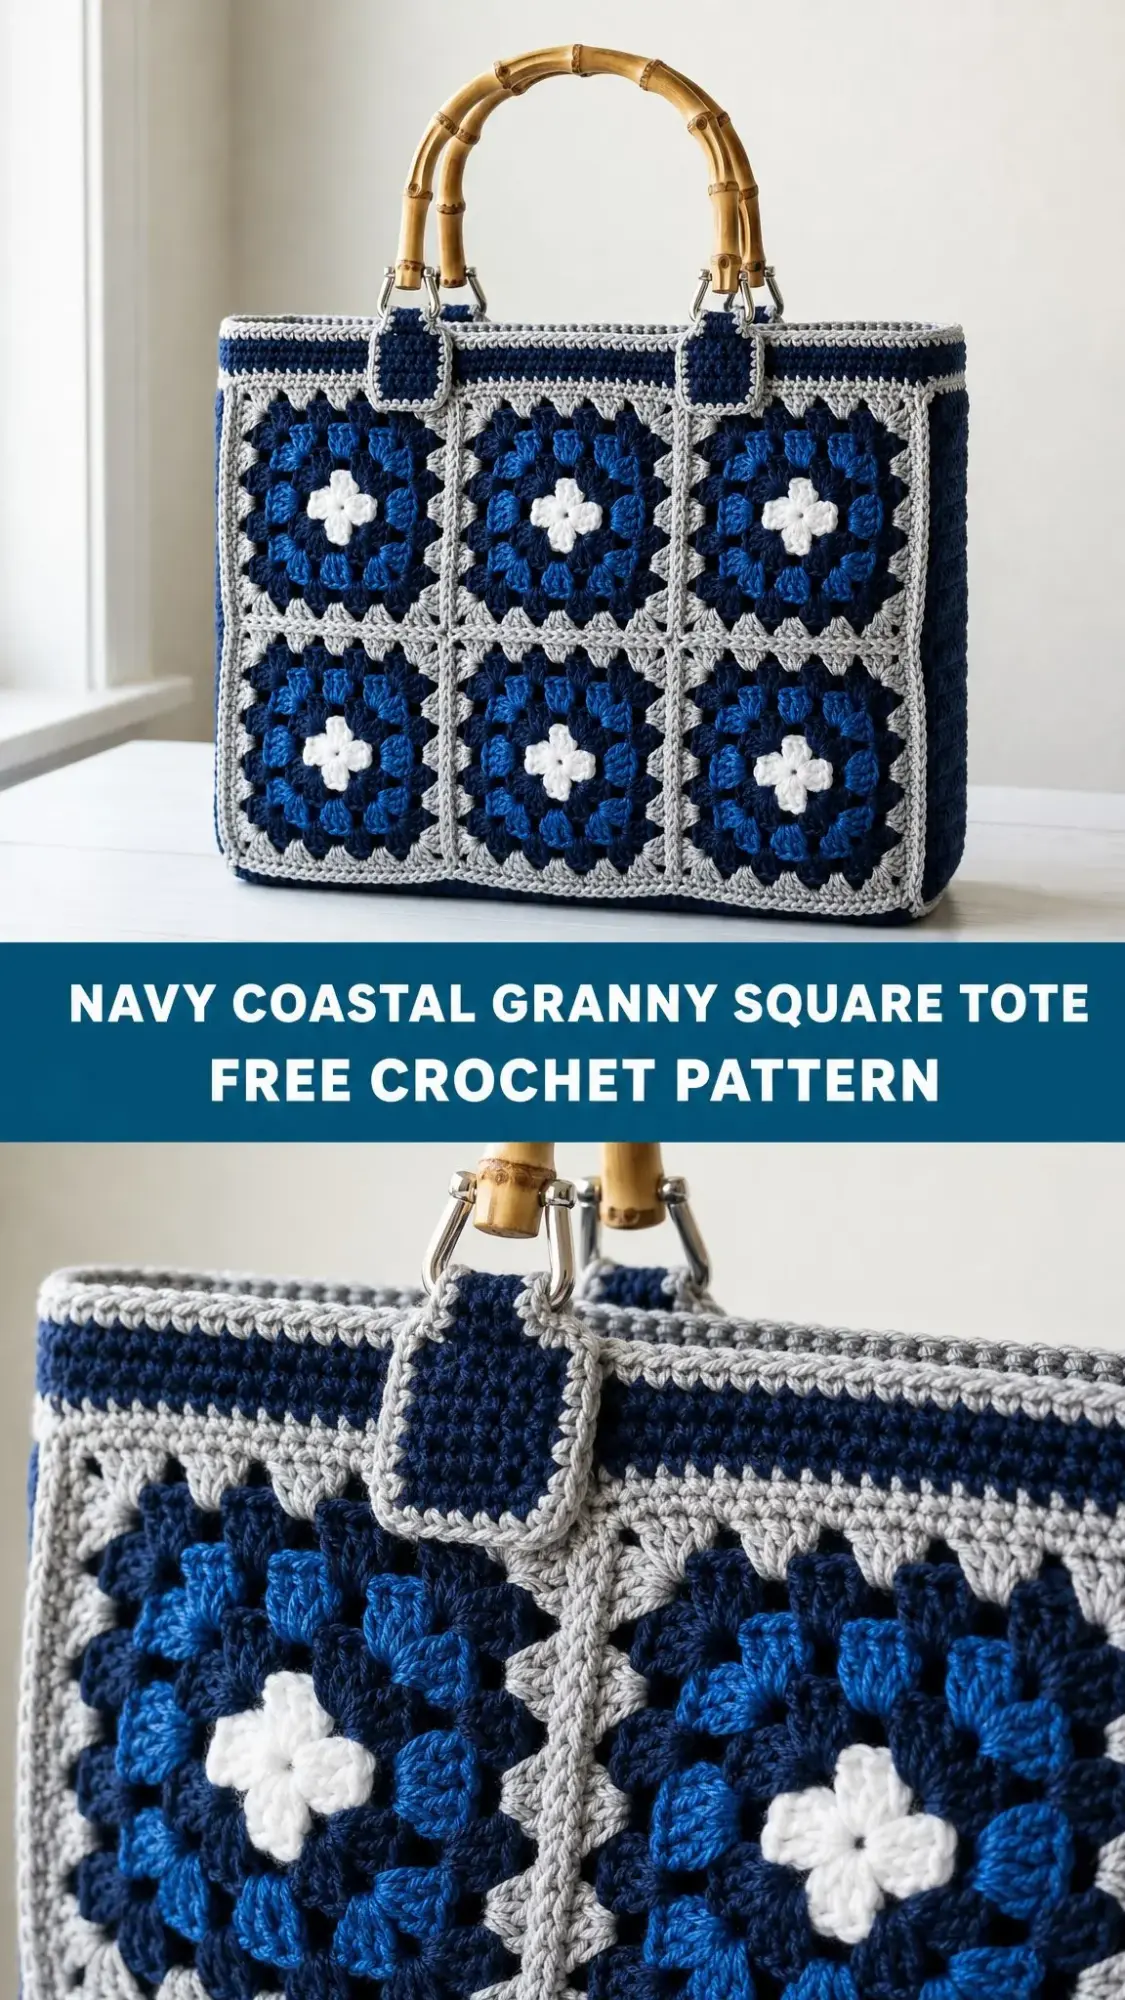
The construction here is actually quite clever. You’ll make twelve identical granny squares, join them into two panels, then work a solid gusset that wraps the sides and base to give the bag its beautiful boxy shape. If you’ve ever wanted to try your hand at a bag project but felt intimidated, this is a wonderful place to start.
I’ll be honest with you about the skill level. This pattern is rated "Confident Beginner+" which means if you can work a basic granny square and a row of single crochet (sc), you’re absolutely ready for this project. The techniques aren’t complicated. They just require a bit of patience and attention to detail, especially during assembly.
Why You’ll Love This Tote
This isn’t just another granny square project. The Navy Coastal Tote has a structured, almost professional look that makes it perfect for everyday use. Think farmers market runs, library trips, or even as a stylish work bag. The bamboo handles add warmth and sophistication, while the cotton yarn creates a firm body that holds its shape beautifully.
The color palette keeps things classic and coastal. Deep navy, bright cobalt, soft gray, and crisp white centers work together to create squares that pop without being overwhelming. The gray border and joining yarn tie everything together with a polished finish.
Finished Dimensions:
Time to Complete: 12 to 16 hours
Materials You’ll Need
Before you dive in, gather everything so you can work without interruption. There’s nothing worse than getting halfway through a project and realizing you’re short on yarn.
Yarn Requirements:
You’ll need worsted weight (#4 medium) cotton or cotton blend in four colors. Cotton is essential here because it gives the tote its firm, structured body. Acrylic would be too floppy for this design.
Suggested Yarn Brands:
Additional Supplies:
Gauge Information
Getting your gauge right is important for this project because it affects the final size of your tote. One finished granny square through Round 5 should measure 4 inches / 10 cm square using a 4.0 mm hook.
For the single crochet sections: 16 stitches and 18 rows should equal 4 inches / 10 cm.
If your squares are coming out larger, try going down a hook size. If they’re smaller, go up a hook size. Match the square size and your tote will match the finished measurements perfectly.
Abbreviations and Special Stitches
Let me walk you through all the abbreviations you’ll encounter. I’ll define each one so there’s no confusion.
UK Crocheters Note: This pattern uses US terms throughout. US sc equals UK dc, US hdc equals UK htr, and US dc equals UK tr.
Special Stitches:
3-dc cluster (granny group): Work 3 dc into the same space. This is the building block of every granny square.
Corner: Work (3 dc, ch 2, 3 dc) into one ch-2 space. This creates the corner turn that keeps your squares flat and square.
Pattern Notes Before You Begin
Read these notes carefully. A few minutes here will make every round that follows feel effortless.
1. The beginning ch-3 counts as the first dc throughout the pattern.
2. Join each round with a sl st to the top of the beg ch-3 unless told otherwise.
3. Fasten off and weave in ends after each color change for the cleanest finish.
4. The bag is worked with the right side facing on every round.
The Granny Square Pattern
Make 12 squares total. Each uses the same four colors in the same order: white center, one cobalt round, two navy rounds, and a gray border.
Round 1 (White)
Create a magic ring. Ch 3 (this counts as your first dc), work 2 dc in ring, ch 2, then work [3 dc in ring, ch 2] 3 times. Join to the top of ch-3 with a sl st. Fasten off.
Stitch count: 12 dc, 4 corner spaces
Round 2 (Cobalt)
Join cobalt in any corner ch-2 sp. Ch 3, work (2 dc, ch 2, 3 dc) in same sp, then work (3 dc, ch 2, 3 dc) in each remaining corner sp around. Join with sl st. Fasten off.
Stitch count: 24 dc, 4 corners
Round 3 (Navy)
Join navy in any corner sp. Ch 3, work (2 dc, ch 2, 3 dc) in same sp; ch 1, work 3 dc in next side sp, ch 1, work (3 dc, ch 2, 3 dc) in next corner; rep from around. Join with sl st. Do not fasten off.
Stitch count: 36 dc
Round 4 (Navy)
Work corners as before with 3 dc in each side sp along the way, ch 1 between groups. Join with sl st. Fasten off.
Stitch count: 48 dc
Round 5 (Gray)
Join gray in any corner. Work (3 dc, ch 2, 3 dc) in each corner and 3 dc in each side sp, ch 1 between groups. Join with sl st. Fasten off.
Stitch count: 60 dc
Important Tip: Block all 12 squares to a true 4 inches / 10 cm before joining. Even, square edges make the panels line up perfectly during assembly.
Building the Front and Back Panels
Now comes the fun part. You’ll arrange your squares into two panels, each 3 squares wide by 2 squares tall. That’s 6 squares per panel.
Joining the Squares (Gray)
Using gray yarn and a tapestry needle, whip stitch the squares together through the back loops only. Match stitch for stitch as you go. Join into rows of three first, then join the two rows together.
Result: 2 panels of 6 squares each
Optional Continuous Join
If you prefer using a hook instead of a needle, you can work a gray sl st join through both back loops across each seam. This creates a defined raised line. Work ch 1 over each corner intersection.
Result: Same 2 panels with a more visible seam line
Each finished panel measures approximately 12.5 inches / 32 cm wide by 8.5 inches / 21.5 cm tall before the gusset and band are added.
Sides and Base Gusset
One continuous navy strip forms both sides and the base of your tote. It’s worked flat in single crochet for a firm, hard-wearing wall that holds the bag’s shape.
Foundation (Navy)
Ch 15.
Stitch count: 14 ch
Row 1
Sc in 2nd ch from hook and each ch across. Turn.
Stitch count: 14 sc
Rows 2 through 135
Ch 1, sc in each st across. Turn. Repeat until the strip measures about 30 inches / 76 cm.
Stitch count: 14 sc each row
Important: Do not fasten off until you have checked the length against your assembled panel. The strip should equal one side plus the base plus the other side (about 8.5 + 13 + 8.5 inches). Add or remove rows as needed, then fasten off.
Assembly Instructions
This is where your tote really comes together. Take your time here and the results will be beautiful.
Step 1: Attach the Gusset
With gray yarn and the wrong sides together, whip stitch one long edge of the navy strip to the front panel. Start at the top of one side, work down to the base, across the bottom, and up the other side.
Result: 3 edges joined
Step 2: Add the Back Panel
Whip stitch the back panel to the free long edge of the gusset in the same way. The tote now stands up on its own.
Result: Bag body complete
Step 3: Square the Corners
Pinch and align the base corners so the gusset folds neatly. A few extra gray stitches at each lower corner keep the box shape crisp.
Result: 4 neat corners
Lining Tip: If you want to add a fabric lining, cut it 0.5 inches larger than each face, press the seam allowance, and hand-stitch it just below the top edge before adding the band.
Top Band and Handle Tabs
The top band gives your tote a polished, finished look and provides a sturdy base for attaching the handle tabs.
Band Round 1 (Gray)
Join gray at a back corner. Sc evenly around the entire top opening, working 1 sc per st and easing at the corners. Join with sl st.
Stitch count: 132 sc
Band Round 2 (Navy)
Ch 1, sc in each st around. Join with sl st.
Stitch count: 132 sc
Band Round 3 (Navy)
Ch 1, sc in each st around. Join with sl st. Fasten off.
Stitch count: 132 sc
Handle Tabs (Make 4)
Foundation (Navy):
Ch 9. Sc in 2nd ch and across.
Stitch count: 8 sc
Rows 2 through 11:
Ch 1, sc across. Turn. Fasten off, leaving a long tail for sewing.
Stitch count: 8 sc each row
Attaching the Tabs
On the front band, count in so the two tabs sit above the gaps between squares 1-2 and 2-3. Mirror this placement on the back. Thread each tab through a swivel clasp, fold in half, and stitch the end down securely to the inside of the band. Clip the bamboo handles to the clasps.
Result: 4 tabs, 2 handles
Finishing and Care Instructions
Finishing Steps
1. Weave in every end on the wrong side and trim flush.
2. Steam or wet-block the finished tote to even the stitches.
3. Check that all four tabs are stitched down firmly before use.
Care Instructions
Sizing and Customization Options
Want to make this pattern your own? Here are some ideas.
Bigger Tote
Add a column for a 4-wide front and back (8 squares per panel), or add an extra granny round in navy before the gray border to enlarge each square. Lengthen the gusset to match the new perimeter.
Smaller Bag
Work panels 2 squares wide by 2 tall for a compact crossbody, and shorten the gusset strip accordingly.
Color Play
Keep gray for the joins and band to hold the coastal look, and swap the navy and cobalt for any two-tone pairing. White centers keep the squares crisp.
Sturdier Body
Hold the gusset yarn double, or add a firm fabric lining, for a tote that holds its shape when fully loaded.
You Did It!
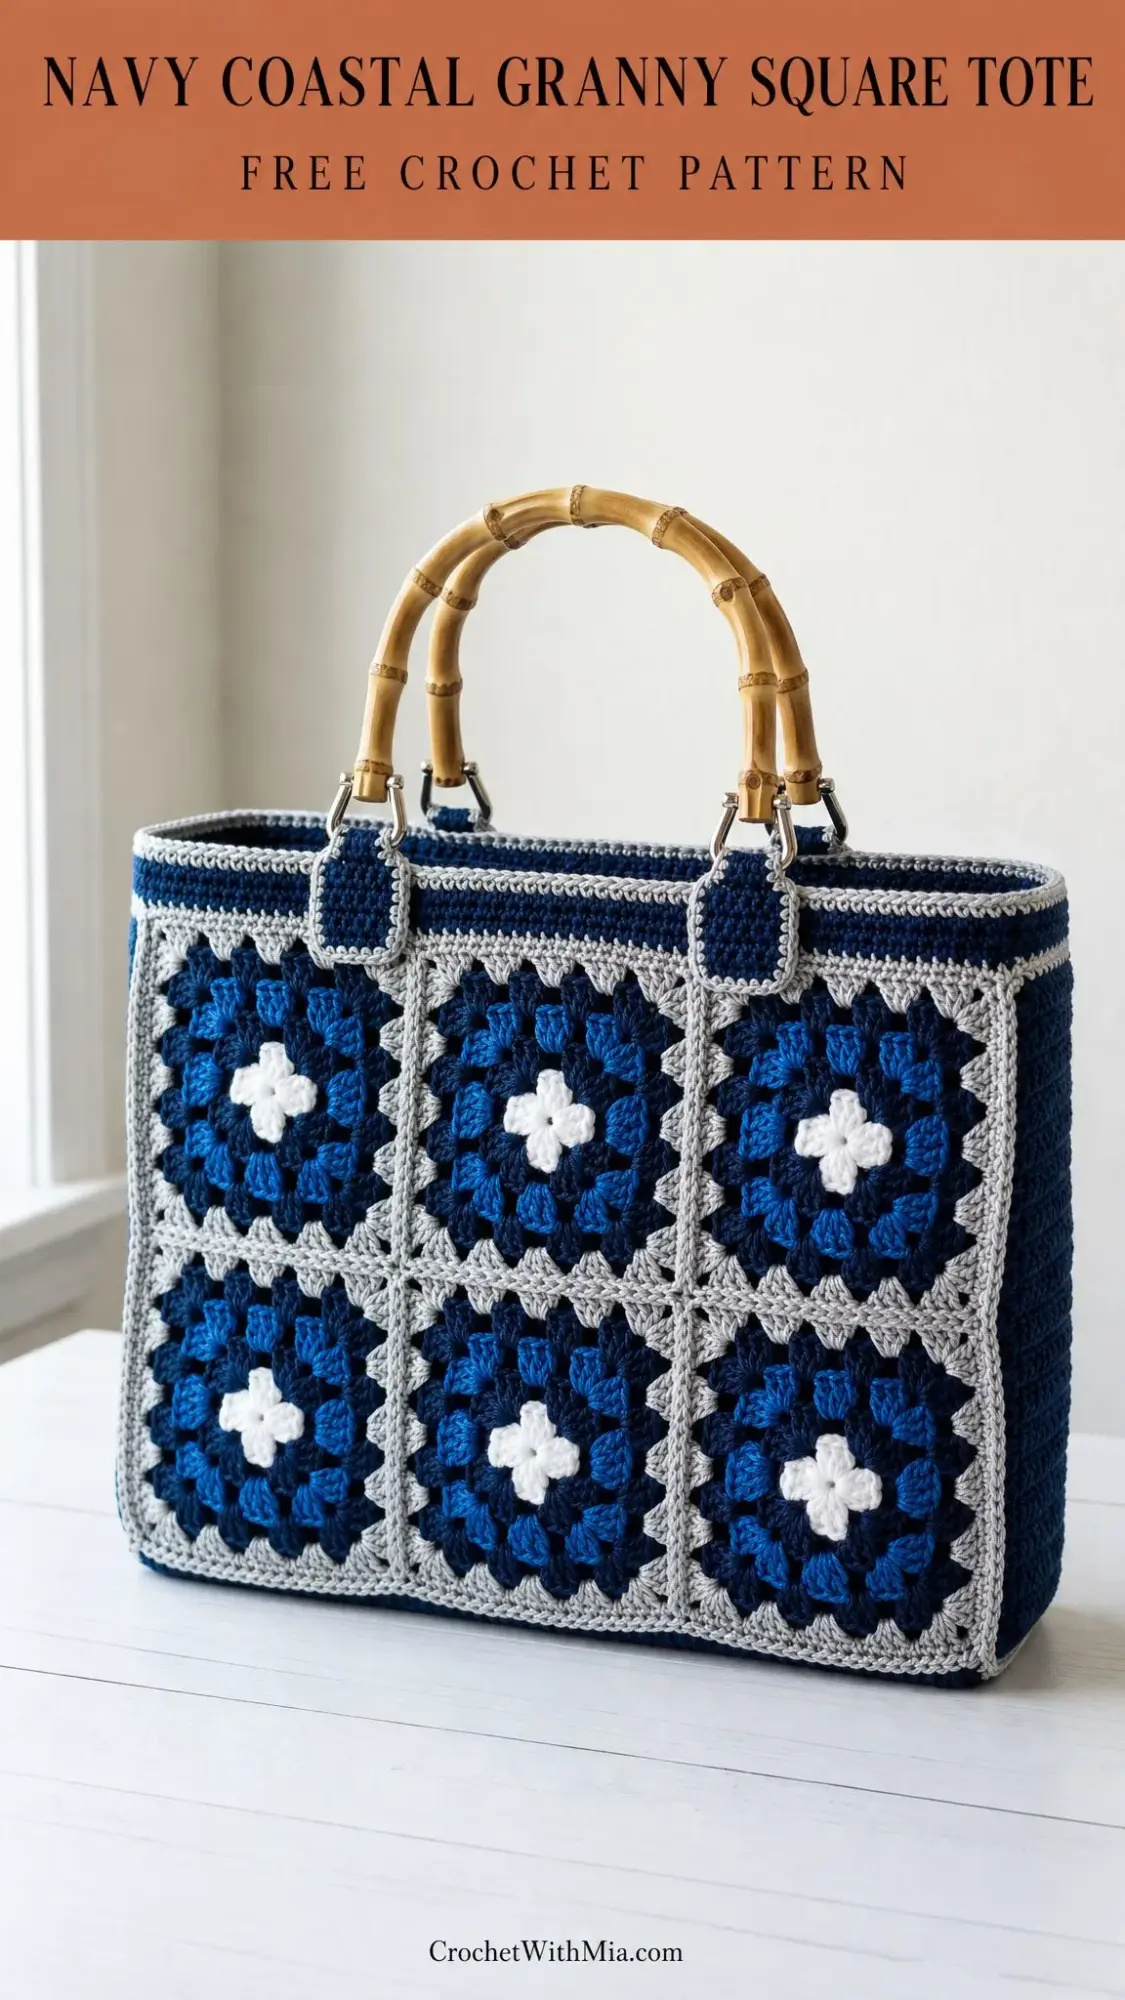
I hope you absolutely love making this Navy Coastal Granny Square Tote. It’s one of those projects that looks impressive but is actually quite manageable once you break it down into steps. The combination of classic granny squares with modern structure creates something that’s truly special.
Remember, individual results may vary depending on your yarn, tension, hook size, and finishing technique. You may need to make small adjustments to achieve the closest possible result to the finished project shown. That’s completely normal and part of what makes handmade items unique.
Thank you so much for choosing this pattern for your next project. I genuinely appreciate you being here, and I can’t wait to see what you create. If you make this tote, I would absolutely love to see it! Tag me on Instagram or share a photo on Facebook.
If this pattern inspired you, go ahead and save it to your Pinterest boards so you can find it easily when you’re ready to start. And please drop a comment below if you make one. I love hearing about your projects and seeing how you customize them to make them your own. Happy crocheting!