
I don’t know about you, but I love a statement piece that doesn’t require a ton of fuss to wear. You know the type. Something you can throw on over jeans and a basic tee, and suddenly you look like you have your life together.
Get the Ad-Free PDF Pattern
You can find the free pattern below, or you can purchase the ad-free printable PDF from my shop.
Get the Printable PDF →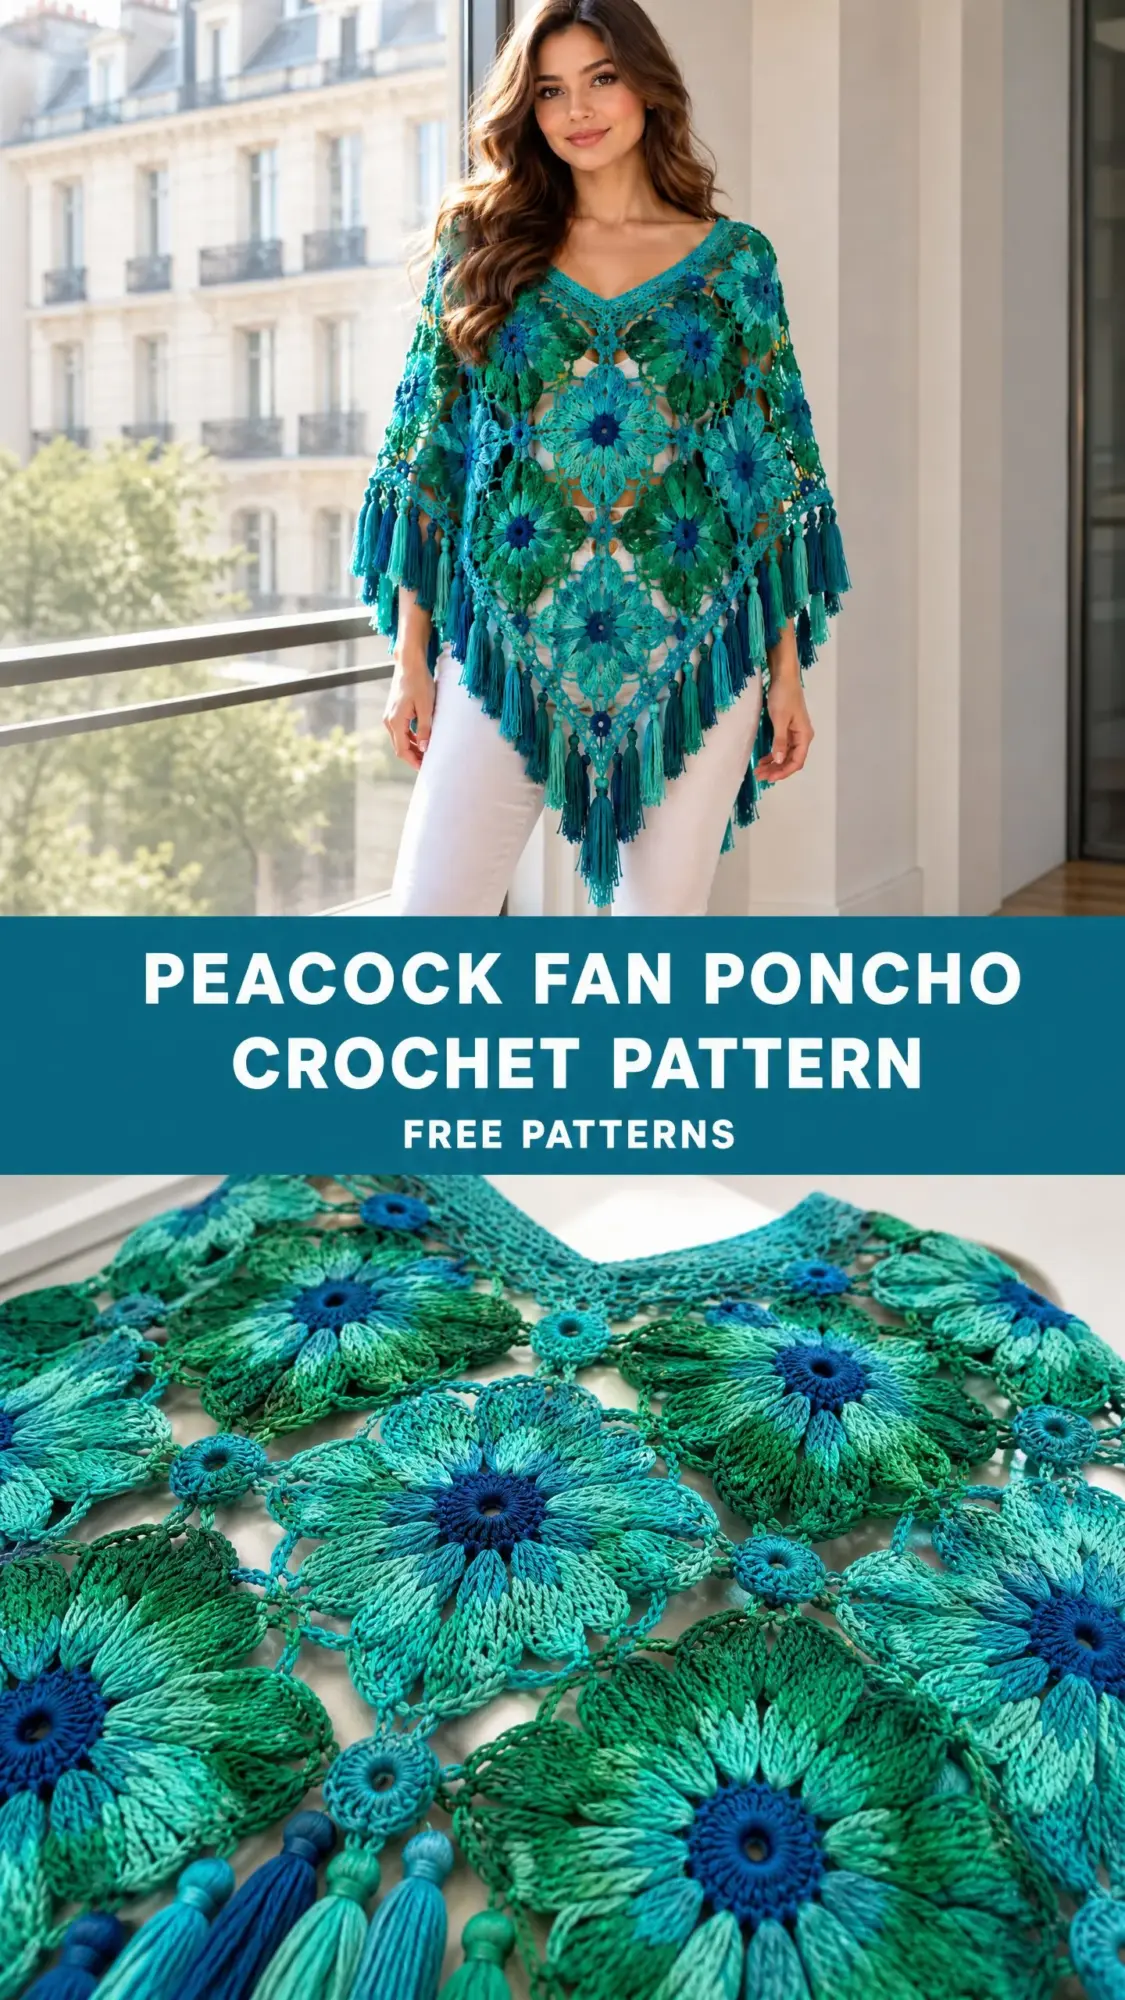
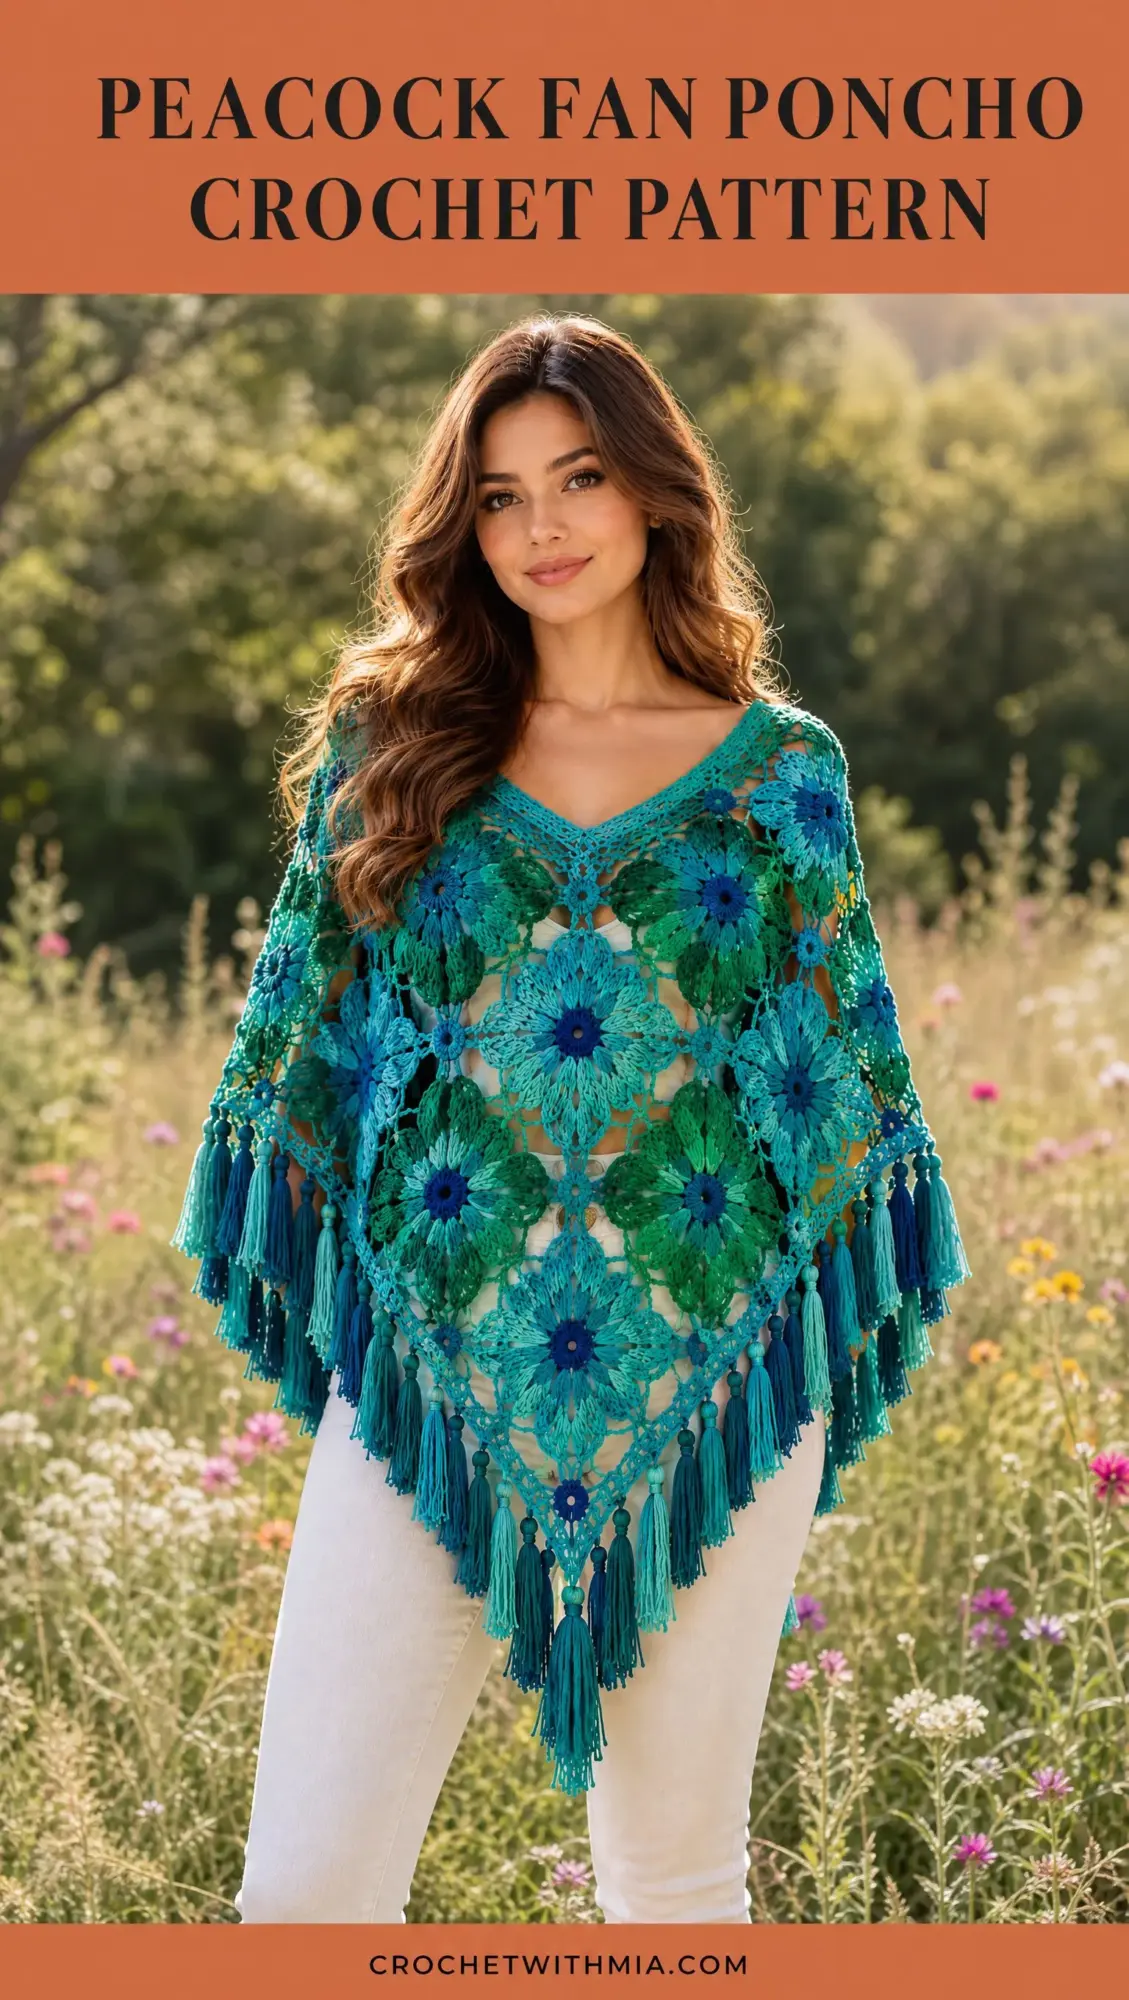
This Peacock Fan Poncho is exactly that kind of piece. It’s dramatic, it’s flowing, and those jewel tones practically glow. But here’s the thing: it’s not nearly as complicated as it looks.
The construction is straightforward, working from the neckline down with simple increases at four points. The fan shell stitches create all that gorgeous texture, and you get to play with color to your heart’s content. Let me walk you through everything you need to bring this beauty to life.
Why This Poncho Works So Well
The triangular shape of this poncho is incredibly flattering on just about everyone. It drapes beautifully across the shoulders, creates a slimming point at the center front, and moves with you rather than against you. The openwork sections keep it breathable, so you can wear it in spring, fall, or even cool summer evenings.
What really makes this design special is the peacock feather inspiration. Those layered fan motifs mimic the eye-catching pattern of peacock plumage, and when you work them in the suggested emerald, teal, sapphire, and gold colorway, the effect is stunning. Of course, you can absolutely customize the colors to match your wardrobe or use up yarn from your stash.
The finished poncho measures approximately 70 inches (178 cm) across the shoulders and 34 inches (86 cm) from neckline to point. That gives you plenty of coverage while still feeling light and elegant.
Skill Level and What You Need to Know
This pattern is rated intermediate, which means you should be comfortable with basic crochet stitches before diving in. If you can work a double crochet (dc), follow a pattern, and aren’t intimidated by the idea of increasing at marked points, you’re ready for this project.
Here’s what you’ll need to know:
Don’t worry if some of these feel a little rusty. I’ll explain everything as we go, and the repetitive nature of the fan pattern means you’ll get plenty of practice.
Materials You’ll Need
Gather these supplies before you start:
Yarn:
Suggested Colors:
Tools:
The yarn quantity gives you some wiggle room for the optional fringe and any color experimentation you want to do. If you’re planning to skip the fringe, you can probably get away with closer to 1,800 yards.
Gauge
Getting your gauge right matters for this project, especially since it affects how the poncho drapes and fits around your shoulders.
14 double crochet stitches x 8 rows = 4 x 4 inches (10 x 10 cm)
Take a few minutes to make a gauge swatch before you begin. If your swatch is too big, try going down a hook size. If it’s too small, go up a hook size. Trust me, this step saves headaches later.
Abbreviations
Let me break down all the abbreviations you’ll see in this pattern:
Special Stitches
This pattern uses two special stitch combinations that create the peacock feather effect:
Fan Shell:
Work (2 dc, ch 1, 2 dc, ch 1, 2 dc) all into the same space. This creates a fan-shaped cluster with two little chain spaces built in.
Peacock Feather Cluster:
Work 5 dc into the same chain space, followed by a decorative chain loop. This creates the "eye" effect that makes the peacock motif so distinctive.
Neither of these is difficult once you try them. The Fan Shell is just a series of double crochets and chains worked into one spot. The Peacock Feather Cluster is similar but with more double crochets grouped together.
Construction Notes
Here’s the big picture of how this poncho comes together:
You start at the neckline and work downward. The initial foundation creates a circle that sits around your shoulders and neck. From there, you place stitch markers at four increase points: front center, back center, and both shoulder areas.
By increasing at these four points on every round, you create the triangular shape that gives the poncho its signature drape. The fan sections are worked in repeating rows to build up that beautiful feather-like texture.
This top-down construction means you can try it on as you go and stop when you reach your desired length. Very forgiving for customization.
Pattern Instructions
Neckline Foundation
Row 1:
Ch 120 loosely. Join with sl st to form a ring, being careful not to twist the chain.
Ch 2, work dc around the circle. Join with sl st.
Row 2:
Ch 3, dc in each stitch around. Join.
Take your time with this foundation. If your chain is too tight, the neckline will be uncomfortable. Err on the side of loose.
Creating the Shoulder Expansion
Row 3:
Place markers for four increase points: front center, back center, and two shoulder points.
Work dc stitches between markers, adding (2 dc, ch 2, 2 dc) at each marker.
Rows 4 through 8:
Continue in pattern, increasing at each marked point on every row.
These increase points are what create the triangular shape. Make sure your markers stay in the correct positions as you work. Moving them to the new ch-2 spaces after each row helps keep everything aligned.
Fan Feather Section
Row 9:
At each ch-2 space, work a Fan Shell.
Between fans, work ch-3 spaces.
Row 10:
Work dc stitches into previous row chain spaces.
At every fan center, create a Peacock Feather Cluster.
Rows 11 through 20:
Repeat the fan and chain-space pattern.
Change colors as desired to create feather-like gradients.
This is where the magic happens. The alternating rows of fans and clusters build up that gorgeous layered texture. Feel free to switch colors every few rows, at random intervals, or stick with one color for a more subtle look.
Body Expansion
Continue repeating the increase rounds until the poncho reaches the desired length. Maintain the center front point increase on every row.
The pattern gives you an approximate finished length of 34 inches from neckline to point, but you can adjust this based on your preference. Try it on periodically to check the fit.
Bottom Border
Round 1:
Work sc evenly around the entire edge.
Round 2:
Ch 3, skip 2 stitches, work 5 dc in next stitch, skip 2 stitches, sc in next stitch.
Repeat around.
Round 3:
Add decorative picot points:
Sc, ch 3, sl st into first chain, sc in next stitch.
The border adds a polished finish and helps the edges lie flat. Those little picot points give it an extra touch of elegance.
Finishing Your Peacock Fan Poncho
Weave in all ends securely. With this many color changes, you’ll have quite a few tails to deal with. Take your time and weave each one in for at least 2 to 3 inches so they don’t pop out later.
Block the poncho gently to open up the lace pattern. Lay it flat on a blocking mat or clean towel, stretch the fan sections evenly, pin if needed, and allow to dry completely. Blocking makes a dramatic difference in how professional your finished piece looks.
Optional Fringe
Want to add even more drama? Cut 10 to 12 inch (25 to 30 cm) strands of yarn and attach them evenly along the lower point and side edges. Mix your colors for a gradient effect, or keep it simple with just one shade.
Care Instructions
Treat your handmade poncho gently:
Avoid hanging this piece, as the weight of the yarn can stretch it out over time.
Troubleshooting Tips
If the poncho curls:
Increase your blocking time and make sure you’re stretching the fabric enough while it dries. Also double-check that your increases are placed correctly at all four marked points.
If the neckline is too loose:
You have two options. Either frog back and start with fewer foundation chains, or add a drawstring edging after the fact. A simple chain threaded through the top row works beautifully.
A Note for Left-Handed Crocheters
Left-handed crocheters can follow these same instructions while working in the opposite direction. All stitch placements and counts remain unchanged. You’ve got this.
Color Customization Ideas
While the suggested peacock palette is gorgeous, don’t feel locked into it. Here are some alternative colorways to consider:
The fan motifs really pop when you have some contrast between your colors, so try to include at least one lighter and one darker shade.
Why This Makes a Wonderful Gift
If you’re looking for a handmade gift that truly wows, this poncho delivers. It’s one size fits most, which eliminates the guesswork of sizing. The dramatic appearance makes the recipient feel special. And because of the open lace construction, it works across multiple seasons.
Just be prepared for everyone to ask where they can get one.
I hope you absolutely love making this Peacock Fan Poncho as much as I enjoyed putting this pattern together. It’s the kind of project that looks impressive on the hanger and even better when you’re wearing it. Thank you so much for choosing this pattern, and I can’t wait to see your finished creations. Tag me on Instagram or share in our Facebook group so I can admire your work!
If this pattern caught your eye, go ahead and save it to your Pinterest boards so you can find it when you’re ready to cast on. And if you make one, please drop a comment below. I love hearing which colors you chose and how it turned out!
Want a Quick & Easy Printable Version?
Get a clean, beautifully formatted PDF of this pattern — easy to follow step by step, ready to print or save on any device. No scrolling, no distractions, just the pattern.
Get the Printable PDF →