
I have been calling this one the "Sunny Day Scarf" in my head ever since I first sketched it out. The design started in one of my old notebooks, back when I was obsessed with combining delicate mesh work with bold floral appliqués. I originally made something similar for my niece’s outdoor wedding a few summers ago. She wanted something lightweight that would keep her hair back without messing up her curls.
Get the Ad-Free PDF Pattern
You can find the free pattern below, or you can purchase the ad-free printable PDF from my shop.
Get the Printable PDF →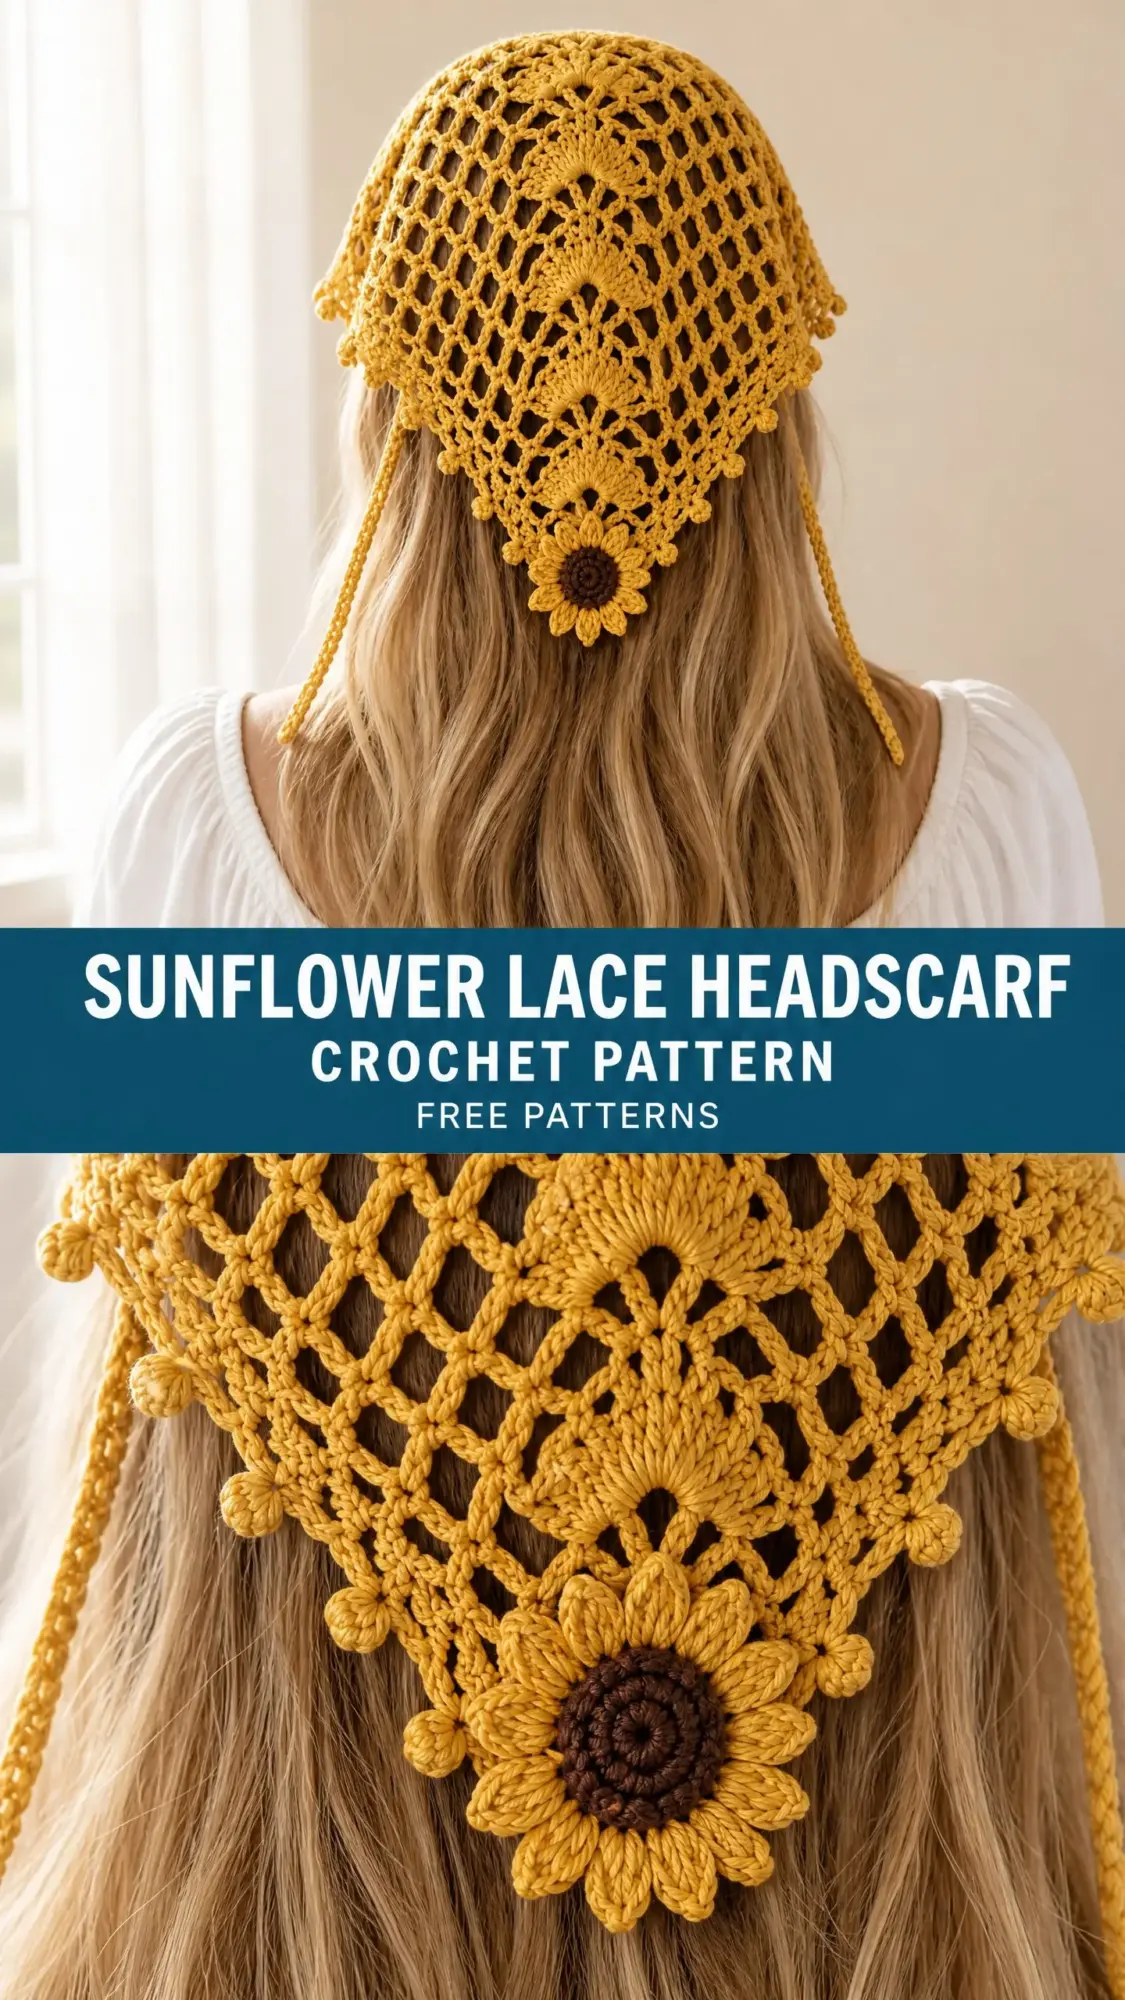
That first version was scrappy and imperfect, but the bones were good. I finally sat down to write it out properly, and I am so happy to share this sunflower lace headscarf crochet pattern with you today.
The combination of open lacework with those cheerful fan motifs just makes me smile every time I look at it. If you have been wanting to try something a little more decorative without diving into complicated charts, this is your project.
About This Sunflower Lace Headscarf Pattern
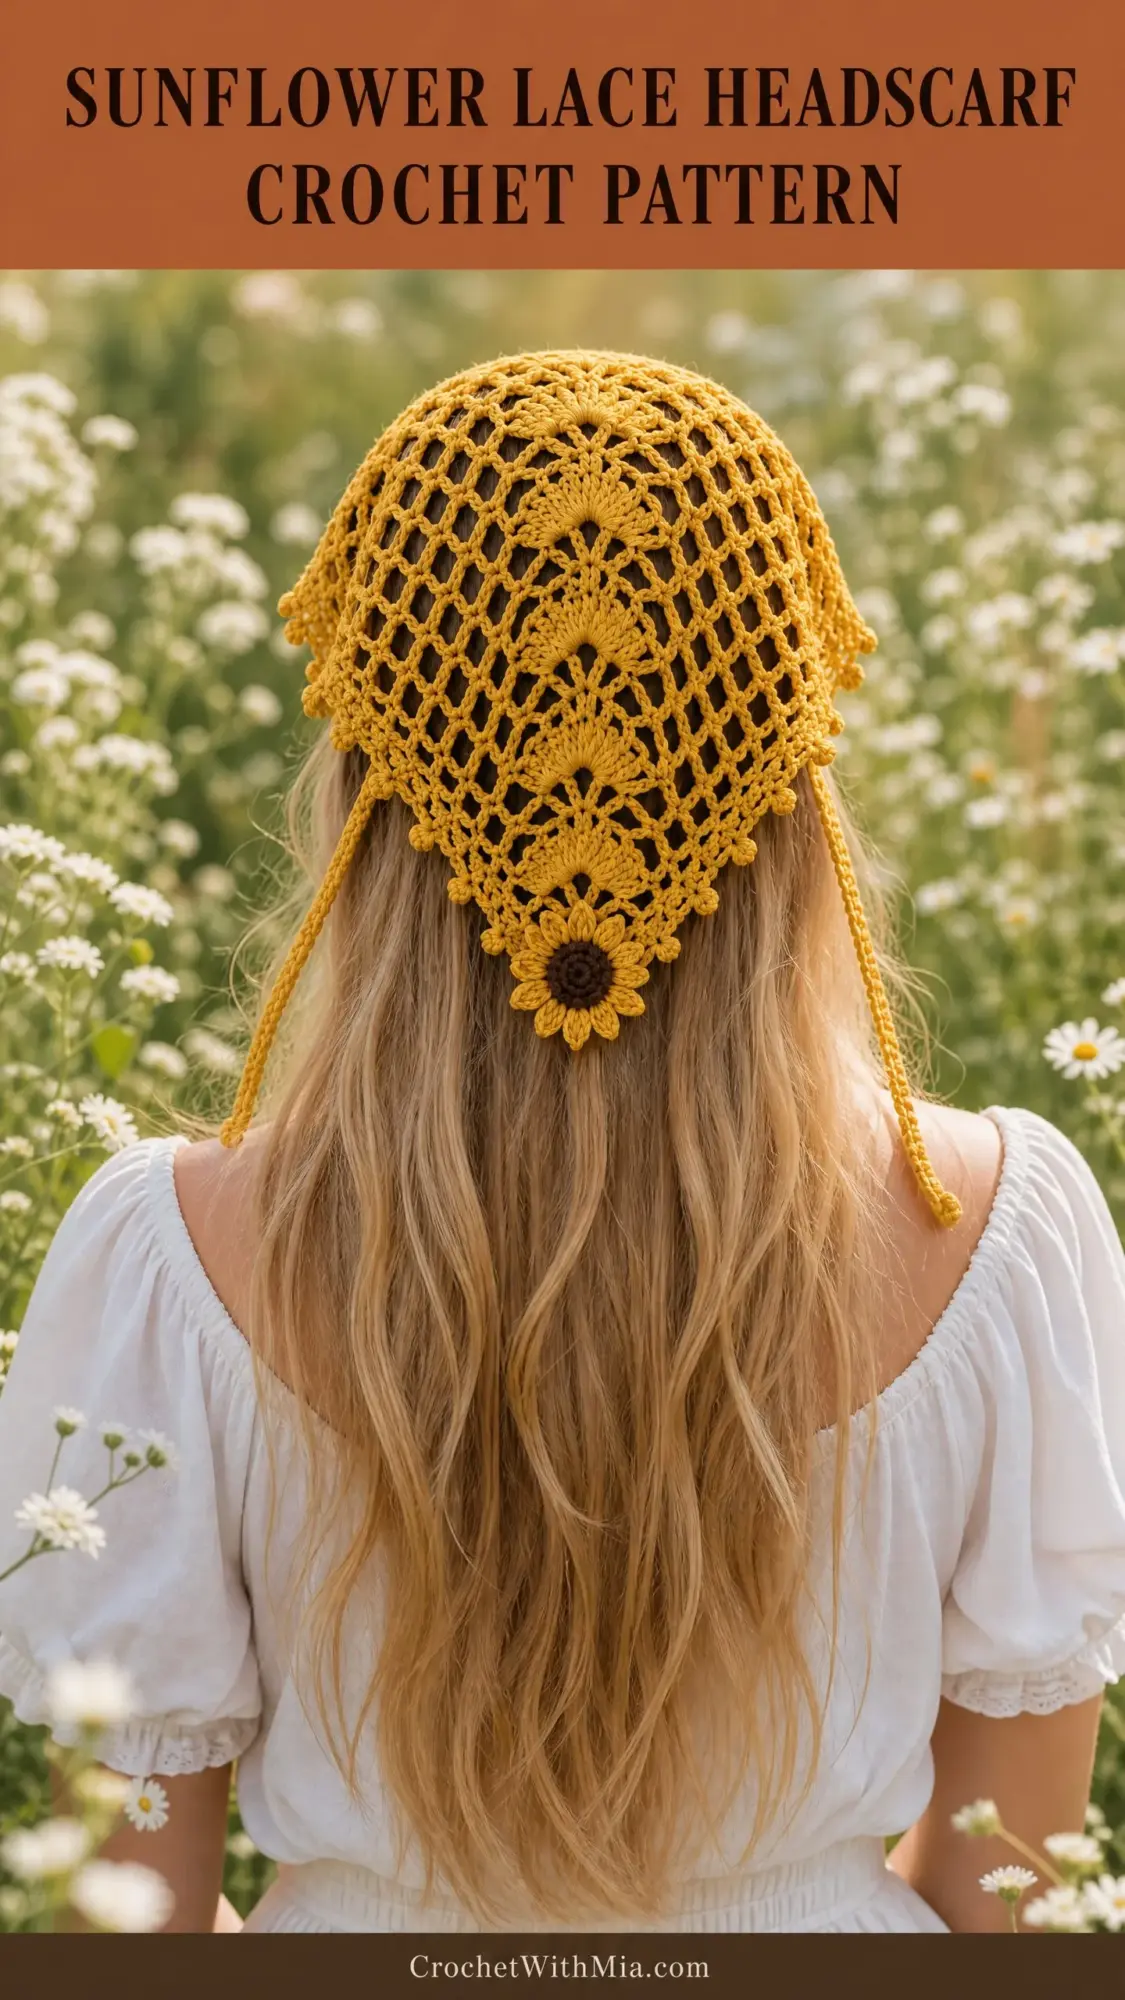
This headscarf is a triangular piece worked from the bottom point upward, with the mesh expanding by one chain arch every row. Once your triangle is complete, you add an edging around the perimeter, attach ties at the upper corners, and then sew a column of fan motifs down the center. A sweet sunflower accent finishes the bottom tip.
The construction method keeps things manageable. You are not juggling integrated lace and motifs at the same time. Instead, you build your mesh base first, then add the decorative elements. This approach gives you more control and makes the whole process less intimidating.
Target finished dimensions after blocking:
The scarf is sized for an adult head circumference of roughly 54 to 58 cm. You will want to try it on before finishing and adjust the triangle width or tie length if needed for your head.
Materials You Will Need
Yarn: Fingering weight cotton, approximately 350 to 400 meters per 100 grams. Allow 75 grams of mustard yellow (Color A) plus 15 grams of chocolate brown accent yarn (Color B). Yarn usage is estimated and should be confirmed from your own sample.
The pattern uses a two color palette. Color A (mustard yellow) is used for the mesh, fan spine, and ties. Color B (chocolate brown) creates the sunflower center.
Hook: 2.5 mm hook, or the size needed to achieve gauge.
Additional tools:
For the optional pearl version only: Small smooth beads with holes wide enough for sewing thread and a fine beading needle.
Gauge
Getting your gauge right matters for this project, especially since you want the mesh to drape nicely over your head without being too stiff or too floppy.
Target mesh gauge, lightly blocked: Five chain 5 arches across equals 10 cm. Eight mesh rows equals 10 cm.
Work at least 12 rows of the triangle as a swatch. Wet block it and measure through the center. Change your hook size if the triangle is too dense or too open. Going up a hook size will make the mesh looser and more open. Going down will tighten everything up.
Abbreviations and Special Stitches
This pattern uses US crochet terminology throughout.
An arch refers to one chain 5 loop. Brackets enclose a repeat. The turning chain 1 never counts as a stitch in this pattern.
Picot: Chain 3, slip stitch in the first of those 3 chains. This creates a small decorative bump.
Bobble: Yarn over, insert hook in indicated stitch, draw up a loop, yarn over and pull through 2 loops. Repeat this five times in the same stitch, so you have 6 loops on your hook. Yarn over and pull through all 6 loops. Chain 1 to close the bobble.
Section 01: Increasing Mesh Triangle
This is where your headscarf takes shape. You will start at the bottom point and work upward, adding one arch every row until you reach the desired width.
With mustard yellow, chain 4 and slip stitch to the first chain to make a ring.
Row 1: Chain 1, single crochet in ring, chain 5, single crochet in ring. You now have 1 arch and 2 single crochets. Mark the ring as the lower point of your triangle.
Row 2: Chain 1, turn. Single crochet in first single crochet, chain 5, single crochet in the chain 5 arch, chain 5, single crochet in last single crochet. You now have 2 arches and 3 single crochets. Work into the open arch, not into its individual chains.
Row 3: Chain 1, turn. Single crochet in first single crochet, [chain 5, single crochet in next arch] twice, chain 5, single crochet in last single crochet. You now have 3 arches and 4 single crochets.
Rows 4 through 24: Chain 1, turn. Single crochet in first single crochet, [chain 5, single crochet in next arch] across all arches, chain 5, single crochet in last single crochet. Each row gains one arch and one single crochet. Row n has n arches and n+1 single crochets.
Checkpoints to keep yourself on track:
The newest row is always the widest, which becomes your top edge. The starting ring remains the bottom tip.
After row 24, lightly block and measure your triangle. Target top edge is 48 cm and depth is 30 cm. If you need more width, add whole rows using the same pattern. Every row adds about 2 cm of width and 1.25 cm of depth at target gauge. Record your final row count for the edging section.
Section 02: Edge and Ties
Now you will frame your triangle with a neat edge and add ties at each corner.
Top edge foundation: Chain 1, turn. Work 1 single crochet in each existing single crochet and 5 single crochets into every chain 5 arch. At 24 arches, the total is 25 + 120 = 145 single crochets. Do not pull this row tight.
Continue around first sloping side: Work 2 single crochets around each row end segment. Work 3 single crochets into the starting ring at the point. Work 2 single crochets around each row end segment up the second side. Join at the first top edge single crochet. Adjust only if needed for a flat edge, and record the count.
Tie 1: At the first upper corner, chain 71. Working back toward the scarf, single crochet in the second chain and each remaining chain (70 single crochets). Slip stitch securely into the corner. Fasten off.
Repeat at the opposite upper corner for Tie 2.
Measure your ties rather than stretching to the target. They should be approximately 25 cm each. Add or remove starting chains before working back if necessary.
The ties go behind the head beneath the hair, keeping the triangular point centered at the back.
Section 03: Border and Center Fans
Picot border: Work single crochets along both sloping edges, making one picot after every fourth single crochet. At the lower point, work (single crochet, picot, single crochet) in the center point stitch. Keep your picot spacing symmetrical and leave the top edge plain.
Fan motif, make 8 in mustard yellow:
Chain 4, slip stitch to the first chain for a ring. Chain 3 (this counts as the first double crochet for this motif only), work 6 double crochets in the ring (7 double crochets total). Do not close the fan into a circle. Fasten off with a 20 cm tail for sewing. Spread each fan gently into a semicircle shape.
Arranging the fans: Place the fans in a centered column from about 3 cm below the top edge to about 3 cm above the tip. Point the straight edges downward and overlap neighboring fans slightly. Sew each base to mesh intersections, then tack its outer corners. Do not pull mesh arches together as you sew.
Optional tip medallion: Chain 4, join to ring. Chain 3 (counts as double crochet), work 11 double crochets in ring, join (12 double crochets total). Fasten off. Sew the medallion over the lowest fan base. This is purely decorative and is not used to shape the triangle.
Section 04: Accent Motifs
Sunflower/Daisy:
With your center color (brown for sunflower, gold for daisy), make 6 single crochets into an adjustable ring. Pull closed and join. Change to petal color. In each single crochet work [slip stitch, chain 5, slip stitch in same single crochet] twice. This creates 12 narrow loop petals. Secure every petal when sewing the flower down.
Leaf:
Chain 8. Starting in the second chain from hook, work single crochet, half double crochet, double crochet, 2 double crochets in next chain, double crochet, half double crochet, 3 single crochets in the last chain. Rotate your work. Along the unused loops of the starting chain, work half double crochet, double crochet, 2 double crochets in next chain, double crochet, half double crochet, single crochet. Join with slip stitch. Fasten off. Sew a contrasting line of stem stitch along its center if desired.
Placement: For the sunflower design, sew one sunflower at the lowest point of the fan spine. Keep appliqués away from the forehead area. Tack every outer point and loop securely.
Section 05: Blocking, Fitting, and Finishing
Weaving in ends: Weave all ends in at least two directions through nearby solid stitches. This keeps everything secure during wear and washing.
Wet blocking: Soak according to your yarn label instructions. Press excess water into a towel (do not wring). Lay the scarf on a blocking mat. Pin the top edge to about 48 cm and the lower tip to about 30 cm depth. Pin both side edges symmetrically.
Open the mesh gently with your fingertips, keeping each chain arch similar in size. Do not stretch so hard that stitches lose their shape. Let dry completely before removing pins.
Fitting: Try on over the crown, with the longest edge across the front hairline. Tie the two corner ties at the nape beneath the hair. The center point should hang down the middle of the hair. Adjust tie position for comfort without pulling the mesh tight.
Care instructions: Follow the cotton yarn label for washing and re-block after laundering.
Troubleshooting Tips
Curling top edge: This usually needs a looser single crochet tension on the edging row.
Flared sides: You may need fewer edging stitches around the perimeter.
Unequal sides: This usually indicates a missed arch or extra end repeat somewhere. Undo to the last correct row and restore its arch count. Those checkpoints are your friends.
Mesh too stiff: Go up a hook size on your next attempt.
Mesh too floppy: Go down a hook size.
Skill Level and Time Estimate
This pattern works well for confident beginners who have mastered basic stitches and are ready to try something with more visual interest. The mesh portion is straightforward once you get the rhythm. The fans and flower are small, standalone motifs that you sew on at the end.
If you can chain, single crochet, and double crochet comfortably, you can make this headscarf.
Expect the project to take several sessions. The mesh triangle goes quickly once you find your groove. The fans and finishing details take a bit more time but are satisfying to complete.
Why I Love This Design
The sunflower lace headscarf hits a sweet spot between practical and pretty. It keeps hair back on warm days without trapping heat. The open mesh breathes beautifully. And that sunflower accent at the bottom point just makes people smile.
I love that you can customize the accent motifs to match your style. The pattern includes instructions for daisies and leaves too, so you can mix and match. Try different color combinations. Make the fans in a contrasting shade. Add more flowers or keep it minimal.
This is the kind of project that looks far more complicated than it actually is. The compliments to effort ratio is excellent.
Thank you so much for choosing this pattern. I really hope you enjoy making your own sunflower lace headscarf. If you make one, I would absolutely love to see it! Tag me on Instagram or share a photo in my Facebook group. Seeing your finished projects is honestly the best part of my week.
Save this pattern to your Pinterest boards so you can find it when you are ready to start. And if you have any questions or want to share how yours turned out, drop a comment below. I read every single one and love hearing from you. Happy crocheting!
Want a Quick & Easy Printable Version?
Get a clean, beautifully formatted PDF of this pattern — easy to follow step by step, ready to print or save on any device. No scrolling, no distractions, just the pattern.
Get the Printable PDF →