
Top-down baby dresses look complicated. All those raglan increases, the sleeve separation, the shell stitch skirt. I get it. When I first tried a garment like this, I was convinced I would mess up the math somewhere around round five and end up with a lopsided disaster.
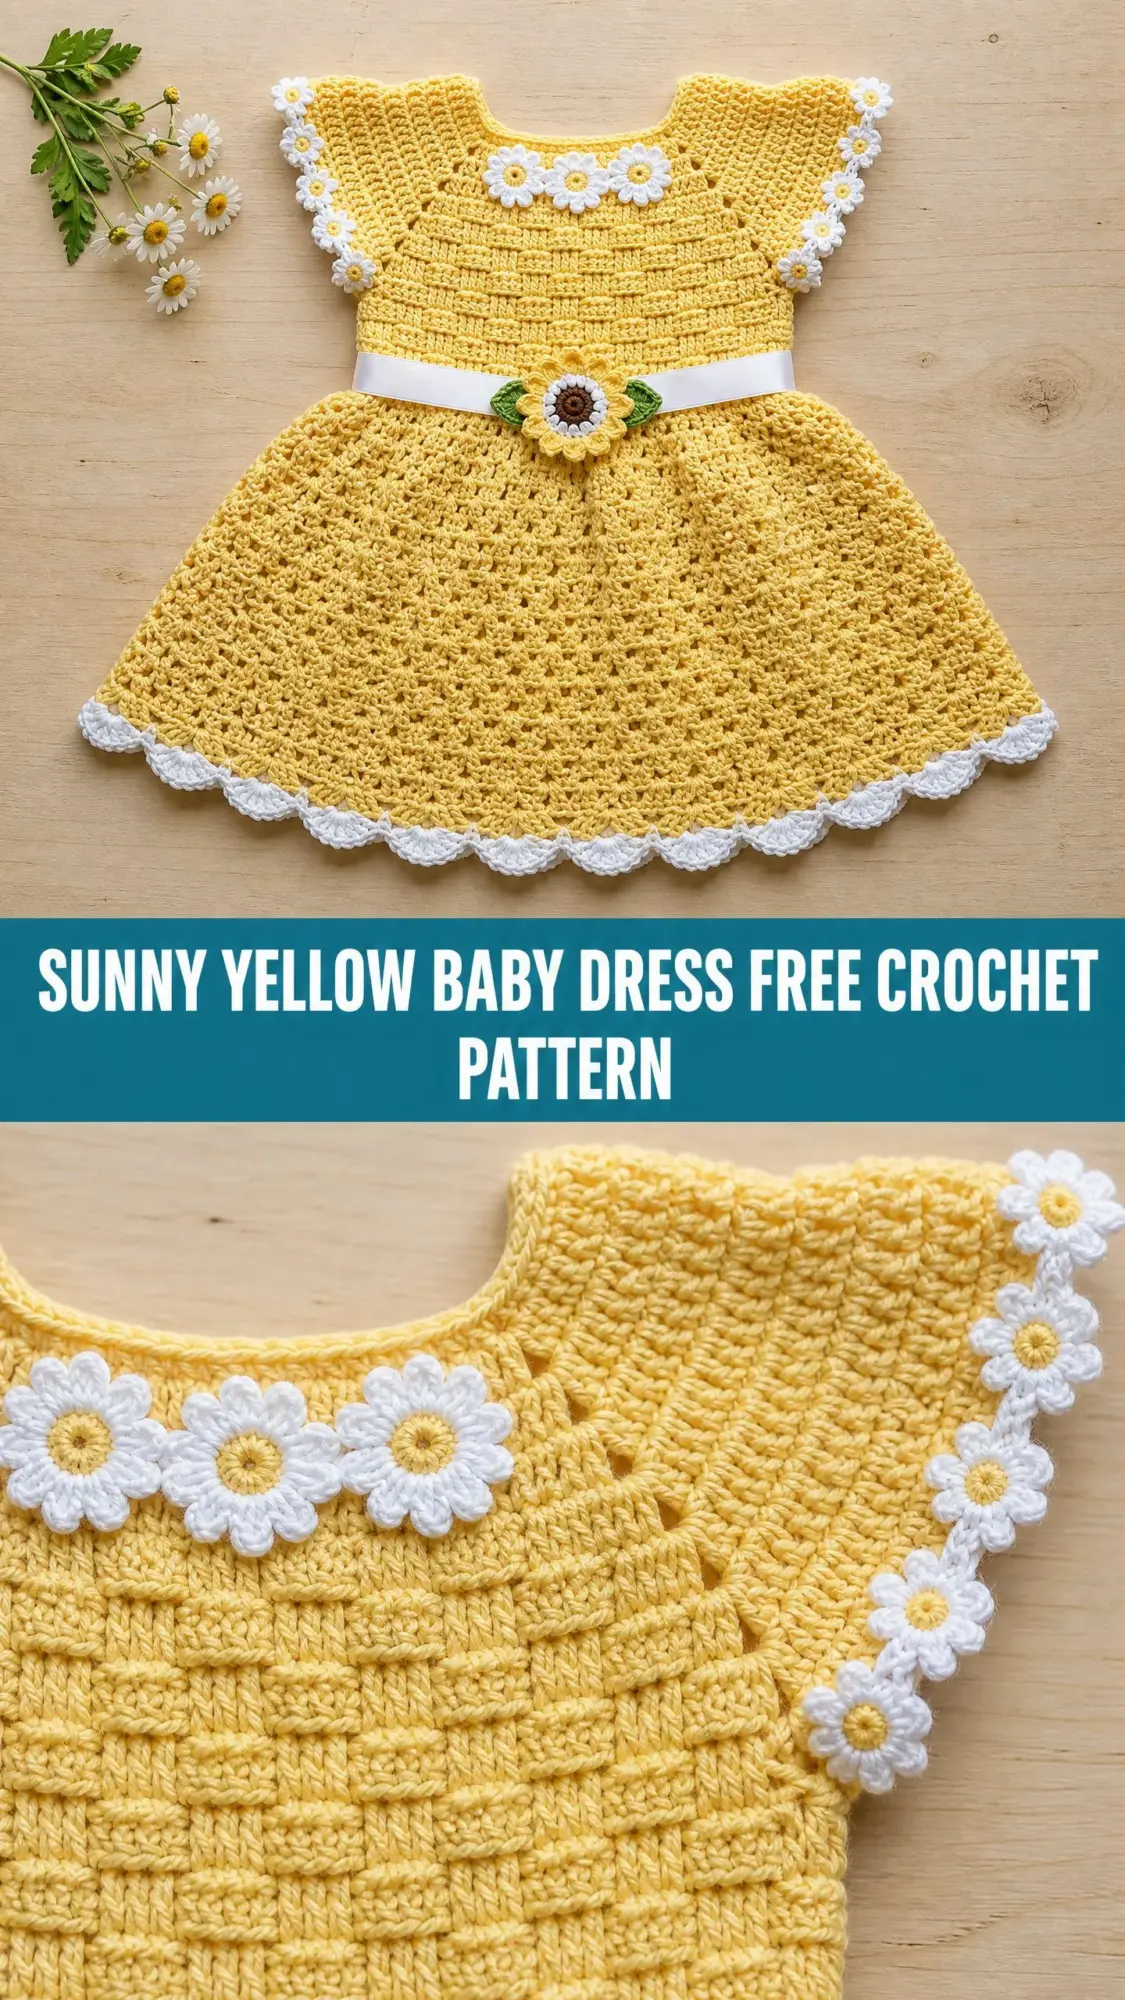
But here is the truth. If you can count stitches and follow a simple increase pattern, you can absolutely make this dress. The construction is logical. You start at the neck, work down to the underarms, skip the sleeves, keep going for the bodice, and then let the skirt flare out in a gorgeous shell pattern. One piece. No seaming the body together at the end.
This sunny yellow baby dress is designed for crocheters who want to level up without drowning in complexity. The yoke uses basic half double crochet with increases at four marked points. The skirt introduces shell stitches, which are just five double crochets grouped together. The daisy trim and sunflower applique look impressive, but they are small, manageable projects on their own. You can do this. Let me walk you through every step.
About This Crochet Pattern
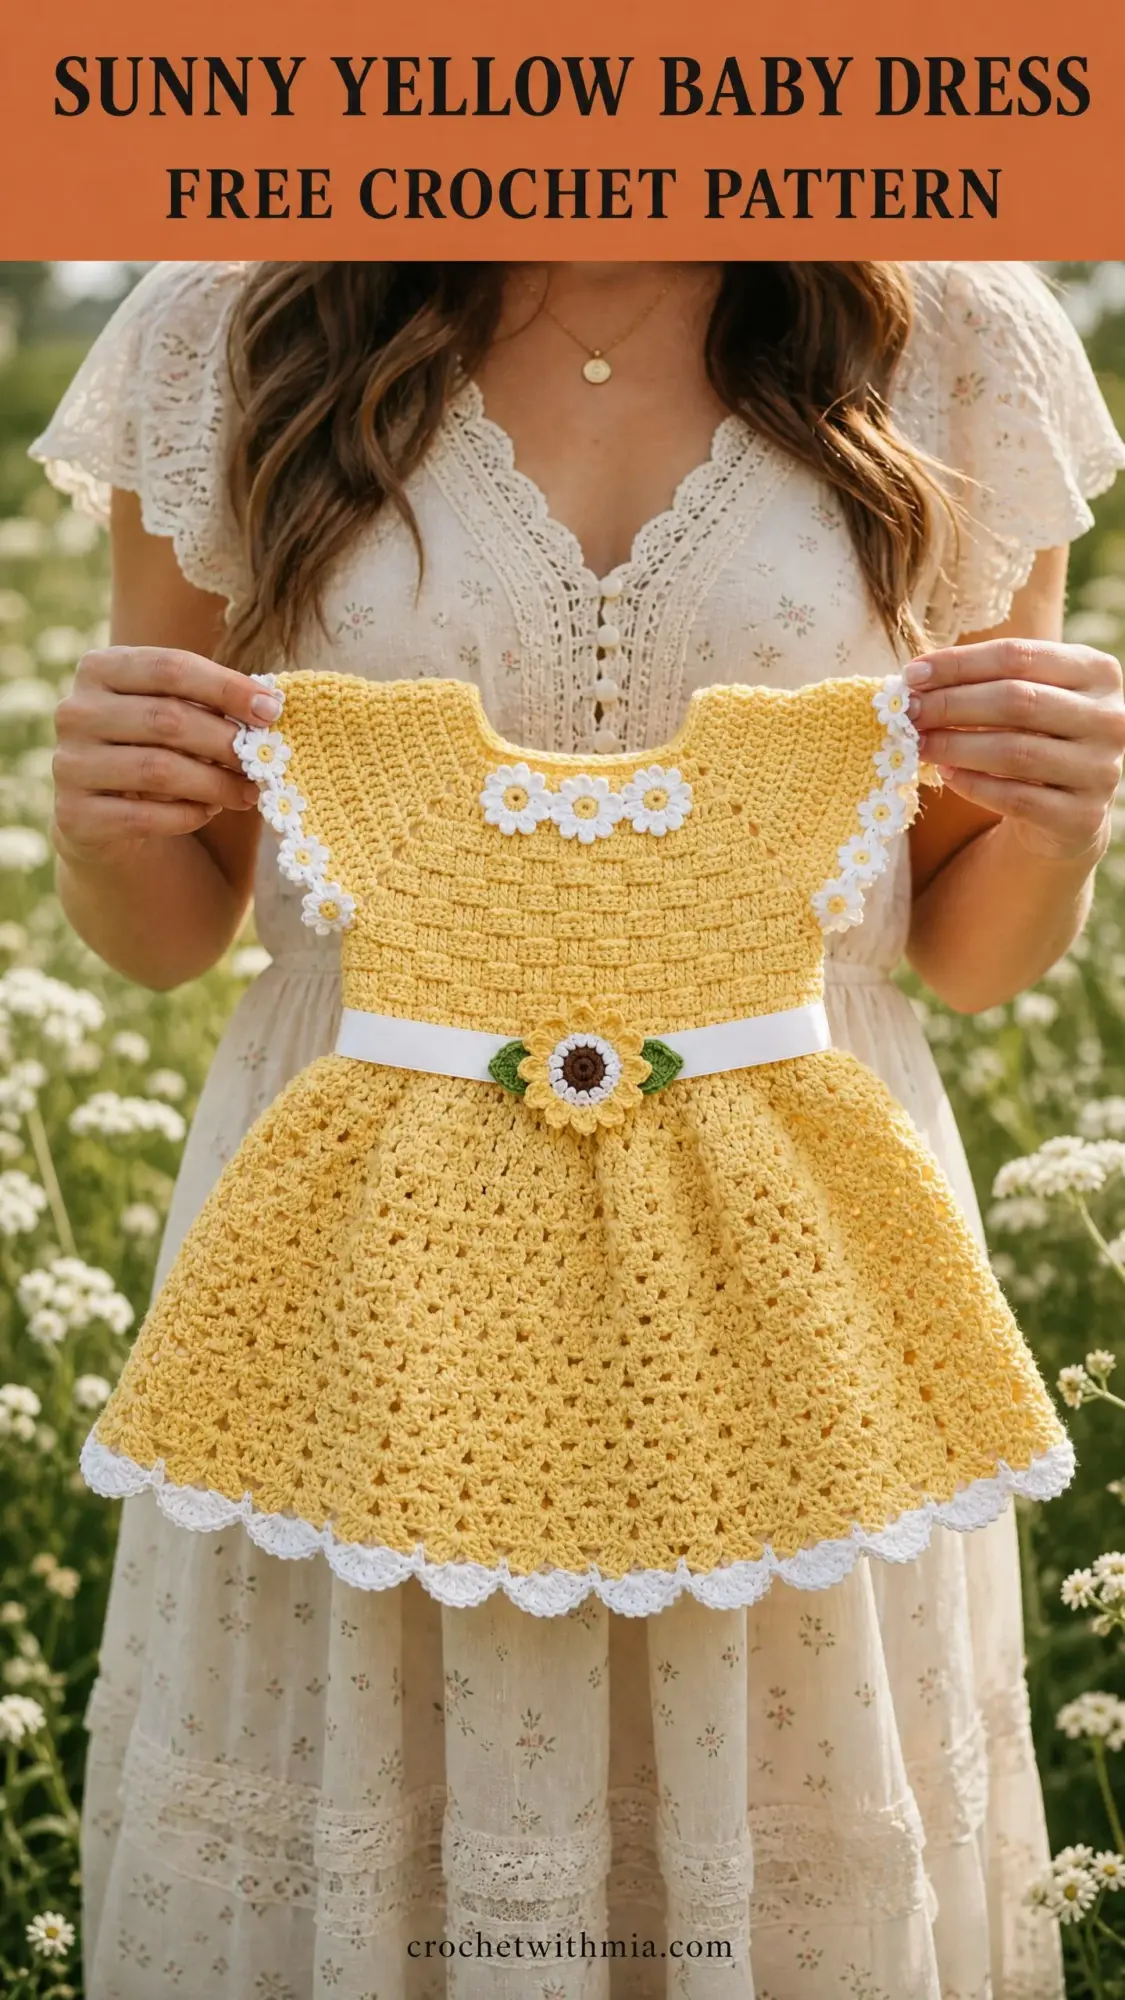
This cheerful baby dress is worked in the round from the top down. You will create a fitted yoke with raglan-style shaping, flutter sleeves with scalloped daisy trim, a dense bodice, and an open lacy skirt. A white satin ribbon threads through an eyelet round at the waist, and a crocheted sunflower with green leaves sits at the center front.
The finished dress fits a baby approximately 6 to 12 months old. The chest circumference measures about 17 to 18 inches, and the total length from neckline to hem is approximately 13 inches. This is a garment measurement, not a body measurement, so it allows room for movement and layering.
Skill level: Intermediate. You should be comfortable working in joined rounds, increasing at marked points, and following stitch counts carefully. Beginners who have completed a few simpler projects and feel confident with basic stitches can tackle this dress with patience.
Time estimate: Approximately 12 to 18 hours for an experienced crocheter. Allow extra time for the appliques and finishing details.
Materials Needed
Yarn:
Yarn suggestions:
Choose a smooth yarn that shows stitch definition well. Avoid fuzzy or bouclé textures.
Hooks:
Use whatever hook size gives you the correct gauge.
Notions:
Gauge
With the smaller hook (E-4 / 3.5 mm) and main color yarn:
18 stitches x 20 rows = 4 inches / 10 cm in half double crochet worked in joined rounds.
With the larger hook (F-5 / 3.75 mm) and main color yarn:
One shell repeat (5 dc + 2 ch-1 spaces) = approximately 1.25 inches wide in shell stitch pattern.
Please make a gauge swatch before starting. Gauge determines whether the dress will fit correctly.
Abbreviations
Here are all the abbreviations used in this crochet pattern. I have included plain English definitions so you know exactly what each stitch means.
Special Stitches
Shell Stitch: Work 5 double crochets all into the same chain space or stitch. This creates a fan-shaped cluster that forms the lacy skirt pattern.
Scallop Edging: A decorative border made by working shells separated by single crochets, creating a wavy edge along the hem and sleeves.
Daisy Motif: A small flat flower with 5 petals. You will make several of these and join them into a chain to decorate the neckline and sleeve edges.
Pattern Instructions
Yoke
The yoke begins at the neckline with a foundation chain joined into a ring. You will increase at four raglan points every round to shape the shoulders and chest.
Foundation: Using MC and smaller hook, ch 56. Join with sl st to first ch, being careful not to twist. (56 ch)
Rnd 1 (Setup Round): Ch 2 (counts as first hdc). Hdc into each ch around. Join with sl st to top of ch-2. (56 hdc)
Place stitch markers at these positions to mark your raglan points:
These markers divide your work into 4 sections of 14 stitches each: back panel, right sleeve, front panel, left sleeve.
Rnds 2 through 9 (Raglan Increase Rounds):
Ch 2 (counts as first hdc). Work hdc to 1 stitch before marker. Work 2 hdc in next stitch. Move marker. Work 2 hdc in next stitch. Repeat this at all 4 markers. Hdc to end of round. Join with sl st to top of ch-2.
Each round adds 8 stitches total (2 stitches at each of 4 raglan points).
Stitch counts after each round:
Checkpoint: After completing Rnd 9, the yoke should measure approximately 3 inches from the foundation chain. Each section now has 30 stitches.
Underarm Separation
This is where you skip the sleeve stitches and join the front and back panels to form the bodice tube.
Rnd 10 (Separate Sleeves):
Ch 2 (counts as first hdc). Hdc into next 29 sts to complete back panel. (30 sts worked including ch-2)
Skip next 30 sleeve stitches. Ch 4 (this creates the underarm bridge).
Hdc into next 30 sts across front panel.
Skip next 30 sleeve stitches. Ch 4 (second underarm bridge).
Join with sl st to top of ch-2.
Working count: 30 back + 4 ch + 30 front + 4 ch = 68 stitches/chains in loop.
Rnd 11 (Work into Bridges):
Ch 2. Hdc into each hdc and into each chain across entire round. Join with sl st to top of ch-2. (68 hdc)
Checkpoint: You now have two open armhole areas and a joined tube for the bodice. The chest circumference at this point should be approximately 15 inches.
Bodice
Continue with MC and smaller hook. Work in joined rounds of hdc.
Rnds 12 through 17 (6 rounds even):
Ch 2. Hdc into each st around. Join with sl st to top of ch-2. (68 hdc each round)
Rnd 18 (Increase Round):
Ch 2. (Hdc in next 16 sts, 2 hdc in next st) 4 times. Join with sl st to top of ch-2. (72 hdc)
Rnds 19 through 22 (4 rounds even):
Ch 2. Hdc into each st around. Join with sl st to top of ch-2. (72 hdc each round)
Checkpoint: After Rnd 22, the bodice below the underarm should measure approximately 2.5 inches.
Waist Eyelet Round
This round creates the holes for threading your ribbon.
Rnd 23 (Eyelet Round):
Ch 3 (counts as first dc). (Dc in next 5 sts, ch 1, sk 1 st) 10 times, then dc in last 2 sts. Join with sl st to top of ch-3. (72 stitch equivalents)
Rnd 24 (Restore Stitch Count):
Ch 2. Hdc in each dc and 1 hdc in each ch-1 sp around. Join. (72 hdc)
Skirt Transition
Rnd 25 (Increase Round):
Ch 3 (counts as first dc). Dc in same st. (Dc in next 5 sts, 2 dc in next st) 11 times. Dc in last 5 sts. Join with sl st to top of ch-3. (84 dc)
Skirt
Switch to the larger hook (F-5 / 3.75 mm). Continue with MC.
Rnd 26 (Shell Setup Round):
Ch 1. Sc in first st. (Ch 2, sk 2 sts, 5 dc in next st, ch 2, sk 2 sts, sc in next st) 13 times. Ch 2, sk 2 sts, 5 dc in next st, ch 2, sk 2 sts. Join with sl st to first sc. (14 shells)
Rnd 27:
Sl st into first ch-2 sp. Ch 3 (counts as dc). Work 4 more dc into same ch-2 sp. Ch 2. Sc into center dc of next shell. Ch 2. (5 dc into next ch-2 sp, ch 2, sc in center dc of next shell, ch 2) 13 times. Join with sl st to top of ch-3. (14 shells)
Rnd 28:
Ch 1. Sc in first sc of previous round. Ch 2. (5 dc into ch-2 sp before next shell, ch 2, sc in center dc of shell, ch 2) 14 times, ending with sl st into first sc. (14 shells)
Rnds 29 through 36:
Alternate Rnd 27 and Rnd 28 instructions. The shells will stack vertically, creating the lacy pattern.
Rnd 37 (Skirt Increase Round):
Work as Rnd 28 but work 7 dc (instead of 5 dc) in each ch-2 sp. (14 enlarged shells)
Hem Scallop Edging
Join CC (white) to any sc between shells.
Edging Rnd 1:
Ch 1. Sc in same sc. (Ch 1, sk to first dc of shell, sc in first dc, sc in each of next 5 dc, sc in last dc of shell, ch 1, sc in sc between shells) 14 times, ending with sl st to first sc.
Edging Rnd 2 (Scallop):
Ch 1. Sc in first sc. Sk ch-1 sp. (Sc in next sc, hdc in next sc, dc in next sc, tr in next sc, dc in next sc, hdc in next sc, sc in next sc. Sc in next sc.) Repeat around. Join with sl st to first sc.
Fasten off CC. Weave in ends.
Flutter Sleeve Edging
For each sleeve opening, join CC at underarm center.
Sleeve Edging Rnd 1:
Ch 1. Sc evenly around sleeve opening edge, working 1 sc per row end and 1 sc per chain. Adjust to a multiple of 6 (approximately 36 sc). Join.
Sleeve Edging Rnd 2 (Scallop):
Ch 1. Sc in first sc. (Sk 2 sts, 5 dc in next st, sk 2 sts, sc in next st) around. Join with sl st. Fasten off CC.
Repeat for second sleeve.
Neckline Daisy Border
Join CC to any stitch along the foundation chain edge.
Neckline Edging Rnd 1:
Ch 1. Work 1 sc into each ch around neckline. Join. (56 sc)
Make 8 individual daisy motifs:
Using CC, make a magic ring. Ch 1. Work 10 sc into the ring. Join with sl st to first sc. (Ch 4, sl st into same st, sl st into next st) 5 times to create 5 petals. Fasten off, leaving a tail for sewing.
Join the daisies side by side by connecting petals with slip stitches. Sew the daisy chain along the neckline, placing daisies evenly across the front and shoulders.
Sunflower Applique
Sunflower Center: Using brown yarn, make a magic ring. Ch 1. Work 6 sc into ring. Join. Rnd 2: Work 2 sc in each sc around. Join. (12 sc) Rnd 3: (Sc in next st, 2 sc in next st) 6 times. Join. (18 sc) Fasten off.
Sunflower Petals: Using MC yellow, join to any st of sunflower center. (Ch 5, sl st into next st) repeat around all 18 sts. (18 petal loops) Fasten off.
Leaves (make 2): Using green yarn, ch 7. Sl st into 2nd ch from hook, sc into next ch, hdc into next ch, dc into next ch, hdc into next ch, sc into last ch. Working back along opposite side: sc, hdc, dc, hdc, sc, sl st. Fasten off.
Assembly: Place leaves pointing outward. Center sunflower on top. Sew together. Attach to front waist over the ribbon.
Ribbon Waistband
Thread the white satin ribbon through the eyelet round, weaving in and out of each hole. Begin and end at center front. Secure ends with hand stitches.
Back Closure
With CC, join at top right back neckline corner. Ch 6. Sl st into same spot to form loop. Fasten off. Sew button at corresponding left back corner.
Finishing
Weave in all yarn ends securely. Wet block the dress by soaking in cool water, gently squeezing out moisture, and laying flat to dry. Pin the scallops and sleeves flat while drying.
Size Customization Tips
To size up (12 to 18 months): Add 2 additional raglan increase rounds. Work 2 more even bodice rounds. Add 2 more shell skirt rounds.
To size down (newborn to 3 months): Begin with ch 48. Work only 7 raglan increase rounds. Reduce skirt rounds by 2.
Thank you so much for choosing this pattern for your next project. I truly hope you enjoy making this sunny little dress as much as I enjoyed designing it. If you create one, I would absolutely love to see it. Tag me on Instagram or share your photo in our Facebook group.
If this pattern caught your eye, go ahead and pin it to your favorite crochet board so you can find it when you are ready to start. And please drop a comment below if you make this dress. I read every single one, and your photos always make my day!