
I call this little hat "Sunshine" because that is exactly what it reminds me of every time I look at it. The design came from a sketch I made years ago in an old spiral notebook, back when my niece was just learning to walk. I wanted to make her something cheerful for spring photos, something that looked store-bought but felt homemade. Life got busy and the notebook ended up in a drawer. When I found it again last month, I knew it was finally time to bring this sunny little cap to life.
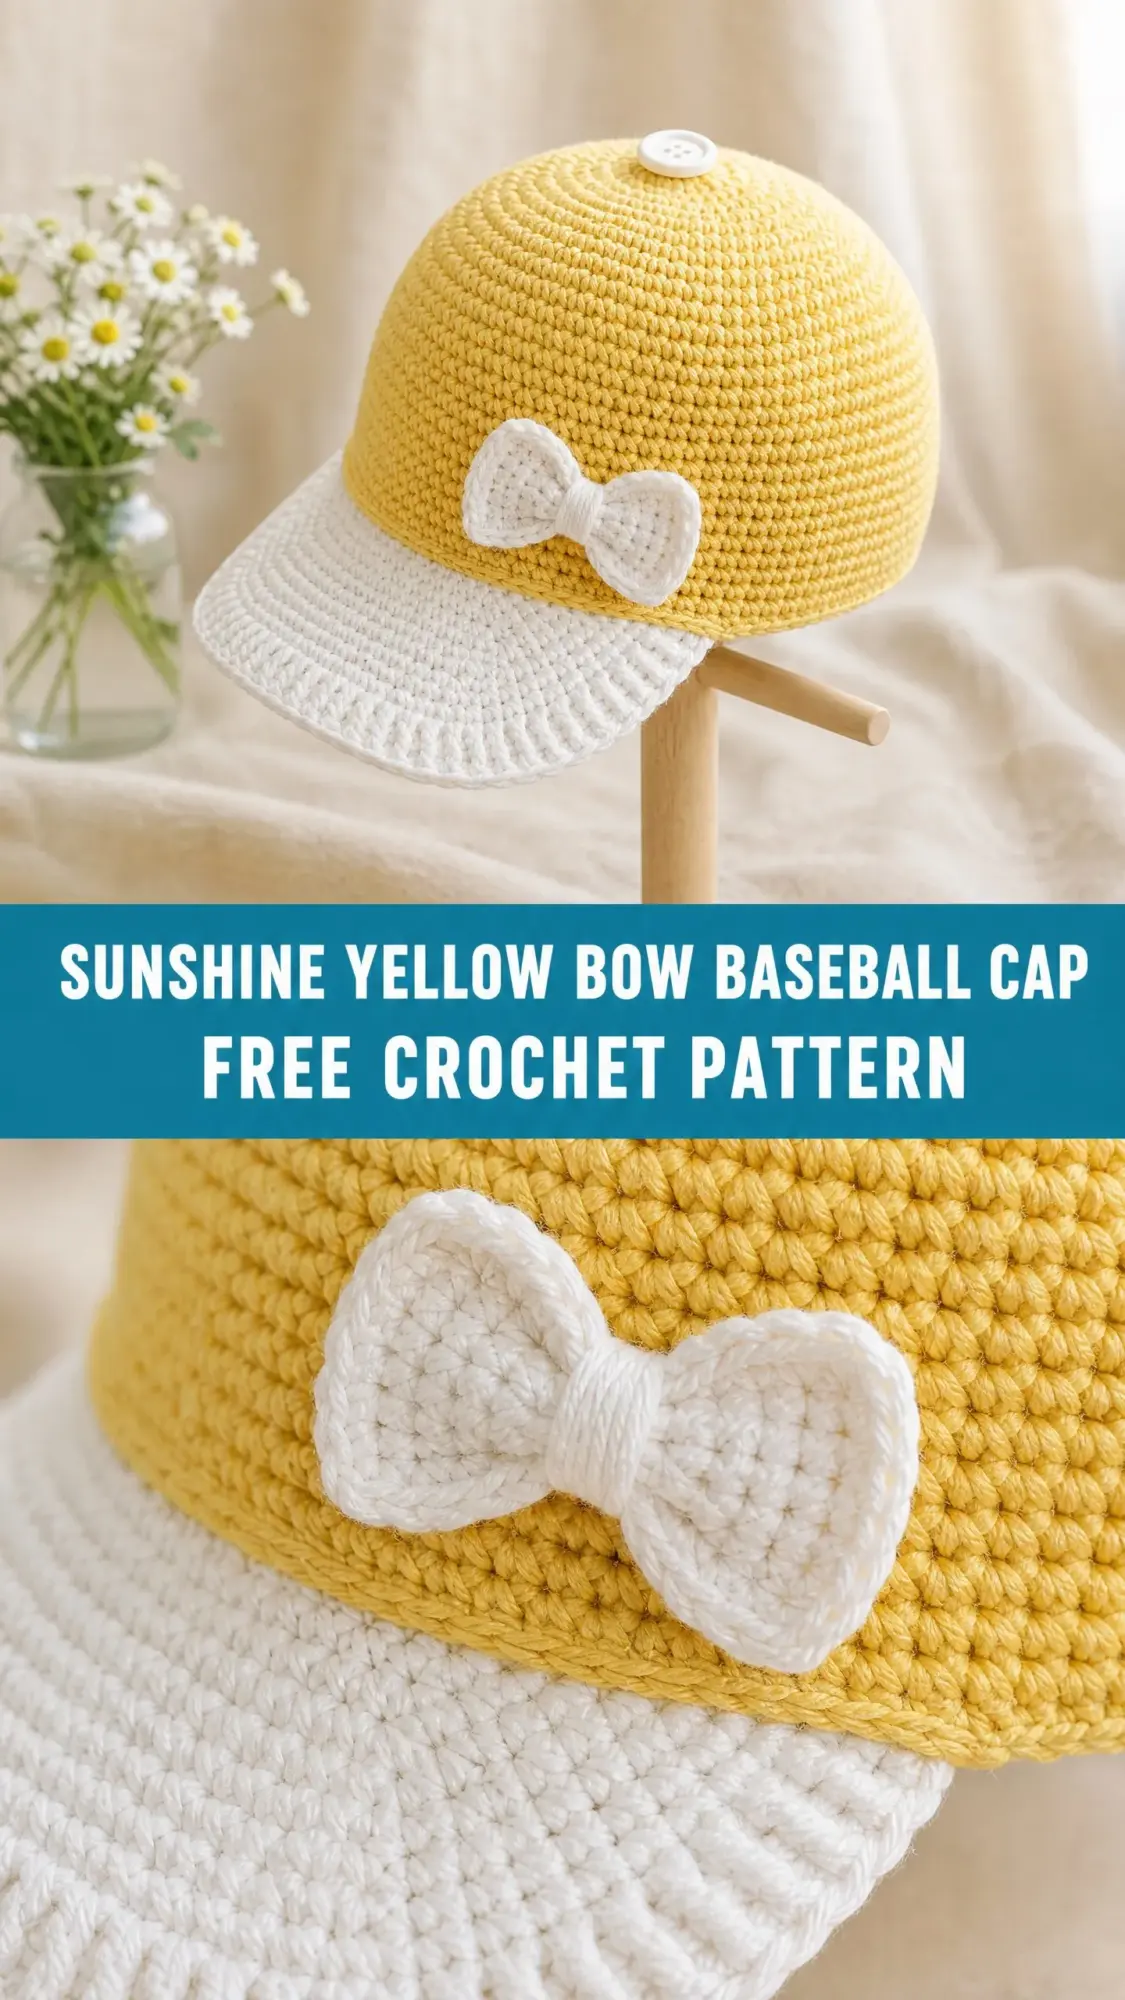
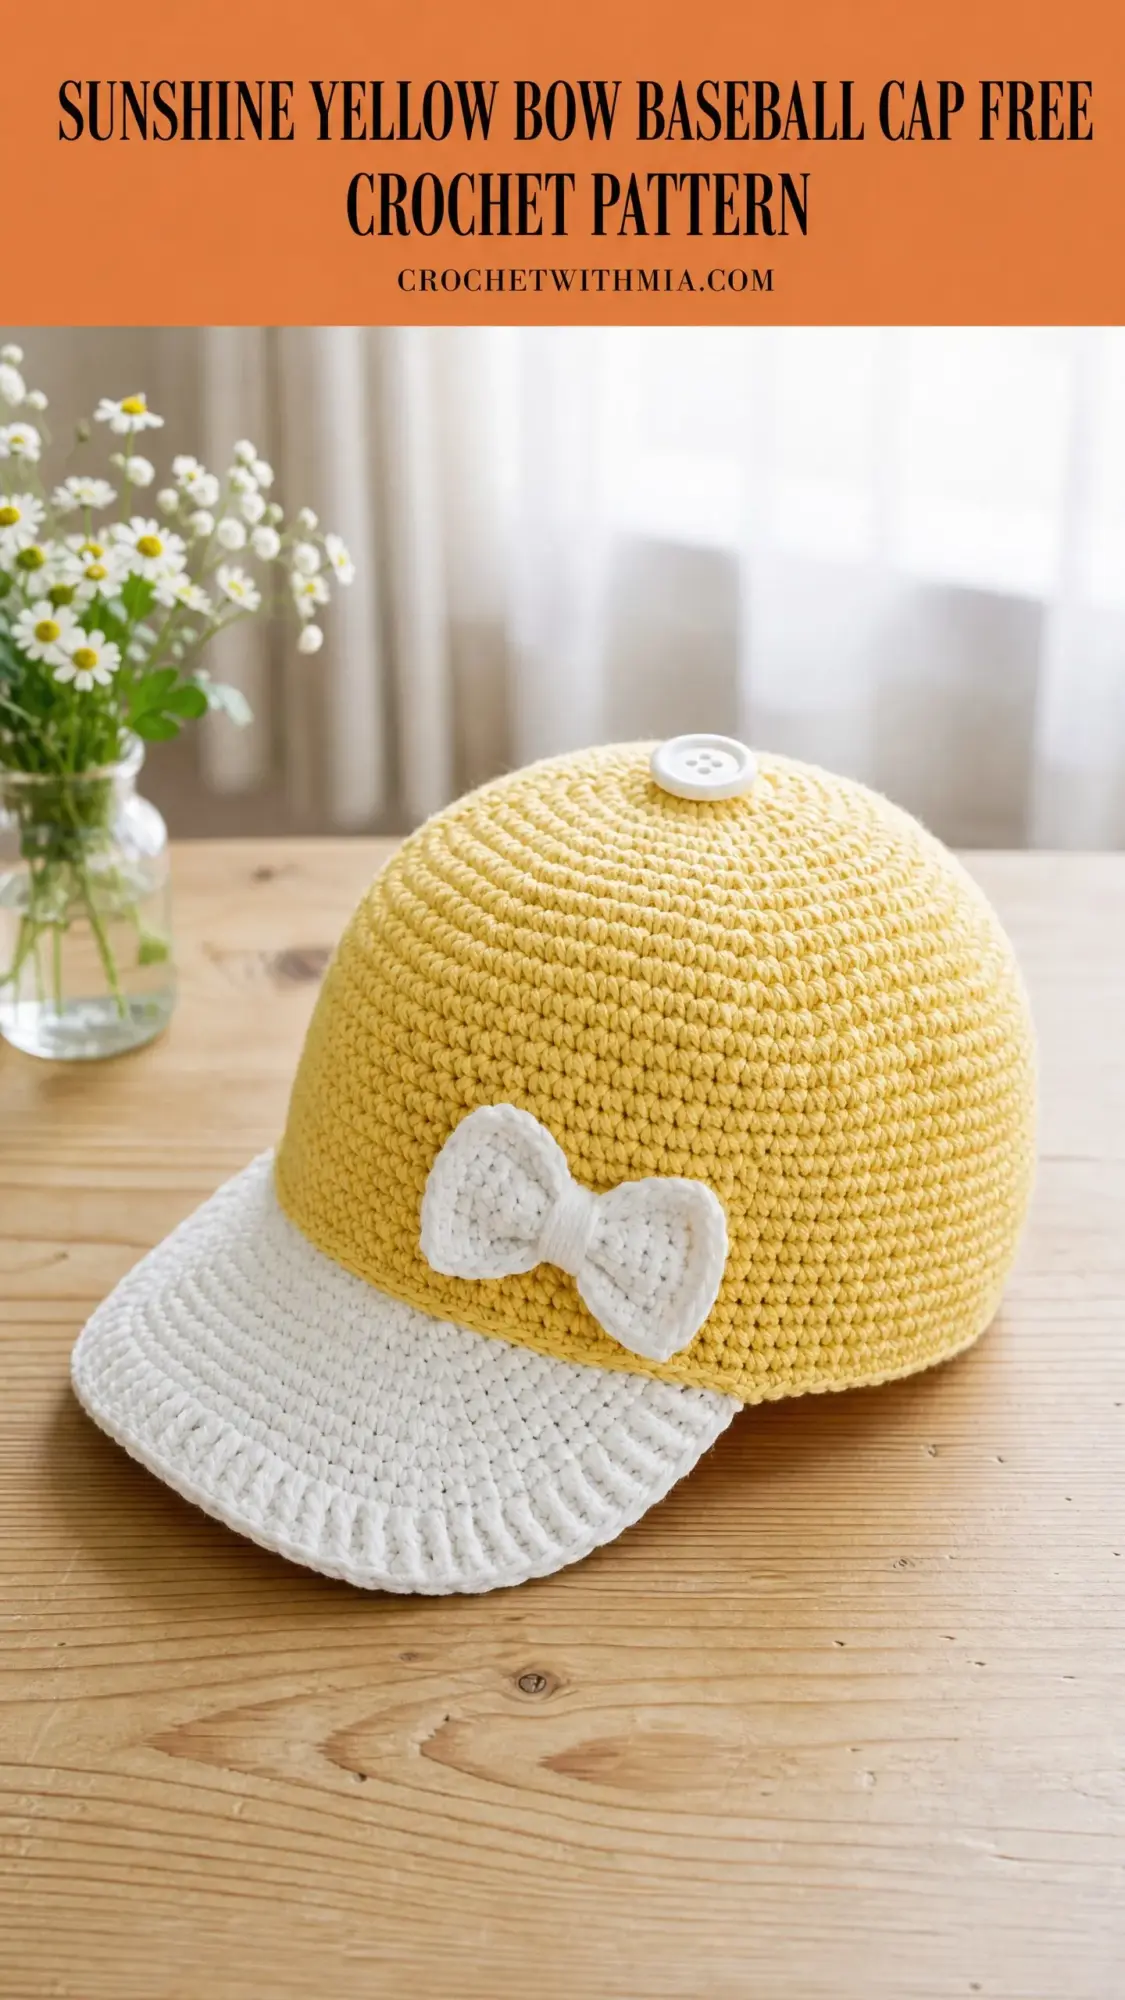
The result is everything I hoped it would be. A structured baseball-style cap with a soft yellow dome, crisp white brim, and the sweetest crocheted bow at the front. The button on top adds that finishing touch that makes people ask where you bought it.
If you have been wanting to try a hat with a flat brim or practice your shaping skills, this is such a satisfying project. It looks far more complicated than it actually is. Let me walk you through every single step.
About This Crochet Baseball Cap Pattern
This toddler baseball cap is worked from the top down in continuous rounds, which means no joining at the end of each round. The crown forms a smooth dome shape using simple single crochet increases, then continues straight down for the sides. The brim is made separately as a flat piece and sewn to the front of the finished crown.
Finished measurements:
Skill level: Intermediate. You should be comfortable working in continuous rounds, tracking stitch counts carefully, and assembling separate pieces. If you have only made flat squares or simple beanies, this will stretch your skills in a good way.
Time estimate: 6 to 9 hours total. The crown takes about 2 to 3 hours, the brim about 1 to 1.5 hours, the bow about 30 to 45 minutes, and assembly another 45 to 60 minutes.
Materials Needed
Yarn:
Recommended yarns:
Cotton and cotton-blends work best for children’s hats. They breathe well, hold their shape, and are typically hypoallergenic. Avoid fuzzy or textured yarns since you need clear stitch definition for that structured look.
Hook: US size G-6 / 4.0 mm crochet hook
Notions:
Gauge
18 sc x 22 rounds = 4 inches / 10 cm, worked in continuous single crochet rounds with a US G-6 / 4.0 mm hook.
To check your gauge, chain 20 with Color A. Work single crochet flat for 24 rows, turning with chain 1. Block lightly and measure. You need an interior 4 x 4 inch square. If your square is too small, go up a hook size. Too large, go down.
Please do not skip the gauge swatch. The cap must fit a specific head circumference, and incorrect gauge will give you a hat that is too tight or too loose.
Abbreviations and Stitch Definitions
Let me define every stitch and abbreviation before we begin. If you see something unfamiliar later, come back to this section.
Special Stitches
Magic Ring (MR): Make a loop with your yarn, tail end crossing over the working yarn. Insert your hook through the center from front to back, yarn over, pull up a loop. Work the number of stitches stated into the center of the ring. Pull the tail firmly to close. This creates a tight center with no hole.
Single Crochet Two Together (sc2tog): Insert hook into the next stitch, yarn over, pull up a loop (2 loops on hook). Insert hook into the following stitch, yarn over, pull up a loop (3 loops on hook). Yarn over and draw through all 3 loops. You have decreased by one stitch.
Pattern Notes Before You Begin
1. The crown is worked in continuous rounds. This means you do not slip stitch to join at the end of each round. Use a stitch marker in the first stitch and move it up each round to track where you are.
2. Do not turn at the end of rounds unless I specifically tell you to.
3. The right side faces you throughout all crown rounds.
4. The brim is worked flat in rows, then sewn to the crown.
5. Stitch counts appear in parentheses at the end of each round or row, like this: (84 sc).
6. When changing colors, complete the last yarn over of the final stitch in the old color using the new color.
7. The turning chain (ch 1) does NOT count as a stitch.
Section 1: Crown Top (Color A)
This section creates the flat circular top of the cap using increases.
Foundation: Make a Magic Ring.
Round 1: Work 6 sc into MR. Pull ring closed. (6 sc)
Round 2: Inc in each st around. (12 sc)
Round 3: (Sc in next st, inc in next st) 6 times. (18 sc)
Round 4: (Sc in next 2 sts, inc in next st) 6 times. (24 sc)
Round 5: (Sc in next 3 sts, inc in next st) 6 times. (30 sc)
Round 6: (Sc in next 4 sts, inc in next st) 6 times. (36 sc)
Round 7: (Sc in next 5 sts, inc in next st) 6 times. (42 sc)
Round 8: (Sc in next 6 sts, inc in next st) 6 times. (48 sc)
Round 9: (Sc in next 7 sts, inc in next st) 6 times. (54 sc)
Round 10: (Sc in next 8 sts, inc in next st) 6 times. (60 sc)
Round 11: (Sc in next 9 sts, inc in next st) 6 times. (66 sc)
Round 12: (Sc in next 10 sts, inc in next st) 6 times. (72 sc)
Round 13: (Sc in next 11 sts, inc in next st) 6 times. (78 sc)
Round 14: (Sc in next 12 sts, inc in next st) 6 times. (84 sc)
Checkpoint: Your flat circle should measure approximately 7.5 inches / 19 cm in diameter. If it is cupping, your tension is too tight. Go up half a hook size. If it is ruffling, your tension is too loose. Go down half a hook size.
Section 2: Crown Sides (Color A)
Now we stop increasing and work straight rounds to create the sides of the cap.
Rounds 15 through 26: Sc in each st around. (84 sc each round)
That is 12 rounds of plain single crochet with no shaping.
Checkpoint: The crown should measure approximately 5 to 5.25 inches from the top to the working edge. The opening circumference should be approximately 18.5 inches. If the cap seems too short, add more even rounds until you reach the desired depth.
Section 3: Crown Band (Color B)
Round 27: Join Color B with a sl st in any stitch. Ch 1 (does not count as st). Sc in each st around. (84 sc)
Round 28: Sc in each st around. (84 sc)
Sl st in next st to close. Fasten off Color B, leaving a 12-inch tail if you want to use it for seaming later. Weave in the Color A tail from your color change.
Your finished crown should measure approximately 5.5 inches tall with the white band at the bottom.
Section 4: Brim (Color B)
The brim is worked flat and increases on alternate rows to create a curved shape.
Foundation Row: With Color B, ch 28.
Row 1 (RS): Starting in 2nd ch from hook, sc in each ch across. Ch 1, turn. (27 sc)
Row 2 (WS): Sc in each st across. Ch 1, turn. (27 sc)
Row 3 (RS): Inc in first st, sc in next 25 sts, inc in last st. Ch 1, turn. (29 sc)
Row 4 (WS): Sc in each st across. Ch 1, turn. (29 sc)
Row 5 (RS): Inc in first st, sc in next 27 sts, inc in last st. Ch 1, turn. (31 sc)
Row 6 (WS): Sc in each st across. Ch 1, turn. (31 sc)
Row 7 (RS): Inc in first st, sc in next 29 sts, inc in last st. Ch 1, turn. (33 sc)
Row 8 (WS): Sc in each st across. Ch 1, turn. (33 sc)
Row 9 (RS): Inc in first st, sc in next 31 sts, inc in last st. Ch 1, turn. (35 sc)
Row 10 (WS): Sc in each st across. Ch 1, turn. (35 sc)
Row 11 (RS): Inc in first st, sc in next 33 sts, inc in last st. Ch 1, turn. (37 sc)
Row 12 (WS): Sc in each st across. Ch 1, turn. (37 sc)
Row 13 (RS): Inc in first st, sc in next 35 sts, inc in last st. Ch 1, turn. (39 sc)
Row 14 (WS): Sc in each st across. Do not turn. (39 sc)
Brim Edging
Without turning, work a border around three sides of your brim panel:
Step 1: Work 1 sc in the side of each row along the right short edge. (13 sc)
Step 2: Work 3 sc into the corner stitch.
Step 3: Sc across the foundation chain edge, working 1 sc into each of the 27 original chain loops. (27 sc)
Step 4: Work 3 sc into the far corner stitch.
Step 5: Work 1 sc in the side of each row along the left short edge. (13 sc)
Step 6: Sc across Row 14, working 1 sc in each of the 39 sts. (39 sc)
Total border stitches: 13 + 3 + 27 + 3 + 13 + 39 = 98 sts.
Sl st to join. Fasten off, leaving a 24-inch tail for seaming.
The 39-stitch top edge (Row 14) attaches to the crown. The curved edge along the foundation chain is the visor tip.
Section 5: Bow (Color B)
The bow has two pieces: a rectangle and a small wrap strip.
Bow Rectangle
With Color B, ch 16.
Row 1: Starting in 2nd ch from hook, sc in each ch across. Ch 1, turn. (15 sc)
Rows 2 through 8: Sc in each st across. Ch 1, turn. (15 sc each row)
Row 9: Sc in each st across. Do not ch or turn. (15 sc)
Fasten off, leaving a 12-inch tail.
Bow Wrap (Center Knot)
With Color B, ch 6.
Row 1: Starting in 2nd ch from hook, sc in each ch across. Ch 1, turn. (5 sc)
Rows 2 through 4: Sc in each st across. Ch 1, turn. (5 sc each row)
Row 5: Sc in each st across. (5 sc)
Fasten off, leaving an 8-inch tail.
Bow Assembly
1. Fold the bow rectangle in half lengthwise, wrong sides together. It should form a double-layered piece about 1 inch wide and 1.75 inches long.
2. Whipstitch the two long edges together along one side using your yarn tail. Do not close the short ends.
3. Pinch the center firmly to gather it into a cinched waist, creating the bow shape.
4. Wrap the small wrap strip tightly around the gathered center 2 to 3 times.
5. Stitch the wrap ends together at the back to secure.
Your finished bow should measure approximately 1.5 inches wide and 1 inch tall. Set it aside.
Assembly and Finishing
Step 1: Brim Stiffening (Optional)
For a flat, structured brim like you see in the photo, cut a piece of thin cardboard or plastic canvas slightly smaller than the brim panel. Place it against the wrong side of the brim, fold the brim in half so right sides face out on both surfaces, and pin the top edge together. The stiffener stays hidden inside.
Step 2: Attaching the Brim
Fold your crown flat and mark the front center 39 stitches of the lower edge with pins. These correspond to where the brim will attach.
Using your 24-inch tail and a yarn needle, whipstitch or mattress stitch the brim’s top seaming edge to the front 39 stitches of the crown. Work through both layers of the brim and one layer of the crown. Keep your stitches firm and even so the brim sits flat. Weave in ends.
Step 3: Attaching the Bow
Position the bow at the front center of the cap, right where the yellow meets the white. Using a yarn needle and Color B yarn, stitch it securely to the crown at the back of the bow wrap. Take several passes to anchor it firmly. Weave in the end inside the crown.
Step 4: Attaching the Button
Place your white button at the very top center of the crown, over the magic ring. Thread a sewing needle with doubled white thread. Stitch through the button holes and the crown at least 8 to 10 times. Knot and trim inside the crown.
Step 5: Finishing Touches
Weave in all remaining ends on the inside of the cap. Trim tails to about 1/4 inch after weaving.
Blocking Your Finished Cap
Lightly mist the cap with water from a spray bottle. Place it over a bowl, balloon, or hat form roughly the size of a toddler head. Smooth the crown into a dome shape and flatten the brim. Let it dry completely for at least 4 to 6 hours before removing from the form.
Size Customization Tips
This pattern is sized for toddlers (12 months to 3 years) with an 18.5-inch head circumference.
For newborn/small infant (14 to 15 inch circumference):
Work increases through Round 10 only (60 sc total). Work even rounds through Round 21 or 22 until the crown is about 4.5 inches tall. For the brim, start with ch 20 and work increases through Row 9 only.
For large child/small adult (20 to 21 inch circumference):
Work increases through Round 16 (96 sc total). Work even rounds through Round 29 or 30 until the crown is about 6 inches tall. For the brim, start with ch 34 and work increases through Row 17.
Each additional increase round adds 6 stitches and about 0.67 inches to the circumference.
Care Instructions
Hand wash in cool water with gentle soap. Do not wring. Press between clean towels to remove water. Reshape and dry flat or over a hat form. If you used cardboard for stiffening, remove it before washing. Plastic canvas can stay in during hand washing. Do not machine wash or tumble dry.
You Did It!
Thank you so much for making this little Sunshine cap with me. I truly hope it brings joy to whatever lucky kiddo gets to wear it. There is something so special about a handmade hat, and you should be proud of the work you put into this one.
If you make this crochet baseball cap pattern, I would absolutely love to see your finished project. Tag me on Instagram or share a photo on Facebook. Seeing your versions in different colors always makes my day.
Go ahead and save this pattern to your Pinterest boards so you can find it whenever the mood strikes. And if you have any questions or just want to share your progress, drop a comment below. I read every single one.