
THIS COAT IS ABSOLUTELY STUNNING and I cannot wait for you to make it! When I tell you this sunshine yellow hooded coat is one of the most impressive projects you can create for a little one, I mean it. Yes, it takes some time. Yes, there are multiple construction stages. But the result? A showstopping handmade garment that looks like it walked straight out of a boutique.
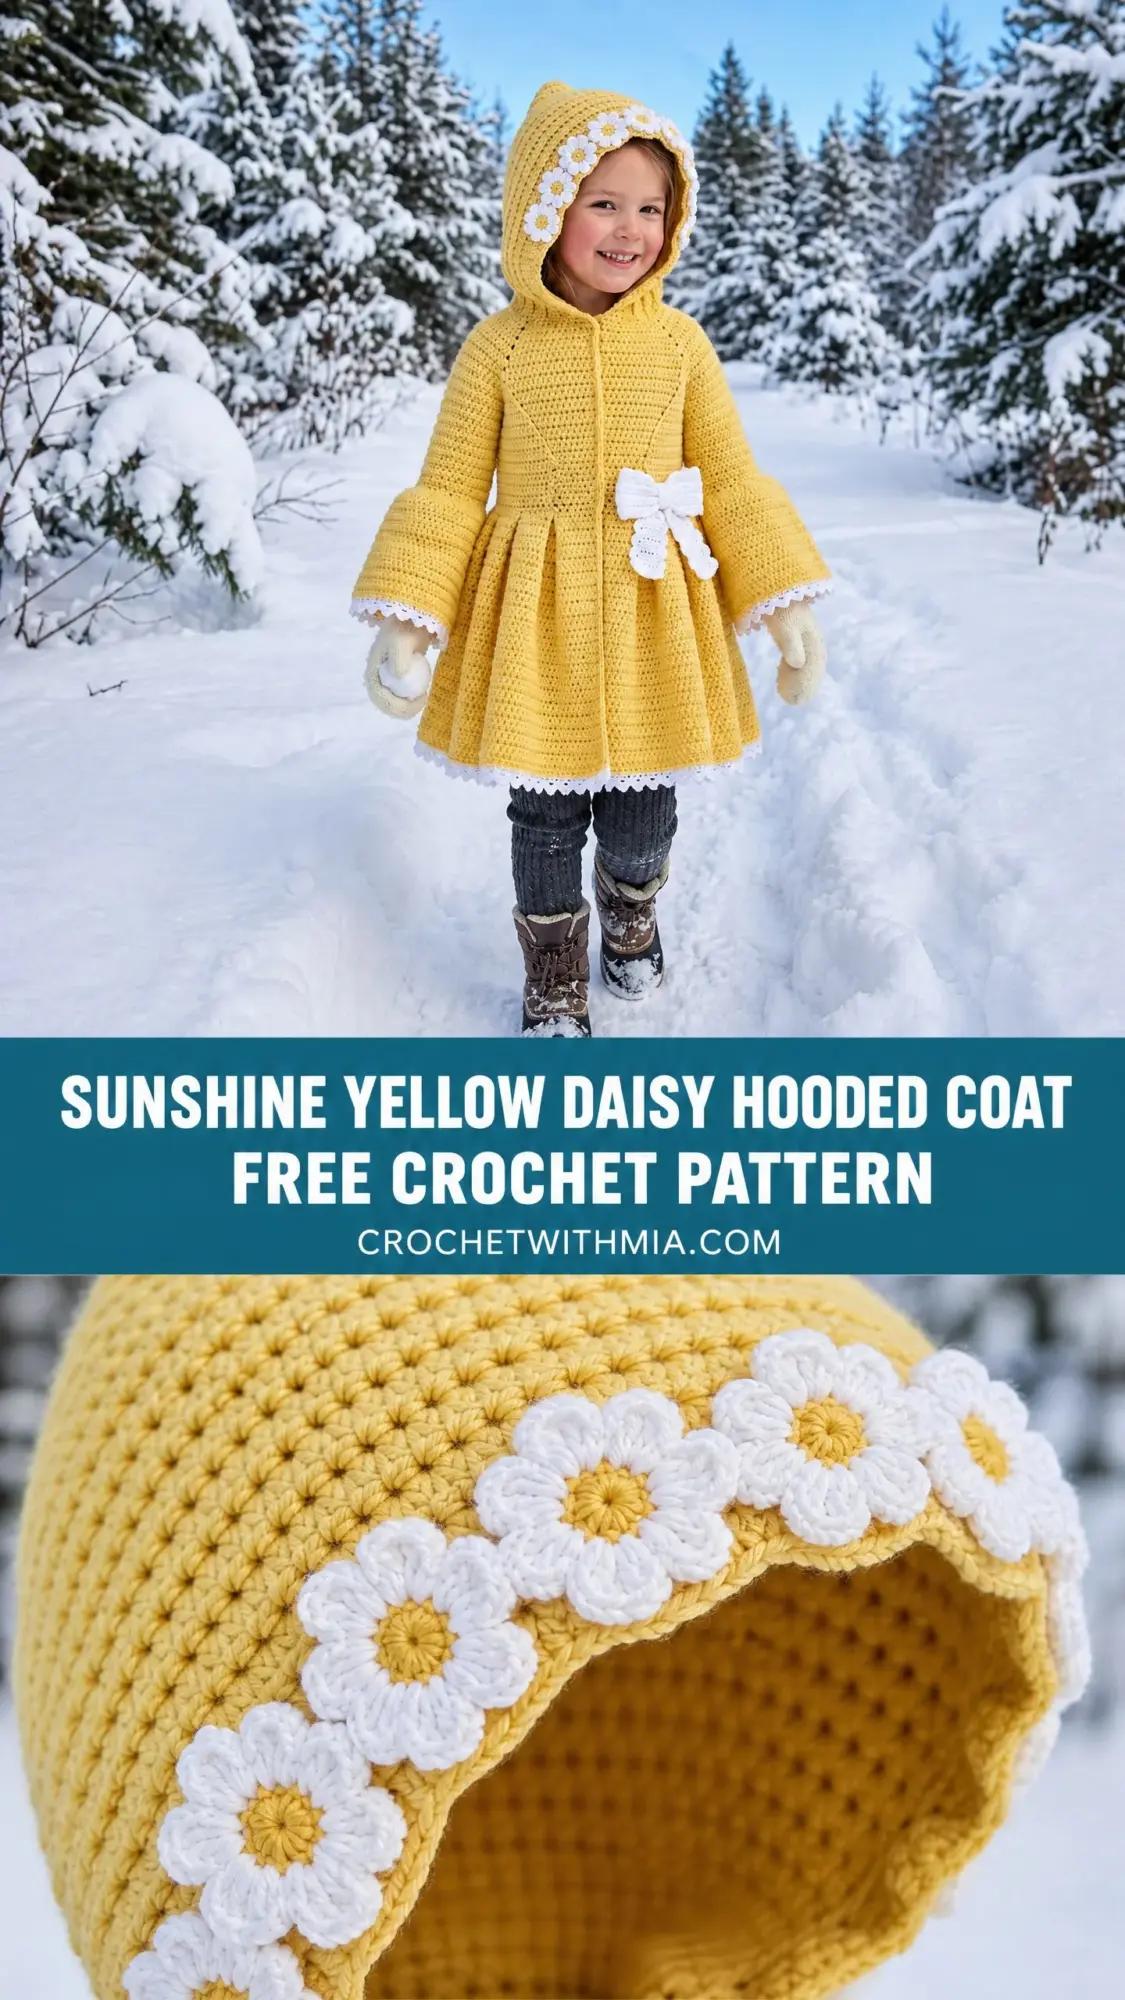
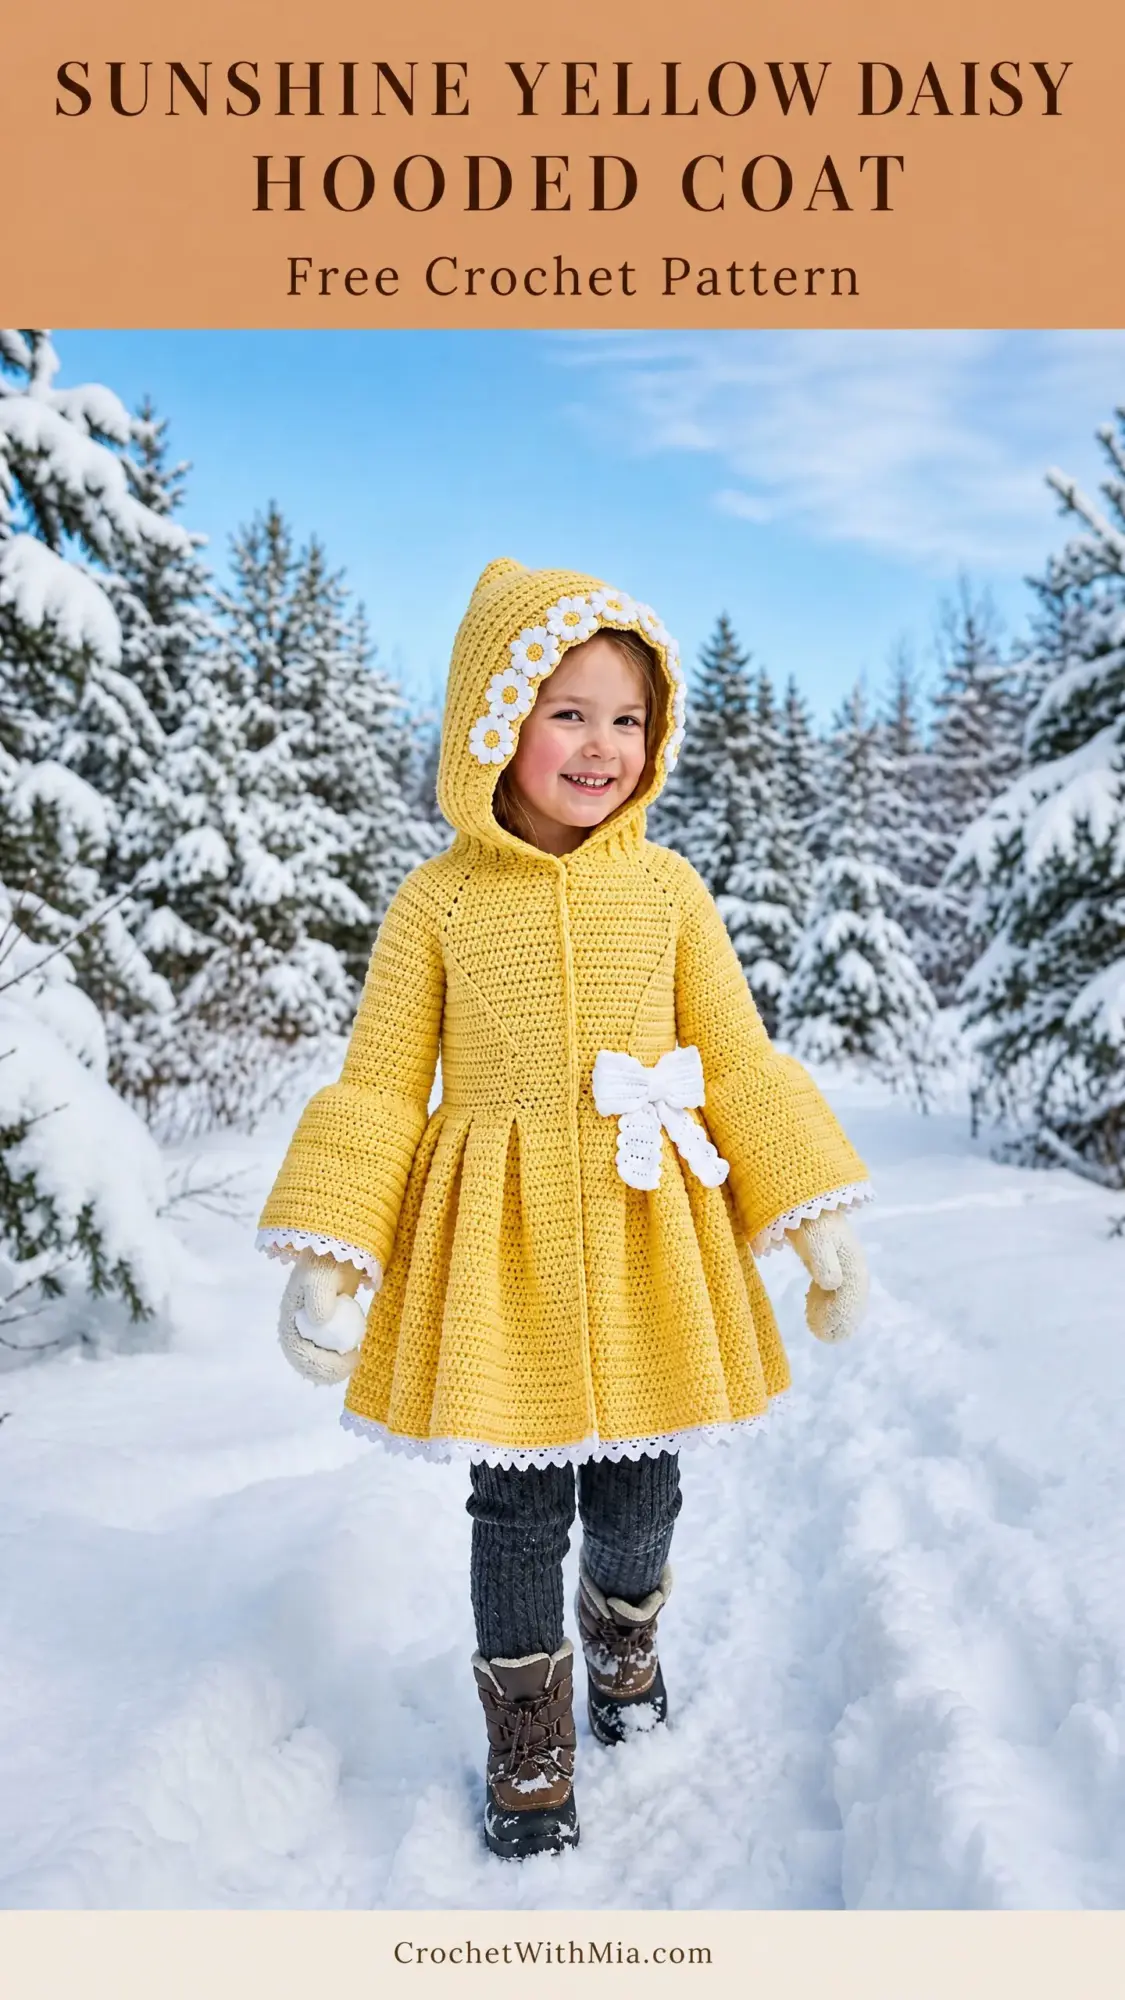
This is the kind of project that makes people stop you on the street and ask where you bought it. The gathered A-line skirt, the bell sleeves, the daisy-trimmed hood. Every single detail comes together beautifully. And here is the best part. If you can work a single crochet, you can make this coat.
Expect about 20 to 30 hours of crochet time depending on your speed. That makes it perfect for working on over a few weeks, and absolutely worth every stitch when you see a child twirling in their handmade coat. Gift potential? Through the roof.
Why This Hooded Coat Pattern Works So Well
Let me walk you through what makes this design special. The coat features a fitted bodice with raglan-style yoke construction, which means you start at the top and work your way down. This method creates a beautiful seamless look across the shoulders and makes fitting much easier.
The gathered skirt happens at the waist join, where you double the stitch count in a single round. This creates that full, twirly A-line silhouette that kids absolutely love. The bell sleeves flare out gradually through a series of increase rounds, giving the coat an elegant, almost vintage feel.
And those daisies! They are simple little motifs worked separately and sewn onto the hood trim. Combined with the white picot edging and the adorable bow accent at the waist, every detail adds charm without adding difficulty.
Skill Level and What You Need to Know
This pattern is rated intermediate. You should be comfortable with working in both rounds and rows, basic increasing and decreasing, and picking up stitches along edges. The raglan yoke shaping is straightforward once you understand the rhythm of increase rows.
Here is the good news. The entire main fabric is worked in single crochet (sc), which is the most basic stitch there is. The texture you see in the finished coat comes from the natural look of dense single crochet worked consistently. No complicated stitch patterns to memorize.
The biggest challenge is tracking stitch counts through the various construction stages. Use stitch markers generously and count often. I promise it is manageable if you take it section by section.
Materials You Will Need
Yarn:
Hooks:
Notions:
Yarn Suggestions
Lion Brand Pound of Love works beautifully for this project. It is 100% premium acrylic, machine washable, durable, and soft against children’s skin. You will need approximately 4 skeins MC and 1 skein CC.
Paintbox Yarns Simply Aran is another excellent choice with smooth consistency and great stitch definition. Same quantity needed.
Cascade 220 Superwash gives you a natural fiber option that blocks beautifully. If you want that extra drape and polish, wool is the way to go.
Use any worsted weight (weight category 4) yarn that achieves gauge. Avoid yarns with a high halo like mohair blends, as they will obscure the clean stitch texture.
Gauge
16 sc x 18 rows = 4 in / 10 cm worked in single crochet, in the round, with MC and J-10 hook, after blocking.
Please make a gauge swatch at least 5 inches square. Wash and block it as you would the finished coat, then measure. This is a fitted garment, so gauge matters for proper fit.
Finished Measurements
This pattern is written for size 4T (fits approximately 3 to 4 years old).
Abbreviations
Before we dive into the instructions, here are the abbreviations you will encounter:
Special Stitches and Techniques
Picot Trim
This creates the delicate pointed edging on the hood, hem, and cuffs.
1. Join CC with a sl st to the edge stitch
2. Ch 1, sc in the same stitch
3. Work 1 sc in each of the next 2 stitches
4. Ch 3, sl st into the first of those 3 chains (this forms the picot point)
5. Repeat steps 3 and 4 across the entire edge, ending with a sc
6. Fasten off and weave in ends
Daisy Motif (Make 8 to 10)
These sweet little flowers trim the hood opening.
1. With CC, make a magic ring
2. Ch 1, work 8 sc into the ring (8 sc)
3. Pull ring closed. Sl st into first sc to join
4. For petals: (ch 3, sl st into the next sc) 8 times (8 petals)
5. Fasten off, leaving a long tail for sewing
6. Optional: With yellow yarn, embroider a center dot onto each motif
Step-by-Step Pattern Instructions
Section 1: Hood
The hood is worked flat in rows starting from the face opening edge, working toward the back of the head.
With MC and J-10 hook, chain 61.
Foundation Row (WS): Sc in 2nd ch from hook and in each ch across. Turn. (60 sc)
Row 1 (RS): Ch 1, sc in each st across. Turn. (60 sc)
Rows 2 through 20: Ch 1, sc in each st across. Turn. (60 sc per row)
You now have 20 rows of 60 sc. The piece should measure approximately 4.5 in / 11.5 cm wide by approximately 4.5 in / 11.5 cm tall.
Hood Back Shaping
Row 21 (RS): Ch 1, sc in first 28 sts, sc2tog, sc2tog, sc in last 28 sts. Turn. (58 sc)
Row 22: Ch 1, sc in first 27 sts, sc2tog, sc2tog, sc in last 27 sts. Turn. (56 sc)
Row 23: Ch 1, sc in first 26 sts, sc2tog, sc2tog, sc in last 26 sts. Turn. (54 sc)
Row 24: Ch 1, sc in first 25 sts, sc2tog, sc2tog, sc in last 25 sts. Turn. (52 sc)
Row 25: Ch 1, sc in first 24 sts, sc2tog, sc2tog, sc in last 24 sts. Turn. (50 sc)
Fold the hood piece in half with RS together. Using a yarn needle, mattress stitch or sl st the 50 sts of row 25 together through both layers to form the back seam of the hood. Fasten off and weave in ends. Turn RS out.
Checkpoint: Your finished hood should measure approximately 8 in / 20 cm from front face edge to back seam, and approximately 7.5 in / 19 cm from top of head to base.
Hood Face Trim
With CC and I-9 hook, join yarn at one corner of the face opening. Work picot trim along the entire face opening edge. Fasten off and weave in ends.
Attach daisy motifs evenly along the picot trim, 8 to 10 motifs spaced approximately every 5 to 6 stitches. Sew with yarn tail using a yarn needle.
Section 2: Yoke (Worked Flat, Top-Down Raglan)
Set the hood aside for now. You will attach it after the yoke is complete.
With MC and J-10 hook, chain 47.
Foundation Row (WS): Sc in 2nd ch from hook and in each ch across. Turn. (46 sc)
The 46 sts are arranged as follows:
Place stitch markers at the 4 raglan points (after sts 8, 14, 32, and 38 from the right edge).
Raglan Increase Rows
On each RS row, you will work increases on each side of each raglan marker, adding 8 sts per increase row. WS rows are plain sc across.
Row 1 (WS): Ch 1, sc in each of 46 sts across. Turn. (46 sc)
Row 2 (RS, increase row): Work increases at each raglan point. Turn. (54 sc)
Row 3 (WS plain): Ch 1, sc across. Turn. (54 sc)
Continue in this pattern:
After row 20, section counts are:
Do NOT fasten off.
Section 3: Sleeve Separation and Bodice Join
Row 21 (WS, separation row): Ch 1. Sc across 18 right front sts. Skip 26 right sleeve sts (place on holder or scrap yarn). Ch 4 (underarm bridge). Sc across 38 back sts. Skip 26 left sleeve sts (place on holder). Ch 4 (underarm bridge). Sc across 18 left front sts. Turn. (82 sc)
Row 22 (RS): Ch 1, sc across all 82 sts including into each ch of the underarm bridges. Turn. (82 sc)
Row 23 (WS): Ch 1, sc across. Turn. (82 sc)
Joining to Work in Rounds
Joining Round: Ch 1. Sc across all 82 sts of the RS row, then sl st into the first sc to join. Do NOT turn. From here, the bodice is worked in rounds with the RS always facing.
Section 4: Bodice (Worked in Rounds)
Work even in sc for 12 rounds with no increases or decreases.
Rounds 1 through 12: Sc in each st around, sl st to first sc to join. (82 sc per round)
Checkpoint: After 12 rounds of bodice, the piece should measure approximately 6 in / 15 cm tall from the underarm.
Section 5: Gathered Skirt Join Row
This is where the magic happens! Doubling the stitch count creates the beautiful gathered waist.
Skirt Join Round: Sc 2 in every stitch around. Sl st to join. (164 sc)
Section 6: Skirt (Worked in Rounds)
The skirt is worked in rounds in single crochet with no further increases.
Rounds 1 through 24: Sc in each st around, sl st to join. (164 sc per round)
After round 24, the skirt should measure approximately 9 in / 23 cm from the waist join.
Hem Trim: Work the picot trim around the bottom hem with CC and I-9 hook.
Section 7: Sleeves (Worked from Underarm Downward)
Return the 26 held sleeve sts to your hook. Join MC to the center underarm.
Pick up and sc evenly across the 4 underarm chain sts (pick up 4 sc), then sc across all 26 held sleeve sts. Sl st to join. (30 sc)
Rounds 1 through 4: Sc in each st around, sl st to join. (30 sc per round)
Bell Flare Increase Rounds
Round 5: (Sc 4, inc) 6 times. Sl st to join. (36 sc)
Round 6: Sc in each st around. Sl st to join. (36 sc)
Round 7: (Sc 5, inc) 6 times. Sl st to join. (42 sc)
Round 8: Sc in each st around. Sl st to join. (42 sc)
Round 9: (Sc 6, inc) 6 times. Sl st to join. (48 sc)
Round 10: Sc in each st around. Sl st to join. (48 sc)
Round 11: (Sc 7, inc) 6 times. Sl st to join. (54 sc)
Round 12: Sc in each st around. Sl st to join. (54 sc)
Round 13: (Sc 8, inc) 6 times. Sl st to join. (60 sc)
Round 14: Sc in each st around. Sl st to join. (60 sc)
Rounds 15 and 16: Sc in each st around. Sl st to join. (60 sc per round)
Sleeve Cuff Trim: With CC and I-9 hook, work picot trim around the cuff edge.
Fasten off and weave in ends. Repeat for second sleeve.
Section 8: Attach Hood to Neckline
Align the base of the hood (60 sts) to the neckline (46 sts). The hood is slightly wider, providing ease and natural drape. Pin evenly.
Using mattress stitch or a flat slip stitch seam on the WS, sew the hood base to the neckline edge, distributing the extra 14 sts evenly across the back neckline.
Section 9: Front Button Bands
With MC and J-10 hook, join yarn at the bottom right front edge.
Right Button Band: Work sc evenly up the right front edge, approximately 3 sc per 2 rows. Work 3 rows of sc on this band. On row 2, work buttonholes: (ch 2, sk 1 st) at each marked button position. Fasten off.
Left Button Band: Work sc evenly up the left front edge to match. Work 3 rows sc without buttonholes. Sew buttons opposite buttonholes. Fasten off.
Section 10: Bow Embellishment
With CC and J-10 hook, chain 21.
Row 1: Sc in 2nd ch from hook and in each ch across. Turn. (20 sc)
Rows 2 through 6: Ch 1, sc across. Turn. (20 sc per row)
Fasten off, leaving a long tail. Pinch the rectangle at the center. Wrap a separate length of CC yarn tightly around the center 6 to 8 times and tie off securely on the back.
Sew the bow to the center front at the waist gather line, slightly right of center.
Finishing and Blocking
Weave in all remaining ends on the WS. Sew any small gaps at the underarm join closed. Verify all daisy motifs and the bow are securely attached.
For wet blocking, submerge the coat in cool water with gentle detergent. Press out excess water between towels, lay flat on a blocking mat, and pin to measurements. Allow to dry 24 to 48 hours.
For acrylic yarn, use a garment steamer held 1 inch above the surface. Do not press directly onto acrylic.
Size Customization Tips
For smaller (2T): Chain 41 instead of 47, work 8 raglan increase rows, adjust bodice to 10 rounds, skirt to 20 rounds.
For larger (5T to 6): Chain 53 instead of 47, work 12 raglan increase rows, adjust bodice to 14 rounds, skirt to 26 rounds.
To lengthen or shorten, simply add or subtract rounds in the skirt section only.
Care Instructions
For machine-washable acrylic: Machine wash cold, gentle cycle, lay flat to dry. Do not tumble dry.
For superwash wool: Machine wash cold, gentle cycle, lay flat to dry.
Store folded rather than on a hanger to preserve the shoulder and yoke shape.
I really hope you enjoy making this sunshine yellow hooded coat as much as I enjoyed designing it. It is a labor of love, but every single stitch is worth it when you see the finished piece. If you make this coat, please save this pattern to your Pinterest boards so you can find it again easily. And I would absolutely love to see your finished coats! Drop a comment below or tag me on Instagram or Facebook with your photos. Happy crocheting!