
Got a ball of fine white crochet thread hiding in your stash? Maybe some crystal beads you bought for "someday"? This is your someday project.
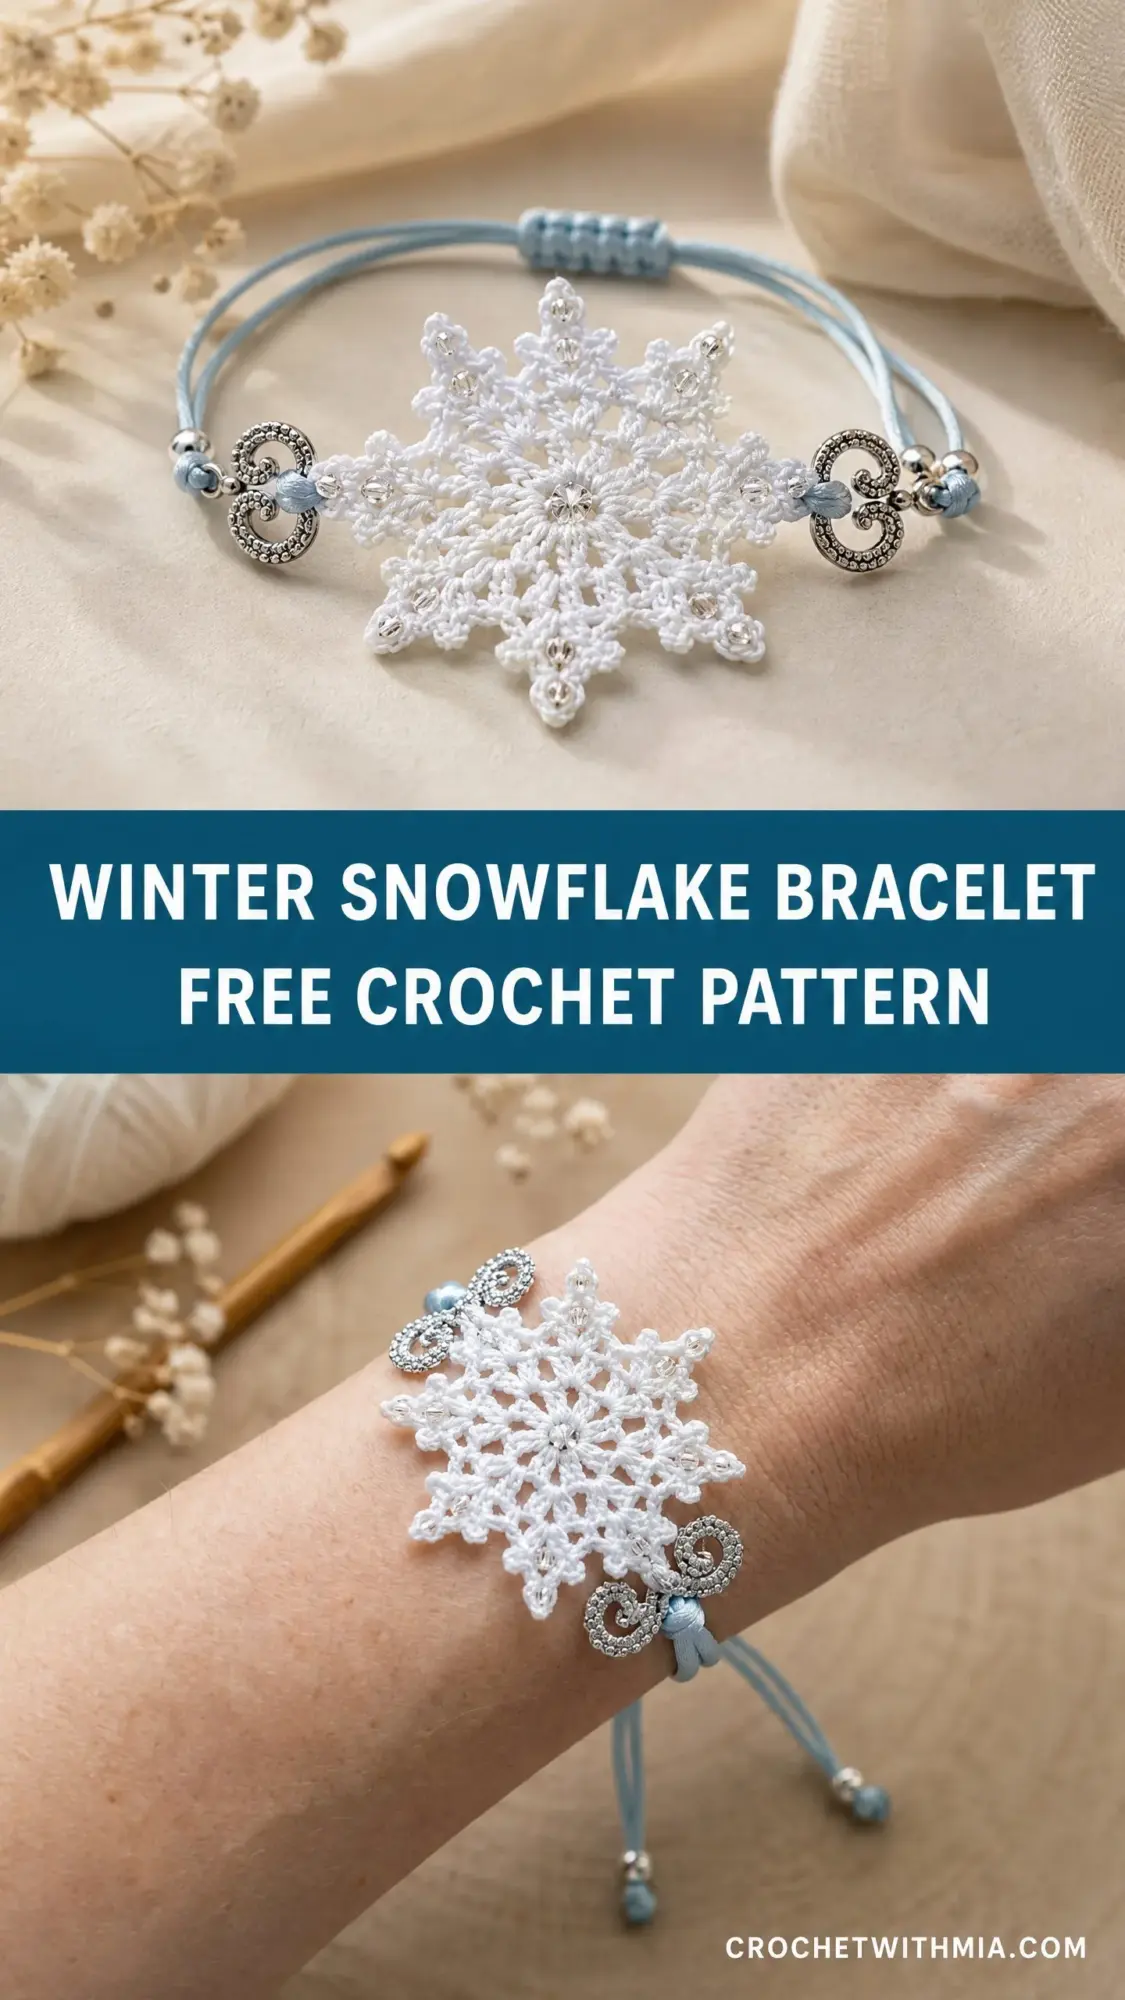
The Winter Snowflake Bracelet combines thread crochet with beadwork to create something genuinely elegant. You will work a delicate six-pointed snowflake from the center outward, weaving crystal beads into the design as you go. The finished piece sits on an adjustable satin cord with silver filigree charms at each side. It looks like something from a jewelry boutique, but you are making it with your own hands.
Fair warning: this pattern sits at the advanced beginner to intermediate level. The stitches themselves are simple, nothing beyond treble crochet. But working with size 10 thread and a tiny steel hook requires patience and steady tension. If you have never worked with crochet thread before, I recommend practicing on a small doily or coaster first. Once you get comfortable with the fine gauge, this snowflake will feel totally manageable.
Why This Bracelet Pattern Works
The construction is clever. You start with a magic ring at the center and work outward in joined rounds, building the snowflake’s six-fold symmetry one layer at a time. The beads get pre-strung onto your thread before you even make your first stitch. When a bead placement comes up, you simply slide one into position and lock it in place with your next stitch.
The adjustable sliding knot closure means the bracelet fits wrist sizes from 5.5 inches all the way up to 8 inches. No fiddly clasps to attach, no guessing about size. The recipient can adjust it themselves in seconds.
I love that this pattern produces a wearable piece of art in just a few hours. Start to finish, you are looking at three to five hours total, including assembly. That makes it perfect for gift-giving when you want something impressive but do not have weeks to spare.
Materials You Will Need
Gather everything before you start. There is nothing worse than getting halfway through a project and realizing you are missing a key supply.
Crochet Thread: Size 10 crochet cotton thread in white, approximately 25 yards or 23 meters. This fine thread creates the delicate lace structure.
Hook: US steel hook size 7, which measures 1.65 mm. If you tend to crochet loosely, drop down to a US steel hook size 8 at 1.50 mm instead.
Beads: 12 clear or white crystal bicone or rondelle beads, approximately 3 mm to 4 mm in size. The holes must be at least 0.5 mm in diameter to fit your crochet thread. Test this before you buy.
Cord: 24 inches or 61 cm of 1 mm satin rattail cord or waxed nylon cord in light blue.
Charms: 2 silver filigree swirl charms with attachment loops, approximately 12 mm to 15 mm in size.
Cord End Beads: 2 light blue pearl or opaque glass beads, approximately 6 mm to 8 mm.
Findings: 4 small silver crimp beads or bead tip findings for securing cord ends.
Tools: Tapestry needle, scissors, fabric stiffener or blocking spray (optional but highly recommended), and pins for blocking.
Recommended Thread Options
DMC Cebelia Crochet Cotton Size 10 in White (color 5200) is my top pick. It is mercerized cotton with beautiful sheen and crisp stitch definition. Takes stiffener like a dream.
Aunt Lydia’s Classic Crochet Thread Size 10 in White works wonderfully and is easy to find at most craft stores. Consistent twist and reliable quality.
Lizbeth Crochet Cotton Size 10 in White (color 601) is a premium Egyptian cotton option. The tight plied twist holds bead placement exceptionally well.
Any size 10 crochet cotton in white or off-white will work. Avoid silk or polyester blends unless you plan to skip the blocking step, as they do not stiffen predictably.
Gauge Information
Working single crochet (sc) in the round with size 10 cotton thread and a US steel size 7 hook: 10 sc equals 1 inch or 2.5 cm. 10 rows equals 1 inch or 2.5 cm.
Gauge is not critical enough to require swatching, but consistent tension matters a lot. Your snowflake needs to lie perfectly flat. If it cups upward, your tension is too tight. Try a larger hook. If it ruffles, you are too loose. Go smaller.
Finished Dimensions
The completed snowflake measures approximately 2.75 inches or 7 cm from point to point. The bracelet adjusts to fit wrist circumferences from 5.5 inches to 8 inches, or 14 cm to 20 cm.
Abbreviations and Stitch Definitions
Let me walk you through every stitch and abbreviation used in this crochet pattern. If you are newer to thread crochet, bookmark this section.
ch (chain): Yarn over, pull through loop on hook. The foundation of almost everything.
sl st (slip stitch): Insert hook, yarn over, pull through both the stitch and the loop on hook in one motion. Used for joining and moving across stitches invisibly.
sc (single crochet): Insert hook, yarn over, pull up a loop (2 loops on hook), yarn over, pull through both loops. A short, tight stitch.
hdc (half double crochet): Yarn over, insert hook, yarn over, pull up a loop (3 loops on hook), yarn over, pull through all 3 loops. Medium height stitch.
dc (double crochet): Yarn over, insert hook, yarn over, pull up a loop (3 loops on hook), yarn over, pull through 2 loops, yarn over, pull through remaining 2 loops. Taller stitch with nice drape.
tr (treble crochet): Yarn over twice, insert hook, yarn over, pull up a loop (4 loops on hook), yarn over, pull through 2 loops three separate times until 1 loop remains. The tallest stitch in this pattern.
MR (magic ring): An adjustable starting loop that can be pulled tight to close the center hole completely.
ch-sp (chain space): The gap created by chains in a previous round. You work into this space, not into individual chain stitches.
sk (skip): Pass over the indicated stitch without working into it.
rep (repeat): Do the sequence again as directed.
Special Techniques
Bead Double Crochet (bead-dc)
This is how you lock beads into your work. Before starting the stitch, slide one pre-strung bead along the thread until it sits flush against your work on the front side. Then work a regular double crochet (dc) as normal. The bead gets trapped at the base of the stitch, facing outward on the right side.
Picot
Chain 3, then slip stitch into the first chain you made, the one closest to your hook. This forms a small decorative closed loop. Picots create the delicate points at the snowflake arm tips.
Joining Slip Stitch
Insert hook under both loops of the indicated stitch, yarn over, pull through both the stitch and the loop on hook in one motion. This joins rounds almost invisibly.
Before You Begin: Pre-String Your Beads
This step is essential. Thread all 12 beads onto your ball of thread BEFORE making your first stitch. Use a fine wire needle threader or beading needle to get the thread through the bead holes. Push all beads down the thread, out of your way. You will slide them into position one at a time when the pattern calls for a bead-dc.
Step by Step Crochet Pattern Instructions
Round 1
Make a magic ring (MR). Chain 4, this counts as your first treble crochet (tr). Work 11 more tr into the ring. Join with slip stitch (sl st) to the top of your beginning ch-4. Pull the ring closed snugly. (12 tr)
Round 2
Ch 1, this does not count as a stitch. Single crochet (sc) in the same stitch as your join. Ch 5. Skip 1 tr. Sc in the next tr. Ch 5. Repeat this pattern around, working sc into every other tr with ch 5 between each. Join with sl st to the first sc. (6 sc, 6 ch-5 spaces)
Round 3
Sl st into the first ch-5 space. Ch 3, this counts as your first double crochet (dc). Work 4 more dc into the same ch-5 sp for 5 dc total in that space. Ch 2. Work 5 dc into the next ch-5 sp. Ch 2. Continue around, placing 5 dc into each ch-5 space with ch-2 bridges between groups. Join with sl st to the top of your beginning ch-3. (30 dc, 6 ch-2 spaces)
Round 4
Ch 1, does not count as a stitch. Sc in the same stitch as your join. Sc in the next 4 dc. Ch 3. Sc in the next 5 dc. Ch 3. Continue around. Join with sl st to the first sc. (30 sc, 6 ch-3 spaces)
Checkpoint: Your motif should be a small flat hexagonal disc about 0.75 inches or 2 cm across. Six groups of 5 sc should be clearly visible with ch-3 arches between them. If it cups, loosen your tension.
Round 5
Sl st into a ch-3 space. Ch 3 (counts as first dc). Work 2 dc into the same space. Ch 3. Work 3 dc into the same space again. Ch 2. Move to the next ch-3 sp and work 3 dc, ch 3, 3 dc. Ch 2. Continue around. Join with sl st to the top of your beginning ch-3. (36 dc total, 6 ch-3 arch spaces, 6 ch-2 spaces)
Round 6
Sl st across 2 dc to reach the ch-3 arch at the center of your first cluster. Sl st into the ch-3 space. Ch 4 (counts as first tr). Work 4 tr into the same ch-3 sp. Ch 1. Work 5 tr into the same ch-3 sp again. This V-fan forms a snowflake arm. Ch 3 for the bridge to the next arm. Work 5 tr into the next ch-3 sp, ch 1, 5 tr into the same sp. Ch 3. Continue around. Join with sl st to the top of your beginning ch-4. (60 tr total, 6 fan-arms of 10 tr each, 6 ch-1 spaces within fans, 6 ch-3 bridges)
Round 7 (First Bead Round)
Sl st to the ch-1 space at the center of the first fan. Ch 3 (counts as first dc). Work a bead-dc in the same space by sliding 1 bead into position before completing the dc. Ch 3. Sl st to the top of the outer tr at the fan arm tip, about 2 tr over to the edge. Work a picot. Sl st back to the ch-1 sp. Ch 3. Work 1 dc into the ch-1 sp. Ch 4 for the bridge to the next fan.
Repeat across all 6 fan arms: sl st to ch-1 sp, ch 3, dc, bead-dc in sp, ch 3, sl st to outer tr tip, picot, sl st back, ch 3, dc in ch-1 sp, ch 4 bridge. Join with sl st to the top of your beginning ch-3. (6 beads placed)
Checkpoint: Six snowflake arms should be emerging from the center. Each arm tip has a picot. Six crystal beads are visible, one per arm. The motif should still lie flat. Diameter should be approximately 1.5 inches or 3.8 cm.
Round 8
Sl st into the first ch-4 bridge space. Ch 3 (counts as dc). Work 2 dc into the same ch-4 sp. Ch 2. Work 3 dc into the same space. Ch 2. Move to the next ch-4 sp and work 3 dc, ch 2, 3 dc. Ch 2. Continue around. Join with sl st to the top of your beginning ch-3. (36 dc in 6 shells, 12 ch-2 spaces)
Round 9 (Second Bead Round)
Sl st to the ch-2 space at the center of the first shell. Ch 1. Sc into the space. Ch 4. Tr into the top of the center dc of the shell (the 3rd dc). Ch 3. Sl st to the top of the same tr. This creates the outer secondary arm tip. Ch 4. Sc into the next ch-2 sp (the outer space between shells). Ch 5. Sc into the next ch-2 sp (inner space of next shell). Ch 4. Tr into the center dc of that shell. Ch 3. Sl st to the top of the same tr. Ch 4. Continue around all 6 shell repeats. Join with sl st to the first sc.
Bead placement for this round: As you work each ch-5 bridge between shells, slide 1 bead to sit at the midpoint. Work 2 ch, slide the bead snug, then work 3 more ch to finish the bridge. This places 1 bead at the center of each inter-shell bridge. (6 beads placed, 12 total beads now complete)
Final Checkpoint: Your snowflake now has 6 primary arms with beads near their bases, plus 6 secondary points between them. Six more beads sit on the bridges. Diameter should be approximately 2.5 to 2.75 inches or 6.3 to 7 cm. The motif should lie completely flat.
Round 10 (Edging and Cord Anchor Loops)
Sl st to the first ch-5 bridge space. Mark 2 opposite ch-5 bridge spaces at the 3 o’clock and 9 o’clock positions. These will become your cord anchor loops.
For the 4 unmarked ch-5 bridge spaces: sc into the space working around the bead, ch 2, sc into the same space.
For the 2 marked anchor spaces: sc into the space, ch 8 to form the cord loop, sc into the same space.
Work sc evenly around the entire outer edge, placing stitches into ch-4 spans and sc from the previous round. Join with sl st to the first sc. (Approximately 60 to 72 sc around the perimeter, 2 ch-8 anchor loops)
Fasten off, leaving a 6-inch tail for weaving in.
Blocking Your Snowflake
Wet the snowflake thoroughly in cool water. Pin it to a blocking board, stretching each of the 12 outer points to their fullest extension. Let it dry completely. For extra crispness, spray lightly with fabric stiffener while pinned and allow it to dry again before removing the pins.
Assembling the Bracelet
Threading the Cord
Cut your satin or waxed cord to 24 inches. Fold it in half to find the center. Feed one cut end through one ch-8 anchor loop from front to back. Feed the other end through the opposite anchor loop from front to back. Pull both ends so equal lengths extend from each side, with the cord’s midpoint hidden behind the snowflake.
Creating the Adjustable Sliding Knot
Hold both cord ends parallel. Cut a separate 4-inch piece of the same cord. Position this short piece perpendicular to the two main cords about 1 inch from the back of the snowflake. Wrap it around both main cords 3 to 4 times, then thread the ends back through the wraps. Pull snug. This creates a sliding barrel knot that allows the wearer to adjust the bracelet size.
Adding the Cord End Beads
Thread one light blue pearl bead onto each main cord end. Secure each with a crimped bead or an overhand knot above it. Trim the cord ends to about 0.75 inches below each bead.
Attaching the Charms
Thread each silver filigree swirl charm onto the cord where it exits the ch-8 anchor loop, before the sliding knot. Alternatively, use a jump ring to attach each charm directly to the ch-8 loop itself for more stable placement.
Size Customization Tips
Larger snowflake: Work one additional round of dc fans and one more bead round before the edging. This adds approximately 0.5 inches to the diameter.
Smaller snowflake: Stop after Round 8 and work the anchor loop round immediately. The finished diameter will be approximately 2 inches.
Different wrist sizes: Cut the starting cord up to 30 inches for a larger adjustment range.
Fixed closure: The ch-8 anchor loops can accommodate lobster claw clasps or toggle clasps if you prefer that style over the sliding knot.
Care Instructions
Hand wash gently in cool water with mild soap. Do not wring. Lay flat to dry and re-pin if needed. Never machine wash or tumble dry. If the snowflake softens over time, re-apply fabric stiffener while damp. Store flat in a jewelry box to prevent bead snagging.
You Did It!
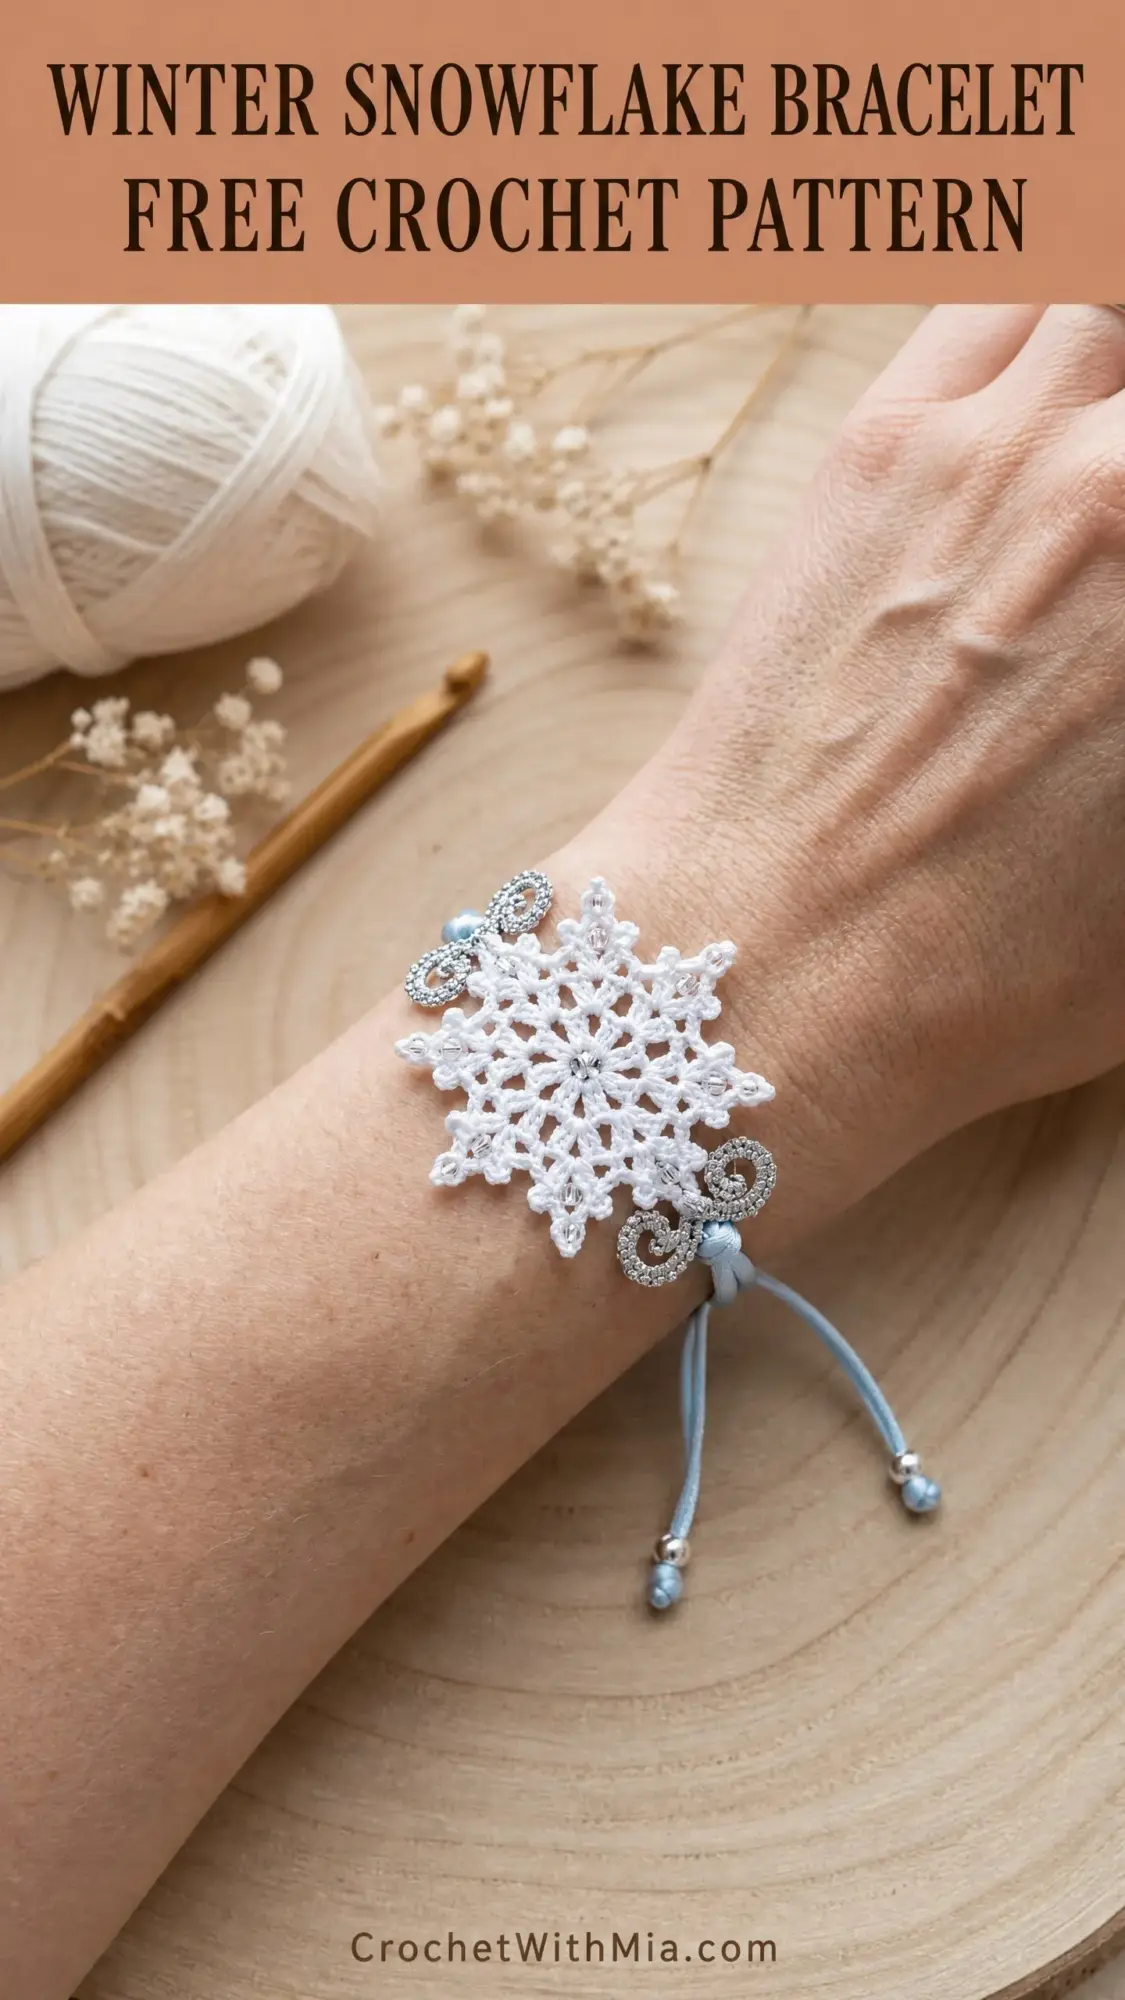
This Winter Snowflake Bracelet crochet pattern creates something truly special. The combination of delicate thread crochet, crystal bead placement, and elegant finishing details results in a piece of wearable art. Whether you make it for yourself or as a gift, it is the kind of project that makes people say "you made that?"
Thank you so much for choosing this pattern. If you make your own snowflake bracelet, I would absolutely love to see it! Tag me on Instagram or share a photo in my Facebook group. Seeing your finished pieces is genuinely the best part of sharing patterns.
If this pattern spoke to you, save it to your Pinterest boards so you can find it again when you are ready to start. And please drop a comment below if you give it a try. I read every single one and love hearing how your projects turn out!