
Go dig through your yarn stash right now. I know you have those skeins of cream, mustard, and burnt orange sitting there waiting for the perfect fall project. This is it.
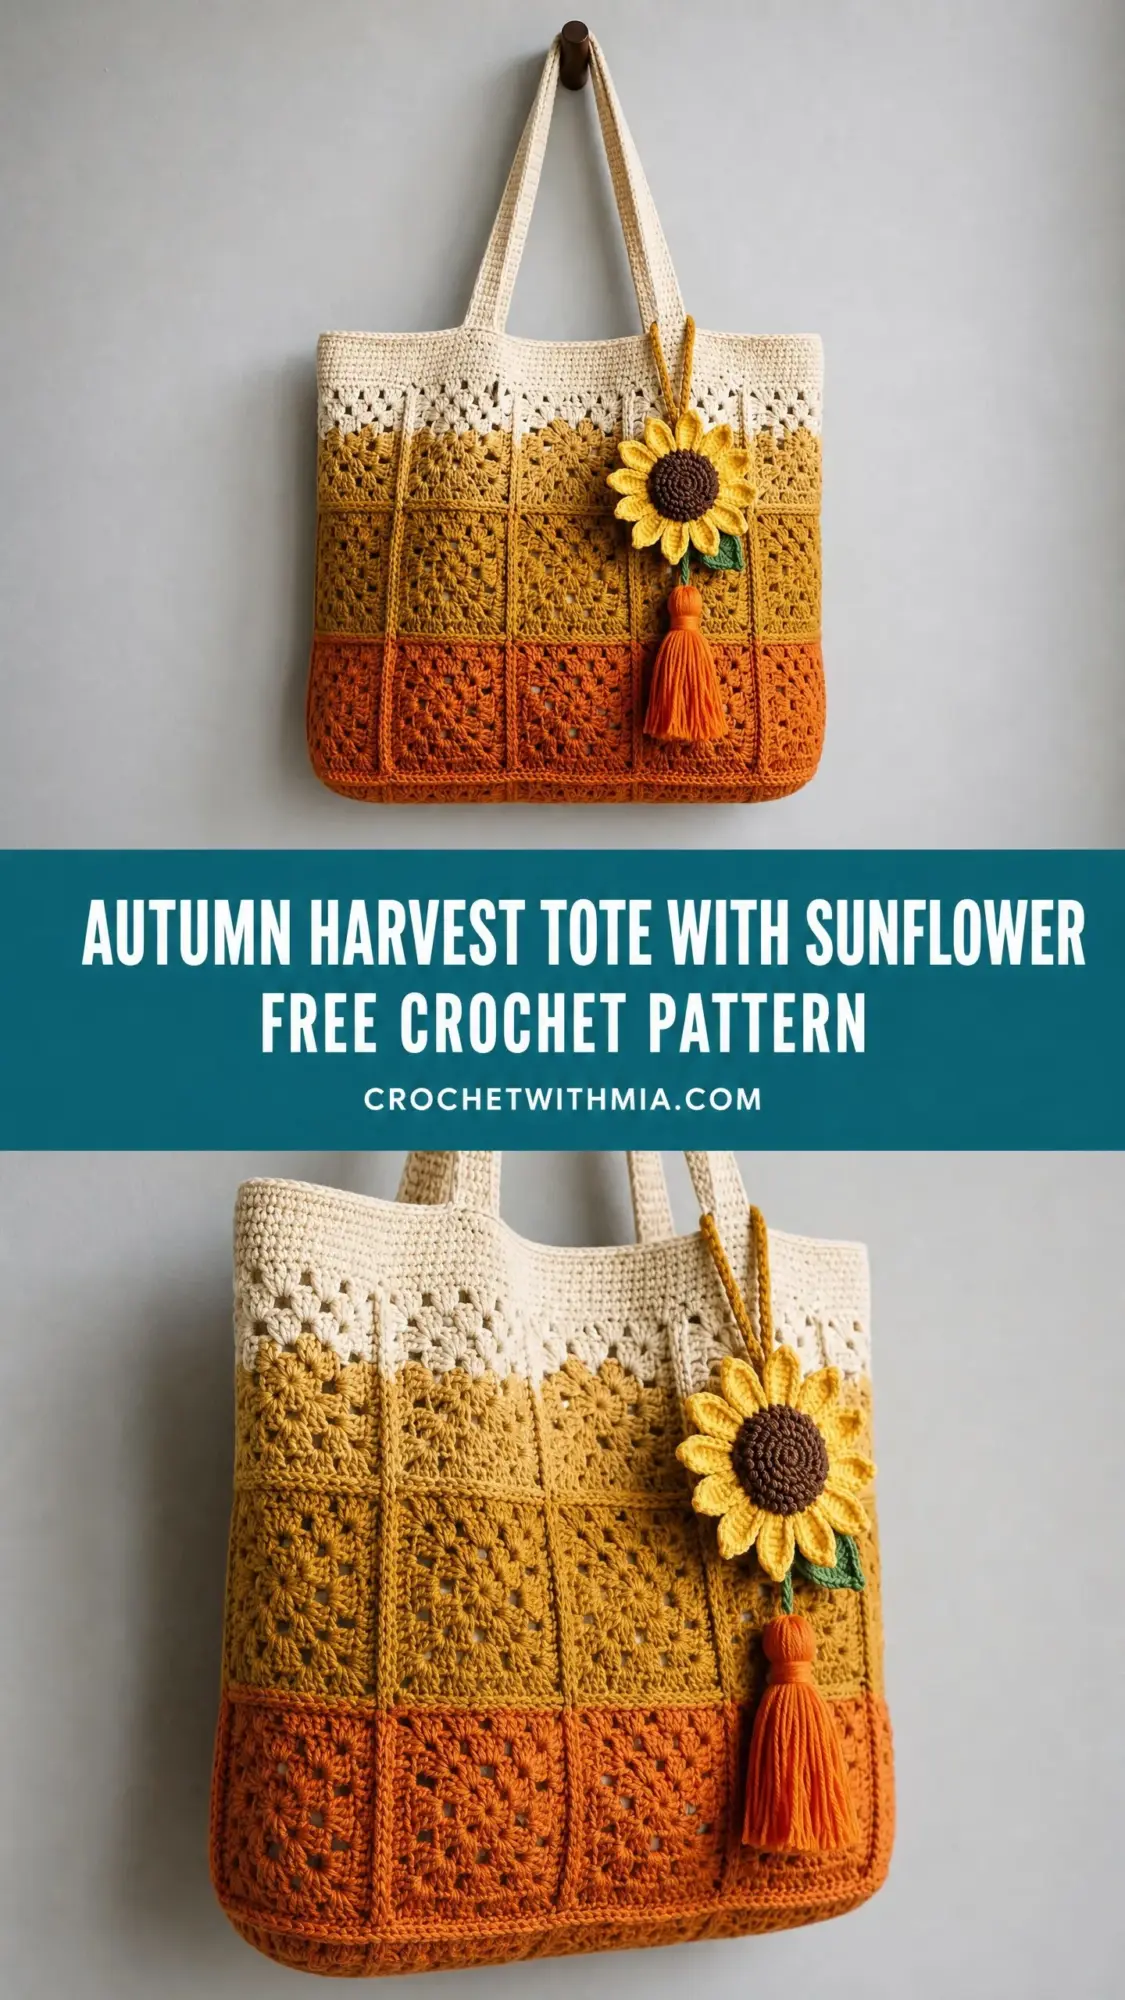
The Autumn Harvest Tote combines classic granny squares with a gorgeous color gradient that shifts from warm cream at the top through golden mustard to rich burnt orange at the base. The construction is straightforward if you know your way around a granny square, but the join as you go method and the adorable sunflower charm add just enough interest to keep things exciting. This is an intermediate project, so you should be comfortable with working in the round and making clean color changes before diving in.
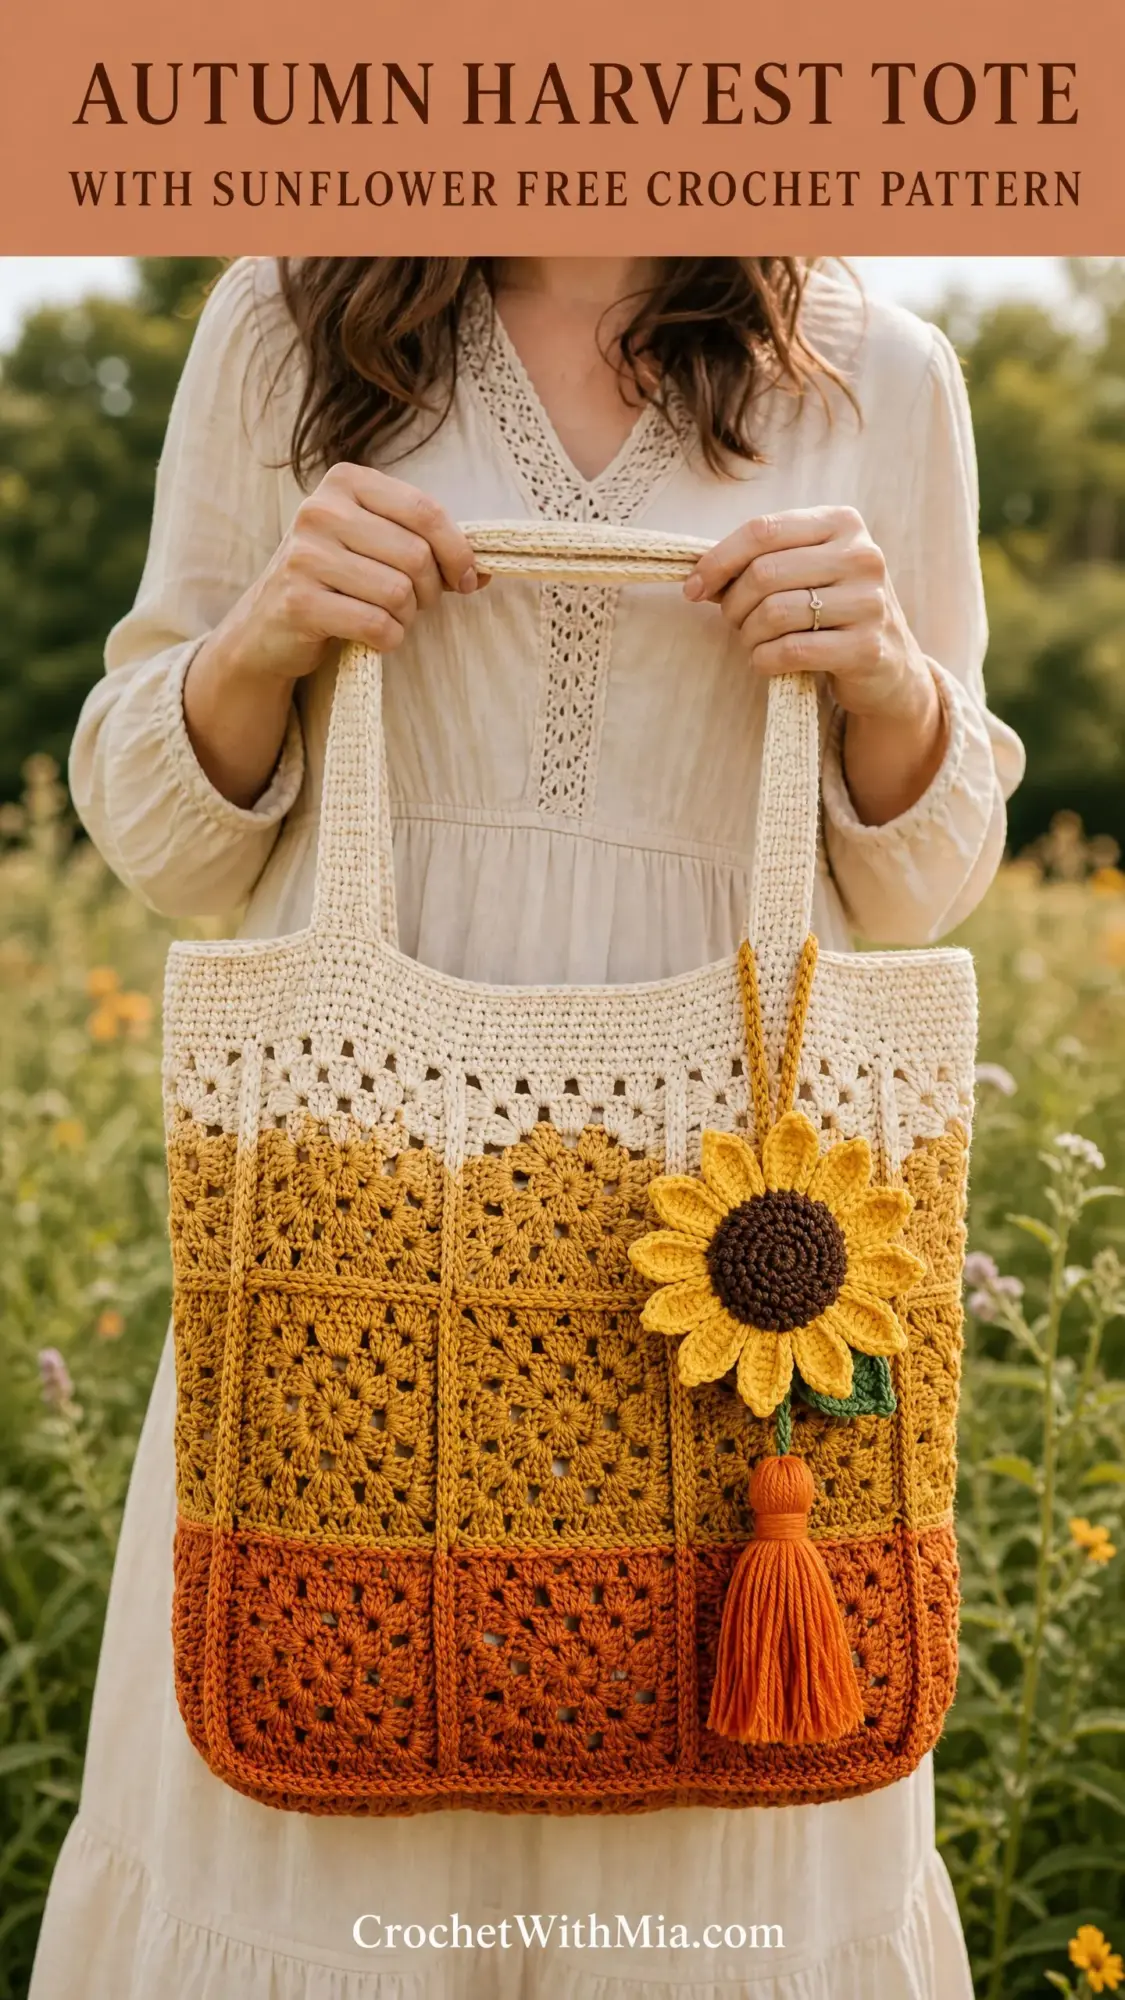
What makes this bag special is the structure. Unlike floppy market totes that collapse the moment you set them down, this one holds its shape beautifully. The granny square grid creates natural stiffness, and the solid single crochet border locks everything in place. Plus, that removable sunflower charm with its cheerful orange tassel? It clips right onto the handle so you can take it off for washing or swap it out when you want a different look.
Pattern Details at a Glance
Skill Level: Intermediate
Finished Size: Bag body measures approximately 14 inches wide by 14 inches tall, not including handles. Handle drop is approximately 10 inches from the top edge. Total height with handles is approximately 24 inches.
Time Estimate: 12 to 18 hours for an experienced intermediate crocheter. Allow up to 24 hours if you are newer to this skill level.
Materials You Will Need
Yarn (Worsted Weight):
Hooks:
Notions:
Yarn Suggestions
Lion Brand Pound of Love in Cream, Goldenrod, and Burnt Orange works beautifully here. It is machine washable, widely available, and gives excellent stitch definition for granny squares.
Paintbox Yarns Simply Worsted in Vanilla Cream, Mustard Yellow, and Terracotta offers a clean color palette that closely matches the autumn tonal graduation shown.
Cascade 220 Superwash in natural, golden yellow, and pumpkin provides a premium feel with great stitch definition.
Avoid overly soft or slippery yarns like bamboo blends for the bag body. They will cause your squares to sag over time.
Gauge
One completed granny square should measure 3.5 inches by 3.5 inches after light blocking using the J hook. If your square is larger, go down a hook size. If smaller, go up a hook size. Your final bag dimensions depend entirely on getting this gauge right, so please take the time to check.
Abbreviations
Here are all the abbreviations you will encounter in this crochet tutorial:
Special Stitches
The Granny Square
This is your core motif. Each square is worked in 4 rounds with the right side always facing you.
Round 1: Make a magic ring or chain 4 and join with a slip stitch to form a ring. Chain 3 (this counts as your first double crochet). Work 2 double crochet into the ring, chain 2. Repeat [3 double crochet into ring, chain 2] three more times. Join with slip stitch to top of beginning chain 3. Fasten off. You now have 4 clusters of 3 double crochet and 4 chain 2 corner spaces.
Round 2: Join new color in any chain 2 corner space. Chain 3, work 2 double crochet in same space, chain 1. Repeat [work 3 double crochet, chain 2, 3 double crochet in next corner chain 2 space, chain 1] three times. Work 3 double crochet in beginning corner space, chain 2, join with slip stitch to top of beginning chain 3. Fasten off. (8 clusters total, 4 corner spaces, 4 side spaces)
Round 3: Join new color in any chain 2 corner space. Chain 3, work 2 double crochet in same space, chain 1. Repeat [3 double crochet in next chain 1 space, chain 1, work 3 double crochet, chain 2, 3 double crochet in next corner chain 2 space, chain 1] three times. Work 3 double crochet in next chain 1 space, chain 1, work 3 double crochet in beginning corner space, chain 2, join with slip stitch to top of beginning chain 3. Fasten off. (12 clusters total, 4 corner spaces, 8 side spaces)
Round 4: Same principle as Round 3, adding one more cluster on each side. Chain 3, work 2 double crochet in same corner space, chain 1. Repeat [3 double crochet in next chain 1 space, chain 1, 3 double crochet in next chain 1 space, chain 1, work 3 double crochet, chain 2, 3 double crochet in next corner chain 2 space, chain 1] three times. Work 3 double crochet in next chain 1 space, chain 1, 3 double crochet in next chain 1 space, chain 1, work 3 double crochet in beginning corner space, chain 2, join with slip stitch to top of beginning chain 3. Fasten off if working squares separately. (16 clusters total, 4 corner spaces, 12 side spaces)
Join As You Go (JAYG) Method
When working Round 4 of a new square next to a completed square, you will replace chains with single crochet joins:
For a chain 2 corner replacement: Chain 1, single crochet into the corresponding corner chain 2 space of the adjacent finished square, chain 1.
For a chain 1 side replacement: Single crochet into the corresponding chain 1 space of the adjacent finished square with no additional chains.
This creates a flat, nearly invisible join on the right side.
Foundation Single Crochet (FSC)
This creates a stretchable, sturdy starting edge for your handles.
Make a slip knot and chain 2. Insert hook into second chain from hook, yarn over, pull up a loop (2 loops on hook), yarn over, pull through first loop only (this creates the chain stitch), yarn over, pull through both remaining loops (this creates the single crochet). You have made 1 foundation single crochet.
For each additional stitch, insert hook under the 2 loops of the chain just created at the base of the previous stitch, yarn over, pull up a loop, yarn over, pull through first loop only, yarn over, pull through both remaining loops.
Step by Step Instructions
Section 1: Making Your Granny Squares (Make 32 Total)
You will make four groups of squares with different color combinations:
Group 1 (Top Band): Make 8 squares using Color A for all 4 rounds.
Group 2 (Second Band): Make 8 squares using Color A for Round 1, then Color B for Rounds 2, 3, and 4.
Group 3 (Third Band): Make 8 squares using Color B for all 4 rounds.
Group 4 (Bottom Band): Make 8 squares using Color B for Round 1, then Color C for Rounds 2, 3, and 4.
Complete each square through Round 3 only. Leave Round 4 unworked until the assembly step.
Checkpoint: You should have 32 squares, each measuring approximately 2.75 inches after Round 3. They will grow to 3.5 inches after the final joining round.
Section 2: Assembling Panel 1 (Front Panel)
Lay out 16 squares in a 4 column by 4 row arrangement:
Work Round 4 on each square using the JAYG method. Start with the upper left square, working Round 4 with no joins since it has no neighbors yet. Then work the square to its right, joining along their shared left edge. Continue across Row 1, then work Rows 2 through 4, joining to squares above and beside as you go.
Checkpoint: Panel 1 should measure approximately 14 inches wide by 14 inches tall.
Section 3: Assembling Panel 2 (Back Panel)
Repeat Section 2 exactly for the back panel using the same color arrangement.
Checkpoint: Both panels should match within 0.25 inches.
Section 4: Joining the Two Panels
Hold both panels with wrong sides together so the right sides face outward on both sides of the bag.
Bottom Seam: With Color C and hook J, join yarn at the lower right corner. Chain 1, single crochet evenly across the bottom edge working through both layers. Work exactly 40 single crochet. (40 sc) Fasten off.
Right Side Seam: Join Color A at the top right corner, working through both layers. Chain 1, single crochet evenly down the right edge. Work 40 single crochet total. (40 sc) Fasten off.
Left Side Seam: Repeat on the left edge. (40 sc) Fasten off.
Checkpoint: Your bag body should form an open top pouch measuring approximately 14 inches wide by 14 inches tall by 1.5 inches deep.
Section 5: Top Edge Finishing
With right side facing, join Color A at the upper right corner of the bag opening.
Round 1: Chain 1, single crochet evenly around the entire top opening edge. Work 40 single crochet across the front top edge, 1 single crochet in each corner, 40 single crochet across the back top edge, 1 single crochet in each remaining corner. Join with slip stitch to first single crochet. (84 sc)
Round 2: Chain 1, single crochet in each single crochet around. Join with slip stitch to first single crochet. (84 sc)
Round 3: Chain 1, slip stitch in each single crochet around. Join with slip stitch to first slip stitch. Fasten off. (84 sl st)
Checkpoint: The top band should lie flat and measure approximately 0.75 inches tall.
Section 6: Handles (Make 2)
With Color A and hook J, work foundation single crochet for 82 stitches. (82 FSC)
Row 1 (RS): Chain 1, turn. Single crochet in each foundation single crochet across. (82 sc)
Rows 2 through 6: Chain 1, turn. Single crochet in each single crochet across. (82 sc)
Fasten off, leaving a 24 inch tail for seaming.
Fold the handle strip in half lengthwise with wrong sides facing inward. Using the long tail and tapestry needle, whipstitch along the long open edge to close the tube. The handle is now approximately 10 inches long by 0.75 inches wide.
Repeat for the second handle.
Handle Attachment: Position one handle on the front of the bag. Place one end approximately 3.5 inches from the right top edge and the other end approximately 3.5 inches from the left top edge. Ends should overlap the inside top edge by approximately 1.5 inches. Sew each handle end securely with a box stitch (sew a rectangle then an X across it) for maximum durability.
Repeat for the back handle.
Section 7: Sunflower Charm
Sunflower Center: With hook I and Color E (Dark Brown).
Round 1: Make a magic ring. Chain 1, work 6 single crochet into ring. Pull ring closed tight. Join with slip stitch to first single crochet. (6 sc)
Round 2: Chain 1, work 2 single crochet in each single crochet around. Join with slip stitch to first single crochet. (12 sc)
Round 3: Chain 1, [single crochet in next single crochet, 2 single crochet in next single crochet] 6 times. Join with slip stitch to first single crochet. (18 sc)
Round 4: Chain 1, [single crochet in next 2 single crochet, 2 single crochet in next single crochet] 6 times. Join with slip stitch to first single crochet. (24 sc)
Round 5: Chain 1, [single crochet in next 3 single crochet, 2 single crochet in next single crochet] 6 times. Join with slip stitch to first single crochet. (30 sc) Fasten off Color E, leaving a 12 inch tail.
Sunflower Petals: Join Color D (Bright Yellow) in any single crochet of Round 5.
Petal Round: [Chain 4, work 4 double crochet in the 4th chain from hook creating a petal bobble, slip stitch back into the same single crochet on the center disk, slip stitch into the next single crochet] 15 times, ending with a final slip stitch into the single crochet at the base of the first petal. (15 petals) Fasten off Color D.
Sunflower Leaf: With Color F (Green) and hook I, chain 12.
Row 1: Starting in 2nd chain from hook, single crochet in next 3 chains, half double crochet in next 3 chains, double crochet in next 3 chains, 5 double crochet in last chain (this is the tip of the leaf). Working back along the other side of the foundation chain: double crochet in next 3 chains, half double crochet in next 3 chains, single crochet in next 3 chains, slip stitch in last chain. Fasten off, leaving an 8 inch tail.
Charm Assembly Loop: With Color D and hook I, chain 20. Join with slip stitch to form a ring. Work 20 single crochet around the ring. (20 sc) Fasten off leaving a 6 inch tail.
Assembly: Fold the loop in half and sew the folded end to the back of the sunflower center near the top. Sew the leaf to the back lower area of the sunflower so it extends below and slightly to one side.
Section 8: Tassel
Cut 20 strands of Color G (Orange), each 12 inches long. Hold all strands together and fold in half. Cut a separate 18 inch strand of Color G. Using this separate strand, tie the bundle tightly approximately 1 inch below the fold point. Wrap the tying strand around the bundle 4 to 5 times and knot securely. Trim tassel ends evenly. Finished tassel measures approximately 4 inches long.
Attach the tassel to the bottom of the sunflower by threading the tie thread through several stitches at the back of the center disk and knotting securely.
Loop the charm over one handle strap.
Finishing and Blocking
Weave in all remaining yarn ends. Submerge the completed bag in cool water for 10 minutes, then gently squeeze out water without wringing. Roll in a clean towel to remove excess moisture. Shape the bag to finished dimensions on a blocking board, pinning the top opening straight. Allow to dry completely for at least 24 hours.
The sunflower charm does not require blocking. If petals curl, lightly mist with water and reshape by hand while damp.
Care Instructions
Machine wash cold on a gentle cycle in a mesh laundry bag. Lay flat to dry. Do not tumble dry. Store the bag stuffed with tissue paper to maintain its shape. Remove the sunflower charm before washing.
Size Customization Tips
For a smaller bag (approximately 10.5 inches square), use a 3 by 3 grid of squares per panel (18 total squares). Adjust the top border to approximately 63 single crochet and shorten handles to 64 foundation single crochet.
For a larger bag (approximately 17.5 inches square), use a 5 by 5 grid of squares per panel (50 total squares). Adjust the top border to approximately 105 single crochet and lengthen handles to 100 foundation single crochet.
Thank you so much for choosing this pattern for your next project. I genuinely hope you love making this bag as much as I loved designing it. If you give it a try, I would absolutely love to see your finished tote. Tag me on Instagram or share a photo in my Facebook group.
If this pattern caught your eye, go ahead and pin it to your favorite Pinterest board so you can find it when you are ready to start. And please drop a comment below if you make one. I read every single comment and your photos always make my day!