
This bag is ONE OF THOSE PROJECTS that looks way more impressive than it actually is to make. Seriously. If you can crochet a rectangle and a circle, you can absolutely make this stunning barrel bag that will have everyone asking where you bought it.
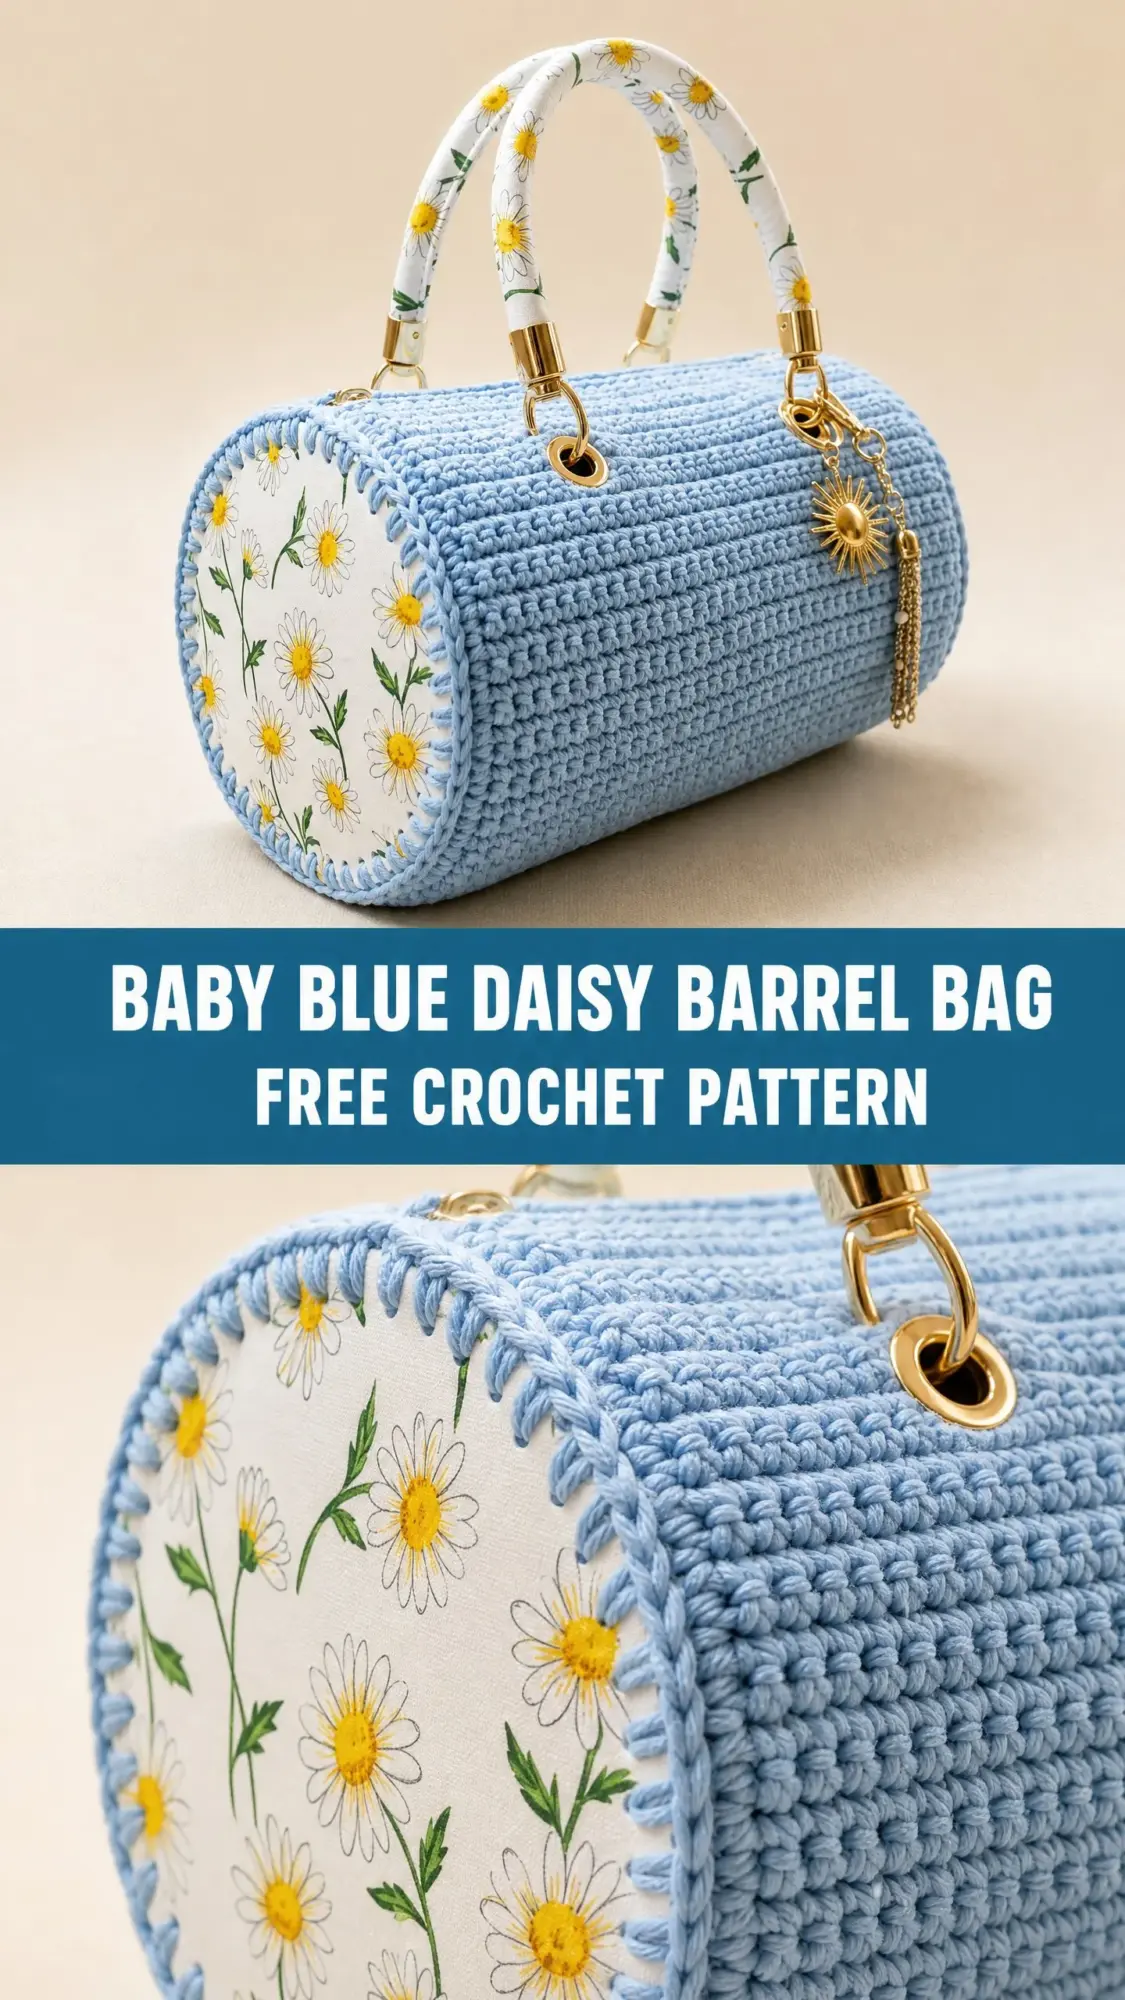
I am SO excited to share this pattern with you because it combines simple stitches with beautiful results. The whole thing works up in about 8 to 12 hours total, making it a perfect weekend project. And that daisy print fabric detail? Chef’s kiss.
Whether you are making this for yourself or as a gift, prepare to feel like a total crochet rockstar when you finish. Let me walk you through every single step.
Why You Will Love This Crochet Barrel Bag Pattern
This baby blue daisy barrel bag hits that sweet spot between practical and pretty. The cylindrical shape gives you plenty of room for your everyday essentials, while the cottagecore daisy details make it a genuine statement piece. The structured design means your bag actually holds its shape instead of flopping around like a sad pancake.
What makes this crochet tutorial special is how the construction works. You are basically making a crocheted tube for the body and two circular end caps that get joined to printed fabric inserts. The half double crochet (hdc) stitch creates those beautiful horizontal ridges you see in the finished bag. The gold hardware and sun charm tassel take it from handmade to high-end looking.
This is an intermediate level project, but do not let that scare you off. If you have made a basic bag or worked in the round before, you have got the skills. I will walk you through every potentially tricky part.
Materials You Will Need
Gather these supplies before you start. Having everything ready makes the whole process smoother.
Yarn:
Hook:
Hardware and Notions:
Yarn Suggestions That Work Great
Lion Brand Yarn Pound of Love in Pastel Blue is my top pick. It is soft, durable, holds its shape well, and is machine washable. The slight sheen gives your finished bag a polished look.
Paintbox Yarns Simply DK held double works beautifully too. The smooth, tightly spun yarn creates a firm fabric perfect for structured bag construction.
WeCrochet Brava Worsted in Sky is another excellent choice. It is 100 percent premium acrylic with excellent stitch definition, making every hdc ridge pop cleanly.
Quick substitution note: Any smooth, tightly spun worsted weight yarn will work here. Avoid fluffy or heavily textured yarns because they obscure the stitch ridges and make seaming to the fabric panels trickier.
Gauge Information
14 hdc x 10 rows = 4 inches or 10 cm, worked flat in turning rows with a US J-10 or 6.0 mm hook, blocked.
I know checking gauge feels tedious, but trust me on this one. For a bag with specific dimensions that needs to fit around circular end panels, gauge actually matters. If your stitches are too tight, your rectangle will be too small. Too loose, and nothing will line up properly.
To make a gauge swatch: Chain 18. Work hdc in 3rd chain from hook and in each chain across. You should have 16 hdc. Turn, chain 2, hdc in each stitch across. Repeat for 12 rows. Block and measure the center 4 inches. Adjust your hook size up or down as needed.
Finished Dimensions
Abbreviations Used in This Pattern
Let me define every stitch and term before we dive in. If you are newer to crochet patterns, bookmark this section.
Special Stitches and Techniques
Slip Stitch Edging Join: This is how you attach the fabric circles to your crocheted end caps. With the right side facing you, insert your hook through the crochet edge stitch AND through the corresponding fabric edge at the same time. Draw your yarn through both layers and through the loop on your hook. It creates an invisible join that looks super professional.
Step by Step Crochet Pattern Instructions
Section One: Crocheting the Bag Body Rectangle
The body is worked as a flat rectangle that you will seam into a tube. This is the main part of your bag, so take your time here.
Your target dimensions are 22 inches wide (this becomes the circumference) by 10 inches tall (this becomes the barrel length).
Foundation Chain: Chain 79.
Row 1 (RS): Ch 2 (does not count as st, here and throughout), hdc in 3rd ch from hook, hdc in each ch across. Turn. (77 hdc)
Row 2: Ch 2, hdc in each st across. Turn. (77 hdc)
Rows 3 through 25: Repeat Row 2. Turn at the end of each row. (77 hdc each row)
After Row 25, do not fasten off. Leave a long tail of approximately 24 inches for seaming.
Quick checkpoint: Your rectangle should measure approximately 22 inches wide and 10 inches tall. If it measures short in width, your gauge is too tight. If it is too tall, your gauge is too loose.
Seaming the body tube: Fold your rectangle in half lengthwise so the two short edges (the 10-inch edges) meet up. Using your long tail and a tapestry needle, whipstitch or mattress stitch these short edges together to form a tube. This seam becomes the back center of your bag. Weave in the end securely.
You now have a crocheted tube that is approximately 22 inches around and 10 inches long.
Section Two: Crocheting the Circular End Caps (Make 2)
Each end cap is worked in continuous spiraling rounds from the center outward. Use a stitch marker to track where each round begins because you will not be joining at the end of rounds.
Magic Ring (or ch 4, join with sl st to form a ring).
Round 1: Ch 1 (does not count as st), work 6 sc into ring, do not join. Pm in first st. (6 sc)
Round 2: 2 sc in each st around. (12 sc)
Round 3: (Sc in next st, 2 sc in next st) 6 times. (18 sc)
Round 4: (Sc in next 2 sts, 2 sc in next st) 6 times. (24 sc)
Round 5: (Sc in next 3 sts, 2 sc in next st) 6 times. (30 sc)
Round 6: (Sc in next 4 sts, 2 sc in next st) 6 times. (36 sc)
Round 7: (Sc in next 5 sts, 2 sc in next st) 6 times. (42 sc)
Round 8: (Sc in next 6 sts, 2 sc in next st) 6 times. (48 sc)
Round 9: (Sc in next 7 sts, 2 sc in next st) 6 times. (54 sc)
Round 10: (Sc in next 8 sts, 2 sc in next st) 6 times. (60 sc)
Round 11: (Sc in next 9 sts, 2 sc in next st) 6 times. (66 sc)
Round 12: (Sc in next 10 sts, 2 sc in next st) 6 times. (72 sc)
Round 13: (Sc in next 11 sts, 2 sc in next st) 6 times. (78 sc)
Do not fasten off. You will continue directly into the edging and fabric join.
Edging and Fabric Join Round
Before this step: Fuse your interfacing to the wrong side of each fabric circle. Trim both the fabric and interfacing to 7 inches diameter. You can clip small notches around the perimeter every 1/2 inch so the fabric lies flat when attached.
Hold the fabric circle against the wrong side of your crocheted end cap, aligning the edges. Using the slip stitch edging join technique, insert your hook through the next sc on the crochet edge AND through the edge of the fabric circle at the same time. Draw the yarn through both layers and through the loop on your hook.
Continue this sl st edging join in each sc all the way around, joining the fabric circle to the crochet end cap. Join with a sl st to the first joining sl st. Fasten off and weave in ends.
Your completed end cap shows the daisy fabric on one face and the crochet on the other, with a clean slip stitch border around the edge.
Make a second end cap the same way.
Checkpoint: Each end cap should measure approximately 7 inches diameter. The crochet outer ring should be even and flat with no ruffling or curling.
Section Three: Joining End Caps to the Body Tube
Place one end cap against one open end of your body tube with the daisy fabric side facing outward (away from the bag interior). Align the edges. The slight difference in circumference will be taken up during seaming.
Using your main color yarn and a tapestry needle, whipstitch the outer edge of the end cap to the edge of the body tube. Go through the outermost loops of both pieces. Work all the way around, distributing any fullness evenly. Fasten off and weave in ends.
Repeat for the second end cap on the other end of the tube.
Checkpoint: Your bag should now be a firm barrel shape measuring approximately 10 inches long and 7 inches in diameter at each end.
Section Four: Lining the Bag (Optional but Recommended)
Cut your lining fabric into one rectangle measuring approximately 23 x 11 inches. Fold it lengthwise with right sides together and sew the long edge to create a tube with a 1/2-inch seam allowance. Press the seam. Fold under 1/2 inch at each end.
Insert the lining tube into your crochet bag body so the folded ends align with the inside of each end cap. Hand stitch or fabric glue the folded lining edge to the inside of the bag along both circular seam lines. This stabilizes your bag and prevents items from catching in the crochet stitches.
Section Five: Installing the Gold Grommets
Mark two grommet positions on the top side of your body. Place one on the front center approximately 1/2 inch down from the top edge, and one on the back center in the same position.
Using your grommet tool, punch a small hole through the crochet fabric (and lining if present) and set one gold grommet at each marked position following your grommet package instructions. These serve as decorative hardware and reinforce the D-ring attachment zones.
Section Six: Attaching D-Rings and Handles
Cut two yarn tabs, each approximately 3 inches long, from your main color yarn. You can also use a folded double length of yarn for extra strength.
Fold each tab through a D-ring to create a loop. Align each D-ring tab 1 inch to the left and right of the front grommet (so you have two D-rings on the front top edge). Slip stitch each tab firmly to the top row of the bag body on the inside, making 6 to 8 securing stitches around the tab through the crochet fabric and lining.
Repeat for two D-rings at the back grommet location.
If your pre-made handles come with their own D-ring and barrel connector hardware already assembled: Simply loop each handle’s D-ring over the D-rings you sewed onto the bag.
Attach your daisy-print rope handles by slipping the handle end hardware connectors through the corresponding D-rings and closing the barrel connectors.
Finally, clip your gold sun tassel charm through the front center D-ring or grommet eyelet. This adds that perfect finishing touch.
Finishing Your Barrel Bag
Weave in all remaining yarn ends securely. Go in two directions for each tail to prevent unraveling, then trim all ends close to the fabric.
Check all your seam lines around the end cap joins and re-stitch any gaps you notice.
Blocking: Lightly mist the crochet body with cool water. Gently shape the tube by hand into an even cylinder. Stuff the interior loosely with crumpled tissue paper or a rolled towel to hold the shape while drying. Allow to dry completely on a clean surface away from direct heat.
Size Customization Tips
To make the bag longer: Add more rows to the body rectangle before seaming. Every 4 additional rows adds approximately 1.6 inches to the body length. The end caps stay the same.
To make the bag wider: Add more increase rounds to the end caps and add more stitches to the body rectangle width proportionally. For every 1 inch added to the diameter, add approximately 11 additional stitches to your starting chain.
To make a smaller clutch version: Reduce the starting chain to 55 stitches (giving approximately 53 working hdc) and work only 18 rows for the body. Work the end caps only to Round 9 (54 sts) for an approximately 5-inch diameter.
Care Instructions for Your Finished Bag
Hand wash in cool water with mild detergent. Gently press out excess water without wringing. Roll in a clean towel to remove more moisture. Reshape into a cylinder and stuff lightly while drying. Air dry flat away from heat and direct sunlight.
The fabric end panel inserts are best kept dry. If your bag gets wet, blot the fabric panels immediately with a clean cloth and allow them to air dry promptly. Do not machine wash or tumble dry.
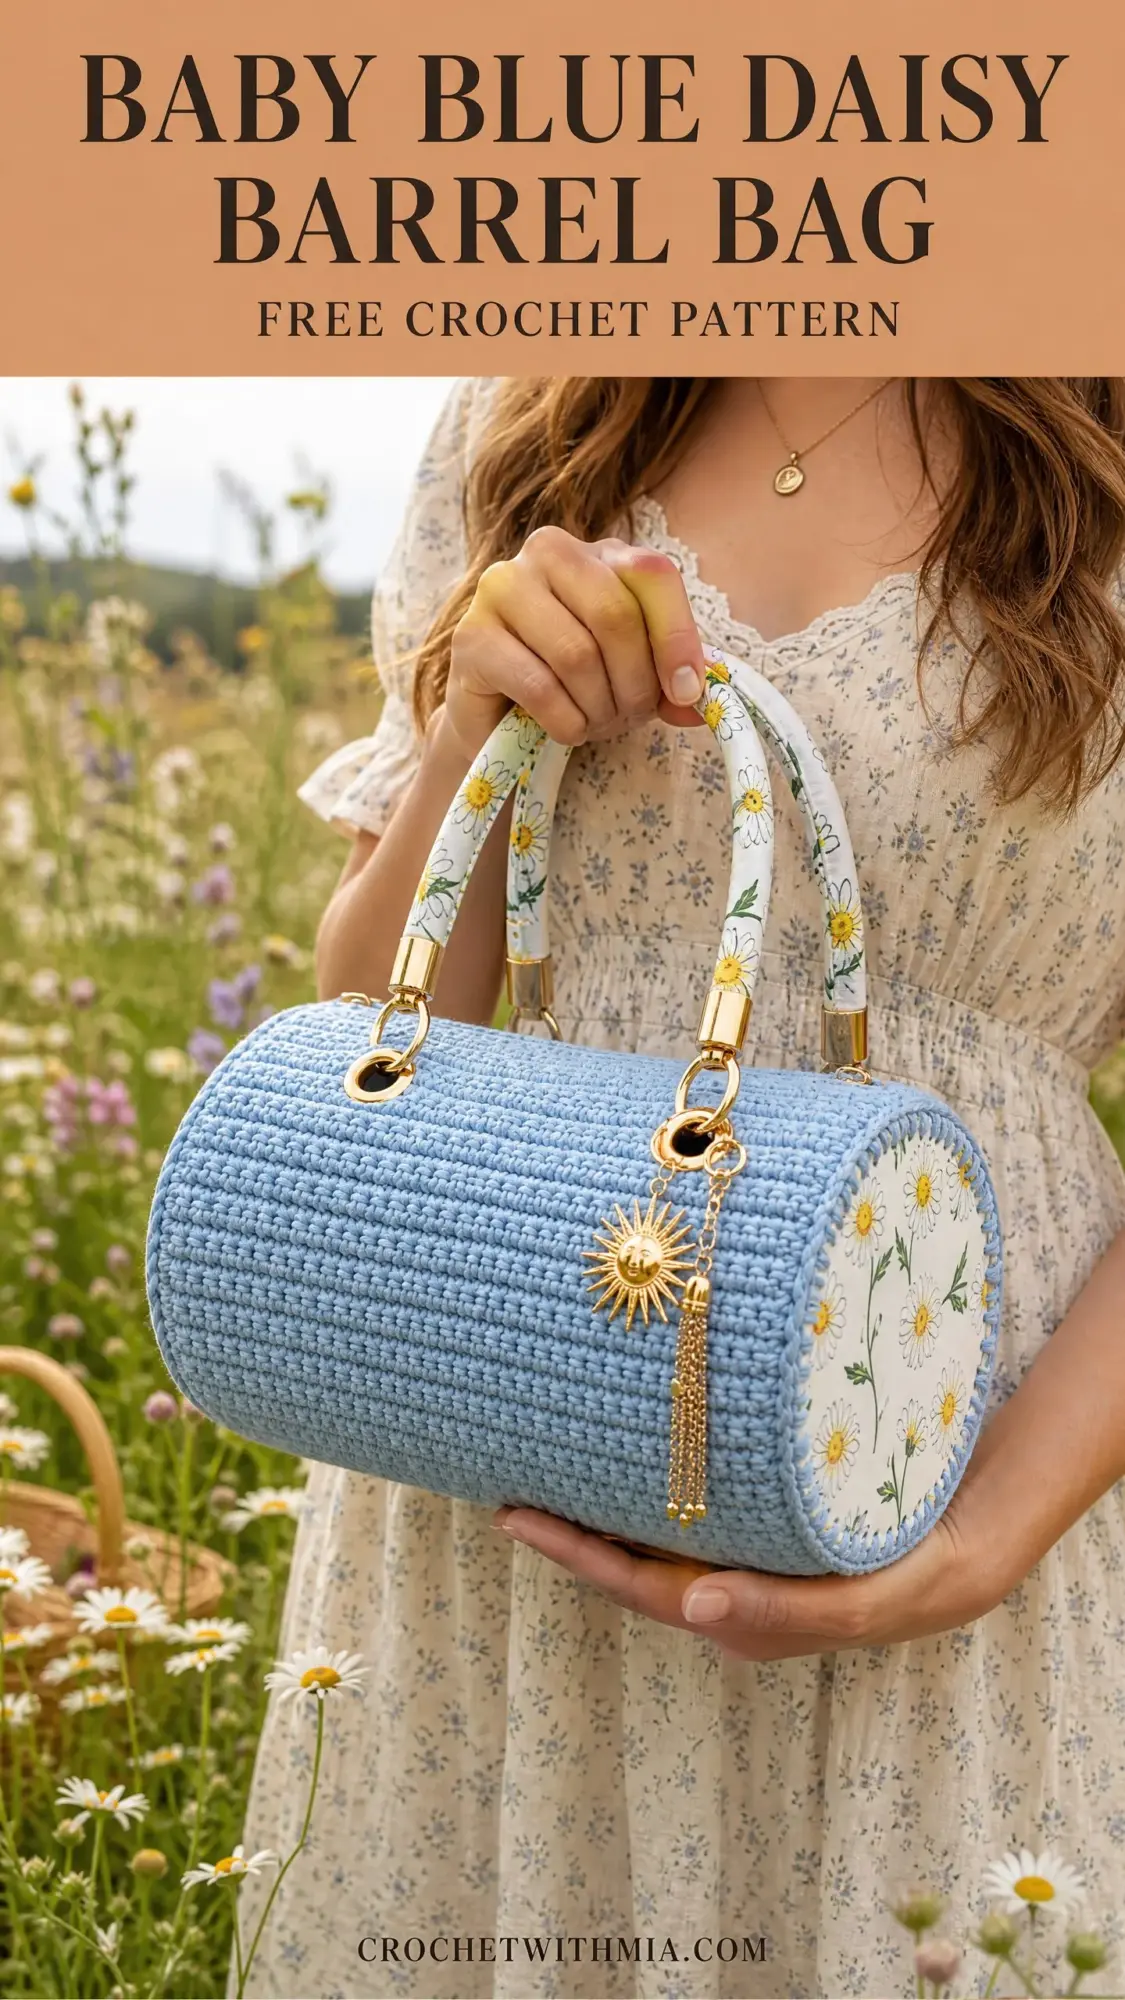
You Did It!
Thank you so much for choosing this pattern for your next project. I genuinely hope you love making this bag as much as I loved designing it. There is something really satisfying about finishing a structured accessory like this and knowing you made it yourself.
I would absolutely love to see your finished barrel bags! Tag me on Instagram or share a photo in my Facebook group. Seeing your makes is hands down the best part of sharing patterns.
If this pattern inspired you, go ahead and pin it to your Pinterest boards so you can find it easily when you are ready to start. And if you make it, drop a comment below! I read every single one and love hearing how your projects turn out.