
You know that gorgeous skein of soft blue DK yarn you’ve been saving for something special? This is the project. Go dig it out of your stash right now.
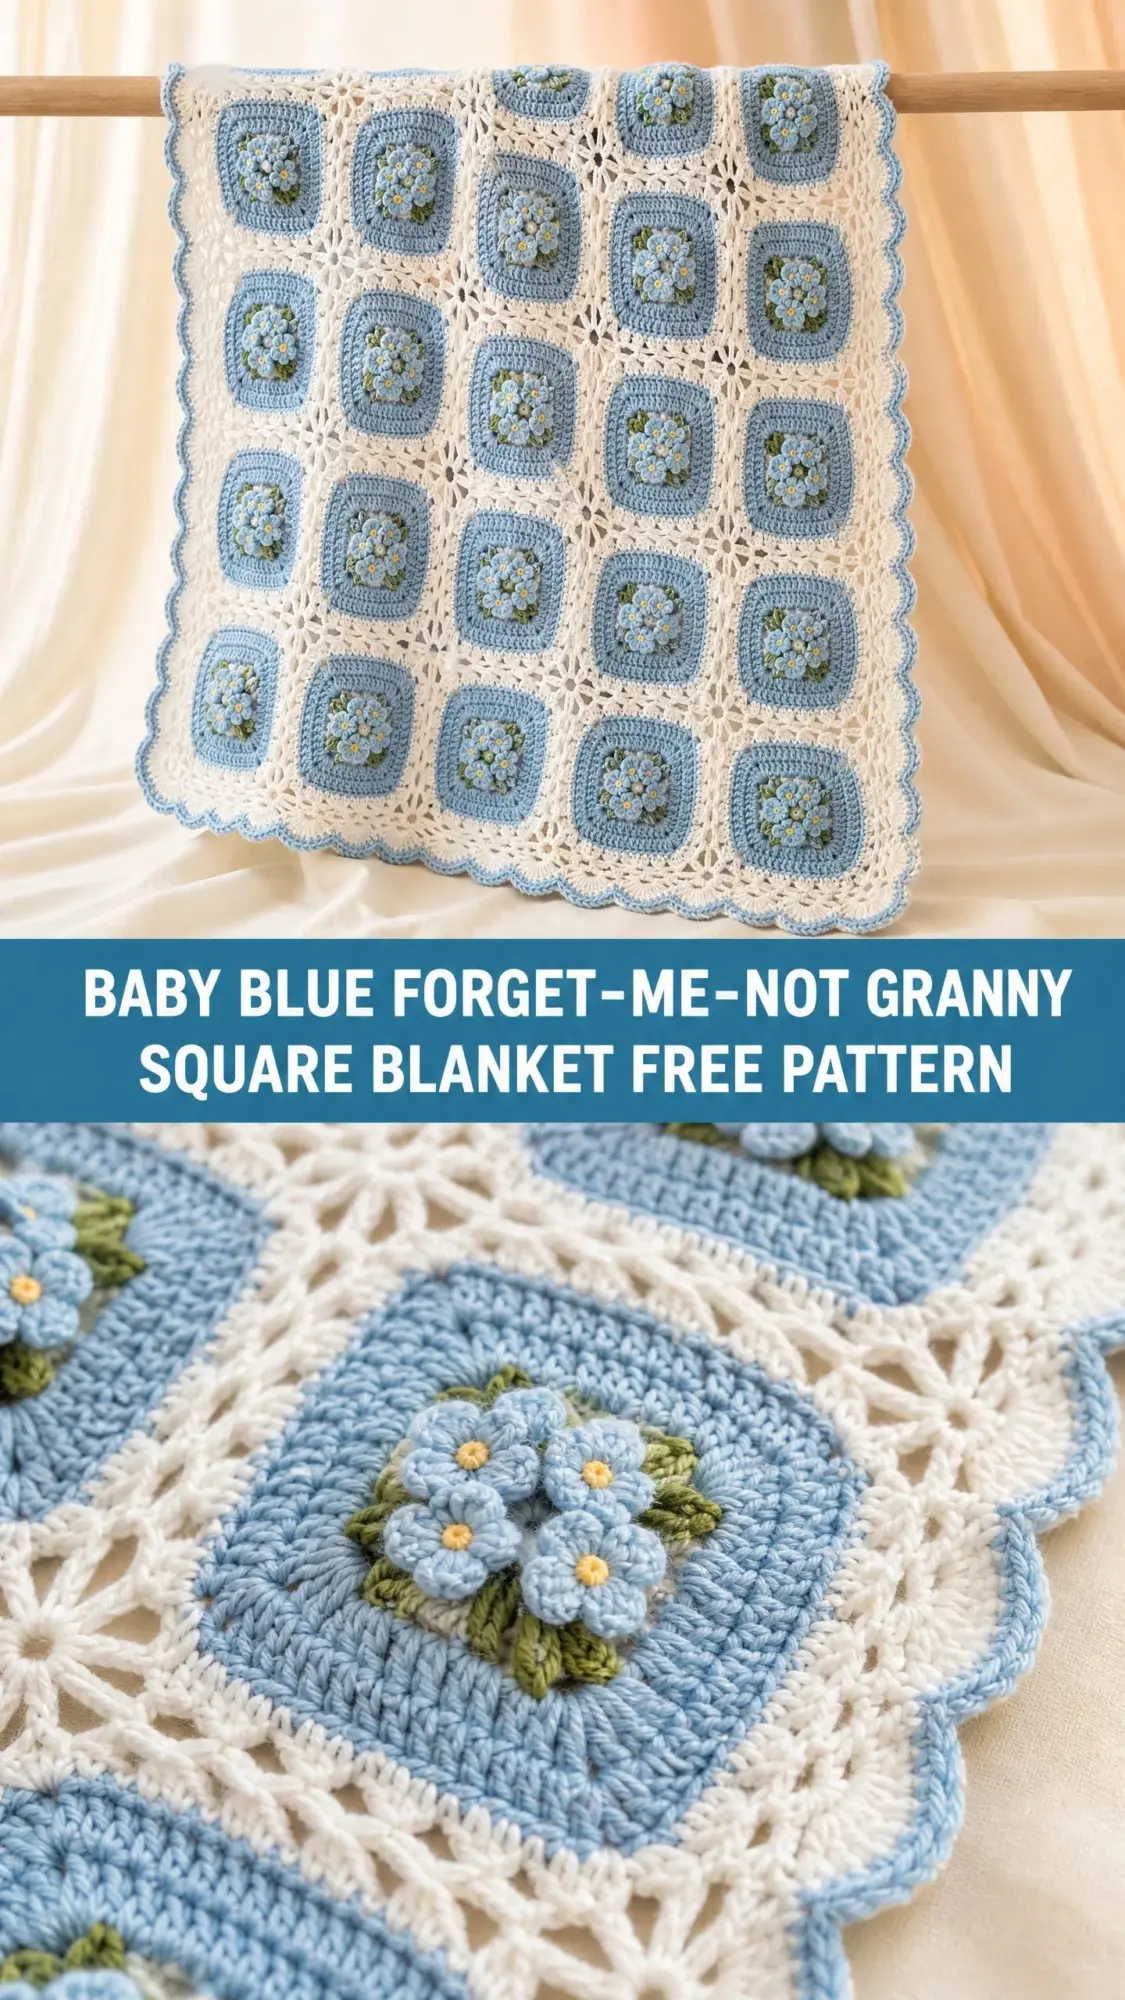
This heirloom-quality baby blanket combines classic granny square construction with dimensional forget-me-not flowers at the center of each square. The flowers actually pop up from the surface, creating a textured, layered look that photographs beautifully and feels even better in person. The construction is interesting enough to keep experienced crocheters engaged, but the techniques are totally achievable if you’re comfortable working in the round.
I’ll be honest with you about the skill level. This pattern sits firmly in intermediate territory. You’ll need to be comfortable with joining squares as you go, creating bobble and cluster stitches, and following a multi-round lace border. But if you’ve made a few granny square blankets before and want to level up, this is your project.
Why This Crochet Pattern Makes a Perfect Baby Gift
There’s something about a handmade baby blanket that store-bought versions just can’t match. This crochet tutorial walks you through creating 20 individual granny squares, each featuring those sweet dimensional forget-me-not flowers, then joining them into a blanket that measures approximately 28 inches wide by 35 inches long.
The finished size is perfect for a stroller blanket, tummy time mat, or keepsake piece that can be displayed or used for years. The combination of soft blue squares with cream lattice joining and a scalloped periwinkle edge gives it a vintage, heirloom quality that parents and grandparents absolutely love.
Time commitment: Plan for approximately 20 to 30 hours total if you’re an experienced crocheter. Add extra time if the dimensional flower clusters are new to you. I strongly recommend making a sample square before committing to all 20. It helps you nail your gauge and get comfortable with the flower construction.
Materials You’ll Need
Gather these supplies before you begin your baby blanket crochet pattern:
Yarn (DK weight throughout):
Hook: US size G-6 / 4.0 mm crochet hook, or size needed to obtain gauge
Notions:
Yarn Suggestions
Lion Brand Pound of Love works beautifully for this project. It’s machine washable, incredibly soft against baby skin, and comes in all the colors you need.
Paintbox Yarns Simply DK is a budget-friendly option with excellent stitch definition that really shows off the flower clusters.
Cascade 220 Superwash DK is the luxury choice if you want a drapier, softer blanket in natural fiber that’s still machine washable.
Substitution tip: Any DK weight yarn around 220 yards per 100 grams will work. Avoid fuzzy or hairy yarns like mohair blends since they’ll obscure your dimensional flower detail.
Gauge
One completed granny square = 6.5 inches (16.5 cm) square after light blocking.
Alternatively: 18 stitches and 10 rows in double crochet (dc) = 4 inches with a G-6 hook.
Gauge matters here. If your squares are smaller than 6.5 inches, go up a hook size. If they’re larger, go down. Consistent square size ensures your blanket lies flat and the border math works correctly.
Abbreviations and Special Stitches
Let me walk you through every abbreviation and special stitch you’ll encounter in this step by step crochet tutorial.
Standard Abbreviations
Special Stitches
Bobble Stitch (bo): Yarn over, insert hook into indicated stitch or space, yarn over, pull up a loop, yarn over, pull through 2 loops. You’ll have 2 loops on your hook. Repeat this sequence 4 more times in the same spot. Now you have 6 loops on your hook. Yarn over and pull through all 6 loops at once. This creates a raised, rounded bump.
Cluster Stitch (cl): Yarn over, insert hook, yarn over, pull up loop, yarn over, pull through 2 loops. Repeat 2 more times in the same spot. You’ll have 4 loops on hook. Yarn over and pull through all 4 loops. This creates a 3-leg cluster used for petal shaping.
Forget-Me-Not Flower Petal: Chain 3, work 1 cluster in the 3rd chain from hook, chain 3, slip stitch into the base ring. This creates one rounded petal. Five petals make one complete flower.
Scallop Stitch: Work 5 double crochet into the same stitch or space. Creates a fan-shaped scallop for the outer border.
Join As You Go (JAYG): When joining squares, replace corner ch-2 spaces with: ch 1, sl st into corresponding corner of adjacent square, ch 1. Replace side ch-1 spaces with: sl st into corresponding ch-1 sp of adjacent square (no chains). This creates a flat, nearly invisible join.
Pattern Instructions
Section 1: The Forget-Me-Not Granny Square
Make 20 squares total. Square 1 is completed fully. Squares 2 through 20 are joined during Round 7 using the JAYG method.
Round 1: The Flower Center
With Color F (pale yellow), make a magic ring.
Round 1: Ch 1. Work 10 sc into the ring. Join with sl st to first sc. Fasten off Color F. (10 sc)
Round 2: The Petals
Join Color C (periwinkle blue) with sl st into any sc of Round 1.
Round 2: Working each petal into a separate sc, work the following sequence 5 times: ch 3, work 1 cl in 3rd ch from hook, ch 3, sl st into the next sc of Round 1. After the 5th petal, sl st into the starting sc. You’ll use every other sc, leaving 5 unworked sc sitting behind the petals. Fasten off Color C. (5 petals)
Round 3: Second Layer Petals
Join Color D (white) with sl st into any unworked sc from Round 1 (these sit behind the petals).
Round 3: Working in the 5 unworked sc: work the following sequence 5 times: ch 4, work 1 cl in 4th ch from hook, ch 4, sl st into the next unworked sc. Fasten off Color D. (5 larger white petals)
Round 4: Leaf Layer
Join Color E (sage green) with sl st into any sl st join point between petals.
Round 4: Ch 5. (dc, ch 2, dc) into same sp. Ch 2. Sk 1 petal cluster. Sc into the sl st between the next petal pair. Ch 2. Rep around all 5 petal pairs, ending with sl st into 3rd ch of beginning ch-5. Fasten off Color E. (10 ch-2 spaces, 5 dc pairs, 5 sc)
Checkpoint: Your flower motif should measure approximately 2 to 2.5 inches in diameter. The dimensional flower should show blue and white petals layered over the yellow center.
Round 5: Beginning the Granny Square Body
Join Color A (soft blue) with sl st into any ch-2 sp of Round 4.
Round 5: Ch 3 (counts as dc). Work 2 dc in same sp. Ch 1.
In next ch-2 sp, work (3 dc, ch 2, 3 dc). Ch 1. (First corner made.)
In next ch-2 sp, work 3 dc. Ch 1.
In next ch-2 sp, work (3 dc, ch 2, 3 dc). Ch 1. (Second corner made.)
In next ch-2 sp, work 3 dc. Ch 1.
In next ch-2 sp, work (3 dc, ch 2, 3 dc). Ch 1. (Third corner made.)
In next ch-2 sp, work 3 dc. Ch 1.
In next ch-2 sp, work (3 dc, ch 2, 3 dc). Ch 1. (Fourth corner made.)
In next ch-2 sp, work 3 dc. Ch 1.
Sl st into top of beg ch-3 to join. Fasten off Color A.
(24 dc, 4 corner ch-2 sps, 8 side ch-1 sps)
Round 6: Expanding the Square
Join Color A into any corner ch-2 sp.
Round 6: Ch 3 (counts as dc). (2 dc, ch 2, 3 dc) into same corner sp. Ch 1. 3 dc into next ch-1 sp. Ch 1. 3 dc into next ch-1 sp. Ch 1. (3 dc, ch 2, 3 dc) into next corner sp. Ch 1. 3 dc into next ch-1 sp. Ch 1. 3 dc into next ch-1 sp. Ch 1. Rep for remaining 2 corners. Sl st into top of beg ch-3. Fasten off Color A.
(36 dc, 4 corner ch-2 sps, 12 side ch-1 sps)
Round 7: Final Square Round
For Square 1 (no joining): Join Color A into any corner ch-2 sp.
Round 7: Ch 3 (counts as dc). (2 dc, ch 2, 3 dc) into same corner sp. Ch 1. (3 dc, ch 1) into each ch-1 sp along the side (3 groups). (3 dc, ch 2, 3 dc) into next corner. Ch 1. Rep for all 4 sides. Sl st into top of beg ch-3. Fasten off Color A.
(48 dc, 4 corner ch-2 sps, 16 side ch-1 sps)
For Squares 2 through 20: Work through Round 6, then use JAYG on Round 7 for any sides being joined to completed squares.
Joining Layout
Arrange squares in 5 rows of 4 squares each. Join Row 1 first (Square 2 to 1, Square 3 to 2, Square 4 to 3). Then join Square 5 to Square 1 along the bottom. Continue across and down until all 20 squares are joined.
Checkpoint: Your joined blanket body should measure approximately 26 inches wide by 32.5 inches long before the border.
Section 2: Lace Border
Border Round 1
Join Color B with sl st into any outer corner ch-2 sp.
Ch 6 (counts as dc, ch 3). Dc into same corner sp.
Along each side: (Ch 3, sc into next ch-1 sp or join point, ch 3, sc into next ch-1 sp or join point) across, ending with ch 3 before next corner.
At each corner: (dc, ch 3, dc) into corner ch-2 sp.
Continue around. Sl st into 3rd ch of beg ch-6. Fasten off Color B.
(86 ch-3 arches plus 4 corner sets)
Border Round 2
Join Color B with sl st into any corner ch-3 sp.
Ch 3 (counts as dc). (2 dc, ch 2, 3 dc) into same corner sp.
Along each side: (3 dc, ch 1) into each ch-3 arch across.
At each corner: (3 dc, ch 2, 3 dc) into corner ch-3 sp.
Continue around. Sl st into top of beg ch-3. Fasten off Color B.
(282 dc total, 4 corner ch-2 sps, 86 side ch-1 sps)
Section 3: Scallop Edging
Scallop Round 1
Join Color B with sl st into any corner ch-2 sp.
Ch 1. 3 sc into same corner sp.
Along each side: sc into each dc and ch-1 sp across.
At each corner: 3 sc into corner ch-2 sp.
Continue around. Sl st into first sc. Fasten off Color B.
Adjust counts if needed so long sides have 96 sc and short sides have 78 sc (both divisible by 6 for scallop math). (360 sc total after adjustments)
Scallop Round 2
Join Color C with sl st into the sc just before the center corner sc.
Ch 1. Sc into same st. Sc into corner sc. Sc into next sc.
Along each side: (sk 2 sc, 5 dc into next sc, sk 2 sc, sc into next sc) repeat across entire side.
At each corner: sc into sc before center corner sc, sc into center corner sc, sc into sc after center corner sc.
Continue around. Sl st into first sc. Fasten off Color C.
(58 scallops total around blanket, plus 4 flat corners)
Finishing
Weave in all ends using your yarn needle. Weave each tail in at least 2 directions through the wrong side to prevent unraveling during washing. Trim tails close after securing.
If flower petals have shifted, use a blunt needle to gently lift and adjust them from the right side before blocking.
Blocking
For acrylic yarns: Submerge the blanket in cool water. Squeeze gently without wringing. Roll in a towel to remove moisture. Lay flat on a blocking mat, pin to 28 by 35 inches, and let dry completely.
For superwash wool: Same wet blocking method, or steam lightly with iron held 1 to 2 inches above surface.
After blocking, gently cup each flower with your fingers while still slightly damp to encourage the 3D shape.
Care Instructions
Acrylic: Machine wash gentle cycle, cold water. Lay flat to dry. No high heat tumble dry.
Superwash wool: Machine wash wool cycle, cold water. Lay flat to dry.
Store folded in a breathable bag away from direct sunlight.
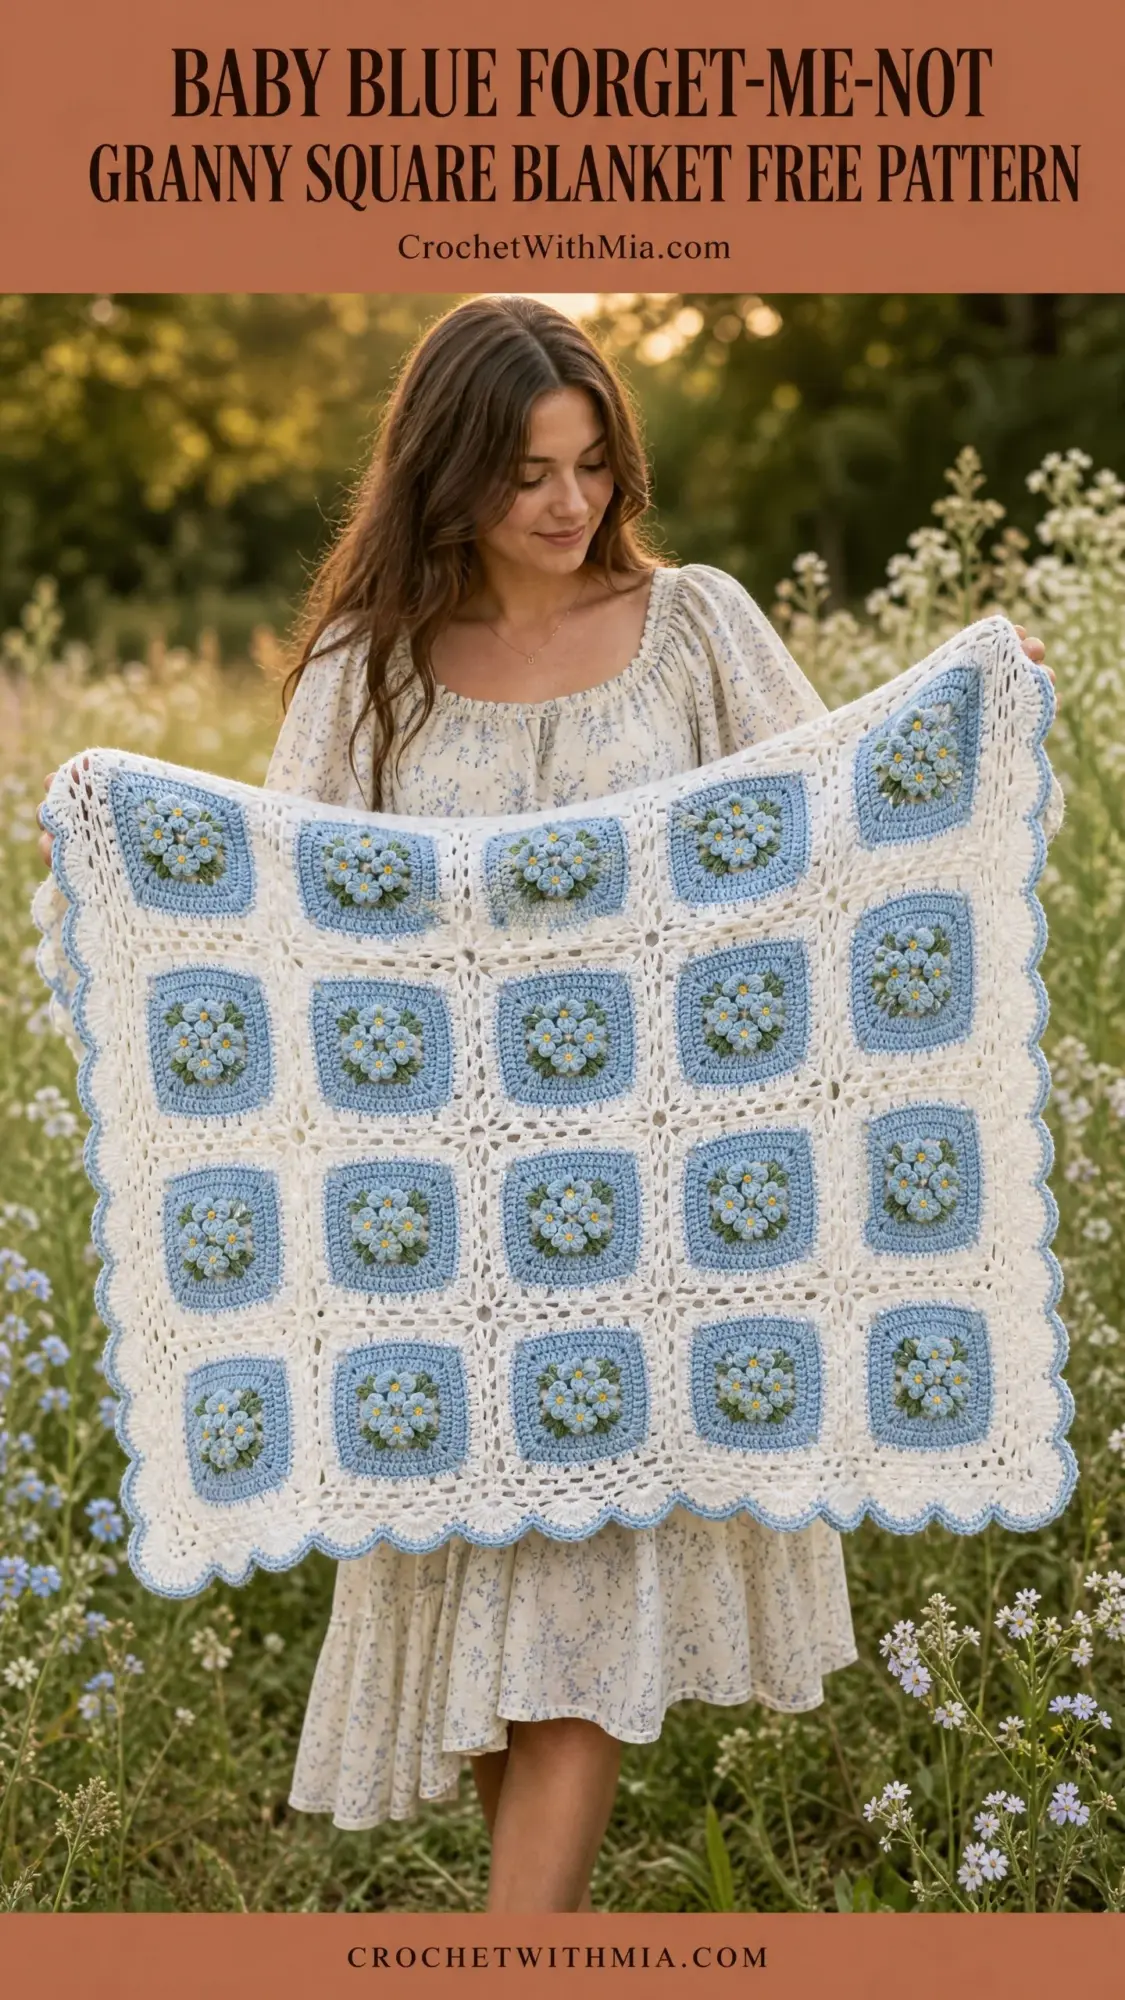
Size Customization
Larger blanket: Use a 5 x 6 grid (30 squares) for approximately 35 by 42 inches.
Smaller lovey: Use a 3 x 3 grid (9 squares) for approximately 21 by 21 inches.
Color variations: Pink and coral for warmth, lavender and lilac for gender-neutral. Keep Color B cream or white for maximum contrast.
Thank you so much for choosing this pattern for your next project. I truly hope you love making this blanket as much as I loved designing it. If you create one, I would absolutely love to see it! Tag me on Instagram or share a photo in my Facebook group.
If this baby blanket crochet pattern caught your eye, go ahead and save it to your Pinterest boards so you can find it when you’re ready to start. And please leave a comment below if you make one. I read every single comment and it makes my day to see your finished blankets!