
When I sat down to design this little dress and bolero set, I had three goals in mind. I wanted something that looked impressive enough for photos and special occasions, used stitches that wouldn’t frustrate a confident beginner, and came together as a coordinating outfit rather than just a single piece.
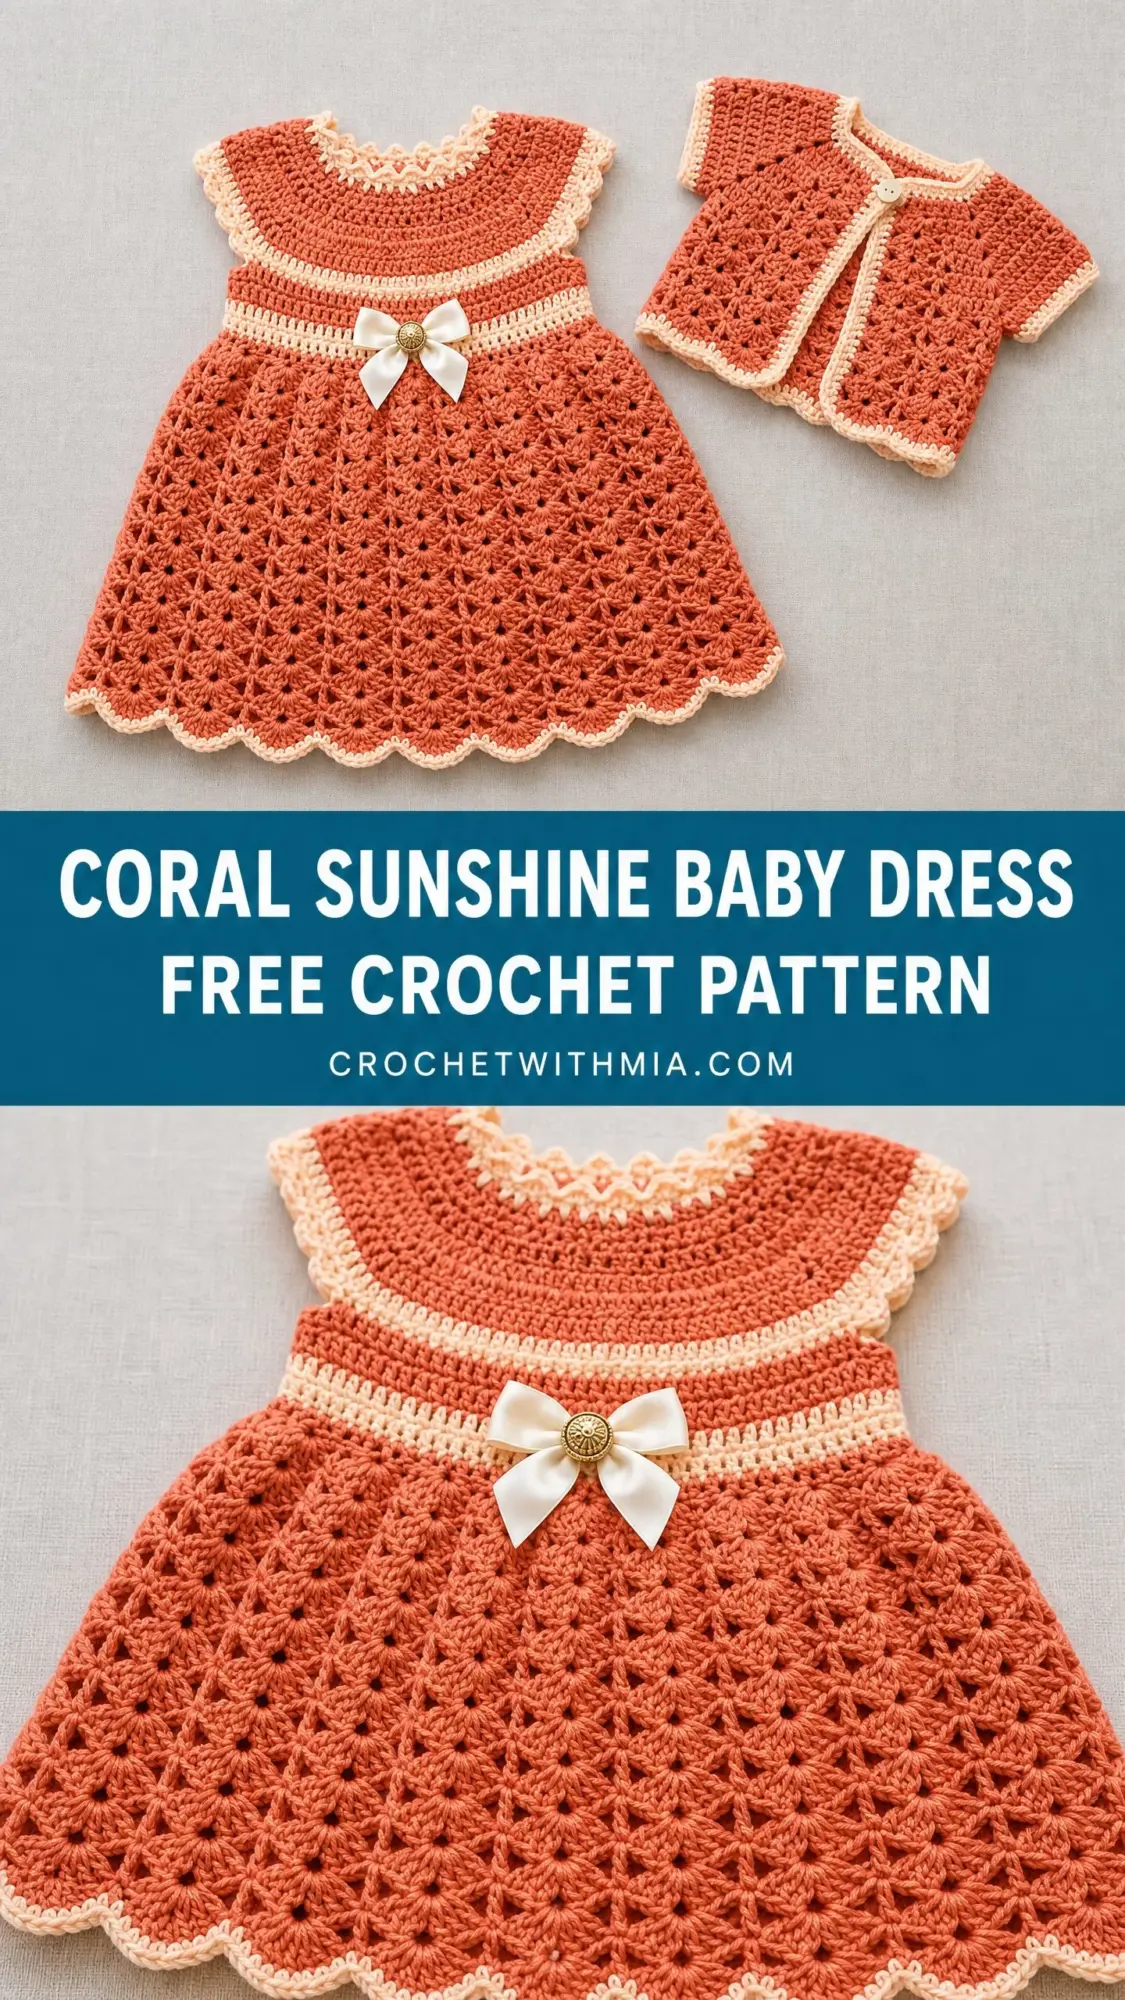
The coral and peach colorway kept calling to me because it feels vintage and modern at the same time. That shell lace skirt gives you all the drama of heirloom crochet without the headache of complicated charts.
I am SO pleased with how this turned out. The proportions are perfect for a 6 to 12 month old, the yoke construction is totally seamless, and that matching bolero takes the whole thing over the top. If you have been wanting to make baby garments but felt intimidated, this is your sign.
About This Baby Dress Crochet Pattern
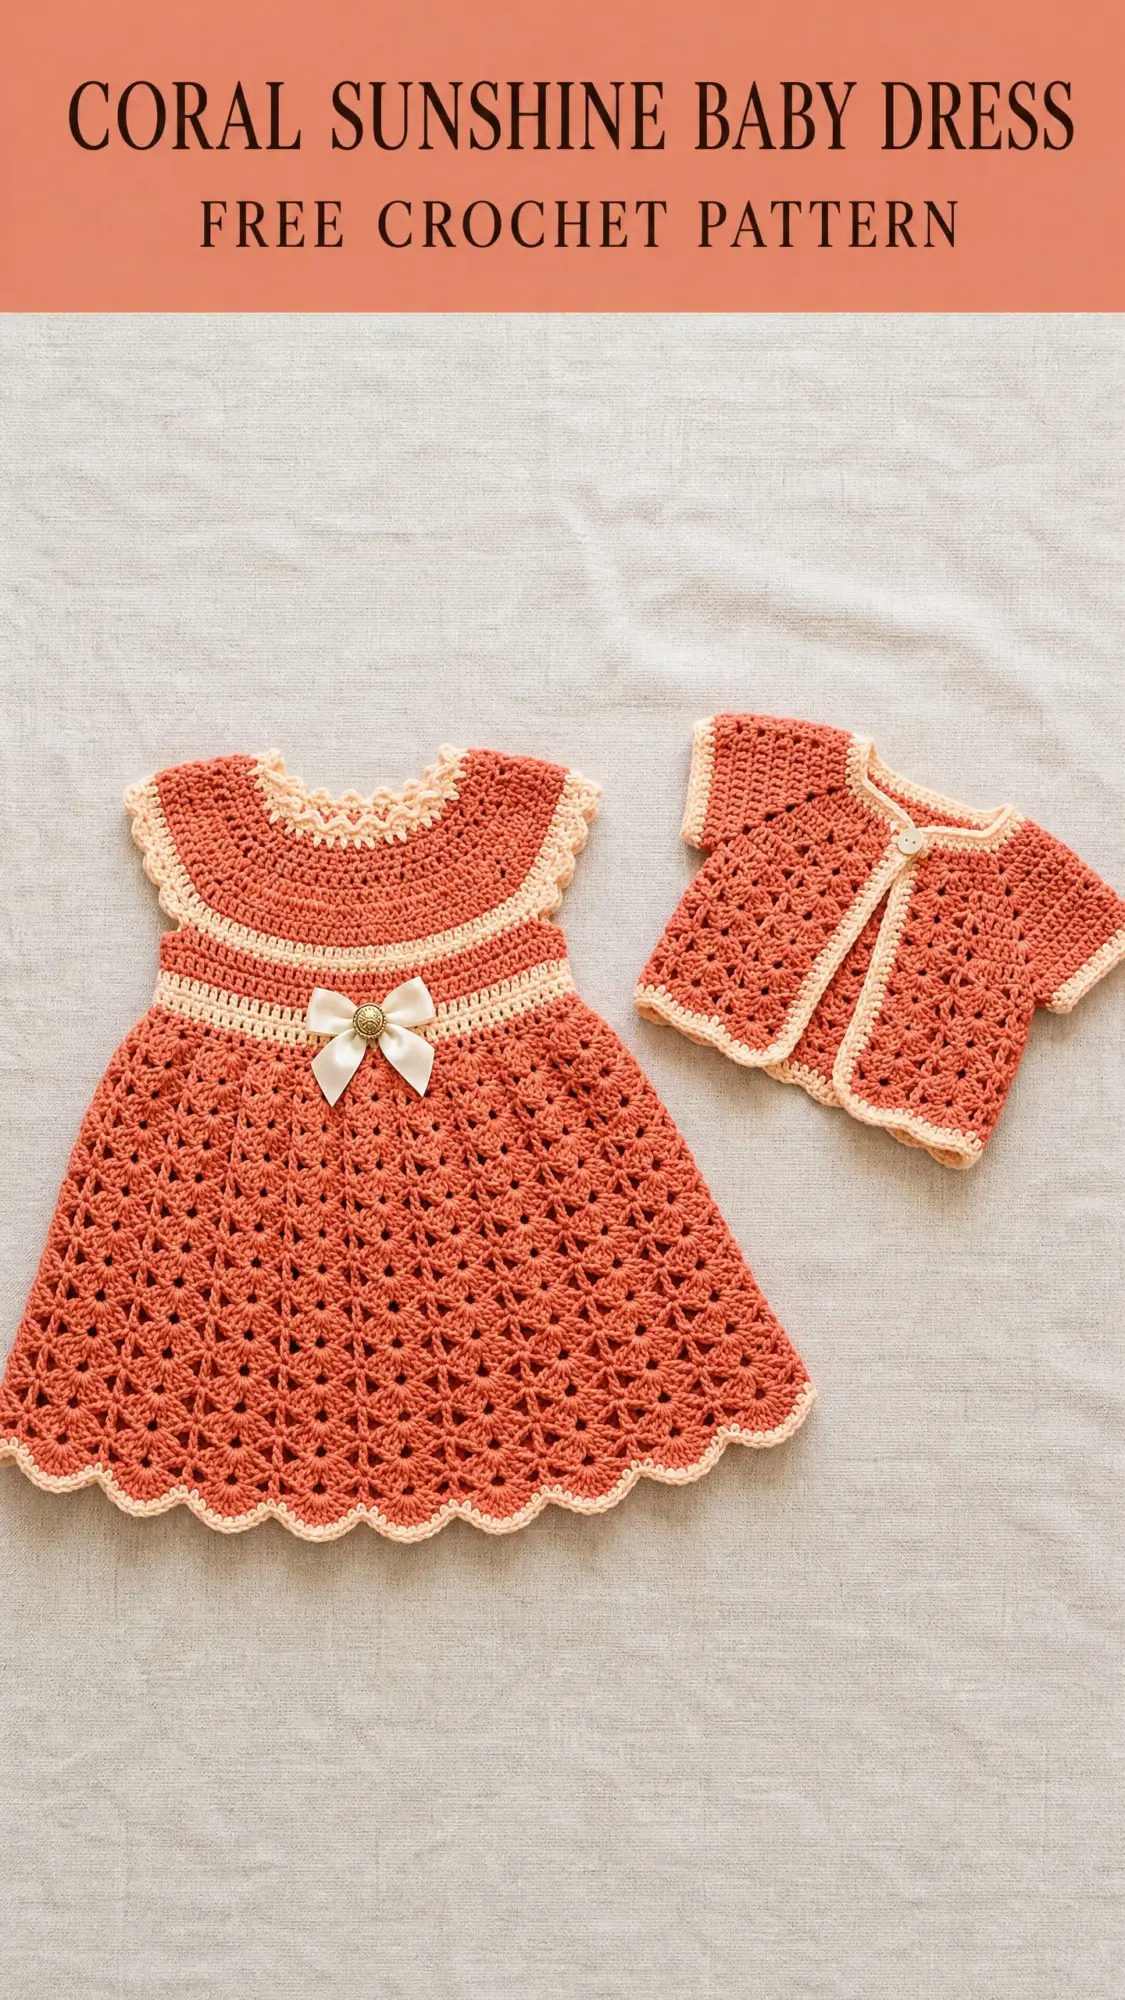
This pattern creates two pieces that work beautifully together or separately. The dress features a round yoke worked from the top down, an empire waist with a sweet satin bow accent, and a lace shell stitch skirt with scalloped edging. The bolero cardigan uses a V-stitch open grid pattern, has short sleeves, and closes with a single button at the neck.
Both pieces are sized for a 6 to 12 month infant with a chest measurement of 17 to 18 inches. The construction is beginner-friendly in concept, though you should be comfortable reading patterns worked in rounds and managing two colors. I would call this a confident beginner to easy intermediate level project.
Time estimate: The dress takes about 8 to 12 hours. The bolero adds another 4 to 6 hours. Plan for 12 to 18 hours total depending on your experience level.
Finished Measurements
Dress:
Bolero:
Materials Needed
Yarn:
Hook: US size G-6 / 4.0 mm
Notions:
Yarn Suggestions
Lion Brand Pound of Love (DK-adjacent, 100% Premium Acrylic, 1020 yards / 932 m per 16 oz skein) is easy care, holds color beautifully, and widely available. One skein in Terracotta and a partial skein in Pastel Peach will complete this set.
Paintbox Yarns Simply DK (100% Acrylic, 137 yards / 125 m per 50 g skein) is budget friendly with a full color range. Purchase 3 skeins of Burnt Orange and 1 skein of Vanilla Cream.
Drops Safran (DK weight, 100% Cotton, 175 yards / 160 m per 50 g skein) is excellent for warm climates and sensitive baby skin. Purchase 3 skeins main color, 1 skein contrast. Note that cotton has less elasticity so your gauge swatch is especially important.
Choose any DK weight yarn with a smooth, plied construction. Avoid highly textured or thick-and-thin yarns because the shell lace stitch requires clear stitch definition.
Gauge
18 stitches and 10 rows = 4 in / 10 cm in double crochet worked in the round with Color A and a US G-6 / 4.0 mm hook, after blocking.
Shell lace gauge: one 6-stitch shell repeat (shell + ch-1 + sc) = approximately 1.5 in / 3.8 cm wide and 0.75 in / 1.9 cm tall per round.
Gauge is critical for garment fit. Please swatch and adjust hook size as needed. I know swatching feels tedious, but with baby garments the sizing matters so much.
Abbreviations
Before we dive in, let me walk you through every abbreviation you will see in this pattern:
Special Stitches for This Crochet Tutorial
Shell Stitch: Work 5 dc all into the same stitch or chain space. This creates the fan shape that forms the lace skirt. The shells are separated by single crochets and chain spaces to create the open lace fabric. For example, when the pattern says "5 dc in next ch-2 sp," you are making one complete shell.
V-Stitch (used in bolero body): Work (dc, ch 1, dc) all into the same stitch or chain space. This creates the open grid of the bolero. Each V-stitch counts as 2 dc plus 1 ch-1 sp.
Scallop Edging: This creates the pretty shell-shaped border at the hem and edges.
Picot Edging (used at neckline):
Pattern Notes Before You Begin
The dress yoke is worked in joined rounds from the neckline downward. This top-down construction allows easy length adjustment if you need it.
The skirt is worked in joined rounds from the empire waist downward, picking up stitches from the last yoke round.
The bolero is worked flat in rows from the top edge downward, then seamed lightly at the underarms only. Sleeves are picked up and worked in rounds.
When changing colors, always complete the last yarn-over pull-through of the final stitch with the new color. This gives you cleaner color transitions.
Chain-3 at the beginning of a double crochet round counts as the first dc throughout this pattern unless otherwise stated.
All rounds are worked with right side facing unless otherwise noted.
The ribbon bow is a non-structural embellishment attached after finishing. It does not affect stitch counts.
Step by Step Dress Instructions
Yoke
The yoke is worked in the round from the neckline down. Begin with Color B.
Foundation: With Color B and G-6 hook, ch 60. Being careful not to twist, sl st to first ch to form a ring. (60 ch)
Rnd 1 (Neckline edging, Color B): Ch 1 (does not count as st), work picot edging as follows: sc in first ch, (ch 3, sl st in first ch of ch-3, sc in each of next 2 ch) around, ending sc in last ch, sl st to first sc to join. Fasten off Color B at end of this round. (20 picots, 60 sc)
This picot edging sits at the very top neckline as the decorative ruffle you see in the photo. After completing, your neckline circumference is approximately 13 in / 33 cm, which will stretch to fit over a baby’s head comfortably.
Rnd 2 (foundation dc round, Color B): Join Color B with sl st to any st of Rnd 1. Ch 3 (counts as dc). Dc in each st around. Sl st to top of beg ch-3. (60 dc)
Rnd 3 (increase round 1, Color A): Join Color A with sl st to any st. Ch 3 (counts as dc). Dc in same st. (Dc in next 4 sts, 2 dc in next st) around, ending dc in last 4 sts. Sl st to top of beg ch-3. (72 dc)
Rnd 4 (Color A): Ch 3, dc in each st around. Sl st to top of beg ch-3. (72 dc)
Rnd 5 (increase round 2, Color A): Ch 3, dc in same st. (Dc in next 5 sts, 2 dc in next st) rep around. Sl st to top of beg ch-3. (84 dc)
Rnd 6 (Color A): Ch 3, dc in each st around. Sl st to top of beg ch-3. (84 dc)
Rnd 7 (increase round 3, Color A): Ch 3, dc in same st. (Dc in next 6 sts, 2 dc in next st) rep around. Sl st to top of beg ch-3. (96 dc)
Rnd 8 (Color A): Ch 3, dc in each st around. Sl st to top of beg ch-3. (96 dc)
Rnd 9 (increase round 4, Color A): Ch 3, dc in same st. (Dc in next 7 sts, 2 dc in next st) rep around. Sl st to top of beg ch-3. (108 dc)
Rnd 10 (Color A): Ch 3, dc in each st around. Sl st to top of beg ch-3. (108 dc)
Rnd 11 (yoke lower border, Color B): Drop Color A to WS (do not cut). Join Color B. Ch 3, dc in each st around. Sl st to top of beg ch-3. (108 dc)
Rnd 12 (Color B): Ch 3, dc in each st around. Sl st to top of beg ch-3. (108 dc)
Rnd 13 (Color A, empire waist stripe): Drop Color B. Pick up Color A. Ch 3, dc in each st around. Sl st to top of beg ch-3. (108 dc)
Rnd 14 (Color A): Ch 3, dc in each st around. Sl st to top of beg ch-3. (108 dc)
CHECKPOINT: After Rnd 14, your yoke should measure approximately 4.5 in / 11.5 cm from neckline picot to the bottom of Rnd 14. The circumference at this point is approximately 24 in / 61 cm.
Underarm Separation
This step separates the front and back yoke from the sleeve openings and prepares the stitch count for the skirt.
Mark the yoke as follows using stitch markers:
Rnd 15 (underarm chain round, Color A): Ch 3. Dc in each of next 19 sts (front, 20 sts total including ch-3). Ch 8 (bridge over right underarm). Sk 14 sts (right sleeve). Dc in each of next 40 sts (back). Ch 8 (bridge over left underarm). Sk 14 sts (left sleeve). Dc in each of next 20 sts (left front/remaining). Sl st to top of beg ch-3.
Stitch count after Rnd 15: 20 (right front) + 8 (ch) + 40 (back) + 8 (ch) + 20 (left front) = 96 working sts in next round.
Rnd 16 (work across underarm chains, Color A): Ch 3, dc in each of next 19 sts, dc in each of 8 ch, dc in each of next 40 sts, dc in each of 8 ch, dc in each of next 20 sts. Sl st to top of beg ch-3. (96 dc)
This round joins the yoke into a single tube for the skirt.
Skirt Transition Round
The skirt uses a shell lace pattern with a repeat of 6 stitches. The 96-stitch count divides into 16 repeats of 6 stitches each.
Rnd 17 (setup round, Color A): Ch 1 (does not count as st). Sc in first st. (Ch 2, sk 2 sts, sc in next st) around, ending sl st to first sc. (32 sc, 32 ch-2 sps)
You now have 32 chain-2 spaces. The shells will be worked into every other chain space (16 shell positions), with single crochets in the spaces between.
Skirt
Rnd 18 (Shell Round 1, Color A): Sl st into first ch-2 sp. Ch 3, 4 dc in same ch-2 sp (first shell made, 5 dc). Ch 1. Sc in next ch-2 sp. Ch 1. (5 dc in next ch-2 sp, ch 1, sc in next ch-2 sp, ch 1) around. Sl st to top of beg ch-3. (16 shells of 5 dc, 16 sc, 32 ch-1 sps)
Rnd 19 (between-shell round, Color A): Sl st into top of shell (center dc of shell below). Ch 1. Sc in same st. Ch 2. (Sc in center dc of next shell, ch 2) around. Sl st to first sc. (16 sc, 16 ch-2 sps)
Rnd 20 (Shell Round 2, Color A): Sl st into first ch-2 sp. Ch 3, 4 dc in same sp. Ch 1. Sc in next sc. Ch 1. (5 dc in next ch-2 sp, ch 1, sc in next sc, ch 1) around. Sl st to top of beg ch-3. (16 shells, 16 sc)
Rnd 21: Rep Rnd 19. (16 sc, 16 ch-2 sps)
Rnd 22 (Shell Round 3, expanded, Color A): This expansion round doubles your shells. In each ch-2 sp from Rnd 21, work (5 dc, ch 1). In each sc from Rnd 21, work (sc, ch 1, 5 dc, ch 1, sc, ch 1). Sl st to top of beg ch-3. (32 shells, 32 sc)
Rnd 23 (between-shell round, Color A): Sl st to center dc of first shell. Ch 1. Sc in same st. Ch 2. (Sc in center dc of next shell, ch 2) rep around. Sl st to first sc. (32 sc, 32 ch-2 sps)
Rnd 24 (Shell Round 4, Color A): (5 dc in ch-2 sp, ch 1, sc in next sc, ch 1) around. Sl st to top of beg ch-3. (32 shells, 32 sc)
Rnds 25, 27, 29, 31, 33: Rep Rnd 23. (32 sc, 32 ch-2 sps)
Rnds 26, 28, 30, 32: Rep Rnd 24. (32 shells, 32 sc)
CHECKPOINT: After Rnd 33, the skirt should measure approximately 8.5 in / 21.5 cm from the empire waist.
Hem Scallop Edging
Rnd 34 (Color B, scallop hem edging): Drop Color A. Join Color B. Work scallop edging across all shell tops and spaces: Sl st to top of beg ch-3 of first shell from Rnd 32. Ch 1. Sc in same st. (Ch 2, 2 dc) in same sc. Sk to next sc between shells. Sc in that sc. (Ch 2, 2 dc) in same sc. Continue (sk to center dc of next shell, sc in center dc, (ch 2, 2 dc) in same sc, sk to next sc, sc in that sc, (ch 2, 2 dc) in same sc) around. Sl st to first sc. Fasten off Color B.
Total scallops: 64
Waist Bow Embellishment
Cut approximately 12 in / 30 cm of 3/8-in satin ribbon in white or cream. Tie into a small bow. Using a brad, decorative shank button, or small safety pin, attach the bow to the front center of the empire waist stripe at the vertical center front.
Step by Step Bolero Cardigan Instructions
Bolero Body
Foundation Row: With Color B and G-6 hook, ch 56. Turn. (55 working ch)
Row 1 (WS, Color B): Ch 3 (counts as dc), dc in each ch across. Turn. (55 dc)
Row 2 (RS, Color B): Ch 3, dc in each st across. Turn. (55 dc)
Row 3 (Color B): Ch 3, dc in each st across. Turn. (55 dc)
Join Color A. Do not cut Color B.
Row 4 (Color A, V-stitch body row 1): Ch 4 (counts as dc + ch 1). Sk 1 st. (V-st in next st, sk 1 st) across, ending dc in last st. Turn. (26 V-sts + 2 edge dc)
Row 5 (Color A): Ch 4 (counts as dc + ch 1). V-st in each ch-1 sp of V-sts across, ending dc in top of t-ch. Turn. (26 V-sts + 2 edge dc)
Rows 6 through 10: Rep Row 5. (26 V-sts + 2 edge dc each row)
CHECKPOINT: After Row 10, the bolero body should measure approximately 4 in / 10 cm from the foundation chain top edge.
Row 11 (Color A): Ch 3, dc in each dc and each ch-1 sp across. Turn. (55 dc)
Row 12 (Color A): Ch 3, dc in each st across. Turn. (55 dc)
Row 13 (Color B, scallop hem edging): Drop Color A. Pick up Color B. Work scallop edging across: Ch 1, sc in first st. (Ch 2, 2 dc) in same sc. (Sk 2 sts, sc in next st, (ch 2, 2 dc) in same sc) across. Fasten off Color B.
Bolero Sides and Neckline Edging
With Color B, work a single row of sc up the right front edge, across the top of the foundation chain (neckline), and down the left front edge. At the top right corner, work a button loop as follows: sc in corner, ch 5, sc in same corner.
Attach button to left front top corner at corresponding position.
Bolero Sleeves
Mark the side edges of the bolero approximately 2.5 in / 6.5 cm down from the shoulder edge on each side to define the armhole opening.
With Color A and RS facing, join yarn at the base of the right armhole opening. Work 24 sc evenly around the armhole opening. Sl st to first sc to join. (24 sc)
Rnd 1 (sleeve, Color A): Ch 3, dc in each st around. Sl st to top of beg ch-3. (24 dc)
Rnd 2 (sleeve, Color A): Ch 3, dc in each st around. Sl st to top of beg ch-3. (24 dc)
Rnd 3 (sleeve decrease round, Color A): Ch 3. (Dc2tog, dc in next 2 sts) around. Sl st to top of beg ch-3. (18 dc)
Rnd 4 (sleeve border, Color B): Drop Color A. Join Color B. Work scallop edging around sleeve cuff: Ch 1, sc in first st. (Ch 2, 2 dc) in same sc. (Sk 2 sts, sc in next st, (ch 2, 2 dc) in same sc) around. Sl st to first sc. Fasten off.
Rep for second sleeve at left armhole.
CHECKPOINT: Each sleeve should measure approximately 2.5 in / 6.5 cm from shoulder pickup to cuff scallop.
Size Customization Tips
To size up to 12 to 18 months:
Begin the yoke foundation chain with 66 ch instead of 60. Add one additional increase round before Rnd 11, increasing to 120 dc. Work 2 additional skirt repeat rounds before the hem scallop. Add 4 ch to the bolero foundation chain (ch 60) and adjust V-stitch counts accordingly.
To size down to 3 to 6 months:
Begin the yoke foundation chain with 54 ch. Work only 3 increase rounds to reach 90 dc at the empire waist. Reduce skirt rounds by 2. Reduce bolero foundation chain by 4 (ch 52) and adjust V-stitch counts.
General rule: Each additional 6 ch in the foundation adds approximately 1.5 in / 3.8 cm to the chest circumference. Each additional 2 skirt rounds adds approximately 0.75 in / 1.9 cm to the length.
Finishing and Blocking
Weave in all ends thoroughly on the WS using a yarn needle. Run the tail through at least 1 in / 2.5 cm of stitches in two directions to prevent unraveling.
Wet blocking is recommended for both pieces. Soak in cool water with a small amount of wool wash or gentle soap. Gently press out excess water in a towel. Do not wring. Pin pieces to a foam mat to finished measurements using rust-proof pins, opening the shell lace to display the fans fully. Allow to dry completely before unpinning, approximately 24 hours.
Attach the satin ribbon bow to the dress waist. Attach the bolero closure button. Steam the scallop edges lightly if needed to encourage them to lie flat.
Care Instructions
If worked in acrylic: Machine wash cold on gentle cycle, lay flat to dry. Do not tumble dry at high heat.
If worked in cotton: Machine wash cold on delicate, or hand wash in cool water. Lay flat to dry. Cotton may stretch slightly when wet so reshape while damp.
Always check the yarn label of your chosen yarn for fiber-specific care.
Thank you so much for choosing this pattern for your little one or for a special gift. I hope you love making it as much as I loved designing it. If you give it a try, I would absolutely love to see your finished set. Tag me on Instagram or share a photo in our Facebook group.
If this pattern caught your eye, go ahead and pin it to your Pinterest boards so you can find it when you are ready to start. And please drop a comment below if you make this sweet little dress and bolero. I read every single one and your photos make my whole day.