
You know that gorgeous skein of DK weight yarn you’ve been saving for the perfect project? The one in that dreamy lavender shade that’s too special for just any pattern? This is the project. Dig it out. This Lavender Cottage Babydoll Dress is exactly the kind of show-stopping garment that yarn has been waiting for.
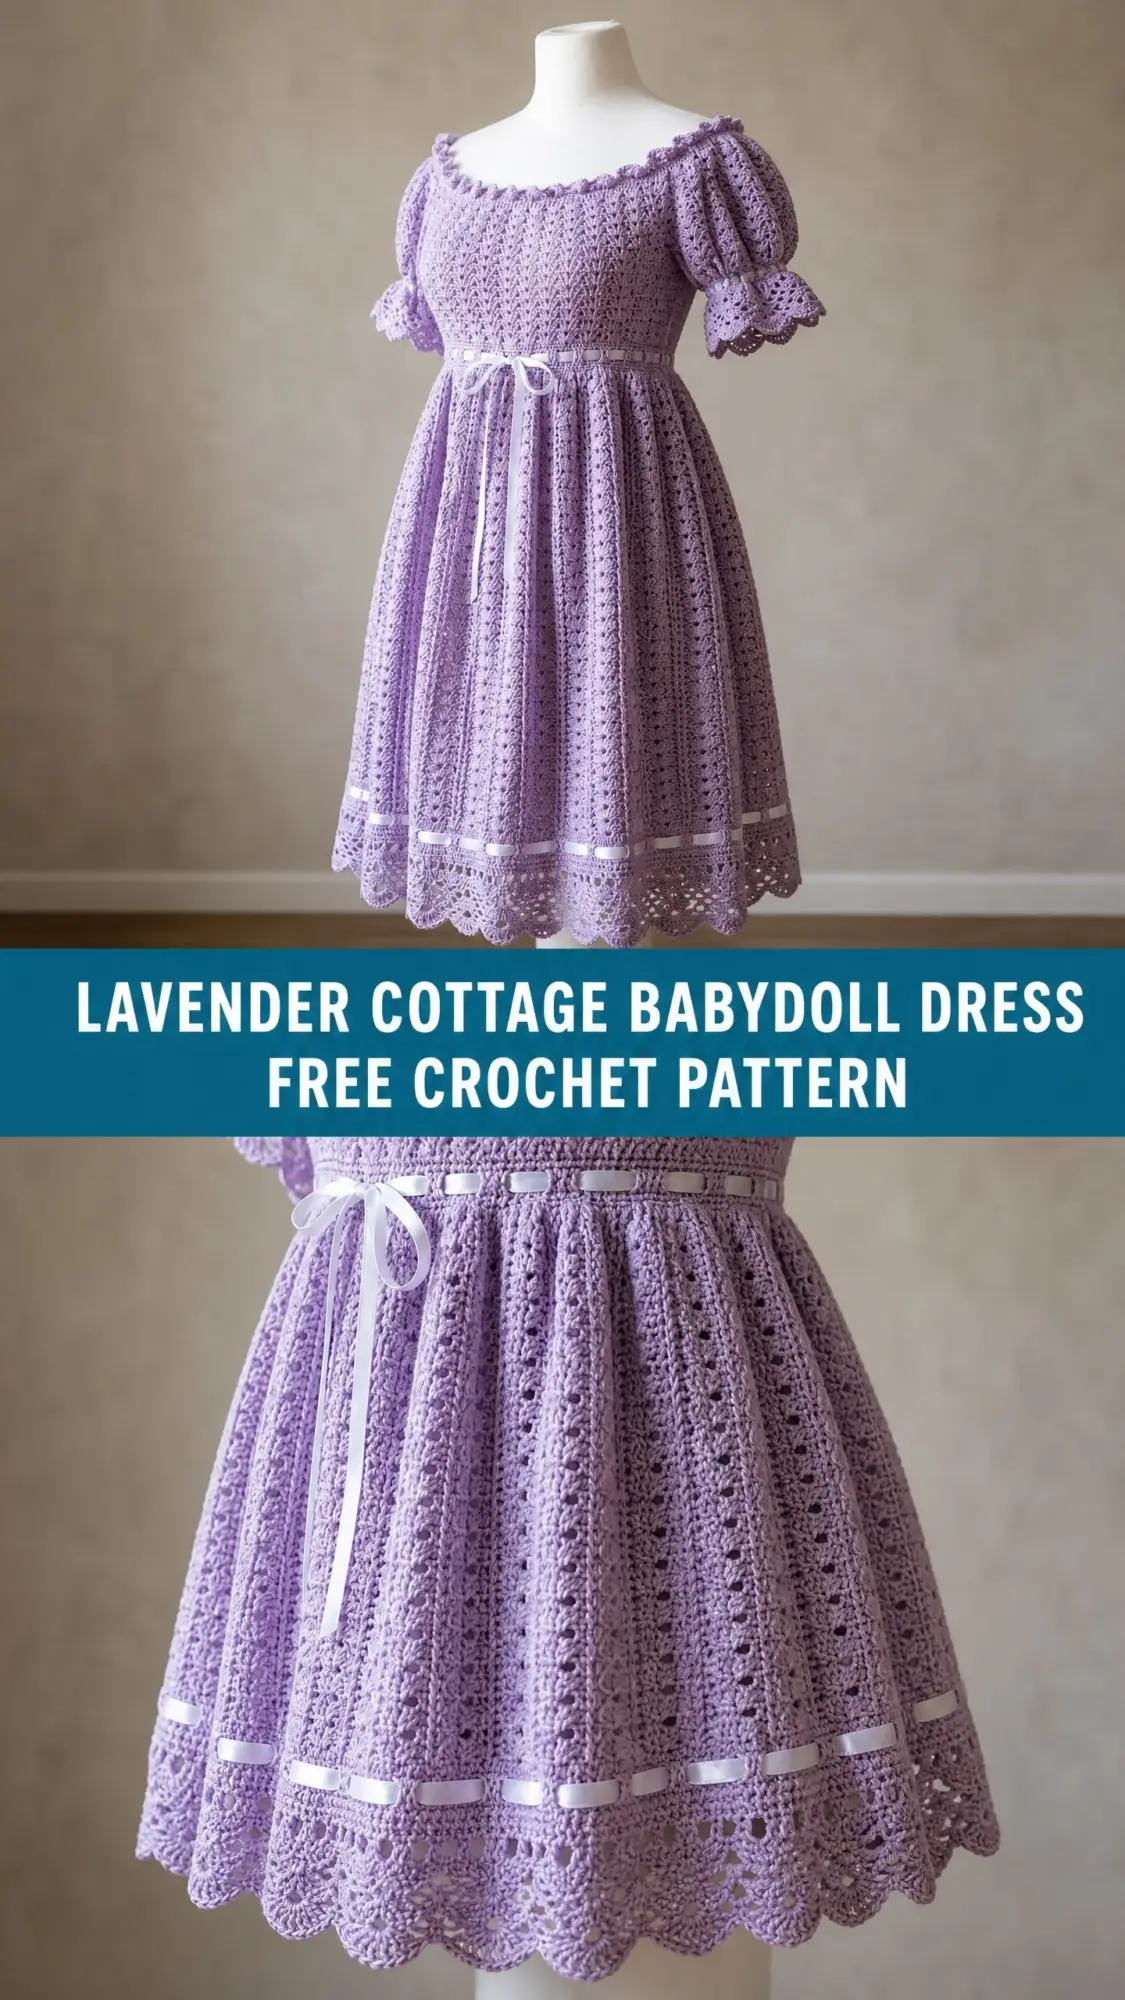
Now, I’ll be honest with you. This is not a quick weekend project, and it’s not a beginner pattern. The construction involves working an off-the-shoulder bodice with a chevron lace texture, shaping puff sleeves with ruffle cuffs, and building a gathered A-line skirt with an open fan border. You’ll need to be comfortable working in the round, following lace stitch pattern repeats, and joining sleeves to a bodice.
But if you’ve got a couple of garment projects under your belt and you’re ready for something truly beautiful, this dress is absolutely worth the 40 to 55 hours you’ll invest. The finished piece looks like it belongs in a romantic cottage garden, complete with delicate picot edgings and white satin ribbon accents that cinch at the waist and frame the hem.
About This Crochet Pattern
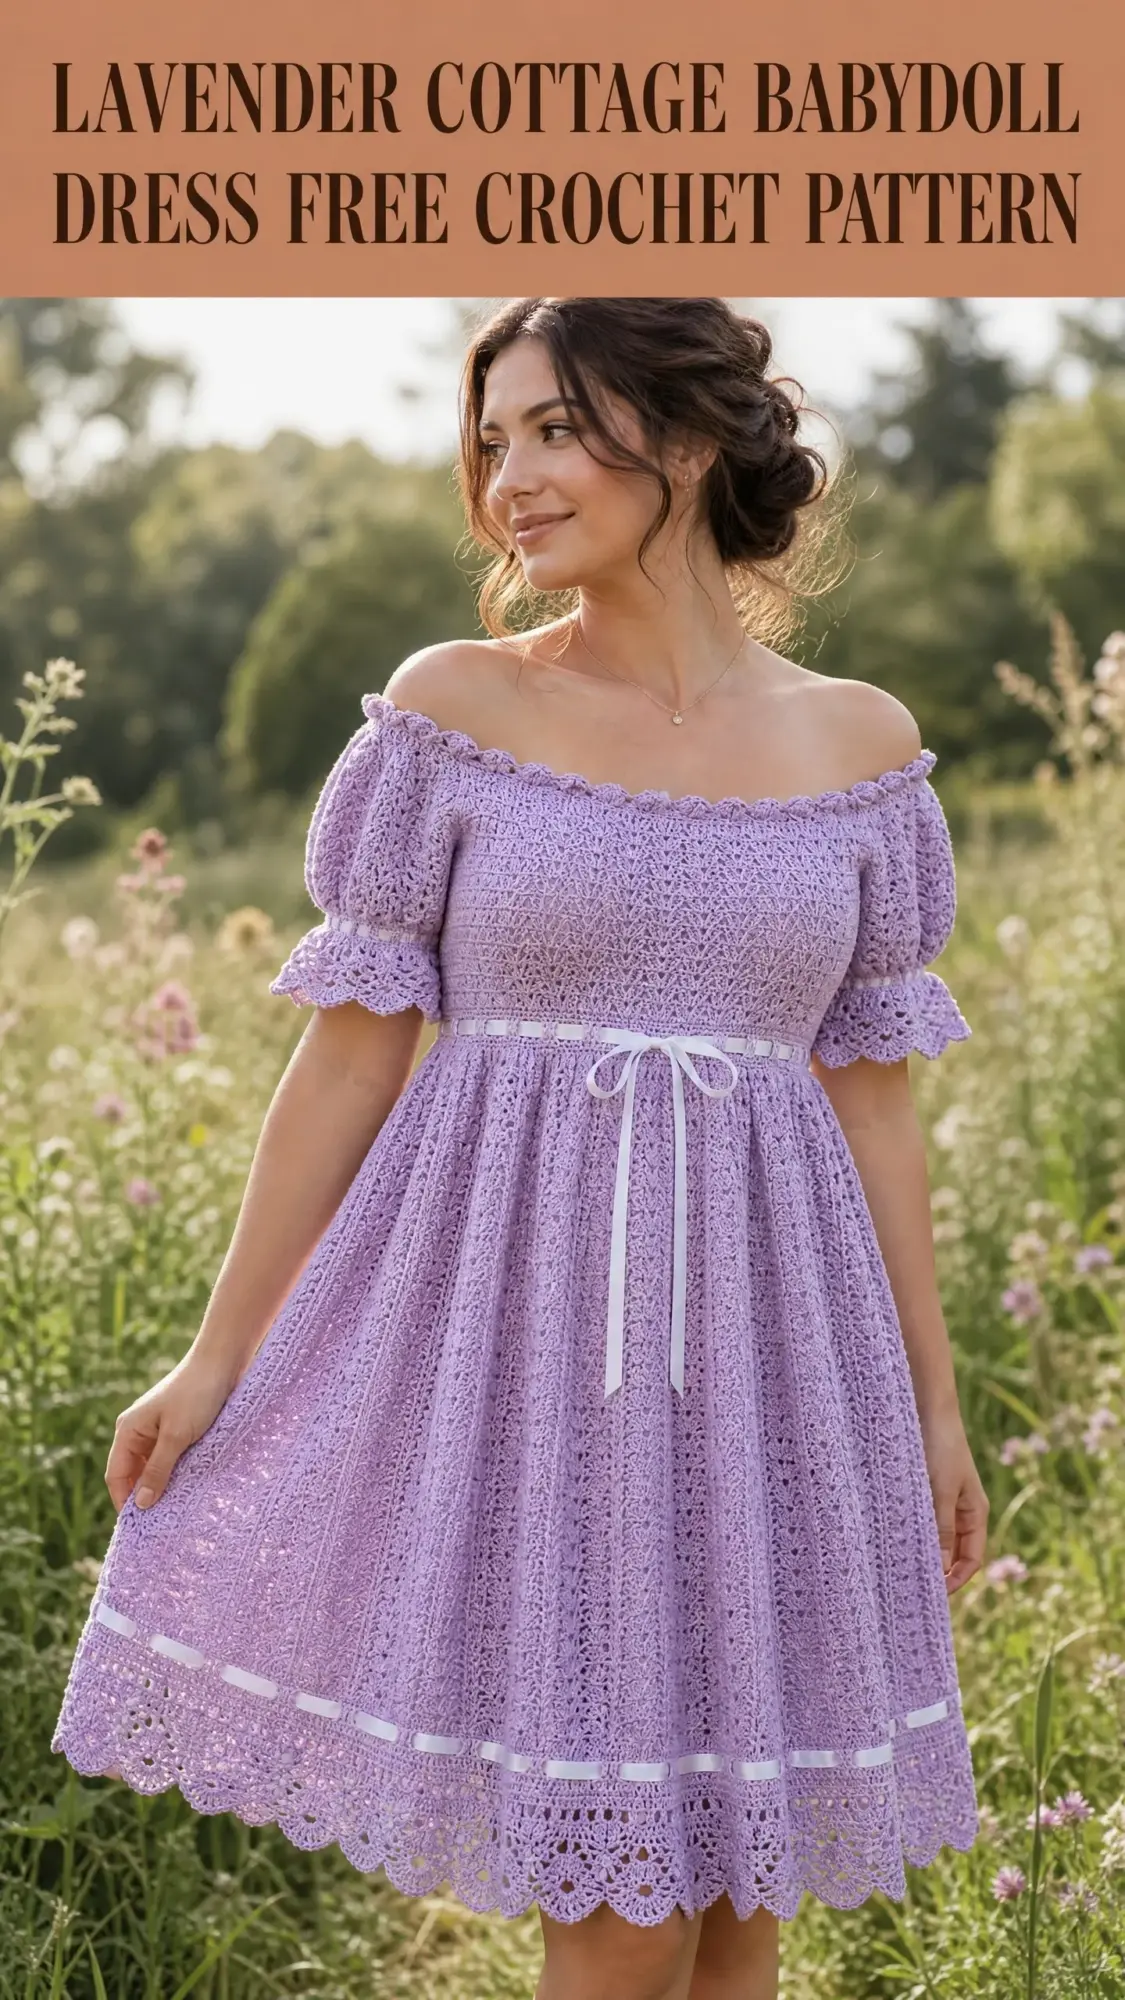
This midi-length babydoll dress features an off-the-shoulder neckline trimmed with a scalloped picot edging that gives it that romantic, vintage feel you see in the finished piece. The fitted Empire-style bodice uses a dense chevron lace texture that provides structure while still looking delicate. Those gorgeous puffed short sleeves with their ruffle cuffs? They’re worked separately and joined to the bodice at the armhole openings.
The gathered A-line skirt is worked in the round from the waist down, using a vertical lace column stitch that creates those lovely open channels running from waist to hem. At the bottom, an open fan border adds approximately four inches of stunning lacework that catches the light beautifully.
Two lengths of white satin ribbon complete the look. One threads through an eyelet row at the waist and ties in a bow at front center. The second weaves horizontally through the eyelets near the hem for that polished finishing touch.
The dress is designed to fit a standard US women’s size Medium, which corresponds to dress sizes 8 through 10. Size customization instructions are included at the end of the pattern.
Skill Level
This crochet pattern is rated Intermediate to Advanced. You should have completed at least two garment projects before attempting this dress. The skills you’ll need include working in the round, following lace stitch pattern repeats, shaping puff sleeves, joining sleeves to a bodice, constructing an eyelet waist, and adding multiple decorative edgings.
Don’t let that intimidate you if you’re a confident intermediate crocheter, though. The pattern breaks everything down into manageable sections, and each technique is explained thoroughly.
Finished Measurements
Here are the finished dimensions for the completed and blocked dress:
Materials Needed
Yarn
Main Color (MC): Soft lavender DK weight yarn, approximately 1,400 yards (1,280 meters)
Contrast Color (CC): White satin ribbon, 3 yards (2.75 meters), 3/8-inch (1 cm) wide. This is for the waist tie and hem accent, not crocheted.
Yarn Suggestions
Option 1: Lion Brand Yarn Pound of Love in Pastel Purple. This acrylic DK weight yarn provides excellent stitch definition for the lace patterns, is machine washable, and gives the dress a soft drape suitable for warm weather wear.
Option 2: Paintbox Yarns Simply DK in Misty Purple. A 100 percent acrylic DK yarn with a smooth plied construction that works up cleanly in lace patterns and holds its shape after blocking.
Option 3: We Are Knitters The Petite Wool in Lilac. A soft merino-blend DK yarn that adds a slight halo, enhancing the romantic cottage aesthetic of the dress. Requires hand washing.
Substitution Note: Choose any DK weight yarn, approximately 200 to 220 yards per 100 gram skein, that achieves gauge. A smooth, tightly plied yarn will show the lace texture most clearly. Avoid fluffy or bouclé yarns, as they obscure stitch definition. If substituting a cotton-blend, purchase an additional 10 percent yardage as cotton has less elasticity and the bodice may require more rows to reach the correct length.
Hooks
Notions
Gauge
Bodice gauge (E-4 / 3.5 mm hook, chevron lace pattern): 18 stitches and 14 rows = 4 inches (10 cm), blocked
Skirt gauge (F-5 / 3.75 mm hook, vertical lace column pattern): 16 stitches and 10 rows = 4 inches (10 cm), blocked
Gauge is critical for this garment. The bodice must fit snugly at the bust while the skirt must drape correctly. Swatch both sections before beginning. Adjust hook size as needed. Do not proceed without achieving gauge.
To make the bodice gauge swatch: Chain 24. Work 16 rows of the Chevron Lace Stitch as described in Special Stitches. Block the swatch before measuring.
To make the skirt gauge swatch: Chain 22. Work 12 rows of the Vertical Lace Column Stitch as described in Special Stitches. Block the swatch before measuring.
Abbreviations
Here are all the abbreviations used in this crochet tutorial, with plain-English definitions:
Special Stitches
Before you begin, familiarize yourself with these special techniques used throughout the pattern.
Scallop Edging Stitch
Work 5 dc into the same stitch or space. This creates one scallop shell. Skip 2 stitches between each scallop unless otherwise noted.
Picot
Chain 3. Slip stitch into the first chain made. This forms a small decorative loop.
Puff Stitch
Yarn over, insert hook into designated stitch or space, pull up a loop to height of a dc (3 loops on hook). Yarn over, insert hook into same stitch or space, pull up a loop (5 loops on hook). Yarn over, insert hook into same stitch or space, pull up a loop (7 loops on hook). Yarn over and draw through all 7 loops. Chain 1 to close. This counts as 1 puff stitch.
Chevron Lace Stitch (worked flat, multiple of 6 plus 2)
Row 1 (RS): Chain 3 (counts as dc here and throughout). Dc in 4th chain from hook. (Ch 1, skip 2 chains, dc in next chain, dc in next chain) across, ending dc in last chain. Turn.
Row 2 (WS): Chain 1. Sc in first dc. (Ch 3, skip 2 sts, sc in next dc, sc in next dc) across. Turn.
Row 3 (RS): Chain 3. Dc in first sc. (Ch 1, skip ch-3 sp, dc in next sc, dc in next sc) across. Turn.
Repeat Rows 2 and 3 for pattern.
Vertical Lace Column Stitch (worked in the round, multiple of 8)
Round 1: (Dc in next 3 sts, ch 2, skip 2 sts, dc in next 3 sts) around.
Round 2: (Dc in next 3 sts, 2 dc in ch-2 sp, dc in next 3 sts) around.
Round 3: (Dc in next 2 sts, ch 2, skip 1 st, dc in ch-sp, ch 2, skip 1 st, dc in next 2 sts) around.
Round 4: (Dc in next 2 sts, dc in ch-sp, dc, dc in ch-sp, dc in next 2 sts) around.
Repeat Rounds 1 through 4 for pattern. The column of open chain spaces creates the vertical lace effect visible in the finished dress.
Fan Border Stitch (worked in the round, multiple of 10)
Round 1: (Sc in next st, ch 5, skip 4 sts) around.
Round 2: (Sc in ch-5 sp, ch 5) around.
Round 3: (7 dc in ch-5 sp, sc in next ch-5 sp) around.
Round 4: Sl st across first 3 dc of each fan. (Ch 5, sc between 2 fans) around.
Round 5: (7 dc in ch-5 sp, sc between fans) around.
Eyelet Row (worked flat or in the round)
(Dc in next 2 sts, ch 1, skip 1 st) around or across. This creates evenly spaced eyelets for ribbon threading.
Pattern Notes
Read through these notes before starting. They’ll save you confusion later.
1. The dress is constructed from the top down. The bodice neckline is established first with a foundation chain, worked flat briefly to create front and back bodice panels, then joined and worked in the round.
2. Sleeves are worked separately in the round and then joined to the bodice at the armhole openings.
3. The skirt is worked in the round from the waist downward, with gentle shaping to create the gathered A-line silhouette.
4. All measurements assume the finished and blocked garment. Blocking is not optional for this dress. The lace patterns need wet blocking to open up to their full dimensions and for the ribbon threading spaces to be accessible.
5. The off-the-shoulder neckline is worked with a scallop-picot edging after the bodice is complete, and the elastic nature of the stitch pattern combined with the ribbon drawstring at the waist provides the structure.
6. Turning chains count as stitches throughout except where noted.
7. The white satin ribbon at the waist is threaded through the eyelet row after blocking and tied in a bow at the front center. A second length of ribbon is woven horizontally through the uppermost row of the Fan Border near the hem and tied or tacked at the side seam.
8. Right side of the chevron lace is the side facing you on Row 1.
9. When working in the round, join each round with a slip stitch to the top of the beginning chain unless otherwise noted. Chain 3 at the start of rounds counts as 1 dc.
10. Stitch markers should be placed at the two underarm points and at center front and center back when working the bodice flat.
Step by Step Instructions
Section 1: Neckline Foundation
The neckline foundation chain establishes the off-the-shoulder width. This section is worked flat, then joined.
Using E-4 hook and MC, chain 164.
Row 1 (Foundation, RS): Dc in 4th chain from hook (first 3 ch count as dc). Dc in each chain across. (162 dc)
Row 2 (Neckline picot edging, applied immediately before joining): Do not turn. Working along the top edge of Row 1 (the initial chain edge), join yarn with sl st to the first chain. Ch 1. Work 1 sc in same st. (Ch 3, sl st in first ch of ch-3 to form picot, skip 1 chain, sc in next chain) across the foundation chain edge. Fasten off. This creates the picot scallop neckline visible in the finished dress. (Approximately 54 picots)
Return to working end of Row 1. Do not fasten off.
Section 2: Bodice (Worked Flat in Two Panels Then Joined)
The bodice consists of a Back Panel and a Front Panel worked simultaneously as one flat piece, using markers to denote the four sections: left front, left armhole space, back, right armhole space, right front.
After completing Row 1 of the neckline (162 dc), work as follows.
Stitch distribution: Place stitch markers after stitch 30 (left front/left armhole divide), after stitch 50 (left armhole/back divide), after stitch 112 (back/right armhole divide), after stitch 132 (right armhole/right front divide). This leaves 30 stitches for left front, 20 for left armhole gap, 62 for back, 20 for right armhole gap, and 30 for right front.
The armhole gap stitches (20 sts each side) will be skipped when the bodice is joined in the round, and sleeve stitches will be picked up around them.
Left Front Panel (30 sts)
Row 3: Ch 1, turn. Work Row 2 of Chevron Lace Stitch across 30 sts. (30 sts)
Row 4: Ch 3, turn. Work Row 3 of Chevron Lace Stitch across. (30 sts)
Rows 5 through 18: Continue in Chevron Lace Stitch, alternating Rows 2 and 3 of the pattern. (30 sts each row)
Row 19 (Eyelet row for left front waist): Ch 3, turn. (Dc in next 2 sts, ch 1, skip 1 st) across. (30 sts with 10 eyelets)
Row 20: Ch 3, turn. Dc in each st and ch-1 sp across. (30 sts)
Fasten off.
Back Panel (62 sts)
Row 3: Ch 1, turn. Work Row 2 of Chevron Lace Stitch across 62 sts. (62 sts)
Row 4: Ch 3, turn. Work Row 3 of Chevron Lace Stitch across. (62 sts)
Rows 5 through 18: Continue in Chevron Lace Stitch, alternating Rows 2 and 3 of the pattern. (62 sts each row)
Row 19 (Eyelet row for back waist): Ch 3, turn. (Dc in next 2 sts, ch 1, skip 1 st) across, ending dc in last 2 sts. (62 sts with 20 eyelets)
Row 20: Ch 3, turn. Dc in each st and ch-1 sp across. (62 sts)
Fasten off.
Right Front Panel (30 sts)
Work identically to Left Front Panel. (30 sts)
Fasten off.
Checkpoint: After completing all three bodice panels through Row 20, each panel should measure approximately 6 inches (15 cm) in height, not including the neckline row. The total flat width across the neckline should still be 36 inches (91.5 cm).
Section 3: Joining Bodice and Armhole Setup
With RS facing, lay the bodice flat. Line up the left front panel edge with the back panel left edge and slip stitch or seam the side seams together using a tapestry needle and yarn tail, leaving the armhole openings (20 sts each side) unseamed. Repeat for right front and right back. The bodice is now a tube with two armhole openings.
Join MC with sl st at the left side seam at the bottom edge of the bodice (Row 20 edge). Chain 3. Work 1 dc in each st around the bottom edge of all three joined panels.
Total waist stitches when joined: 30 (left front) plus 62 (back) plus 30 (right front) = 122 sts plus approximately 2 sts picked up at each seam = 126 sts.
Round 21 (Joining round, worked in the round): Dc in each of the 126 sts around. Join with sl st to top of beginning ch-3. (126 dc)
Round 22 (Waist eyelet round, for ribbon threading): Ch 3. (Dc in next 2 sts, ch 1, skip 1 st) around, ending sl st to top of ch-3. (126 sts: 84 dc plus 42 ch-1 sps)
Round 23 (Waist stabilizer round): Ch 3. Dc in each st and each ch-1 sp around. Join. (126 dc)
Checkpoint: After Round 23 the bodice tube should measure 10 inches (25.5 cm) from neckline to bottom edge, and the waist circumference should be approximately 34 inches (86.5 cm). The eyelet channel in Round 22 should be clearly visible for ribbon threading.
Section 4: Sleeves (Make Two)
Each sleeve is worked in the round from the armhole opening outward toward the cuff.
Using E-4 hook and MC, join yarn with sl st to the armhole opening at the underarm point.
Round 1 (Armhole pickup): Ch 3. Work 2 dc in each of the 20 armhole sts around, plus pick up approximately 10 sts along each side of the armhole opening from the bodice rows (approximately 10 sts per side), for a total of approximately 60 dc. Join with sl st to top of ch-3. (60 dc)
Note: Adjust pickup count to the nearest multiple of 6 so that 60 is confirmed. 60 divided by 6 = 10 repeats. Confirmed.
Round 2: Ch 3. Dc in each st around. Join. (60 dc)
Round 3: Ch 3. (Dc in next 4 sts, dc2tog) around. Join. (50 dc)
Round 4: Ch 3. Dc in each st around. Join. (50 dc)
Round 5: Ch 3. (Dc in next 3 sts, dc2tog) around. Join. (40 dc)
Round 6: Ch 3. Dc in each st around. Join. (40 dc)
Round 7: Ch 3. Dc2tog 5 times evenly spaced around. Dc in remaining sts. (35 dc)
Round 8: Ch 3. Dc in each st around. Join. (35 dc)
Round 9 (Cuff puff ruffle setup): Ch 3. (Puff st in next st, ch 1, skip 1 st) around. Join. Work (puff st, ch 1, skip 1) 17 times. Dc in last st. (17 puff sts, 17 skipped sts, 1 final dc = 35 sts confirmed)
Round 10 (Cuff scallop): Ch 1. (Sc in ch-1 sp, 4 dc in top of puff st, sc in next ch-1 sp) across. For the odd stitch at end: sc in last dc. Join. Approximately 17 mini scallops.
Round 11 (Cuff picot edging): Sl st to first sc. (Ch 3, sl st into first ch to form picot, sl st to next sc) around. Fasten off.
Weave in ends on both sleeves.
Checkpoint: Each sleeve should measure approximately 5 inches (12.5 cm) from the armhole pickup row to the bottom of the cuff ruffle. The puff stitch rounds should create a gentle gathered effect near the cuff.
Section 5: Skirt (Worked in the Round From Waist Down)
Switch to F-5 hook.
Join MC with sl st to Round 23 (waist) at center back.
Round 1 (Waist increase round): Ch 3. Work 2 dc in each of the 126 sts around, and additionally work a 3rd dc (extra increase) into the sts at positions 1, 32, 64, and 96 (4 evenly spaced positions). Total dc: 252 plus 4 = 256. Join. (256 dc)
Round 2: Ch 3. Work Vertical Lace Column Stitch Round 1 around all 256 sts. (256 dc, with ch-2 sps)
Round 3: Work Vertical Lace Column Stitch Round 2 around. (256 dc)
Round 4: Work Vertical Lace Column Stitch Round 3 around. (256 sts, structured with ch-sps)
Round 5: Work Vertical Lace Column Stitch Round 4 around. (256 dc)
Rounds 6 through 9: Repeat Vertical Lace Column Stitch Rounds 1 through 4. (256 dc each round)
Round 10 (First skirt increase round): Ch 3. Work the Vertical Lace Column Stitch Round 1, but work an extra dc at every 8th repeat position. This adds 32 dc. Total: 256 plus 32 = 288 dc. (288 dc)
Rounds 11 through 13: Work Vertical Lace Column Stitch Rounds 2, 3, and 4 over the 288 sts. (288 dc each round)
Round 14: Work Vertical Lace Column Stitch Round 1. (288 dc)
Rounds 15 through 17: Work Vertical Lace Column Stitch Rounds 2, 3, and 4. (288 dc)
Round 18 (Second skirt increase round): Ch 3. Work Vertical Lace Column Stitch Round 1 with extra dc at every 9th repeat position (32 increases). Total: 288 plus 32 = 320 dc. (320 dc)
Rounds 19 through 21: Work Vertical Lace Column Stitch Rounds 2, 3, and 4. (320 dc)
Round 22: Work Vertical Lace Column Stitch Round 1. (320 dc)
Rounds 23 through 25: Work Vertical Lace Column Stitch Rounds 2, 3, and 4. (320 dc)
Round 26 (Third skirt increase round): Work with extra increases to reach 360 dc. Work: Ch 3. Work Vertical Lace Column Stitch Round 1, adding 1 extra dc at every 8th repeat for 40 evenly spaced increases. 320 plus 40 = 360 dc. (360 dc)
Rounds 27 through 29: Work Vertical Lace Column Stitch Rounds 2, 3, and 4. (360 dc)
Round 30: Work Vertical Lace Column Stitch Round 1. (360 dc)
Rounds 31 through 33: Work Vertical Lace Column Stitch Rounds 2, 3, and 4. (360 dc)
Round 34 (Hem ribbon eyelet round): Ch 3. (Dc in next 2 sts, ch 1, skip 1 st) around. Join. (360 sts: 240 dc plus 120 ch-1 sps)
Round 35 (Stabilizer before border): Ch 3. Dc in each st and ch-sp around. Join. (360 dc)
Checkpoint: After Round 35, the skirt should measure approximately 22 inches (56 cm) from the waist join. The circumference at the hem should be approximately 90 inches (228.5 cm), confirming the full gathered A-line silhouette. The eyelet round at Round 34 should be clearly visible for the decorative ribbon accent.
Section 6: Hem Fan Border
The Fan Border is worked over a multiple of 10 stitches. Round 35 ends with 360 dc. 360 divided by 10 = 36 repeats. Confirmed.
Round 36 (Fan Border Round 1): Ch 1. (Sc in next st, ch 5, skip 4 sts) around. Join to first sc. (72 sc plus 36 ch-5 sps)
Round 37 (Fan Border Round 2): Sl st into first ch-5 sp. Ch 1. (Sc in ch-5 sp, ch 5) around. Join. (36 sc plus 36 ch-5 sps)
Round 38 (Fan Border Round 3): Sl st into first ch-5 sp. Ch 3. Work 6 more dc into same ch-5 sp (7 dc total in sp). Sc in next ch-5 sp. (7 dc in ch-5 sp, sc in next ch-5 sp) around. Join. (36 fans of 7 dc each plus 36 sc)
Round 39 (Fan Border Round 4): Sl st across to center (4th) dc of first fan. Ch 1. Sc in center dc. (Ch 5, sc in center dc of next fan) around. Join. (36 sc plus 36 ch-5 sps)
Round 40 (Fan Border Round 5): Sl st into first ch-5 sp. Ch 3. 6 more dc in same sp (7 dc total). Sc in next sc between fans. (7 dc in ch-5 sp, sc in sc) around. Join. (36 fans of 7 dc each plus 36 sc)
Round 41 (Scallop picot edging, final row): Sl st to 4th dc of first fan. Ch 1. Sc in 4th dc. (Picot: ch 3, sl st in first ch, sc in 4th dc of next fan, ch 2, sc in sc between fans) around. Join. Fasten off.
Checkpoint: The fan border should add approximately 4 inches (10 cm) to the skirt length. The final scallop-picot edge should align visually with the picot edging at the neckline, giving the dress a cohesive look.
Section 7: Finishing
Weave in all ends using a tapestry needle. Ensure all yarn tails are secured on the wrong side.
Seam check: If any side seam gaps are visible at the bodice armhole join areas, close them with a few whipstitches using the tapestry needle and yarn tail.
Ribbon threading (waist): Cut one piece of white satin ribbon measuring approximately 50 inches (127 cm). Thread the ribbon through the eyelet round at the waist (Round 22) using a safety pin or bodkin. Begin and end at center front. Ensure the ribbon is not twisted inside the eyelets. Pull ends through evenly so both tails are equal length. Tie in a bow at center front.
Ribbon threading (hem accent): Cut one piece of white satin ribbon measuring approximately 60 inches (152 cm). Thread this ribbon through the eyelet round near the hem (Round 34) beginning at one side seam. Weave the ribbon over and under the dc columns around the entire hem circumference. Join both ends at the starting point with a small hand stitch or simple knot hidden at the side seam. This creates the horizontal white ribbon accent visible near the hemline.
Blocking Your Lavender Cottage Babydoll Dress
Wet blocking is required for this dress. Do not skip this step.
Fill a sink or basin with cool water. Submerge the entire dress and press gently to saturate the yarn. Do not wring or twist. Lift carefully and press gently between two clean towels to remove excess water. Lay flat on blocking mats or clean towels, or place on a dress form if available. Pin the hem border fans open to display the lace pattern. Allow to dry completely before wearing.
The lace patterns need wet blocking to open up to their full dimensions, and the ribbon threading spaces must be accessible before you can complete the finishing touches.
Tips for Success
Take your time with gauge. I know swatching feels tedious when you’re excited to start, but this dress has fitted elements that simply won’t work if your gauge is off. The bodice needs to fit snugly while the skirt needs to drape correctly. Trust me on this one.
Use stitch markers liberally. With multiple panels and repeat patterns, markers are your best friends for keeping track of where you are.
Block before threading ribbons. The eyelets need to open up fully before you can easily thread the satin ribbon through them.
Check your work at each checkpoint. The pattern includes specific measurement checkpoints for a reason. Catching a sizing issue early saves you from frogging large sections later.
Thank You for Making This Dress
Thank you so much for choosing this Lavender Cottage Babydoll Dress crochet pattern for your next project. I truly hope you love making it as much as I loved designing it. This dress is a labor of love, and the finished result is absolutely stunning. If you’d like to share your finished dress, I’d love to see it! Tag me on Instagram or share a photo in our Facebook group.
If this pattern caught your eye, go ahead and save it to your Pinterest boards so you can find it when you’re ready to start. And if you make this dress, please come back and leave a comment below. I love seeing what colors and yarns everyone chooses, and your photos might just inspire someone else to give it a try!