
I have been dreaming about creating the perfect everyday tote for ages. You know the kind. Sturdy enough for a farmers market run, pretty enough to get compliments, and interesting enough to keep me engaged while crocheting. I wanted something with texture, a striking color combination, and a construction method that would actually hold its shape without needing a stiff lining.
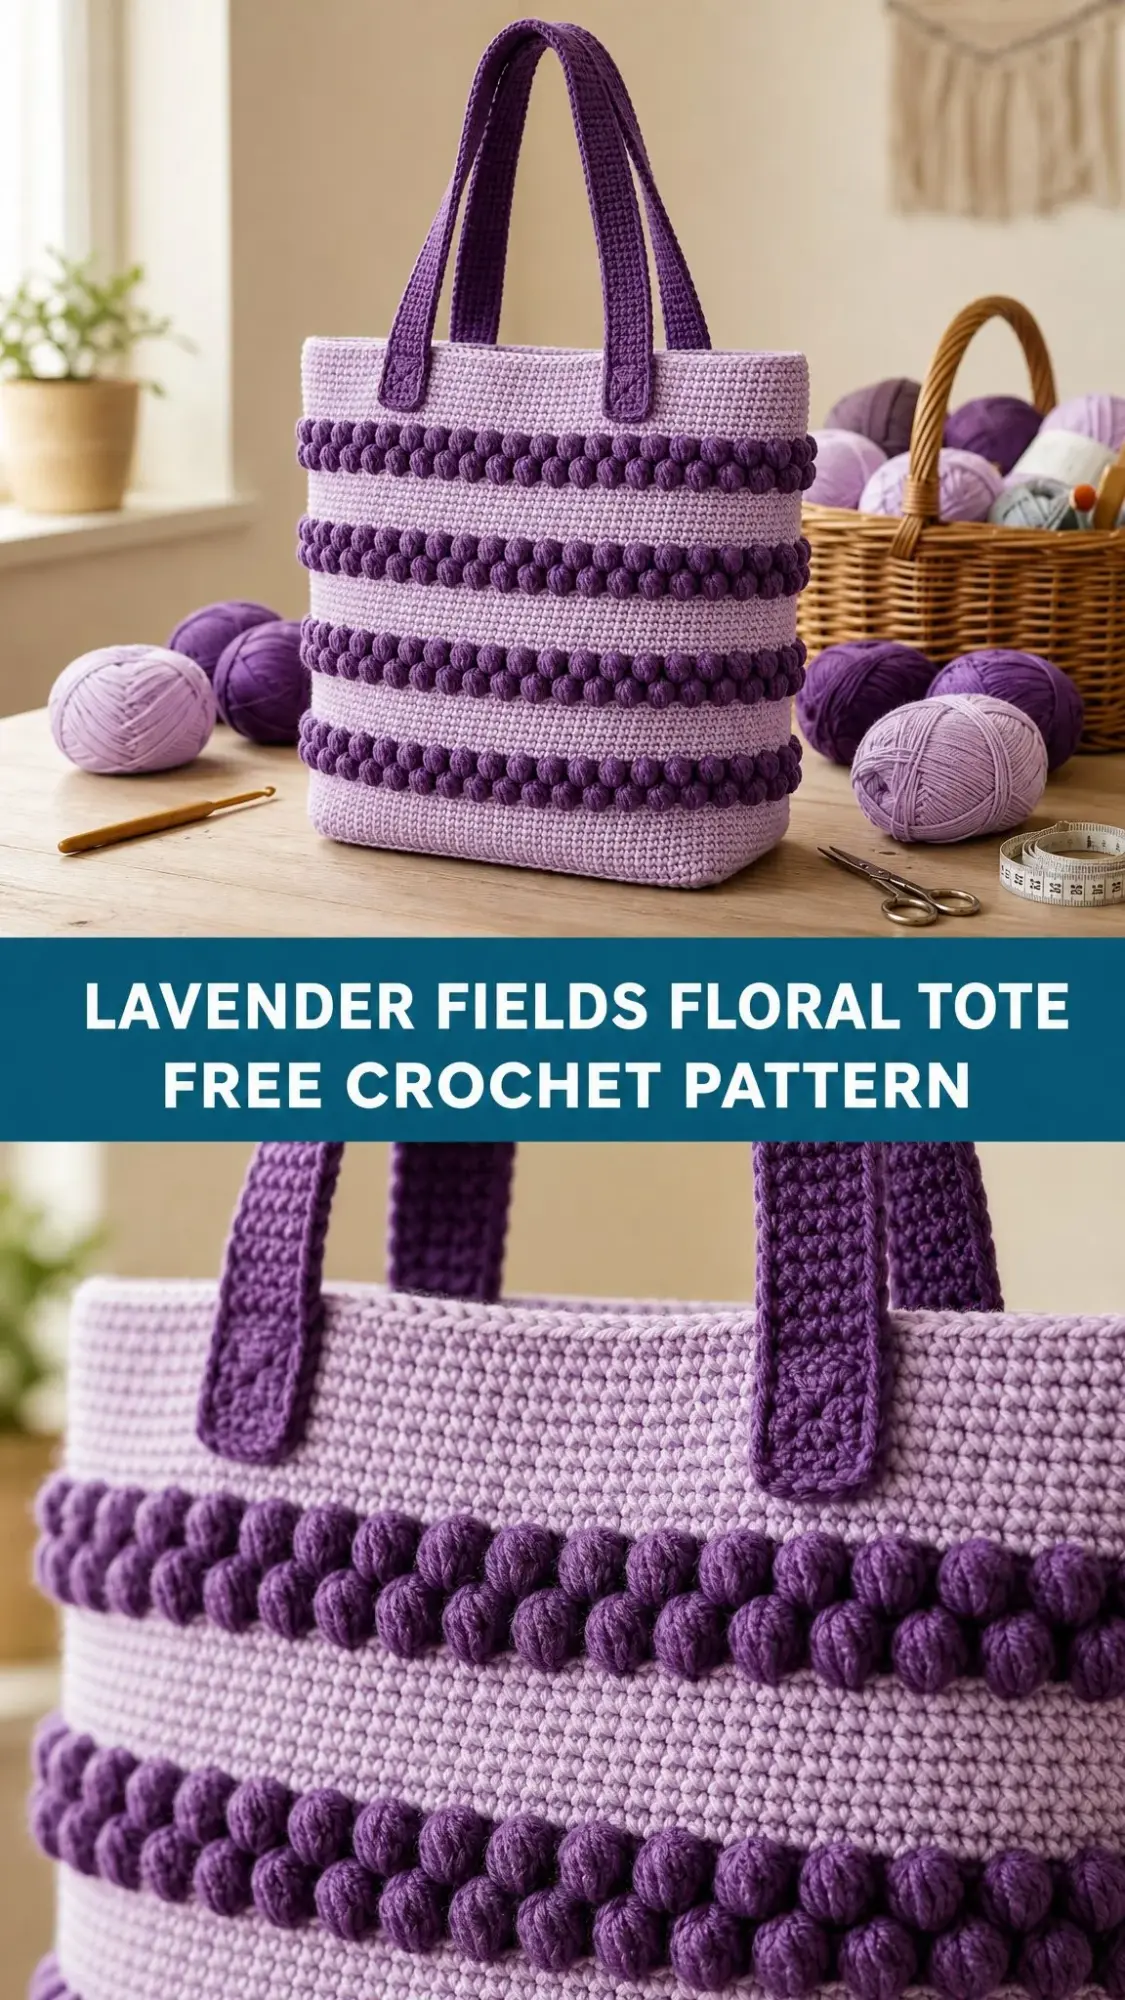
This Lavender Fields Bobble Tote checks every single box. The bobble stitches create these gorgeous raised stripes that look incredibly impressive but are totally manageable once you get the rhythm down. The soft lavender paired with deep purple gives it that garden-fresh vibe I was going for.
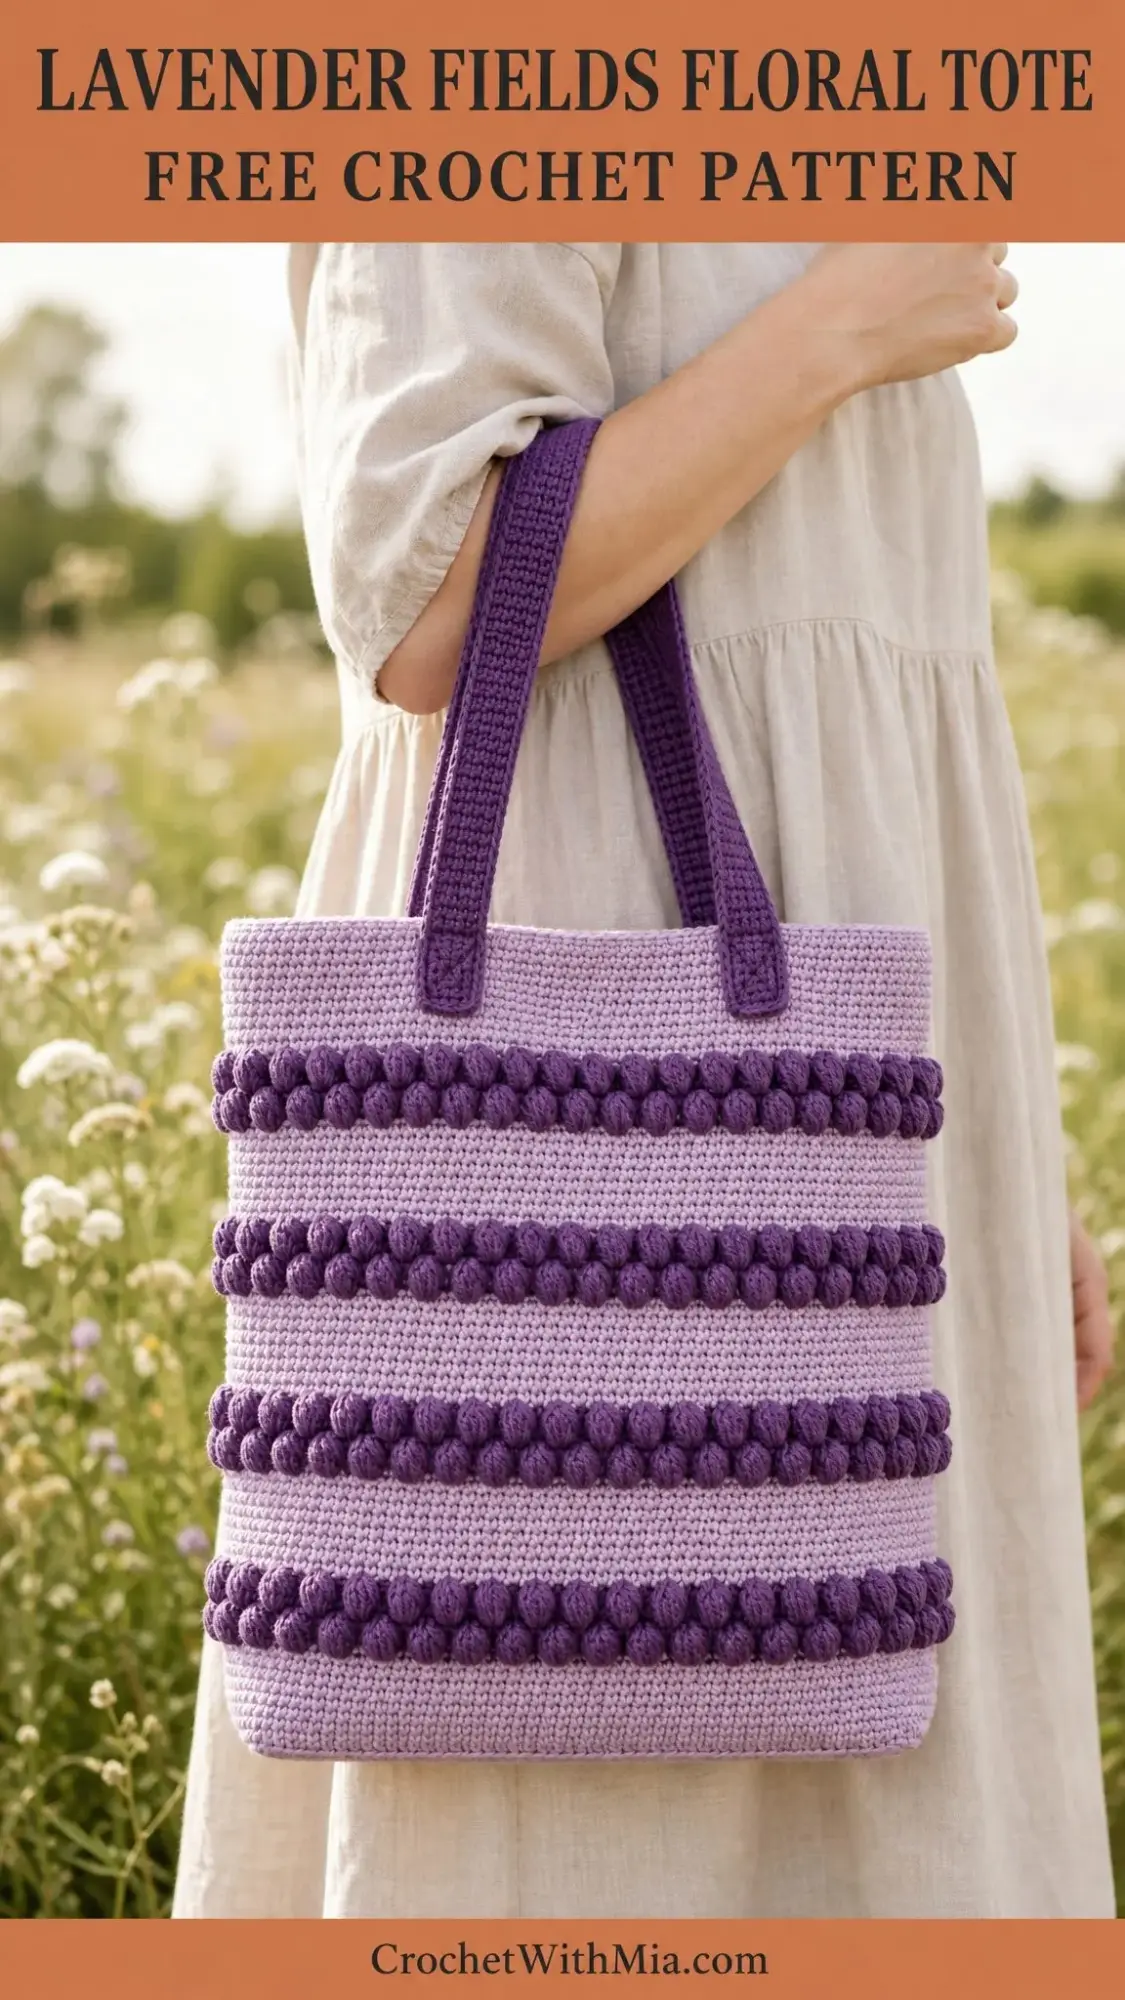
I am SO pleased with how this one turned out. The flat rectangular base means it actually stands up on its own. The handles are substantial without being bulky. And those bobble bands? They add just the right amount of visual interest without overwhelming the design. Let me walk you through exactly how to make your own.
About This Crochet Tote Bag Pattern
This structured tote bag is worked from the bottom up in continuous rounds. You will start by crocheting a flat rectangular base, then pick up stitches around the entire perimeter to build the sides upward. The body features alternating sections of smooth single crochet (sc) fabric in lavender and textured bobble stitch stripes in deep purple.
The finished bag measures approximately 13 inches wide by 14 inches tall, not including the handles. The base is a generous 13 inches by 5 inches, giving you plenty of room for groceries, yarn projects, library books, or whatever else you need to haul around.
I would call this an intermediate level crochet pattern. The construction itself is straightforward since you are mostly working single crochet in the round. But the bobble stitch does require comfort with working multiple double crochets together, and the color changes happen frequently enough that you will need to pay attention. If you have made a few hats or scarves and feel ready for something a bit more challenging, this is a great next step.
Plan for about 10 to 14 hours of crochet time. I know that is a range, but it really depends on your pace and how many breaks you take. The bobble rounds go slower than the plain rounds, so keep that in mind when you are settling in for a crochet session.
Materials You Will Need
Yarn:
I recommend using a smooth, tightly spun cotton or cotton blend. Fuzzy or loosely plied yarns will hide your beautiful bobble texture, and nobody wants that. Here are some specific suggestions:
Cotton has less stretch than acrylic, which is actually perfect here. You want a firm fabric that holds its shape.
Hook:
Additional Tools:
Gauge
15 single crochet and 18 rows equal 4 inches (10 cm) worked in single crochet in the round.
I know checking gauge feels tedious, but please do it anyway. The bag dimensions depend on hitting this gauge, and a too-loose fabric will stretch and sag when you load it up with stuff. If your swatch is too big, go down a hook size. Too small? Go up.
To check your gauge, chain 20 and single crochet back and forth for 20 rows. Block lightly and measure the center 4 inches.
Abbreviations and Stitch Definitions
Let me define everything you will see in this pattern:
Special Stitch: The Bobble
The bobble used in this crochet tote pattern is a 5 double crochet bobble. It creates a raised, rounded knob that pops out on the right side of your fabric. Here is exactly how to make one:
Step 1: Yarn over, insert hook into the next stitch.
Step 2: Yarn over and pull up a loop. You now have 3 loops on your hook.
Step 3: Yarn over and draw through 2 loops only. You have 2 loops on your hook. This is one incomplete double crochet.
Step 4: Repeat steps 1 through 3 four more times in the SAME stitch. You are making 5 incomplete double crochets total. You will have 6 loops on your hook.
Step 5: Yarn over and draw through all 6 loops at once. Bobble complete!
Step 6: Chain 1 to close and secure the bobble. This chain does NOT count as a stitch. Push the bobble toward the outside of your work.
The next stitch goes into the very next stitch of the previous round, not into that closing chain 1. This trips people up sometimes, so watch for it.
Pattern Instructions
The Base
The base is worked flat in rows to create your rectangular bottom.
With Yarn A and your J hook, chain 50.
Row 1: Sc in 2nd ch from hook and in each ch across. Turn. (49 sc)
Rows 2 through 14: Ch 1, sc in each st across. Turn. (49 sc)
Row 15: Ch 1, sc in each st across. Do not turn. (49 sc)
You should have a rectangle measuring approximately 13 inches wide by 3.25 to 3.5 inches tall. Perfect!
Joining for Working in the Round
Now comes the fun part. You will pick up stitches all the way around your base rectangle to start building the sides.
Setup Round: Do not turn your work. You are going to work around the entire perimeter.
Along the top edge (Row 15): Sc into the same last stitch you just made. Continue sc across the top of Row 15. (49 sc along this edge)
Along the short right side: Work 1 sc into the end of each row down the side. (15 sc)
Along the bottom (foundation chain edge): Work 1 sc into each loop of your original foundation chain. (49 sc)
Along the short left side: Work 1 sc into the end of each row up the side. (15 sc)
Place a stitch marker in your first stitch. Do not join. You will work in continuous rounds from here.
Total stitches: 49 + 15 + 49 + 15 = 128 sc
The Sides
Here is where your tote really takes shape. You will work upward in continuous rounds, adding those gorgeous bobble stripes at specific intervals.
Rounds 1 through 6 (Yarn A): Sc in each st around. (128 sc)
Your bag sides should measure about 1.3 inches tall at this point.
Round 7 (Yarn B, First Bobble Round): Change to Yarn B on the last yarn over of Round 6. Bob in each st around. (128 bob)
Round 8 (Yarn A): Change to Yarn A. Sc in each st around, working into the top of each bobble. (128 sc)
Round 9 (Yarn B, Second Bobble Round): Change to Yarn B. Bob in each st around. (128 bob)
Rounds 10 through 15 (Yarn A): Sc in each st around. (128 sc)
You have completed your first double bobble band! It should look chunky and textured.
Round 16 (Yarn B, Third Bobble Round): Change to Yarn B. Bob in each st around. (128 bob)
Round 17 (Yarn A): Sc in each st around. (128 sc)
Round 18 (Yarn B, Fourth Bobble Round): Change to Yarn B. Bob in each st around. (128 bob)
Rounds 19 through 24 (Yarn A): Sc in each st around. (128 sc)
Two bobble bands done. You are doing great!
Round 25 (Yarn B, Fifth Bobble Round): Change to Yarn B. Bob in each st around. (128 bob)
Round 26 (Yarn A): Sc in each st around. (128 sc)
Round 27 (Yarn B, Sixth Bobble Round): Change to Yarn B. Bob in each st around. (128 bob)
Rounds 28 through 32 (Yarn A): Sc in each st around. (128 sc)
All three bobble bands are complete. Your bag body should measure about 7 to 7.5 inches tall above the base.
Top Border
Rounds 33 through 35 (Yarn B): Sc in each st around. (128 sc)
Round 36 (Yarn B): Sl st in each st around to finish the edge neatly. (128 sl st)
Cut Yarn B, leaving a 6 inch tail. Weave in the end.
Handles (Make 2)
With Yarn B, chain 81.
Row 1: Sc in 2nd ch from hook and in each ch across. Turn. (80 sc)
Rows 2 through 5: Ch 1, sc BLO in each st across. Turn. (80 sc)
Row 6: Ch 1, sc BLO in each st across. Do not turn. (80 sc)
Work 1 round of sc evenly around all four edges to neaten: sc along the top edge, 6 sc along the short side, sc along the foundation chain, 6 sc along the other short side. Sl st to join. Cut yarn, leaving a 12 inch tail for sewing.
Each handle should measure approximately 21 inches long by 1 inch wide.
Handle Attachment
Center each handle over the front and back panels of your bag. Place the ends about 3 inches from the side edges. Each handle end should extend 2 inches below the top edge on the inside.
Using your yarn needle and Yarn B, whipstitch each handle end firmly to the inside of the bag. Sew a rectangle of stitches at each attachment point for maximum strength. This bag will carry weight, so secure those handles well!
Finishing Your Crochet Tote
Weave in all your remaining yarn ends thoroughly. Work them in at least two directions so they stay put.
For blocking, submerge your finished tote in cool water. Gently squeeze out the excess without wringing. Roll it in a towel to remove more moisture. Shape the bag by hand, squaring the base and opening the top. Stuff loosely with plastic bags or towels to hold the shape while drying. Give it a full 24 to 48 hours.
Optional additions: You can insert a piece of plastic canvas cut to 13 by 5 inches in the bottom for extra structure. A fabric lining slip stitched to the inside top edge will protect your belongings and prevent stretching.
Care Instructions
Hand wash in cool water with mild soap. Do not wring. Reshape and lay flat to dry. If your yarn is labeled machine washable, you can use the gentle cycle in a mesh bag. Store your tote stuffed with tissue to maintain its shape.
I really hope you love making this Lavender Fields Bobble Tote as much as I loved designing it. There is something so satisfying about watching those bobble stripes stack up and seeing the bag take its final structured shape.
If you make one, please save this pattern to your Pinterest boards so you can find it again easily. And I would absolutely love to see your finished totes! Drop a comment below or tag me on Instagram. Your color combinations always inspire me, and I cannot wait to see what you create.