
Butterfly lace sounds intimidating, right? I completely understand. When most crocheters see those delicate wing shapes and intricate openwork designs, they assume years of experience are required. But here’s the truth: if you can work a treble crochet and follow a simple shell pattern, you can absolutely make this stunning shawl.
Get the Ad-Free PDF Pattern
You can find the free pattern below, or you can purchase the ad-free printable PDF from my shop.
Get the Printable PDF →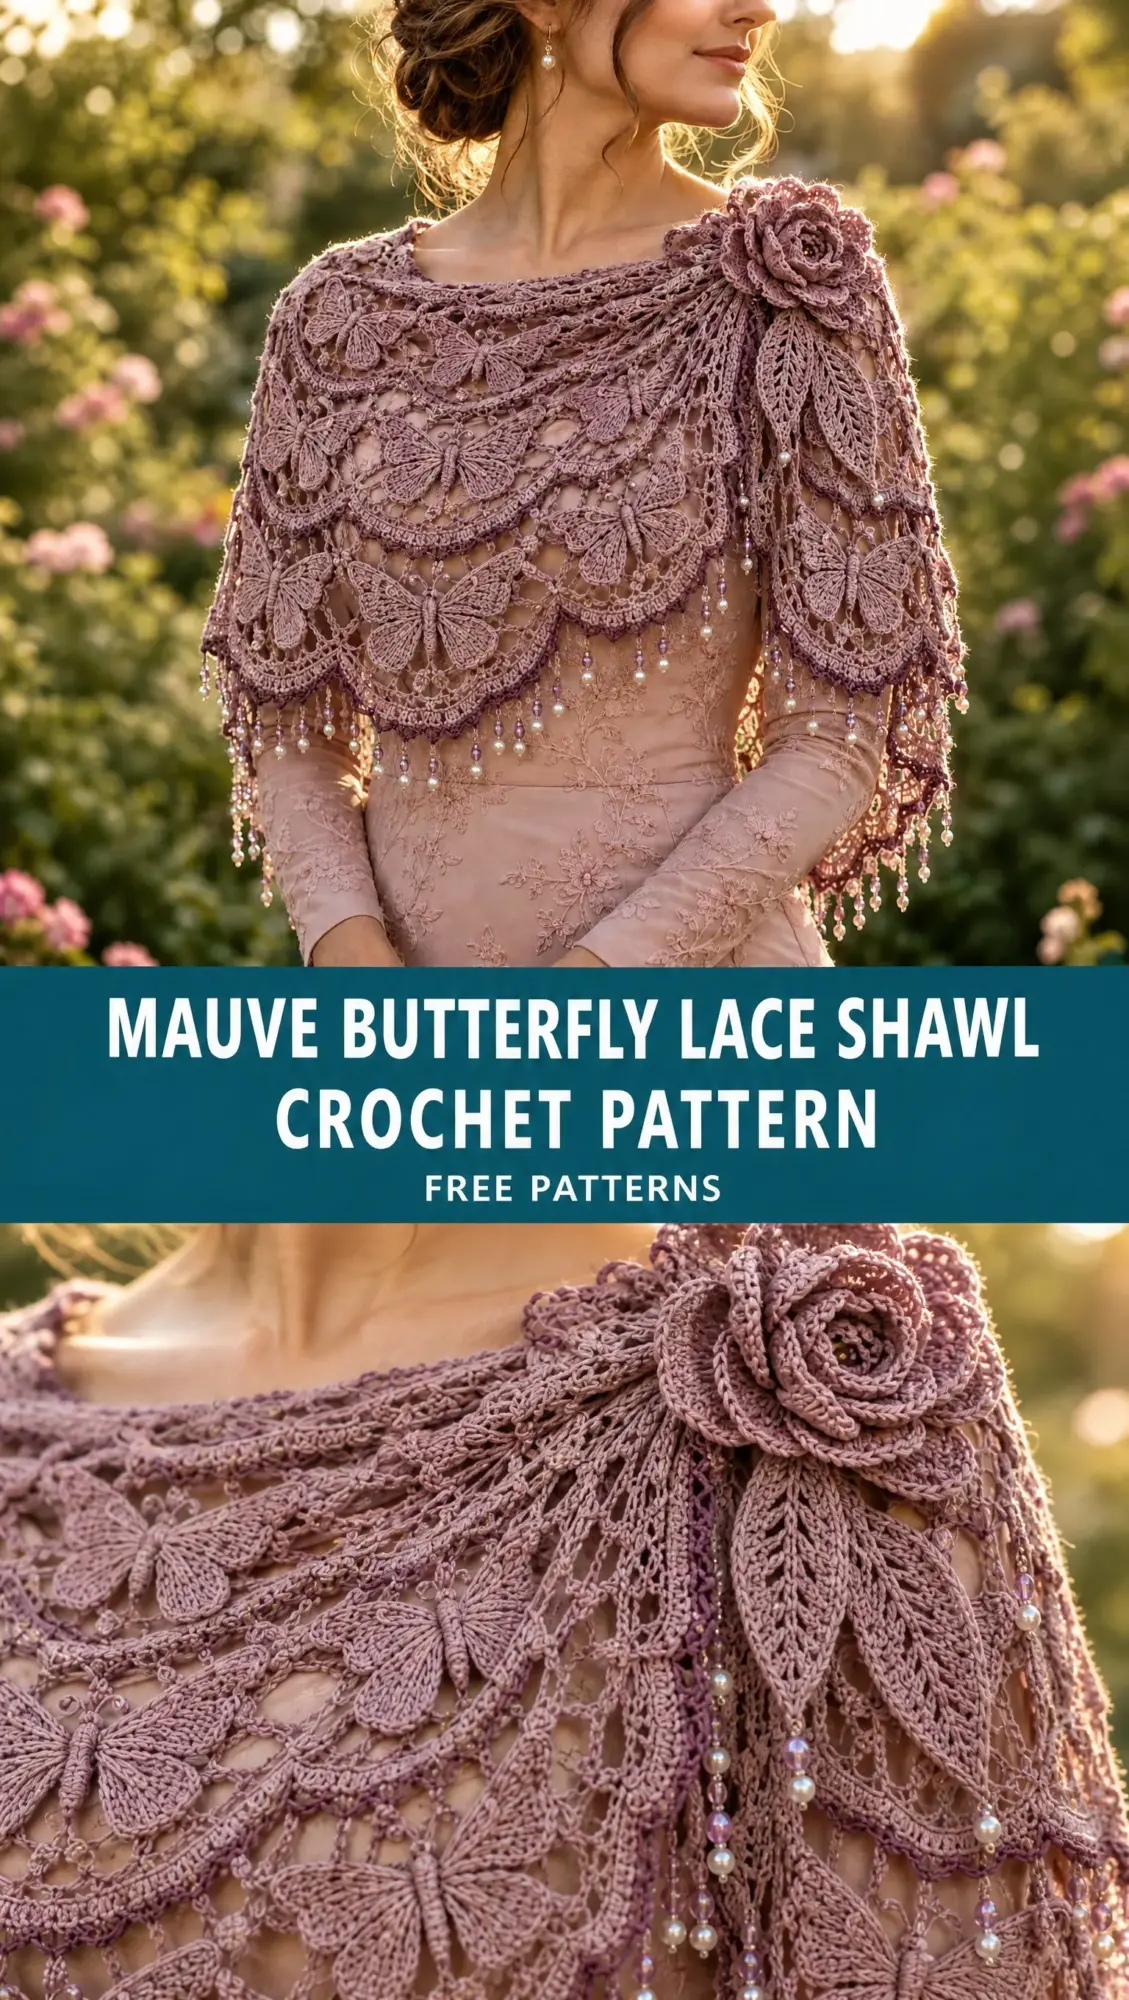
The construction is actually quite logical once you break it down. You start at the neckline and work outward, adding increases to create that beautiful curved capelet shape. The butterfly motifs? They’re built from basic stitches you already know, just arranged in a clever way. I promise this is far more achievable than it looks.
Whether you’re a confident beginner ready to level up or an experienced crocheter looking for something romantic and elegant, this pattern meets you where you are. Let me walk you through every single step.
About This Pattern
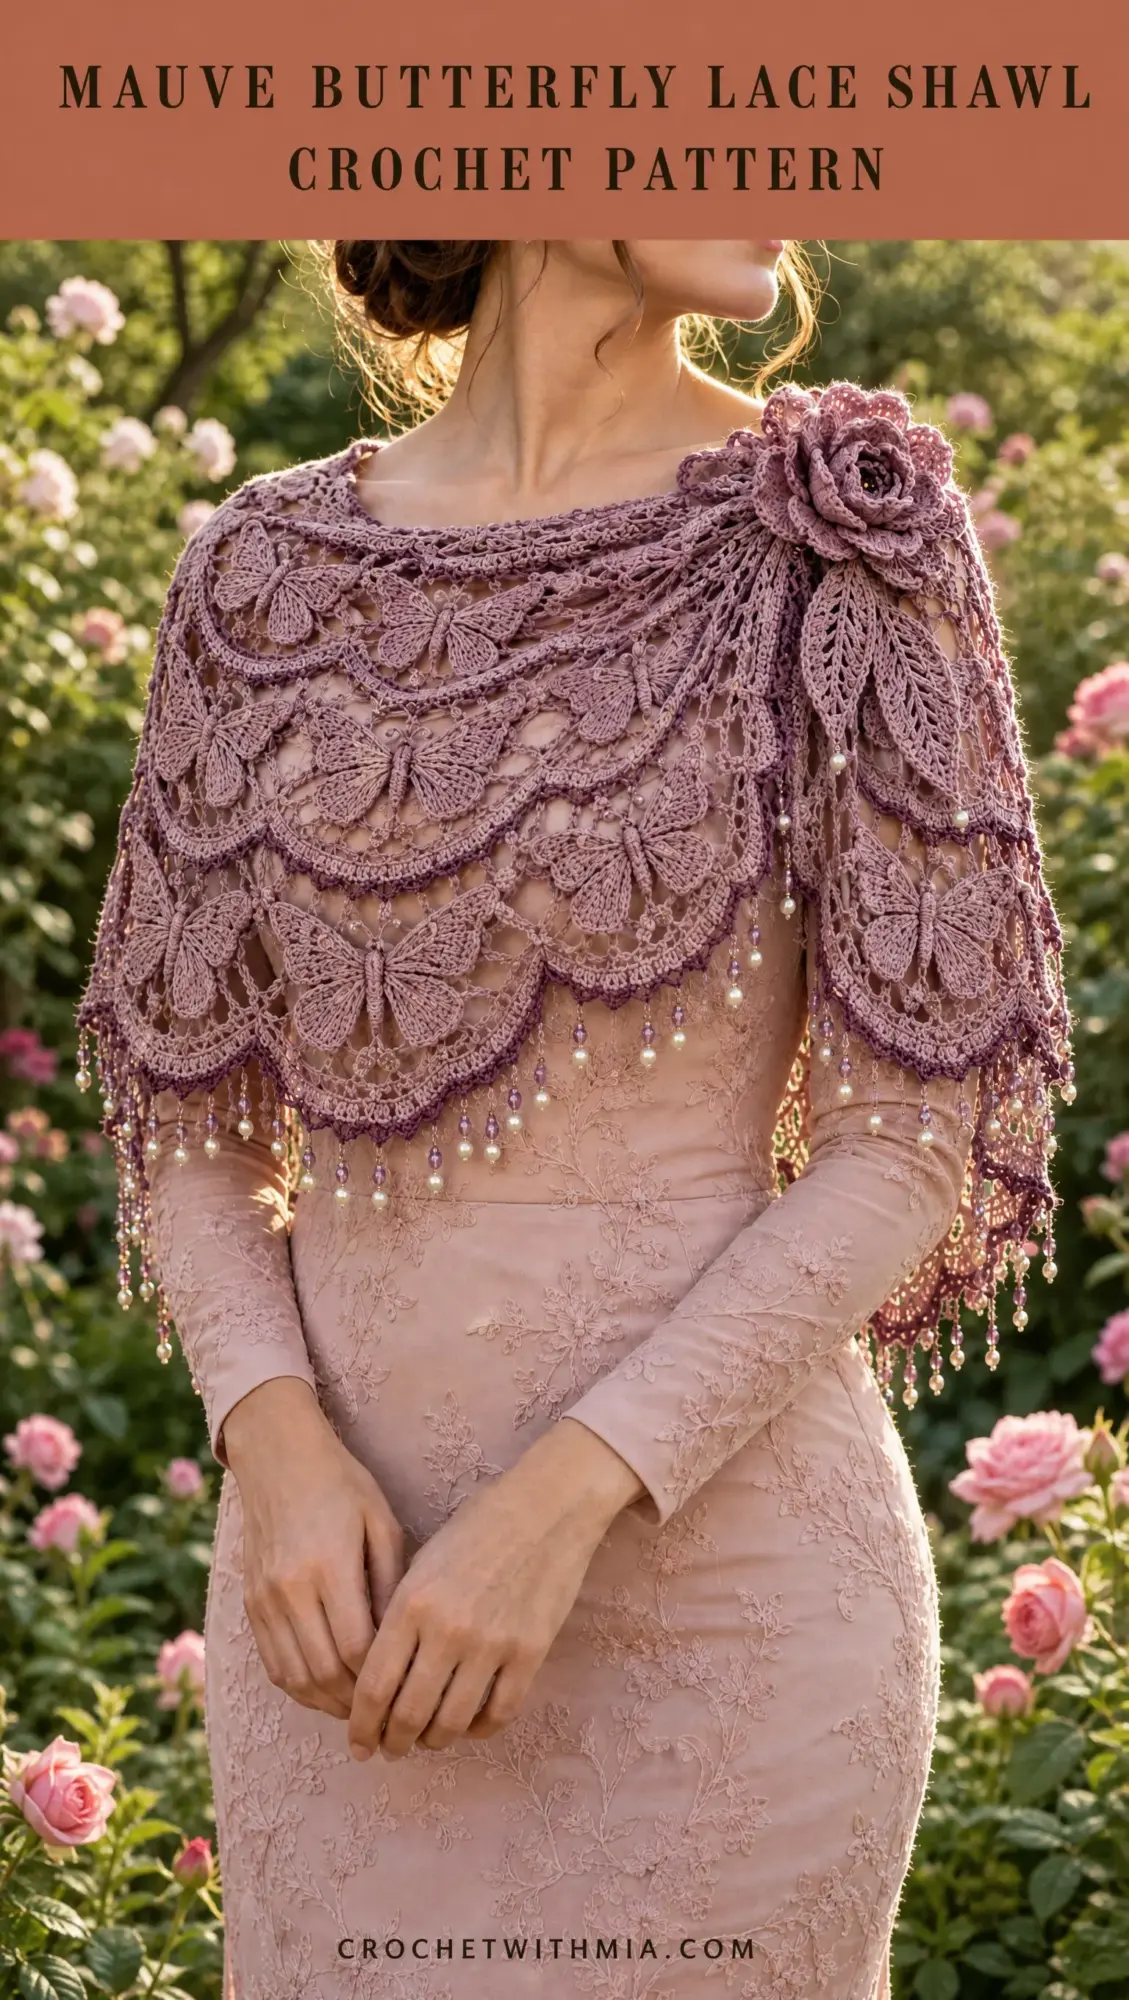
This romantic dusty mauve crochet capelet shawl features open butterfly lace motifs, descending scalloped bands, plum edging, a layered shoulder rose, openwork leaves, and delicate pearl-tipped fringe. The design is worked as a curved shoulder wrap with an open front, draping beautifully over your shoulders for weddings, garden parties, or any occasion that calls for something special.
The finished piece measures approximately 110 cm (43 inches) across the top edge, with a depth at center back of 45 cm (18 inches) and a side drape length of 55 cm (22 inches). This creates a generous wrap that provides coverage without overwhelming your frame.
Skill Level
This pattern is rated intermediate. You should be comfortable with chain spaces, double crochet (dc), treble crochet (tr), shell stitches, increases, motif shaping, surface crochet, and decorative assembly before beginning.
If any of those terms feel unfamiliar, I recommend practicing them on a small swatch first. The good news is that none of these techniques are truly difficult. They just require a bit of familiarity before tackling a larger project like this shawl.
Materials You Will Need
Gather these supplies before you begin:
Yarn:
Beads:
Tools:
The fine cotton yarn creates that lovely drape you see in the finished piece. Sport or fingering weight works perfectly here. If you substitute a different fiber, keep in mind that the drape and finished measurements may vary.
Gauge
Your gauge for this pattern should measure:
10 cm x 10 cm (4 inches x 4 inches):
24 dc stitches x 12 rows in open lace pattern
Adjust your hook size as needed to maintain a soft drape. If your fabric feels stiff, go up a hook size. If it feels too loose and floppy, go down. The goal is a fabric that holds its shape while still flowing gracefully.
Abbreviations
Let me define every stitch abbreviation you will encounter in this pattern:
Construction Notes
Understanding how this shawl comes together will help you visualize each step as you work.
The shawl is created from the upper neckline outward. You will begin with a foundation chain, then work rows that gradually widen to create the curved capelet shape. This widening is achieved by increasing chain spaces at both sides of each row.
Butterfly motifs are added into the lace bands as you progress. Finally, the piece is finished with a scalloped plum border, a decorative shoulder rose with leaves, and beaded fringe along the bottom edge.
Main Shawl Body Instructions
Foundation Row
Ch 180 loosely. Join yarn to create a flexible upper edge without twisting.
Tip: A loose foundation chain is essential here. If your chains tend to run tight, consider using a hook one size larger just for this row, then switch back to your regular hook.
Row 1
Dc in 4th ch from hook. Dc across until 3 stitches remain. Work 3 dc in final stitch. Continue along opposite side of foundation chain with dc. Place marker at center back.
Row 2
Ch 4, turn. Work tr stitches separated by ch-1 spaces across. Increase one extra ch-1 space at both outer edges.
Rows 3 Through 12
Continue working the open mesh pattern as follows:
Increase at both ends every row to maintain a curved capelet shape.
This is where the magic happens. Those consistent increases at both edges create the gentle curve that allows the shawl to drape over your shoulders naturally. Do not skip the increases, or your shawl will end up flat rather than shaped.
Butterfly Lace Band
Now for the butterflies! Each butterfly motif is created using the following steps:
Body
Ch 3, work 5 dc around chain space, sl st to close.
Left Wing
Ch 5, work 5 tr into same space, ch 3, sl st.
Right Wing
Repeat opposite side.
Lower Wing Fans
Work 7 dc, ch 2, 7 dc into lower chain arch.
Secure butterfly with chain arches connecting to neighboring motifs.
Repeat butterfly motifs evenly across each lace row.
The butterflies may feel fiddly at first. That is completely normal! I recommend making one or two practice butterflies before incorporating them into your shawl. Once you get the rhythm, they work up surprisingly quickly.
Scalloped Border
Switch to your plum yarn for this section.
Round 1
Sc evenly around lower edge.
Round 2
Work shell edging as follows:
Repeat around.
Round 3
Add picot detail:
Repeat along scallops.
The plum edging provides a beautiful contrast against the dusty mauve main body. It defines the scalloped shape and adds visual weight to the bottom of the shawl.
Shoulder Rose
This layered crochet rose adds a romantic focal point to your shawl.
Foundation
Ch 60.
Row 1
Dc in 4th chain and across.
Row 2
Work alternating shell groups:
Repeat across.
Roll strip into a spiral flower shape and sew securely.
Attach rose at the right shoulder area.
When rolling your rose, start from one end and spiral the strip tightly at the center, then more loosely toward the outer petals. This creates that natural rose shape. Secure with several stitches through all layers at the base.
Openwork Leaves
Make two leaves to accompany your rose.
Ch 18.
Work the following along one side:
Repeat along opposite side of chain.
Add surface slip stitches for leaf veins. This detail makes the leaves look realistic and adds texture.
Sew leaves below rose.
Beaded Fringe
The beaded fringe adds movement and sparkle to your finished shawl.
Cut evenly spaced thread lengths along lower scallops.
Thread lavender beads onto each strand and finish each strand with one pearl bead at the end.
Attach fringe every 3 to 4 stitches for a light balanced look.
The pearl bead at the end of each strand serves two purposes: it looks beautiful, and it acts as a stopper to keep your lavender beads from sliding off.
Finishing Your Shawl
Weave in all ends using your tapestry needle. Take your time here. Loose ends can work their way out over time, especially in a delicate lace piece.
Wet block gently on a flat surface. This step is essential for lace work! Blocking opens up your stitches, evens out tension, and allows the butterfly motifs and scallops to show their true beauty.
Stretch scallops into shape while blocking. Use rust-proof pins to hold everything in place.
Allow to dry completely before wearing or storing.
Care Instructions
Your beautiful shawl deserves gentle care:
Avoid hanging your shawl, as the weight of the beads can stretch the delicate lace over time.
Troubleshooting Common Issues
If the shawl curls: Increase blocking time or use a larger hook. Curling usually indicates that the fabric is too dense.
If motifs pull inward: Loosen your chain tension. Tight chains restrict the motifs and prevent them from lying flat.
If fringe twists: Add a small blocking weight while drying. This encourages the strands to hang straight.
Tips for Success
Here are a few additional suggestions based on my experience with this pattern:
Use stitch markers generously. Mark your center back, mark where you place increases, and mark the beginning of each butterfly motif row. Markers are your best friend in a project this detailed.
Work in good lighting. The fine yarn and intricate stitches are much easier to see with bright, natural light or a good craft lamp.
Take breaks. This is not a project to rush. The detail work, especially the butterflies and beading, requires focus. Short sessions with breaks will produce better results than marathon crocheting.
Count your stitches regularly. In lace work, one missed stitch can throw off your entire pattern. Count at the end of each row until you are confident in the rhythm.
Who Is This Shawl For?
This pattern makes a stunning accessory for weddings, whether you are the bride, a bridesmaid, or a guest. The romantic butterfly motifs and soft mauve color suit garden parties, anniversary dinners, or any elegant occasion.
It also makes an incredibly meaningful handmade gift. The hours of love and skill that go into creating this shawl are evident in every stitch.
Thank you so much for choosing this pattern for your next project! I truly hope you enjoy every moment of creating your Mauve Butterfly Lace Shawl. If you make one, I would absolutely love to see it. Share your finished shawl on Instagram or Facebook and tag me so I can admire your beautiful work!
If you found this pattern helpful, please save it to your Pinterest boards so you can find it easily when you are ready to start. And if you make this shawl, I would love to hear about your experience in the comments below. Your feedback and photos always make my day!
Want a Quick & Easy Printable Version?
Get a clean, beautifully formatted PDF of this pattern — easy to follow step by step, ready to print or save on any device. No scrolling, no distractions, just the pattern.
Get the Printable PDF →