
I have been dreaming about designing this little jacket for months. I wanted something that would work across multiple sizes, feature that gorgeous textured moss stitch without being fussy, and look like it came straight out of a woodland storybook. The bear ears on the hood? Non-negotiable from day one.
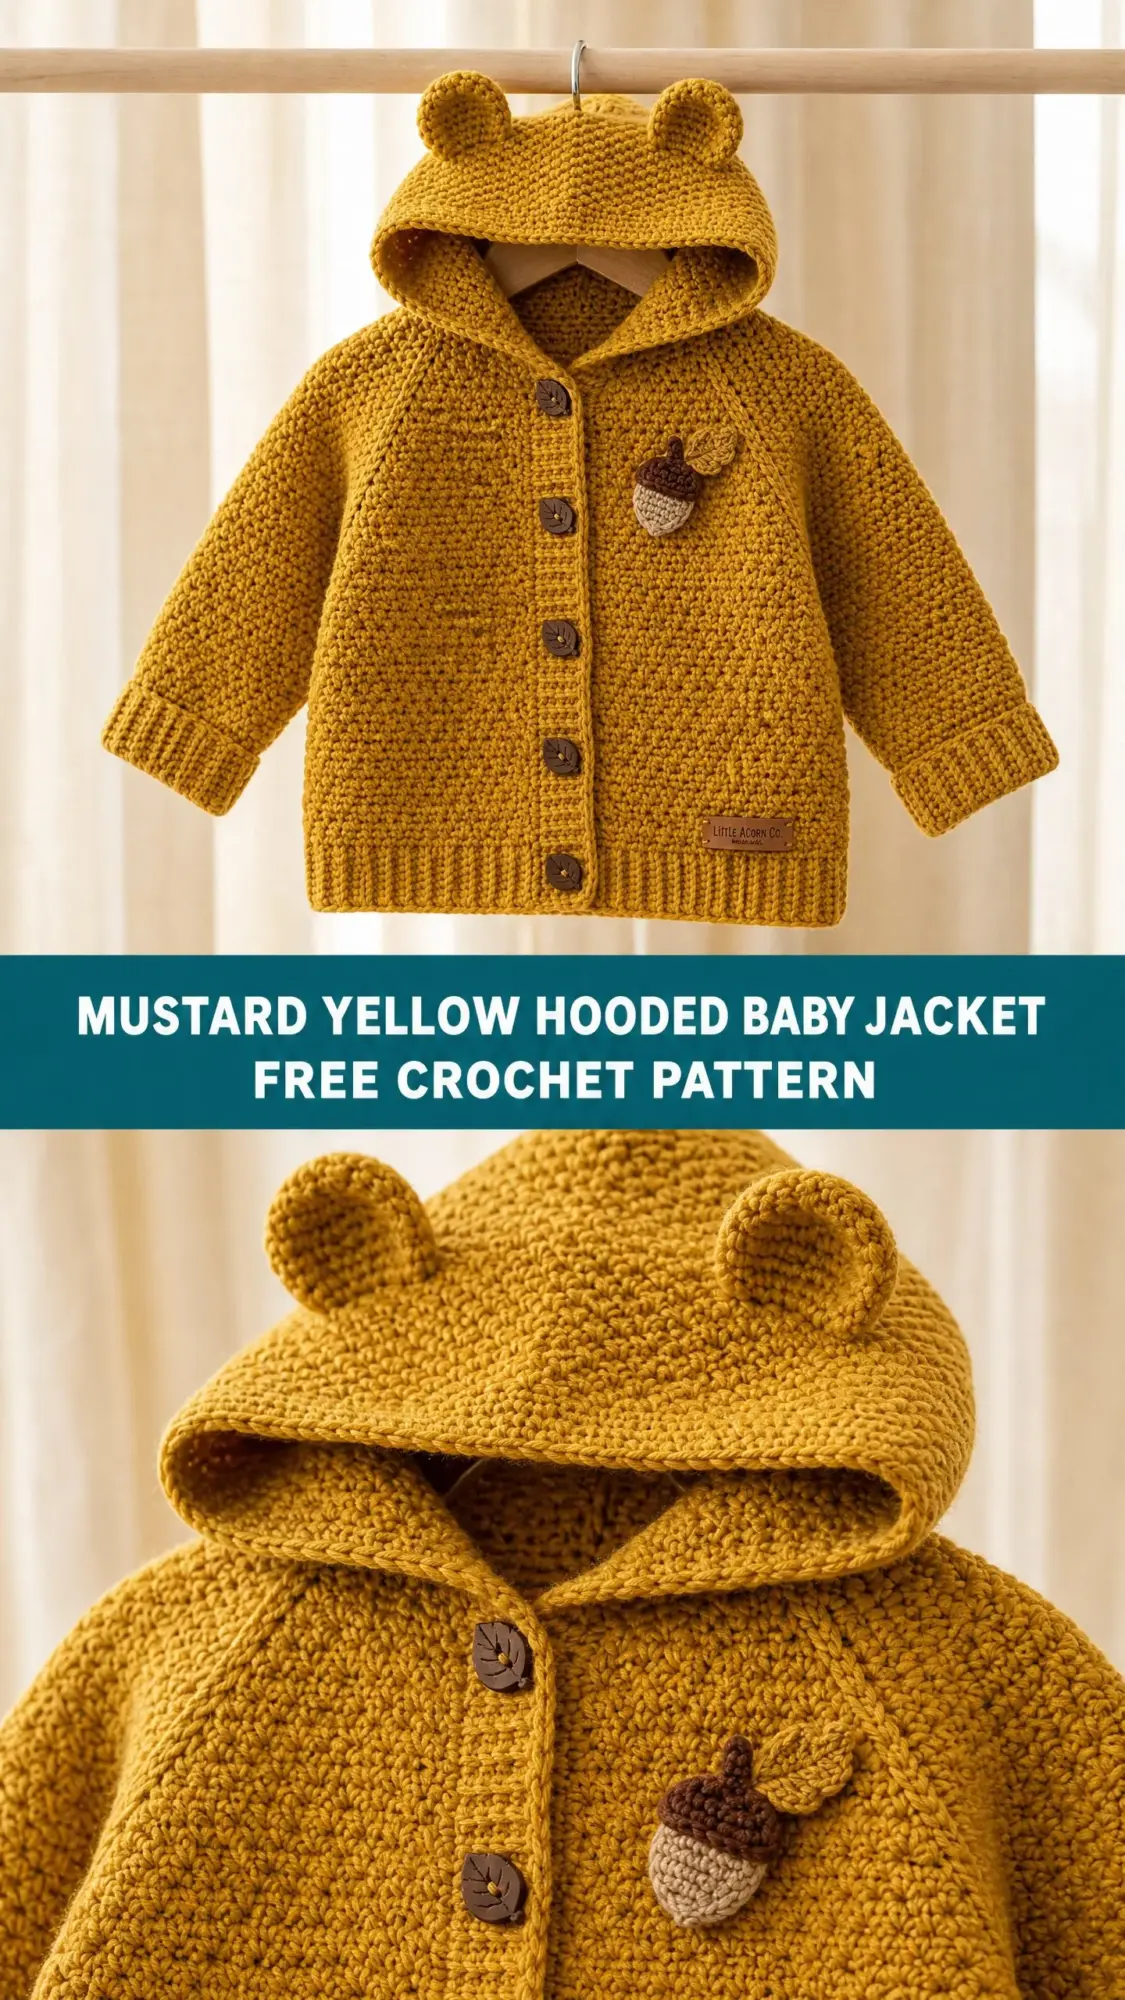
When I finally sat down to work out the construction, I knew top-down raglan shaping would give the cleanest results with minimal seaming. The moss stitch creates this beautiful dense fabric that drapes perfectly on tiny shoulders. And those leaf-shaped wooden buttons paired with the crocheted acorn applique? Chef’s kiss.
I am SO pleased with how this turned out. Every single element came together exactly as I pictured it. If you have been wanting to try garment construction or just need the coziest handmade gift for a little one, this crochet pattern is going to become your new favorite project.
Why This Hooded Baby Cardigan Works So Well
This mustard yellow hooded baby jacket combines everything I love about baby garment design. The construction is thoughtful. You work from the top down, which means you can try the jacket on as you go and adjust the length. The raglan shaping creates those beautiful diagonal lines across the shoulders. And because the body is worked flat with a button band opening, you avoid the dreaded steek or complicated circular shaping.
The moss stitch (sometimes called linen stitch or granite stitch) gives you a fabric that is dense enough to keep baby warm but still has lovely drape. It looks complex but it is just single crochet and chain stitches worked in an offset pattern. If you can chain and single crochet, you can absolutely handle this.
The hood is constructed as two flat panels seamed at the top, giving it that structured peaked shape you see in the photos. The bear ears are worked separately in the round and then sewn on. Adorable and surprisingly simple.
Skill Level and Time Commitment
I am rating this pattern as intermediate. You should be comfortable with working flat rows, joining to work in the round, picking up stitches along an edge, and basic seaming. The moss stitch itself is completely beginner friendly. The shaping and construction sequencing are what bump this up a level.
Expect to spend approximately 8 to 14 hours on this project depending on your hook speed, experience level, and which size you are making. The hood and ears add roughly 2 extra hours. This is not a weekend project, but it is absolutely achievable in a week or two of evening crochet sessions.
Finished Sizes
This pattern is written for three sizes with adjustments noted in parentheses throughout.
Size 6 to 12 months:
Size 12 to 18 months:
Size 18 to 24 months:
All measurements are taken after gentle blocking. The garment has approximately 2 inches of positive ease built in, so it will fit comfortably over other layers.
When you see three numbers separated by slashes in the instructions, read them as 6 to 12 months / 12 to 18 months / 18 to 24 months.
Materials You Will Need
Yarn:
Hooks:
Notions:
Yarn Recommendations
Lion Brand Pound of Love in Butterscotch is my top pick. This 100% acrylic yarn is machine washable, budget friendly, and widely available. It produces beautiful stitch definition in the moss stitch.
Paintbox Yarns Simply DK held double is another excellent option. Holding two strands together gives you worsted weight fabric with a slightly softer hand. The Mustard color is nearly identical to the pictured garment.
Paintbox Yarns Simply Worsted in Mustard Yellow works beautifully if you want a single strand option. Pure acrylic with excellent washability.
When substituting yarn, choose any smooth worsted weight that achieves gauge. Avoid fuzzy or heavily textured yarns because they will hide your moss stitch texture. For baby items, machine washable fibers are your friend.
Gauge
Getting gauge right matters a lot on a small garment like this. A difference of even one stitch per 4 inches will significantly change the finished chest measurement.
Using the J-10 (6.0 mm) hook in moss stitch:
14 stitches and 20 rows = 4 inches (10 cm)
Using the H-8 (5.0 mm) hook in single crochet ribbing:
16 stitches and 18 rows = 4 inches (10 cm)
Please make a swatch. I know, I know. But this is a garment, and you want it to fit.
Abbreviations
Let me walk you through every abbreviation you will encounter in this crochet tutorial.
Special Stitches Explained
Moss Stitch (Linen Stitch or Granite Stitch)
This stitch creates an alternating grid-like texture. You work single crochet and chain 1 skip sequences, offsetting the stitches on alternate rows.
To work moss stitch flat on a foundation chain:
Your foundation chain must be an odd number.
Row 1 (RS): Starting in the 3rd chain from hook, work 1 sc. Ch 1, skip 1 ch, 1 sc in next ch. Repeat across to the last chain. Turn.
Row 2 (WS): Ch 2, skip the first sc. 1 sc in the ch-1 space, ch 1, skip the next sc. Repeat across, ending with 1 sc in the turning chain space. Turn.
Row 3 (RS): Ch 2, skip first sc. 1 sc in ch-1 space, ch 1, skip sc. Repeat across, ending with 1 sc in the t-ch space. Turn.
Repeat Rows 2 and 3 for the pattern.
One moss stitch unit equals 1 sc plus 1 ch-1 space. Throughout this pattern, stitch counts in brackets reflect the total number of sc stitches in the row.
Moss Stitch Increase
At the beginning of a row: Ch 3 instead of ch 2, then work 1 sc in the first ch-1 space as normal. The extra ch-1 adds one unit.
At the end of a row: After the final sc, ch 1 and work 1 sc into the turning chain of the previous row.
Raglan Moss Stitch Increase
At each raglan marker position, work (1 sc, ch 1, 1 sc) all into one ch-1 space. This adds one moss stitch unit at each raglan point per row.
Single Crochet Ribbing
This is worked sideways and attached to the garment edge. You work in BLO on every row to create that stretchy vertical ribbed texture visible at the hem and cuffs.
Step by Step Instructions
Section 1: Yoke (Worked Flat, Top Down)
The yoke begins at the neckline and expands with raglan increases worked every right side row. It is divided into 5 sections: Left Front, Left Sleeve, Back, Right Sleeve, Right Front.
Foundation Chain:
Row 1 (RS, setup row): Starting in the 3rd ch from hook, work 1 sc. (Ch 1, skip 1 ch, 1 sc in next ch) across.
Place markers as follows:
For size 6 to 12 months (18 sc total):
For size 12 to 18 months (20 sc total):
For size 18 to 24 months (22 sc total):
Turn.
Understanding the raglan increases: On each RS row, work a raglan increase at each of the 4 markers, adding 8 sc total per RS row. On WS rows, work straight with no increases. The increase is worked by working (sc, ch 1, sc) into the ch-1 space immediately before AND after each marker.
Row 2 (WS, all sizes): Ch 2, work moss stitch across with no increases. Turn.
Row 3 (RS, increase row): Work moss stitch across, working raglan increase at each marker position.
Row 4 (WS): Work straight. Same count.
Row 5 (RS, increase):
Continue the increase pattern (increase on RS rows, work straight on WS rows) through the following rows:
Row 7: 42 / 44 / 46 sc
Row 9: 50 / 52 / 54 sc
Row 11: 58 / 60 / 62 sc
Row 13: 66 / 68 / 70 sc
Row 15: 74 / 76 / 78 sc
Row 17: 82 / 84 / 86 sc
Size 6 to 12 months: Stop increasing after Row 17. Proceed to Sleeve Separation.
Sizes 12 to 18 and 18 to 24 months continue:
Row 19: 92 / 94 sc
Size 12 to 18 months: Stop after Row 19.
Size 18 to 24 months continues:
Row 21: 102 sc
Section 2: Sleeve Separation and Body
On the next RS row, work across the Left Front in moss stitch, chain 5 to bridge the underarm, skip all Left Sleeve stitches, work across the Back, chain 5 for the second underarm, skip the Right Sleeve stitches, and work across the Right Front.
Place sleeve stitches on holders.
Body stitch counts after separation:
Section 3: Body (Worked Flat)
Rows 1 through 8: Work straight in moss stitch. Same counts as above.
A-Line Shaping: Work 1 sc increase at each end of the body on RS rows, every 6 rows, 3 times total.
Row 9 (RS, increase): 54 / 58 / 64 sc
Row 15 (RS, increase): 56 / 60 / 66 sc
Row 21 (RS, increase): 58 / 62 / 68 sc
Continue working straight until the body measures approximately 7.5 / 8 / 9 inches from the underarm.
Section 4: Ribbed Hem
Switch to H-8 (5.0 mm) hook. Chain 7.
Row 1: Starting in 2nd ch from hook, work 6 sc. Sl st into the first st on the jacket body edge. Turn. (6 sc)
Row 2: Skip the sl st, work 6 sc BLO across. Turn.
Row 3: Ch 1, work 6 sc BLO, sl st into the next body edge stitch. Turn.
Repeat Rows 2 and 3 across the entire bottom edge. Seam the short ends together.
Section 5: Sleeves (Worked in the Round)
Rejoin yarn at underarm center. Pick up 3 stitches from the underarm chain and work held sleeve stitches.
Total sleeve stitches: 22 / 24 / 26 sc
Work in moss stitch in the round for 4 rounds.
Decrease rounds: Work sc2tog twice per decrease round at Rounds 5, 11, and 17.
Final sleeve counts: 16 / 18 / 20 sc
Continue until sleeve measures 5 / 5.5 / 6 inches from underarm.
Cuffs: Switch to H-8 hook. Decrease to 14 / 16 / 18 sc. Work 6 rounds of sc BLO.
Section 6: Button Bands
Using H-8 hook, pick up approximately 38 to 50 sc along each front edge depending on size.
Right band: Work 3 rows of sc BLO.
Left band (with buttonholes): On Row 3, space 7 buttonholes evenly by working ch 2, skip 2 sc at each buttonhole position.
Sew buttons to right band.
Section 7: Hood
Hood Panel (make 2):
Ch 35. Work 35 rows of moss stitch. (17 sc per row)
Seam the two panels along one short edge (the top) with right sides together. Attach the hood to the neckline, centering the seam at the back neck.
Section 8: Bear Ears (Make 2)
Using H-8 hook and mustard yarn, work in magic ring.
Rnd 1: 6 sc in ring. (6 sc)
Rnd 2: 2 sc in each sc around. (12 sc)
Rnd 3: Sc in next sc, 2 sc in next sc. Repeat around. (18 sc)
Rnd 4: Sc in each sc around. (18 sc)
Fasten off, leaving a long tail. Fold ear in half and seam to the hood approximately 2 inches from the center seam on each side.
Section 9: Acorn Applique
Acorn Body (cream yarn):
Work in magic ring: 6 sc, then increase to 9 sc, work 3 rounds even, decrease to close. Stuff lightly.
Acorn Cap (brown yarn):
Ch 8, work 3 rows of sc, shaping into a dome. Attach to body top.
Sew completed acorn to left chest of jacket.
Pattern Notes and Tips
The turning chains in moss stitch are ch 2 and do not count as a stitch. Always work your last stitch into the top of the previous row’s turning chain space.
Move your stitch markers up every few rows so you do not lose track of your raglan points.
If the raglan increases seem to disrupt your moss stitch pattern alignment, just adjust so your sc stitches continue landing over ch-1 spaces and vice versa. The offset is what creates the texture.
Block your finished jacket gently before gifting. A light steam or wet block will even out your stitches and let the moss stitch texture really shine.
Wrapping Up This Crochet Tutorial
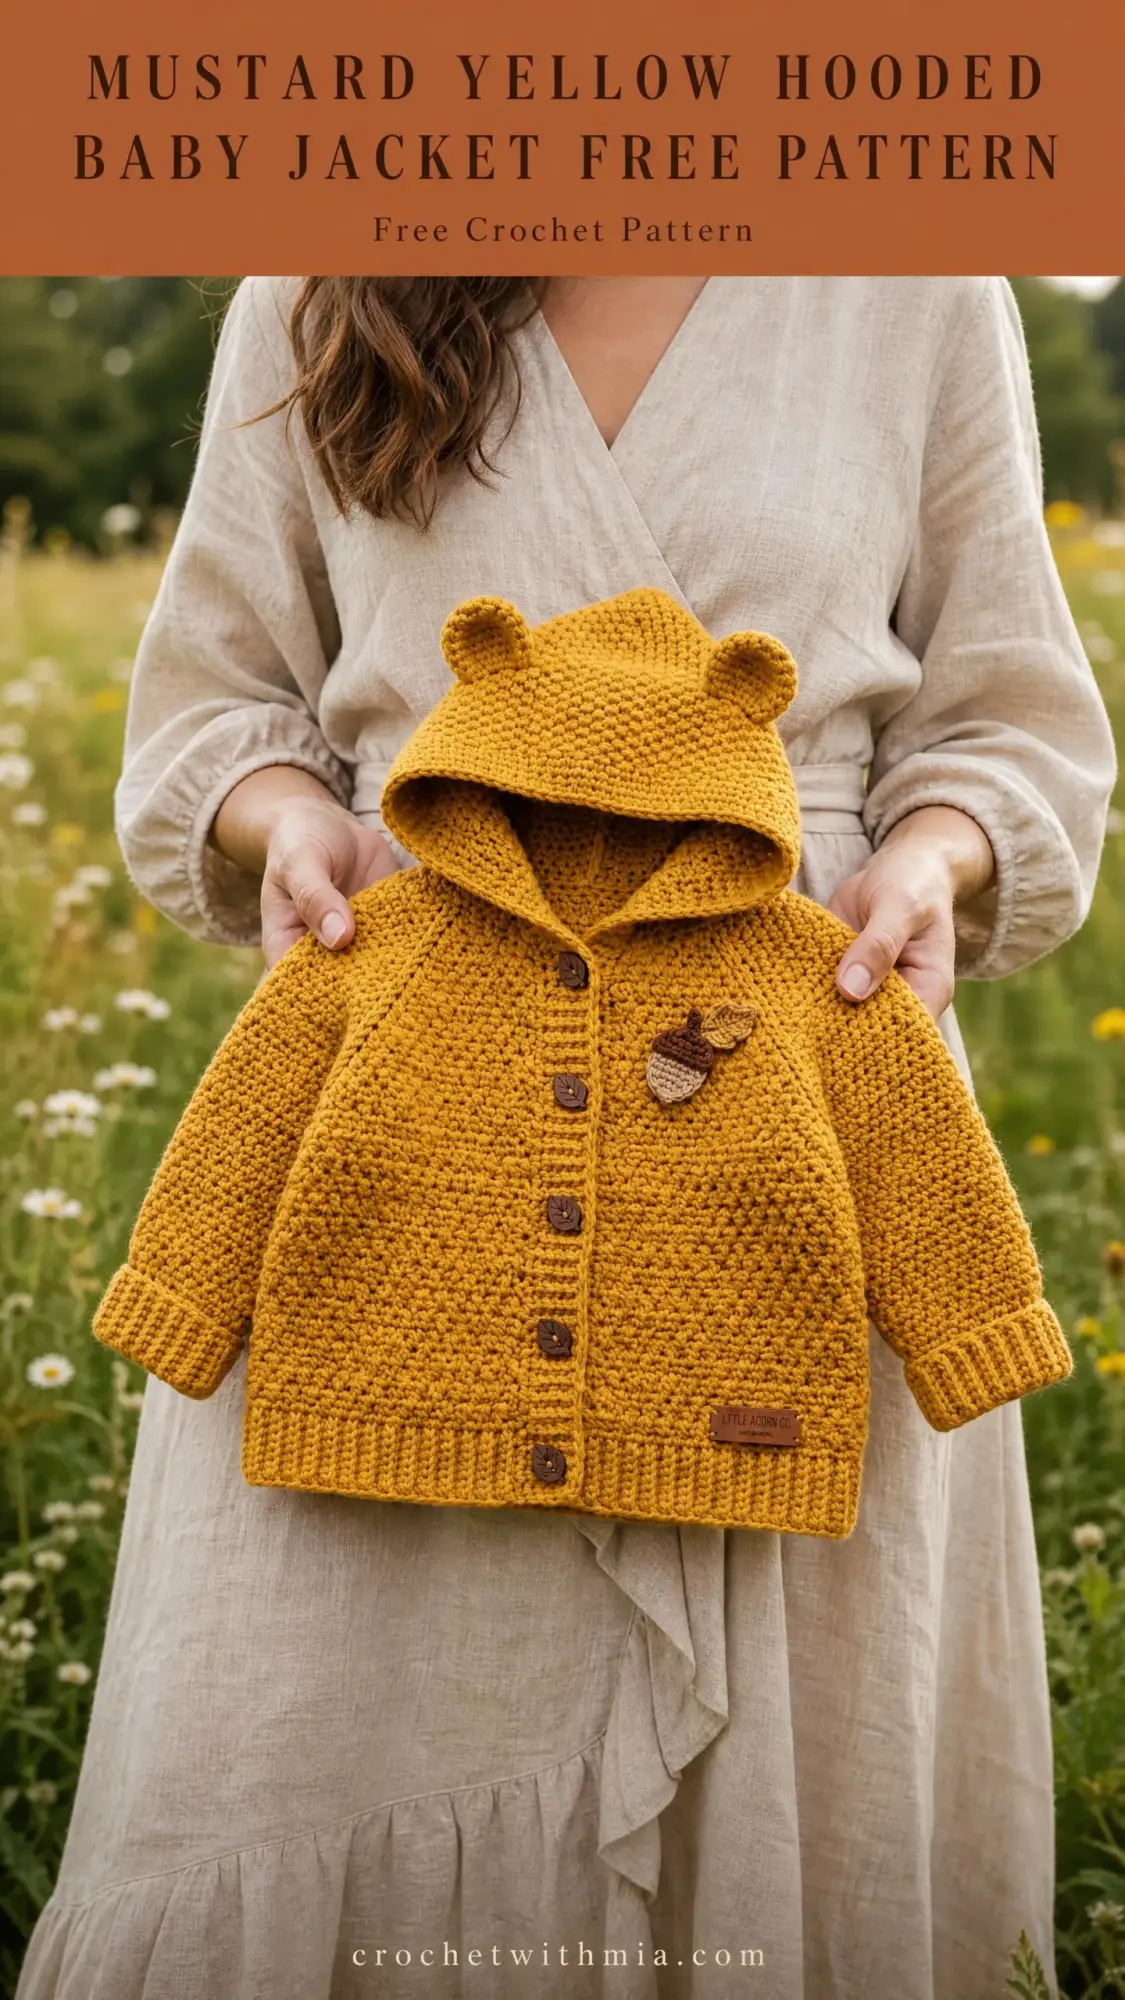
This mustard yellow hooded baby jacket is one of those projects that looks impressive but is completely achievable once you understand the construction. The moss stitch becomes meditative after the first few rows. The top-down raglan means minimal seaming. And those bear ears? They will make everyone smile.
I hope you love making this as much as I loved designing it. There is something special about creating a handmade garment for a little one, especially one with this much personality.
Thank you so much for choosing this pattern. It means the world that you are spending your crafting time here with me.
If this cozy little jacket is calling your name, go ahead and pin it to your crochet board on Pinterest so you can find it when you are ready to cast on. And please, please leave a comment below or tag me on social media when you finish yours. Seeing your makes is honestly the best part of sharing patterns.