
I’ve been searching for the perfect heirloom-quality baby garment pattern for months now. You know the type. Something that looks like it belongs in a vintage photograph, draped over a nursery chair, waiting for tiny arms to fill it. This cream cable baby pinafore dress is exactly what I had in mind, and I’m thrilled to share it with you today.
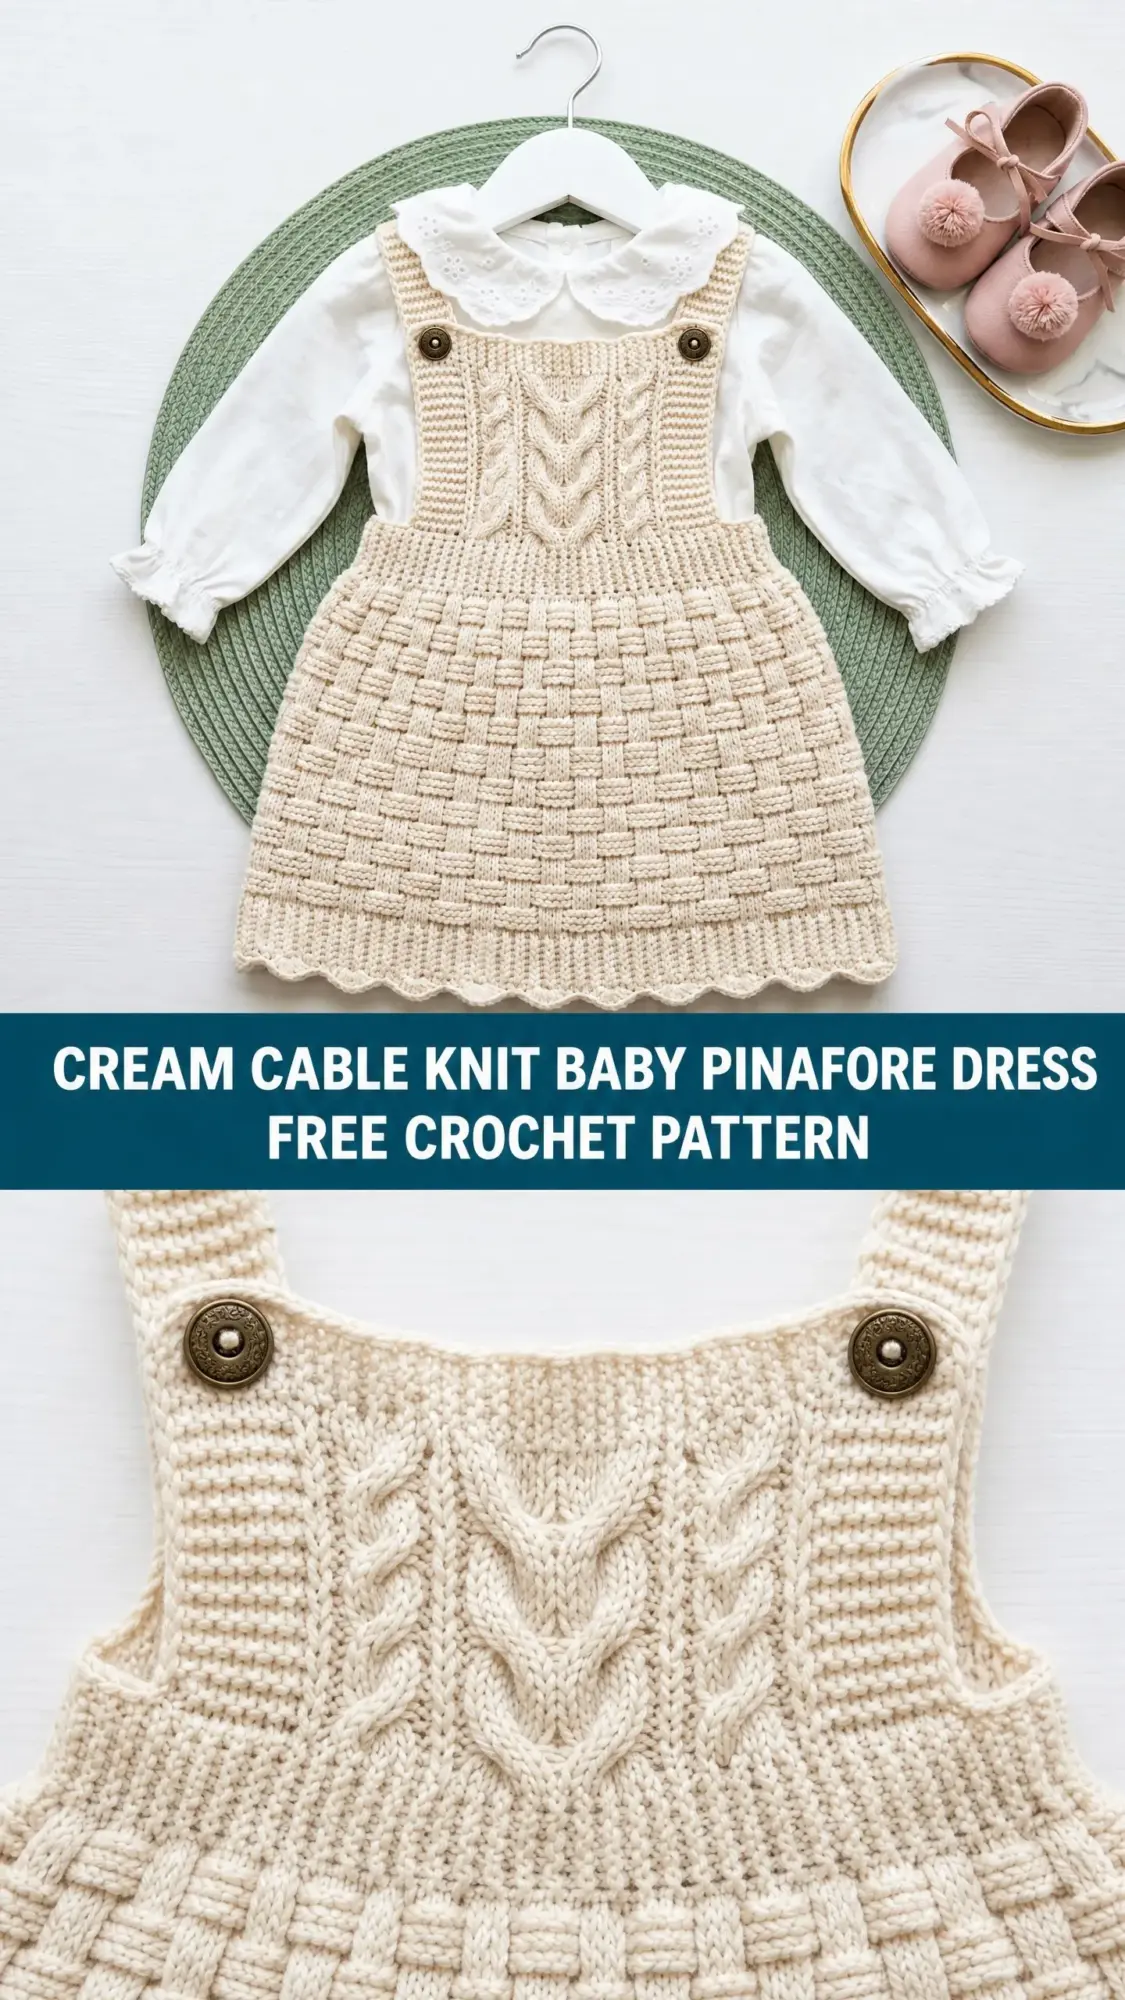
The combination of the textured basket-weave skirt and that stunning cable panel on the bodice creates something truly special. It’s the kind of piece grandparents will ooh and ahh over. The kind you’ll want to save in a keepsake box long after baby has outgrown it.
Whether you’re making this for your own little one, a baby shower gift, or adding to your collection of treasured handmade pieces, this crochet pattern delivers that coveted vintage aesthetic with modern construction techniques. Let me walk you through everything you need to know.
About This Baby Pinafore Dress Crochet Pattern
This pinafore dress is designed to fit babies aged 6 to 12 months. The finished garment measures 18 inches around the chest with a total length of 14 inches from the top of the strap to the hem. It’s meant to be layered over a long-sleeve collared blouse for that classic, polished look.
The construction method is straightforward once you understand the components. You’ll work the front bodice panel with its gorgeous cable detail, a simpler back bodice panel in basket-weave stitch, two straps, and then the A-line skirt. Everything gets seamed together at the end, and a sweet scallop border finishes the hem.
Skill level: Advanced beginner to intermediate. Don’t let the cables intimidate you. I’ll explain every special stitch in detail.
Time estimate: Plan for 8 to 12 hours of work. Give yourself a bit more time if the cable cross stitch is new to you.
Materials You’ll Need
Yarn: Worsted weight yarn (CYCA 4), approximately 350 to 400 yards total, in cream or natural ecru.
Some excellent yarn choices include:
Choose a smooth yarn without too much fuzz or texture. You want those basket-weave blocks and cable crosses to really pop.
Hook: US size G-6 / 4.0 mm crochet hook. Adjust as needed to meet gauge.
Notions:
Gauge
Getting gauge right matters for a fitted garment like this pinafore dress.
With US G-6 / 4.0 mm hook in basket-weave stitch pattern:
In single crochet (for strap and edging reference):
Swatch at least a 5-inch square in the basket-weave stitch. Block your swatch just as you would the finished piece, then measure the center 4 inches. If your stitches are too big, go down a hook size. If they’re too small, go up a hook size.
Abbreviations and Stitch Definitions
Here are all the stitches you’ll use in this baby pinafore crochet pattern:
Special Stitches Explained
Basket-Weave Block (BW-block)
This is a set of 2 FPdc or 2 BPdc worked consecutively around the posts of 2 stitches from the prior row. You’ll alternate between raised blocks (FPdc pairs) and recessed blocks (BPdc pairs) every 2 rows. This creates that beautiful woven texture you see in the skirt. The full repeat is 4 stitches wide and 4 rows tall.
Front Post Double Crochet Cross, Right-Leaning (FPdc-cross-R)
This creates the cable effect on the bodice. Here’s how it works:
1. Skip the next 2 posts.
2. Work a FPdc around the post of the 3rd stitch ahead, keeping the loop live.
3. Work a second FPdc around the post of the 4th stitch.
4. Go back and work a FPdc around the post of the 1st skipped stitch.
5. Work a FPdc around the post of the 2nd skipped stitch.
You’ve now completed 4 FPdc total. The first pair of posts lies on top of the second pair, creating a right-leaning cross.
Front Post Double Crochet Cross, Left-Leaning (FPdc-cross-L)
Same concept, but the second pair lies on top:
1. Skip the next 2 posts.
2. Work a FPdc around the post of the 3rd stitch.
3. Work a second FPdc around the post of the 4th stitch.
4. Go back and work a FPdc around the post of the 2nd skipped stitch.
5. Work a FPdc around the post of the 1st skipped stitch.
Scallop Edging
Into the first stitch, work a sl st. Skip 1 stitch. Into the next stitch, work 5 dc. Skip 1 stitch. Sl st into the next stitch. Repeat this sequence around the hem.
Pattern Instructions
Front Bodice Panel
The front bodice is worked flat, bottom-up starting at the waist edge. It’s 36 stitches wide and 12 rows tall.
Foundation Chain: Ch 38.
Foundation Row (WS): Dc in the 4th ch from hook and in each ch across. Turn. (36 dc)
The center 8 stitches (stitches 15 through 22) form the cable column. Stitches 1-14 on the right and stitches 23-36 on the left form the basket-weave panels.
Bodice Row 1 (RS, Basket-Weave Setup + Cable Setup):
Ch 2, turn. This ch-2 counts as first dc throughout bodice rows.
Work as follows:
Begin Cable Panel (sts 15-22):
End Cable Panel:
(36 sts)
Bodice Row 2 (WS):
Ch 2, turn. Mirror the post stitches. Where you see a raised FPdc from the RS, work BPdc on the WS. Where you see a recessed BPdc from the RS, work FPdc on the WS.
(36 sts)
Bodice Row 3 (RS, Basket-Weave Shift + Cable Row):
Ch 2, turn. BW blocks swap every 2 rows.
(36 sts)
Bodice Row 4 (WS): Mirror Row 3 logic. (36 sts)
Bodice Row 5 (RS, Cable Cross Row):
Work BW pattern on side panels. On RS rows that are multiples of 4 plus 1, the BW blocks are in the same orientation as Row 1.
(36 sts)
Bodice Rows 6-12: Continue the established pattern. Work cable crosses on Rows 9 (FPdc-cross-R) with plain FPdc cable columns on non-cross rows. Maintain BW pattern on sides, mirroring on WS rows.
Checkpoint: After Row 12, the front bodice panel should measure approximately 4.5 inches tall and 9 inches wide. Fasten off and set aside.
Back Bodice Panel
The back bodice is simpler, worked entirely in basket-weave stitch with no cable panel.
Foundation Chain: Ch 38.
Foundation Row (WS): Dc in 4th ch from hook and in each ch across. Turn. (36 dc)
Back Bodice Row 1 (RS):
Ch 2, turn. Work in BW pattern: 2 FPdc, then alternate pairs of 2 BPdc and 2 FPdc across. End with 2 FPdc. (36 sts)
Back Bodice Rows 2 through 12: Continue in BW pattern, mirroring post stitches on WS rows, swapping block orientation every 2 RS rows. (36 sts each row)
Checkpoint: Back bodice panel should measure 4.5 inches tall and 9 inches wide.
Straps (Make 2)
Each strap is 6 stitches wide and approximately 7 inches long.
Foundation Chain: Ch 8.
Strap Row 1: Sc in 2nd ch from hook, sc in each ch across. Turn. (6 sc)
Strap Rows 2 through 19: Ch 1, turn. Sc in each st across. Turn. (6 sc)
Strap Row 20 (Buttonhole Row): Ch 1, turn. Sc in first 2 sts, ch 1, skip 1 st, sc in next st, ch 1, skip 1 st, sc in last st. Turn. (4 sc + 2 ch-1 sp)
Strap Row 21: Ch 1, turn. Sc in first 2 sc, sc in ch-1 sp, sc in next sc, sc in ch-1 sp, sc in last sc. Turn. (6 sc)
Strap Rows 22-24: Continue in sc. (6 sc)
Fasten off, leaving a 12-inch tail for seaming. Make a second strap the same way.
Skirt Front Panel
With RS facing, join yarn at the right-hand bottom edge of the front bodice panel.
Skirt Row 1 (RS): Ch 2. Work 36 dc evenly across the bottom edge of the front bodice. Turn. (36 dc)
Skirt Row 2 (WS): Ch 2, turn. Work BW pattern Row 2 logic across. (36 sts)
Skirt Row 3 (RS, Increase Row): Ch 2, turn. Work 2 dc in first st, continue in BW pattern to last st, work 2 dc in last st. (38 sts)
Continue working in BW pattern with increases every 3 rows:
Checkpoint: After Row 19, skirt front should measure approximately 7 inches long and 12.25 inches wide at the hem.
Skirt Back Panel
Work identically to the skirt front panel, working into the bottom edge of the back bodice. (49 sts at end of Row 19)
Assembly
Step 1: Block all pieces before seaming.
Step 2: With RS together, whip stitch or mattress stitch the side seams of the bodice panels, leaving the top 4 inches open for armholes.
Step 3: With RS together, seam the skirt side edges from hem to waist. Turn RS out.
Step 4: Join the bodice to the skirt waist with a slip-stitch seam. Turn RS out.
Step 5: Attach the plain end of each strap to the top corners of the front bodice, offset about 0.5 inch from each outer edge.
Step 6: Position the straps over the back and mark button placement through the buttonholes.
Step 7: Sew buttons to the front strap tips.
Scallop Hem Border
With RS facing, join yarn at the side seam of the hem.
Round 1: Sl st into first hem stitch. (Skip 1, 5 dc in next, skip 1, sl st in next) repeat around. Join to first sl st. Fasten off.
You’ll create 25 beautiful scallops around the entire hem.
Pattern Notes and Tips
Mark the RS with a stitch marker on Row 1 so you never lose track of which side faces outward.
Post stitches are always worked around the posts of stitches in the previous row, never the current row.
The ch-2 turning chain counts as a dc throughout the bodice and skirt rows.
When adding increase stitches at the edges, work sc into the new edge stitches until you have enough to form a complete BW pair, then incorporate them.
Final Thoughts
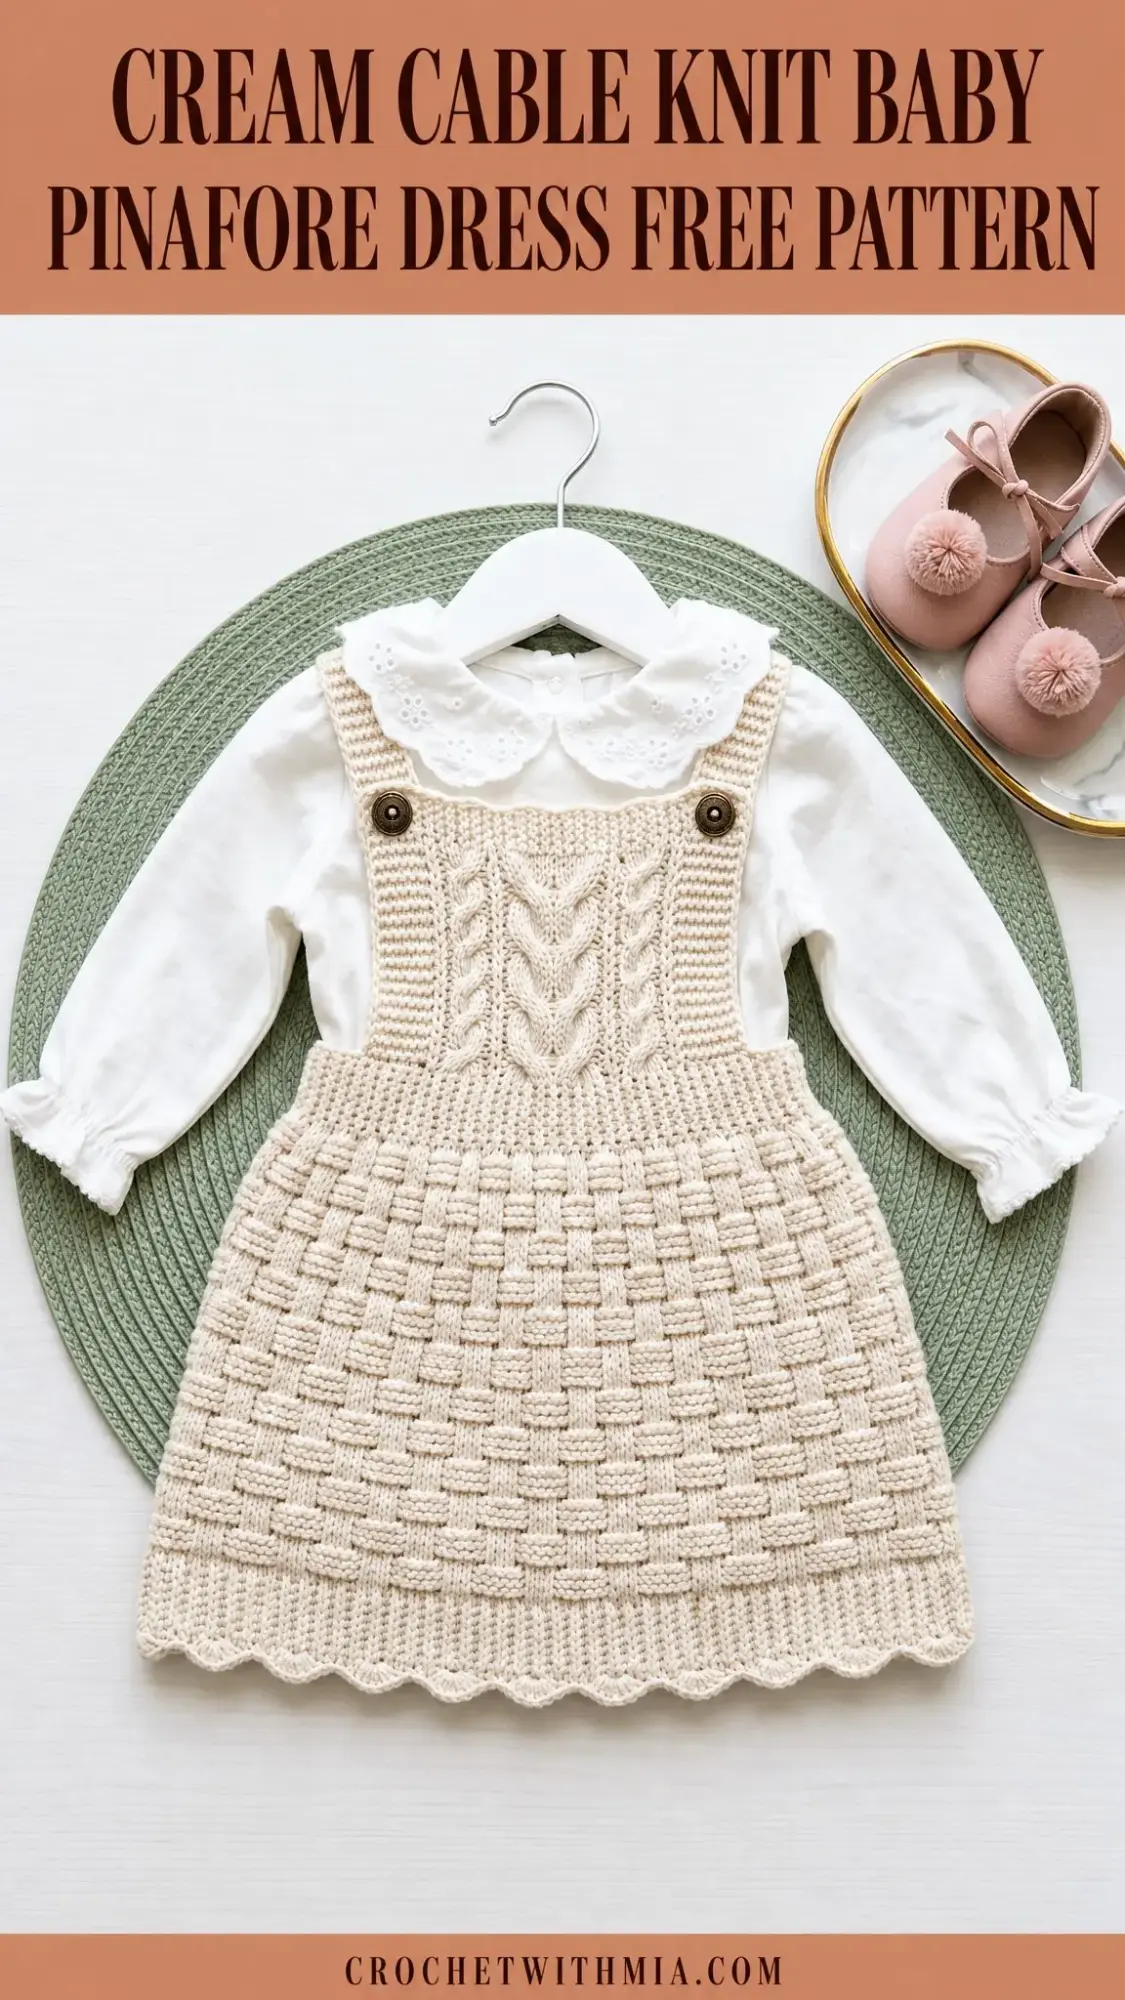
This cream cable baby pinafore dress is the kind of project that becomes a family treasure. The combination of the intricate cable panel and the classic basket-weave texture creates a garment that looks far more complicated than it actually is. Take your time with the cable crosses, trust your counts, and you’ll have something absolutely gorgeous to show for your efforts.
Thank you so much for choosing this pattern for your next project. I hope every stitch brings you joy. If you make this little pinafore, I would love to see it! Tag me on Instagram or share a photo in my Facebook group.
If you loved this cream cable baby pinafore dress crochet pattern, save it to your Pinterest boards so you can find it easily when you’re ready to start. And please drop a comment below if you make one. I genuinely love hearing about your finished projects and seeing photos of your beautiful work!