
I named this design the Spring Garden Rose Bracelet because it reminds me of my grandmother’s cottage garden in late May. She had these climbing roses along her fence in exactly these colors: butter yellow, soft coral, dusty pink, and that pale sage green that appears right before the buds fully open. I sketched the original idea for this bracelet in a notebook years ago during a long train ride, and it sat there waiting until I finally had the right thread colors to bring it to life.
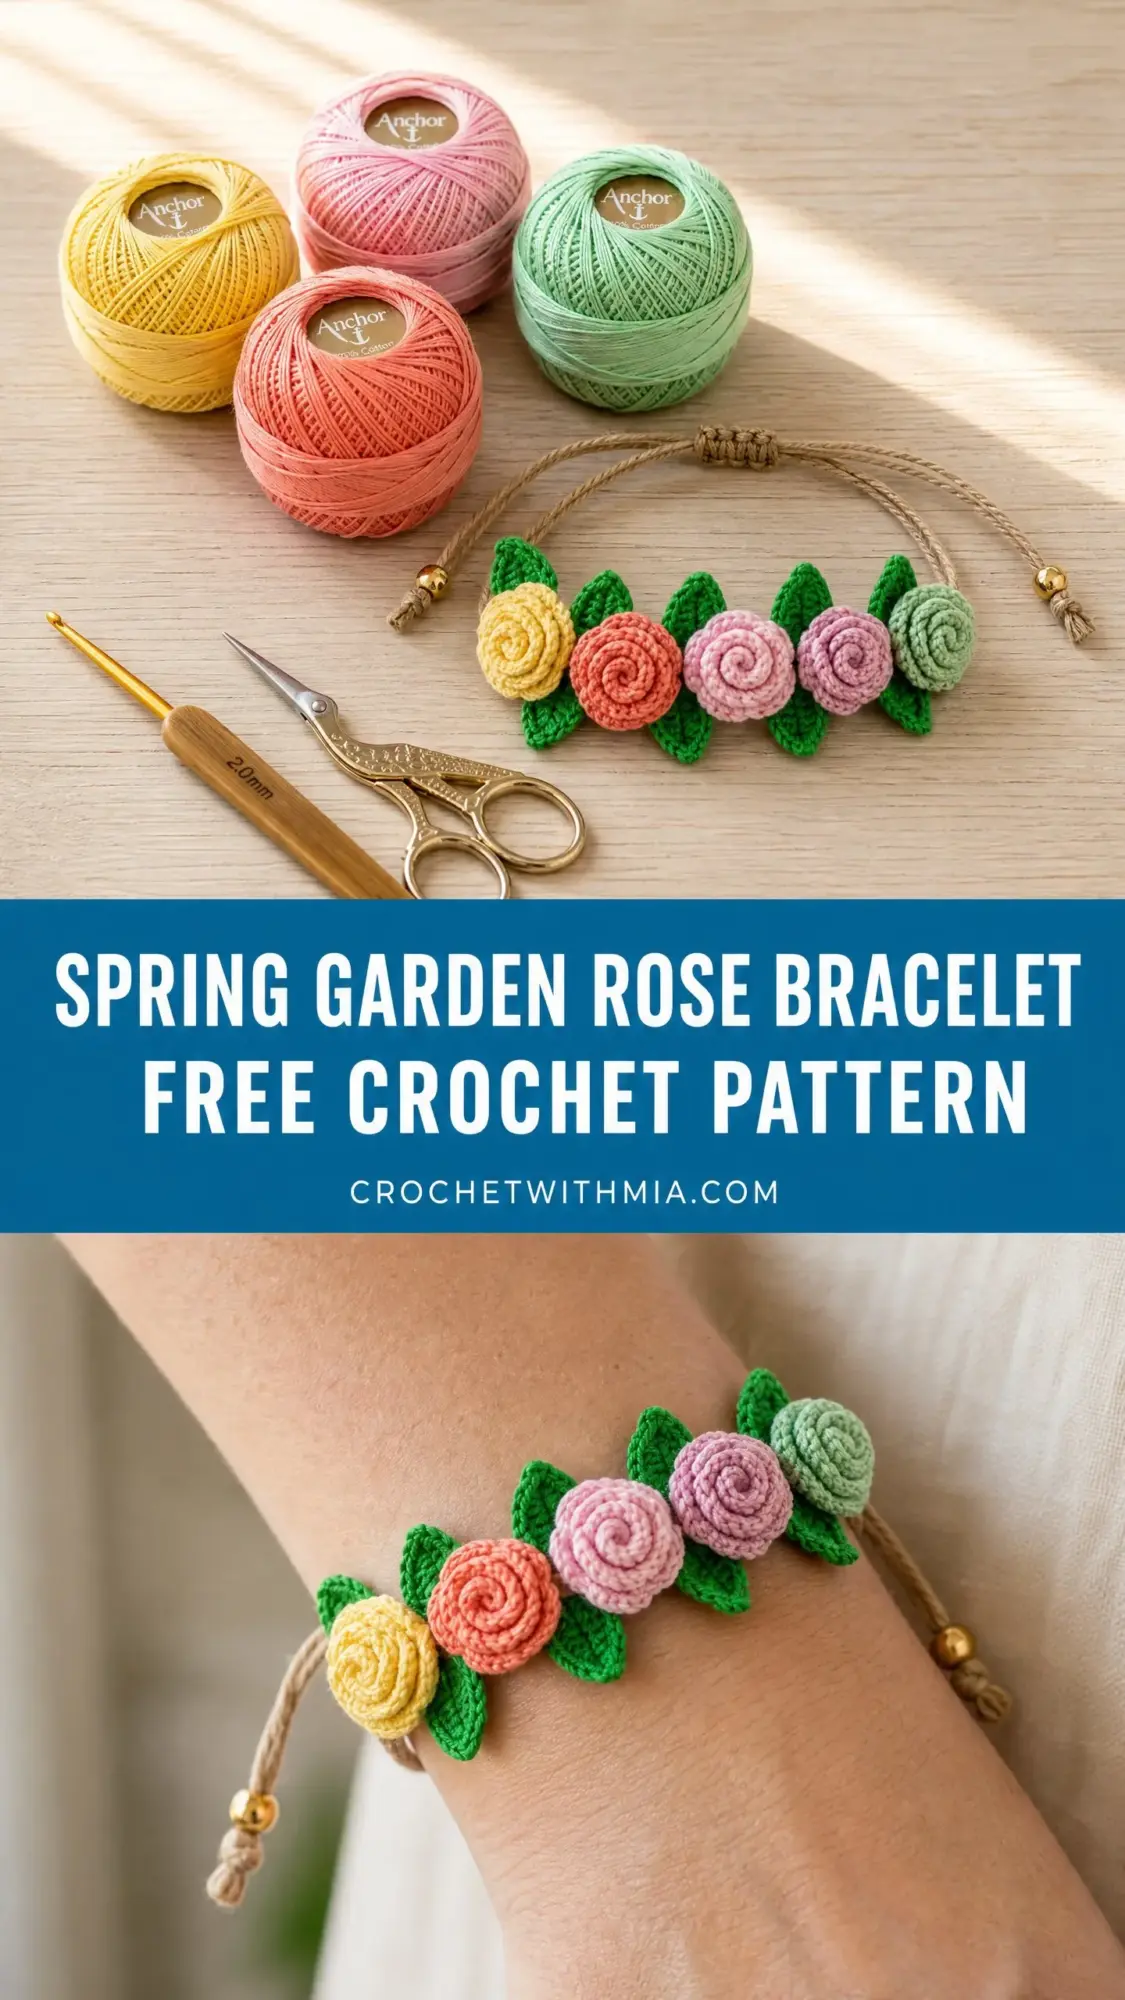
This pattern holds a special place in my heart because it combines two things I love: delicate crochet work and jewelry that tells a story. The dimensional roses are worked as flat strips and then rolled into spirals, which sounds fancy but becomes almost meditative once you get the rhythm down. The adjustable macrame-style closure means one size truly fits most, making this an ideal gift.
If you have been wanting to try fine thread crochet but felt intimidated, this bracelet is the perfect gateway project. The individual pieces are small and quick, so you can practice without committing to something huge. Let me walk you through every step.
About This Spring Garden Rose Bracelet Crochet Pattern
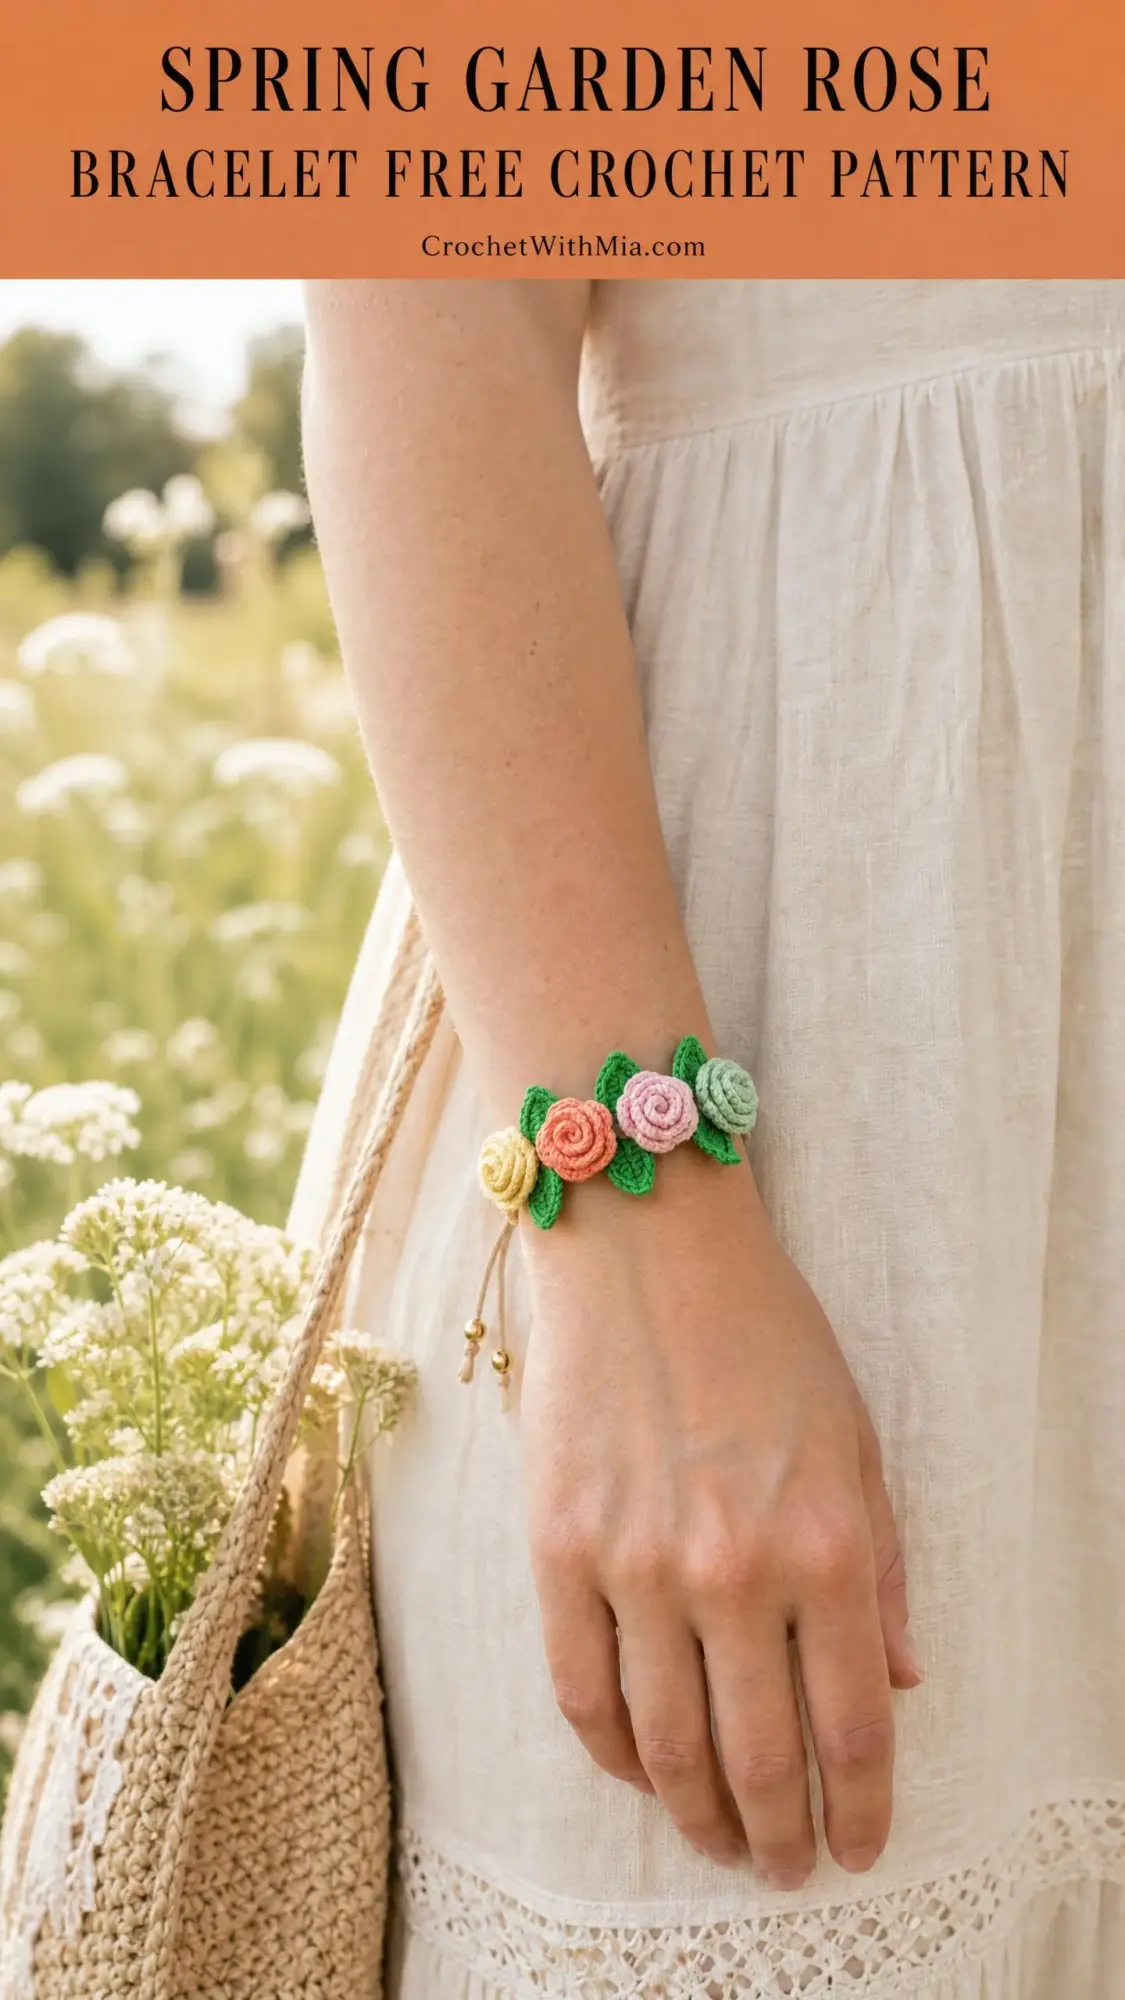
This crochet bracelet pattern features four dimensional spiral roses in graduating pastel shades nestled among pointed leaves on an adjustable cord closure. The construction method involves making individual motifs first, then assembling them onto a hidden foundation strip. Finally, you add the sliding knot cord with gold bead ends.
The finished floral cluster measures approximately 2.75 inches wide by 1 inch tall. The wearable circumference adjusts from roughly 6 inches to 8 inches, fitting most adult wrists comfortably. Each rose takes about 15 to 20 minutes once you master the rolling technique. The entire bracelet works up in 2 to 3 hours including assembly.
Skill level: Intermediate. You should be comfortable working in the round, joining with slip stitches, and sewing pieces together. The spiral rose rolling technique requires some manual dexterity, but I will guide you through it step by step.
Materials You Will Need
Crochet Thread: Size 10 crochet thread or fingering weight 100 percent cotton in the following amounts:
Recommended yarn: Anchor Mercer Crochet Cotton Size 10 works beautifully and comes in the exact pastel palette shown. DMC Petra Size 3 or Scheepjes Catona Fingering Weight are also excellent choices if you prefer slightly easier-to-handle thread.
Hook: Steel crochet hook size 7 (1.65 mm) for size 10 thread, or size B/1 (2.25 mm) for fingering weight cotton
Additional supplies:
Gauge
Using a size 7 steel hook with size 10 crochet thread: 10 single crochet stitches equals 1 inch, and 10 rows of single crochet equals 1 inch.
For the rose specifically, one completed rose measures approximately 0.6 inches in diameter. If your roses are too large, try a smaller hook. If too small, go up a hook size. Gauge matters here because all four roses need to fit within the 2.75 inch centerpiece width.
Abbreviations and Stitch Definitions
Let me define every abbreviation before we begin. If you are newer to crochet patterns, bookmark this section to refer back to as you work.
ch (chain): Yarn over and pull through the loop on your hook. This creates one chain stitch.
sl st (slip stitch): Insert hook into stitch, yarn over, pull through both the stitch and the loop on your hook in one motion. Used for joining and creating nearly invisible stitches.
sc (single crochet): Insert hook into stitch, yarn over and pull up a loop (2 loops on hook), yarn over and pull through both loops. The shortest basic stitch.
hdc (half double crochet): Yarn over, insert hook into stitch, yarn over and pull up a loop (3 loops on hook), yarn over and pull through all 3 loops. Taller than single crochet but shorter than double crochet.
dc (double crochet): Yarn over, insert hook into stitch, yarn over and pull up a loop (3 loops on hook), yarn over and pull through 2 loops (2 loops remain), yarn over and pull through remaining 2 loops. A tall, versatile stitch.
tr (treble crochet): Yarn over twice, insert hook into stitch, yarn over and pull up a loop (4 loops on hook), yarn over and pull through 2 loops three times until one loop remains. The tallest stitch used in this pattern.
st/sts (stitch/stitches): Refers to individual stitches.
sp (space): A gap created by chain stitches.
flo (front loop only): Work into only the front loop of the stitch, leaving the back loop unworked.
RS/WS (right side/wrong side): The public-facing side versus the back of your work.
Special Techniques Explained
The Spiral Rose Strip Method
This technique creates realistic dimensional roses. Here is exactly how it works:
1. Crochet a long strip with escalating stitch heights that create natural petal shapes.
2. Hold the starting end (the smallest end) between your thumb and forefinger.
3. Roll the strip tightly around itself, keeping the flat bottom edge aligned as you roll.
4. After two full rotations, use a straight pin to hold your progress.
5. Complete all rolling, then thread a tapestry needle with your tail and stitch back and forth through the flat base several times to secure all layers.
The base should end up flat and stable. If your rose unravels, add more securing stitches before moving on.
The Pointed Leaf Technique
Leaves are worked along both sides of a foundation chain to create a pointed oval shape. You work up one side of the chain, put extra stitches at the tip to turn the corner, then work back down the other side. The result is a complete leaf worked in one continuous round.
Rose Pattern (Make 4)
Make one rose each in Color A (yellow), Color B (coral), Color C (pink), and Color D (sage).
Foundation: Ch 26.
Row 1 (RS): Working into the back bump of each chain only:
Sc in 2nd ch from hook, sc in next ch. (2 sc)
Hdc in next 2 ch. (2 hdc)
Dc in next 2 ch. (2 dc)
(Dc, ch 1, dc) in next ch. (petal point 1)
Dc in next 2 ch. (2 dc)
Hdc in next 2 ch. (2 hdc)
Sc in next 2 ch. (2 sc)
Sl st in next ch. (1 sl st, valley between petals)
Sc in next 2 ch. (2 sc)
Hdc in next 2 ch. (2 hdc)
Dc in next 2 ch. (2 dc)
(Dc, ch 1, dc) in next ch. (petal point 2)
Dc in next 2 ch. (2 dc)
Hdc in next ch. (1 hdc)
Sc in last ch. (1 sc)
Turn. (25 sts plus 2 ch-1 points)
Row 2 (WS): Ch 1. Working into the front loops only of Row 1 from right to left:
Sc in first st, hdc in next st, 2 dc in next st, 2 dc in next st, 2 tr in next st, (tr, ch 1, tr) in ch-1 sp of petal point 1, 2 tr in next st, 2 dc in next st, 2 dc in next st, hdc in next st, sc in next st, sl st in sl st valley, sc in next st, hdc in next st, 2 dc in next st, 2 dc in next st, 2 tr in next st, (tr, ch 1, tr) in ch-1 sp of petal point 2, 2 tr in next st, 2 dc in next st, hdc in next st, sc in last st.
Fasten off, leaving a 10-inch tail.
Assembly: Roll the strip beginning from the sc end. The slip stitch valley naturally causes the strip to fold, creating two distinct petal groupings. Secure the base with your tapestry needle and tail.
Checkpoint: Each rose should measure approximately 0.6 inches in diameter and 0.4 inches in height with a flat, stable base.
Small Leaf Pattern (Make 2 in Color E)
Foundation: Ch 6.
Round 1: Sc in 2nd ch from hook, hdc in next ch, dc in next ch, hdc in next ch, 3 sc in last ch (tip). Working back along opposite side: hdc in next ch, dc in next ch, hdc in next ch, 2 sc in first ch. Join with sl st to first sc. (14 sts)
Fasten off, leaving a 6-inch tail.
Each small leaf measures approximately 0.6 inches long by 0.35 inches wide.
Medium Leaf Pattern (Make 6 in Color E)
Foundation: Ch 9.
Round 1: Sc in 2nd ch from hook, sc in next ch, hdc in next ch, dc in next 2 ch, hdc in next ch, sc in next ch, 3 sc in last ch (tip). Working back along opposite side: sc in next ch, hdc in next ch, dc in next 2 ch, hdc in next ch, sc in next ch, 2 sc in first ch. Join with sl st to first sc. (20 sts)
Fasten off, leaving a 6-inch tail.
Each medium leaf measures approximately 0.9 inches long by 0.45 inches wide.
Blocking tip: Pin each leaf to a foam mat with the tip pointed away from you. Mist with water and let dry completely before assembly. This helps the leaves hold their pointed shape.
Base Foundation Strip (Make 1 in Color E)
This hidden strip holds everything together.
Foundation: Ch 28.
Row 1: Sc in 2nd ch from hook and in each ch across. Turn. (27 sc)
Row 2: Ch 1, sc in each st across. Turn. (27 sc)
Row 3: Ch 1, sc in each st across. Fasten off, leaving a 6-inch tail. (27 sc)
The finished strip measures approximately 2.7 inches long by 0.3 inches wide.
Assembly Instructions
Step 1: Arrange all pieces before sewing. Place the base strip horizontally. Position roses left to right: yellow, coral, pink, sage. The coral and pink roses should be just left and right of center.
Step 2: Position medium leaves behind and between the roses so their pointed tips extend above and below. Place small leaves at the outer edges, angled outward.
Step 3: Pin everything to the base strip.
Step 4: Sew leaves first using their tails. Take 4 to 5 stitches per leaf through both the leaf base and foundation strip.
Step 5: Sew roses over leaves, covering the raw leaf bases. Use 6 stitches per rose in multiple directions to prevent spinning.
Step 6: Check the right side. All raw edges should be hidden under the roses.
Cord and Closure Assembly
Step 1: Cut two lengths of macrame cord, each 18 inches long.
Step 2: Fold the first length in half. Insert the folded loop through the left end of the foundation strip. Pull the loose ends through the loop and pull snug to create a lark’s head knot.
Step 3: Repeat on the right side.
Step 4: To create the sliding knot: lay two strands from one side alongside one strand from the opposite side. Wrap a 3-inch scrap of cord around all three strands 5 times. Thread the end under the wraps and pull firm. Apply a tiny drop of fabric glue.
Step 5: Repeat on the other side.
Step 6: Thread one gold bead onto each of the four cord ends. Tie an overhand knot below each bead. Trim and apply glue to prevent fraying.
Step 7: Test the sliding action. The bracelet should adjust from approximately 6 to 8 inches.
Care Instructions
Hand wash only in cool water with mild soap. Gently press suds through without rubbing. Rinse in clean cool water, roll in a towel to remove excess moisture, reshape by hand, and air dry flat away from direct sunlight. Store flat to maintain the dimensional roses.
You Did It!
Thank you so much for choosing this crochet pattern for your next project. I truly hope you love making these sweet little roses as much as I enjoyed designing them. There is something so satisfying about watching a flat strip transform into a dimensional flower.
If you make this bracelet, I would absolutely love to see it! Tag me on Instagram or share a photo in our Facebook group. Seeing your finished projects is honestly the best part of sharing patterns.
Before you go, save this Spring Garden Rose Bracelet pattern to your Pinterest boards so you can find it easily when you are ready to make another. And please drop a comment below if you give it a try. I read every single one and love hearing how your projects turn out!