
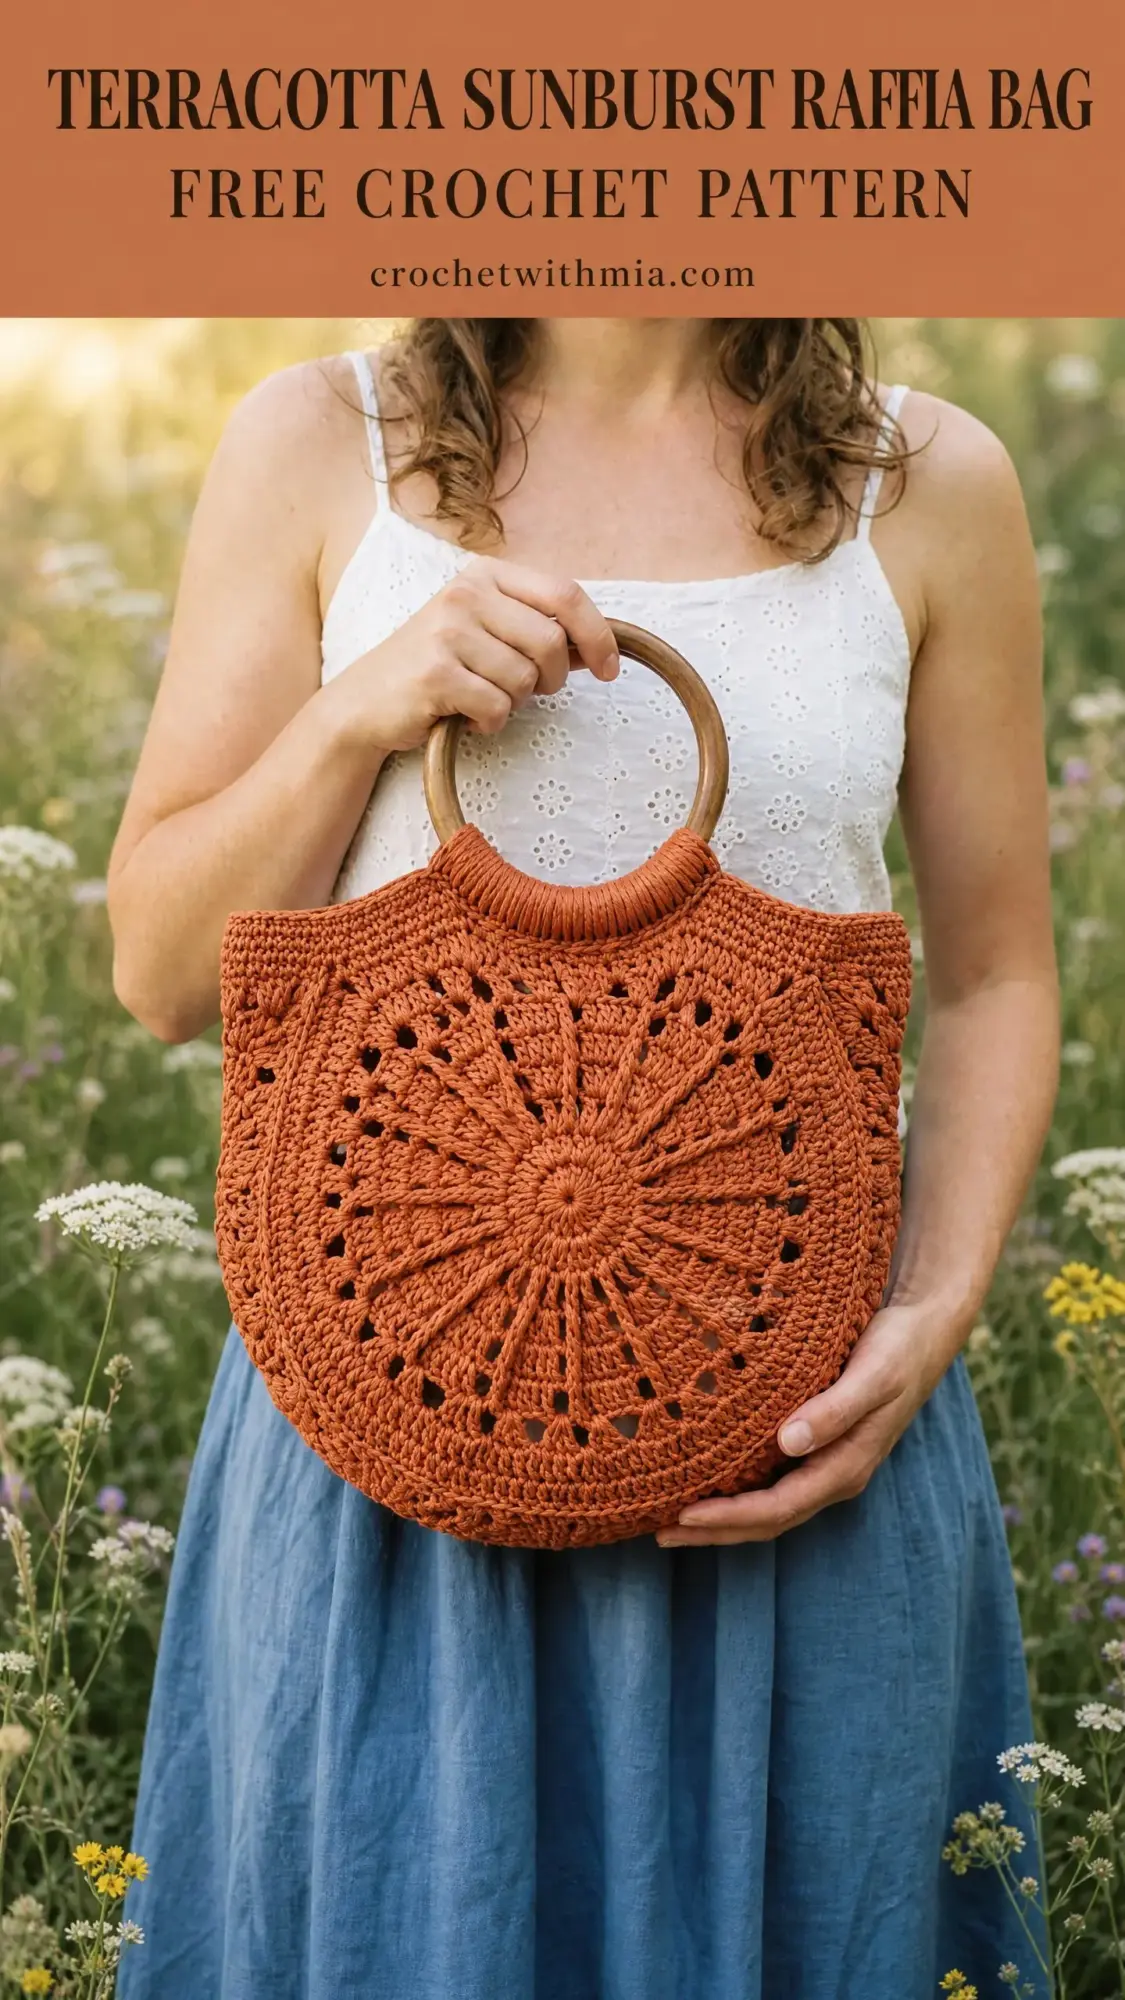
A sturdy handmade bag that actually holds its shape? That is exactly what this terracotta sunburst tote delivers. The structured D-shape silhouette works beautifully for summer markets, beach days, or everyday errands. You will use double crochet shells, chain spaces, and a gorgeous radiating mandala motif that looks far more complicated than it actually is. This pattern makes an incredible gift for the bag lover in your life, and the single color construction means no complicated color changes to manage.
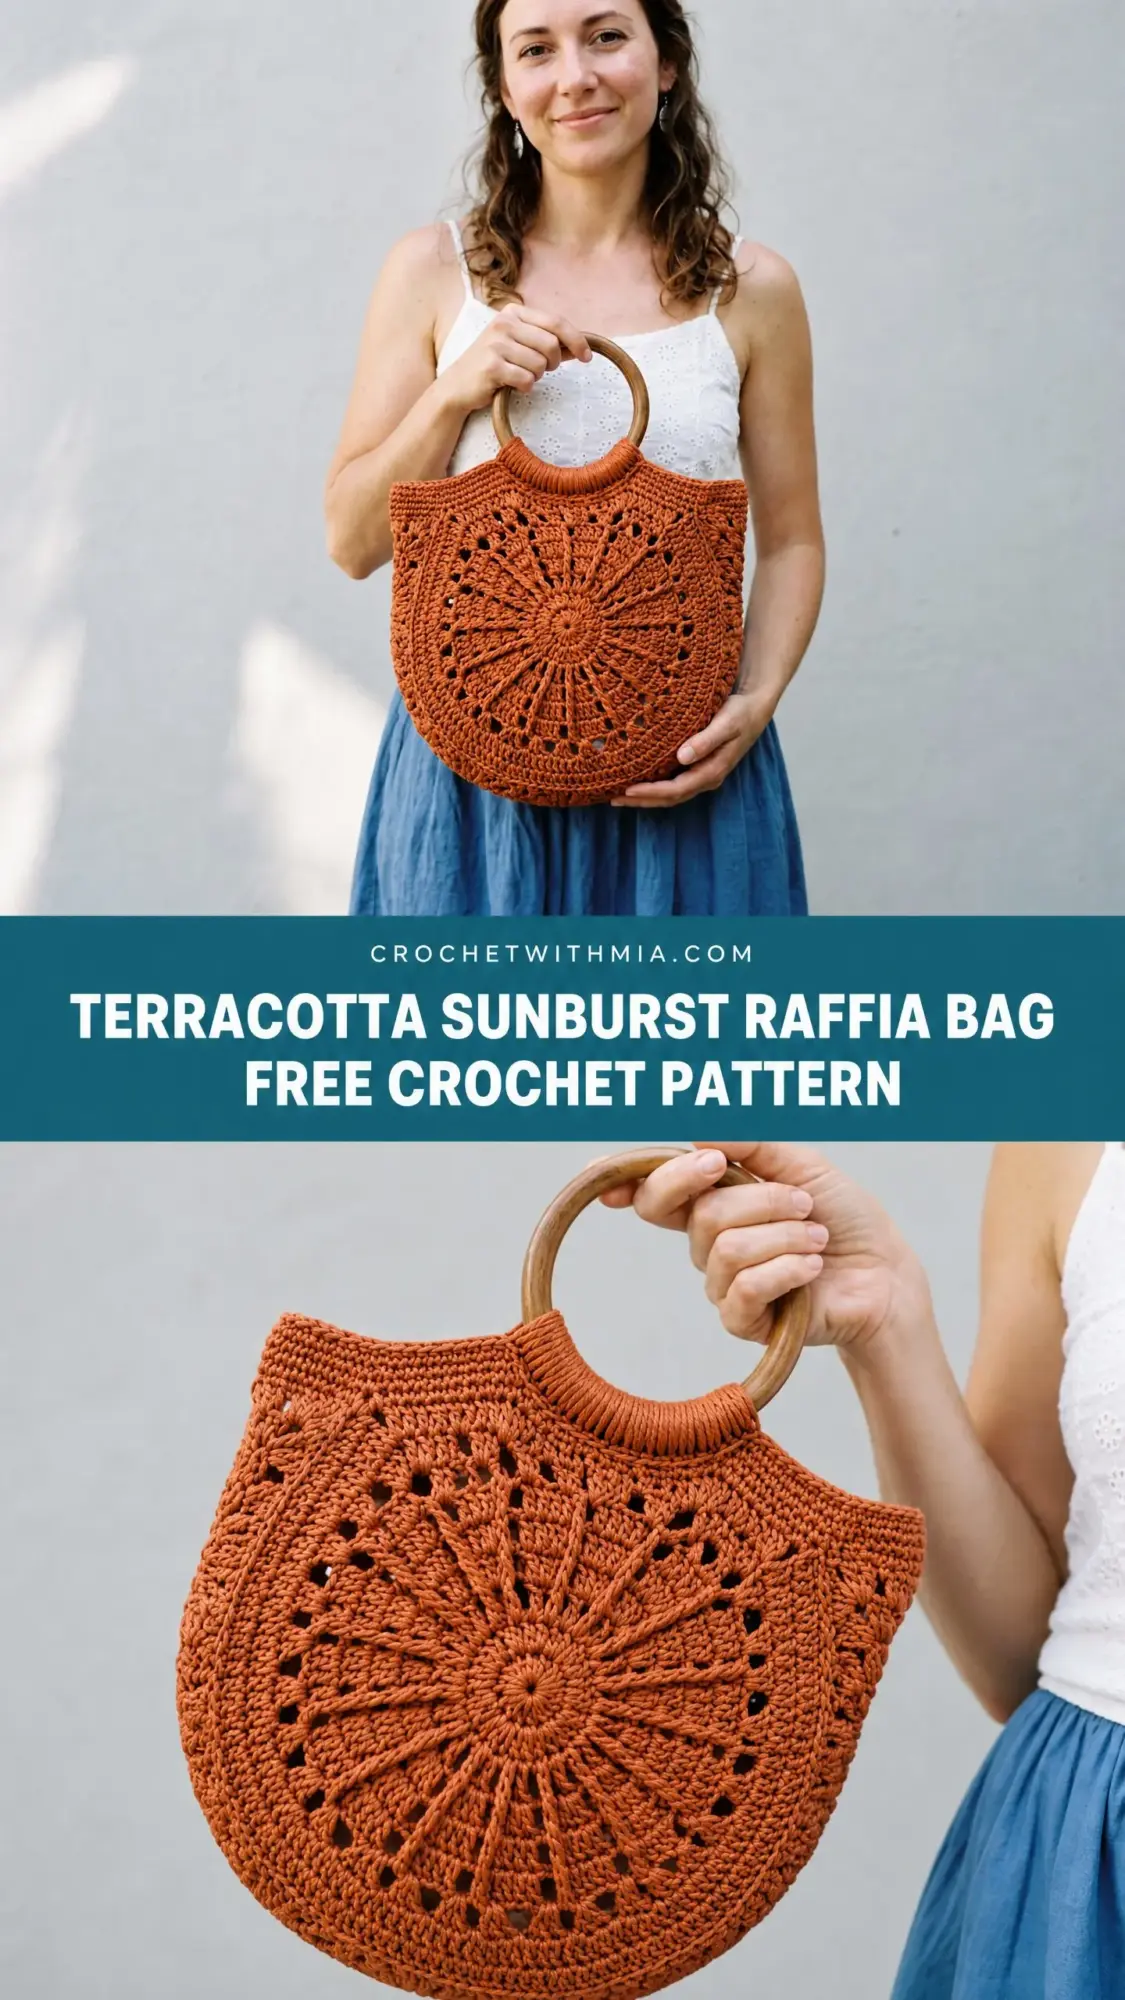
The wooden ring handles add a polished, boutique-worthy finish that elevates the whole piece. If you have been wanting to try lace crochet but felt intimidated, this project breaks everything down into manageable rounds with clear stitch counts.
I designed this with intermediate crocheters in mind, but adventurous beginners who have completed a granny square or two can absolutely tackle it. Expect about 14 to 20 hours of relaxing crochet time, and you will end up with a bag that looks like it belongs in a trendy shop window.
Why This Crochet Bag Pattern Works So Well
The construction method is what makes this bag special. You work two identical mandala circles from the center out, then shape them into that distinctive half-moon silhouette. A textured gusset strip connects everything and gives the bag actual depth.
That sunburst pattern radiating from the center is pure visual impact. The open lace structure keeps the bag lightweight while the cotton yarn maintains structure without sagging. And because you are working in the round for most of the project, you can easily track your progress and catch any mistakes early.
Materials You Will Need
Yarn: 3 to 4 skeins of DK weight 100 percent cotton or cotton-blend yarn in terracotta. You need approximately 380 to 420 yards total. Each skein should be around 100 to 120 yards.
Great yarn options include Lion Brand 24/7 Cotton in Terracotta for excellent stitch definition, Paintbox Yarns Simply DK in Pillar Box Red or Pumpkin, or Paintbox Yarns Cotton DK in Burnt Terracotta. Choose something smooth and tightly twisted. Fuzzy or bouclé yarns will hide that beautiful lace texture you are working so hard to create.
Hook: US size E-4 / 3.5 mm crochet hook. Adjust if needed to hit gauge.
Notions:
Gauge
After blocking: 18 stitches and 20 rows equal 4 inches / 10 cm in single crochet (sc) on your E-4 hook.
For the mandala specifically: Completed Rounds 1 through 5 should measure approximately 4 inches / 10 cm in diameter.
Gauge matters here. If your swatch runs large, drop down a hook size. Running small? Go up a hook size. Take the time to check this before diving in.
Finished Dimensions
Abbreviations and Stitch Definitions
Let me walk you through every abbreviation you will encounter. Understanding these upfront makes the pattern flow smoothly.
ch = chain. The foundation stitch where you yarn over and pull through the loop on your hook.
sl st = slip stitch. Insert hook, yarn over, pull through both the stitch and the loop on your hook in one motion.
sc = single crochet. Insert hook, yarn over and pull up a loop (two loops on hook), yarn over and pull through both loops.
hdc = half double crochet. Yarn over, insert hook, pull up a loop (three loops), yarn over and pull through all three.
dc = double crochet. Yarn over, insert hook, pull up a loop, (yarn over, pull through two loops) twice.
tr = treble crochet. Yarn over twice, insert hook, pull up a loop, (yarn over, pull through two loops) three times.
ch-sp = chain space. The gap created by chains between stitches.
sk = skip. Pass over the indicated stitch without working into it.
MR = magic ring. An adjustable starting ring that pulls closed tight.
RS = right side. The front of your work.
WS = wrong side. The back of your work.
Special Stitches Explained
Shell Stitch: Work 5 dc all into the same stitch or space. This creates a pretty fan shape that counts as one shell unit.
Picot: Ch 3, sl st into the first ch made. This makes a small decorative loop.
Spoke Cluster: Yarn over twice (like for treble), insert hook into indicated stitch, yarn over and pull up a loop, (yarn over and pull through 2 loops) twice, leaving 2 loops on hook. Yarn over twice again, insert hook into the same stitch, yarn over and pull up a loop, (yarn over and pull through 2 loops) twice, leaving 3 loops on hook. Yarn over and pull through all 3 loops. This creates a thick spoke from a 2-tr cluster.
Pattern Notes Before You Begin
Both the Front Panel and Back Panel are identical. You work them as flat medallion circles from the center outward, block them, then join to the gusset.
Chain 1 at the beginning of sc rounds does NOT count as a stitch. Chain 3 at the beginning of dc rounds DOES count as the first dc. The pattern reminds you each time.
All rounds are worked with the RS facing. Do not turn unless told to.
Your mandala has 12 radiating spokes. Use stitch markers to track them once established.
Front Panel Instructions
Begin with a magic ring.
Round 1: Ch 3 (counts as first dc), work 11 dc into MR, pull ring closed, sl st to top of beg ch-3 to join. (12 dc)
Round 2: Ch 3 (counts as first dc), dc in same st, 2 dc in each st around, sl st to top of beg ch-3 to join. (24 dc)
Round 3: Ch 4 (counts as first dc plus ch-1), sk 1 st, dc in next st, ch 1, repeat from beginning around, sl st to third ch of beg ch-4 to join. (12 dc, 12 ch-1 spaces)
Place a stitch marker in every other ch-1 space to mark your 12 spoke positions.
Round 4: Sl st into first ch-1 sp, ch 3 (counts as first dc), dc in same ch-1 sp, ch 2, 2 dc in next ch-1 sp, ch 2, repeat from beginning around, sl st to top of beg ch-3 to join. (24 dc, 12 ch-2 spaces)
Round 5: Ch 1 (does not count as st), sc in same st, sc in next dc, 3 sc in ch-2 sp, sc in each of next 2 dc, 3 sc in next ch-2 sp, repeat from beginning around, sl st to first sc to join. (60 sc)
Round 6: Ch 5 (counts as first tr plus ch-1), sk 1 st, tr in next st, ch 1, sk 1 st, repeat from beginning around, sl st to fourth ch of beg ch-5 to join. (30 tr, 30 ch-1 spaces)
Round 7: Sl st into first ch-1 sp, ch 1 (does not count as st), sc in same ch-1 sp, ch 3, sc in next ch-1 sp, ch 3, repeat from beginning around, sl st to first sc to join. (30 sc, 30 ch-3 loops)
Round 8: Sl st into first ch-3 sp, ch 3 (counts as first dc), 4 dc in same ch-3 sp (first shell made), ch 1, 5 dc in next ch-3 sp (shell), ch 1, repeat from beginning around, sl st to top of beg ch-3 to join. (150 dc in 30 shells, 30 ch-1 spaces)
Round 9: Ch 1 (does not count as st), sc in same st (top of first dc of first shell), sc in each of next 4 dc of shell, 2 sc in ch-1 sp, sc in each of 5 dc of next shell, 2 sc in ch-1 sp, repeat from beginning around, sl st to first sc to join. (210 sc)
Round 10: Ch 4 (counts as first dc plus ch-1), sk 1 st, dc in next st, ch 1, sk 1 st, repeat from beginning around, sl st to third ch of beg ch-4 to join. (105 dc, 105 ch-1 spaces)
Round 11: Sl st into first ch-1 sp, ch 1, sc in same sp, ch 4, sk next ch-1 sp, sc in next ch-1 sp, ch 4, repeat from beginning around. Work into every other ch-1 space. Sl st to first sc to join. (53 sc, 53 ch-4 loops)
Round 12: Sl st into first ch-4 sp, ch 3 (counts as first dc), 4 dc in same ch-4 sp (shell), ch 1, 5 dc in next ch-4 sp (shell), ch 1, repeat from beginning around, sl st to top of beg ch-3 to join. (265 dc in 53 shells, 53 ch-1 spaces)
Your panel should now measure approximately 10 to 11 inches in diameter. If smaller, go up a hook size and start over.
Round 13 (Edging Round): Ch 1, sc in same st, sc in each dc and 2 sc in each ch-1 sp around, sl st to first sc to join. (371 sc)
Shaping the Top Edge
Your panel is currently a full circle. Now you will create that distinctive D-shape by working a flat top section.
Find the topmost point of your circle. Count 93 stitches in each direction from that point. Place markers at both ends of this 93-stitch section.
Top Edge Row 1 (RS): Join yarn at first marker, ch 1, sc in each of the 93 sts across the top arc to second marker, turn. (93 sc)
Top Edge Row 2: Ch 1, sc in each sc across, turn. (93 sc)
Top Edge Row 3: Ch 1, sc in each sc across, turn. (93 sc)
Top Edge Row 4: Ch 1, sc in each sc across. Do not turn. Fasten off, leaving a 24-inch tail for attaching the handle later. (93 sc)
Set this Front Panel aside.
Back Panel
Work Rounds 1 through 13 and the Top Edge Rows exactly as the Front Panel. Fasten off.
Gusset Strip
The gusset gives your bag depth and connects the two panels around the curved bottom edge.
Foundation Chain: Ch 12.
Row 1: Sc in second ch from hook and in each ch across, turn. (11 sc)
Row 2: Ch 1, sc in each of first 2 sts, (ch 2, sl st in 2nd ch from hook, sc in each of next 2 sts) twice, sc in last st, turn. (11 sts)
Rows 3 through working length: Alternate Row 2 with a plain sc row (ch 1, sc in each st across, turn). Continue until gusset measures 29.5 inches / 75 cm. Fasten off, leaving a long tail.
Your gusset should be 11 stitches wide (approximately 2.5 inches) and 29.5 inches long.
Assembly
Block first. Pin both mandala panels to a foam mat, mist with water, and let dry completely. This step is essential for professional results.
Joining Gusset to Front Panel: Hold pieces with right sides facing. Beginning at one top corner where the flat edge meets the curve, whipstitch the gusset along the entire lower arc to the opposite top corner. Ease the gusset around the curve, distributing any fullness evenly.
Joining Gusset to Back Panel: Repeat the seaming process on the second long edge of the gusset.
The short ends of the gusset align with the top corners of both panels. This creates your bag opening.
Handle Attachment
Position the wooden ring centered along the flat top edge of the Front Panel, right side facing.
Fold the top edge rows over the ring toward the wrong side, encasing the bottom of the ring. Using your long tail or fresh yarn, whipstitch the folded edge down to the inside of the bag. Pull firm but not tight. The ring should sit snugly.
Repeat for the Back Panel with the second ring.
Optional wrapped ring: Before attaching, wrap the bottom portion of the wooden ring with yarn. Tie yarn onto the ring, work approximately 40 sc tightly around the lower half of the ring, then attach as described above.
Finishing Touches
Weave in all ends securely on the wrong side. Since the fabric is open lace, bury your ends through at least 3 direction changes to prevent unraveling.
Check all seam joins and reinforce any gaps at the four corners.
For final blocking, stuff the finished bag with tissue paper and mist lightly. Allow to dry before using.
Care Instructions
Machine wash on gentle cycle in cold water, or hand wash with mild soap. Reshape while damp and lay flat to dry. Do not tumble dry on high heat. Spot clean the wooden handles as needed and store your bag stuffed with tissue to maintain that beautiful shape.
Size Customization Tips
Smaller bag (approximately 10 inches wide): Work only through Round 10, then add 1 round of sc. Shorten gusset to approximately 22 inches. Use a 3-inch ring handle.
Larger tote (approximately 16 inches wide): Add 2 additional rounds of shells and mesh after Round 12. Lengthen gusset to approximately 36 inches.
Adjust depth: Make the gusset strip wider with more foundation chains for a deeper bag, or narrower for a slimmer profile.
I really hope you love making this terracotta sunburst bag as much as I loved designing it. That moment when you attach the handles and see the finished piece? Absolutely worth every stitch. Thank you so much for choosing this pattern.
If this project caught your eye, go ahead and save it to your Pinterest boards so you can find it when you are ready to start. And please leave a comment below if you make one. I would absolutely love to see your finished bags and hear which yarn you chose.