
Crocheted baby dresses look intimidating. I get it. You see those delicate fan stitches cascading down the skirt, the perfectly structured bodice, the flutter sleeves that look like they belong in a boutique window, and your brain immediately says "that’s not for me." But here’s the truth: if you can single crochet and double crochet, you can make this dress.
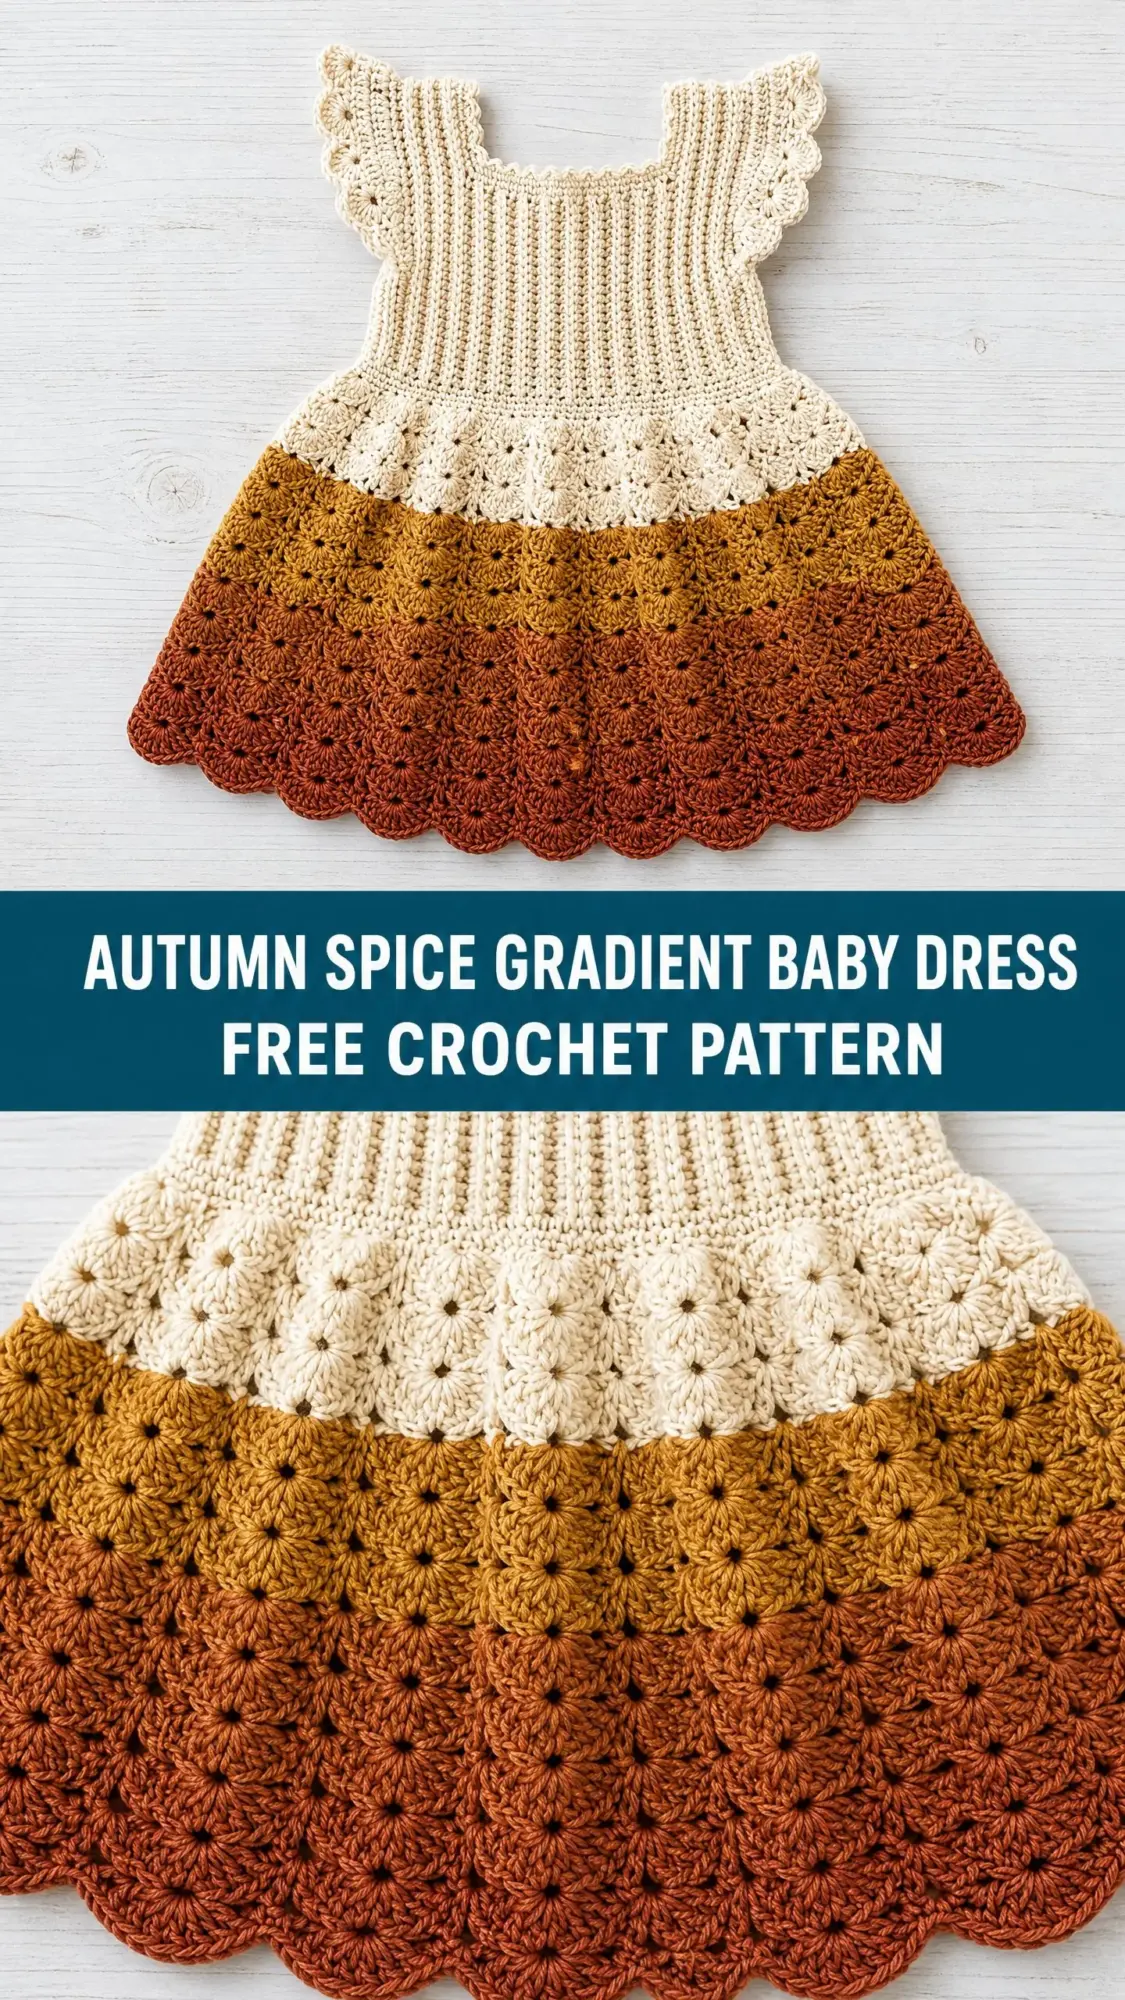
The ribbed bodice? That’s just single crochet worked in the back loop only, over and over. The gorgeous fan stitch skirt? It’s one repeating pattern that you’ll memorize by round three. The gradient color effect that makes this dress look like a sunset? That’s just changing yarn colors at specific rounds. No fancy techniques required.
I designed this Autumn Spice Gradient Baby Dress to be approachable for confident beginners while still giving experienced crocheters something beautiful to sink their hooks into. Whether you’ve never made a garment before or you crochet baby clothes in your sleep, this pattern breaks everything down into manageable pieces. Let’s walk through it together.
About This Crochet Baby Dress Pattern
This heirloom-quality baby dress features a structured ribbed bodice worked flat in rows, creating that stretchy knit-like texture that makes dressing a wiggly baby so much easier. The bodice has a square neckline and connects to delicate ruffle sleeves that frame tiny arms perfectly.
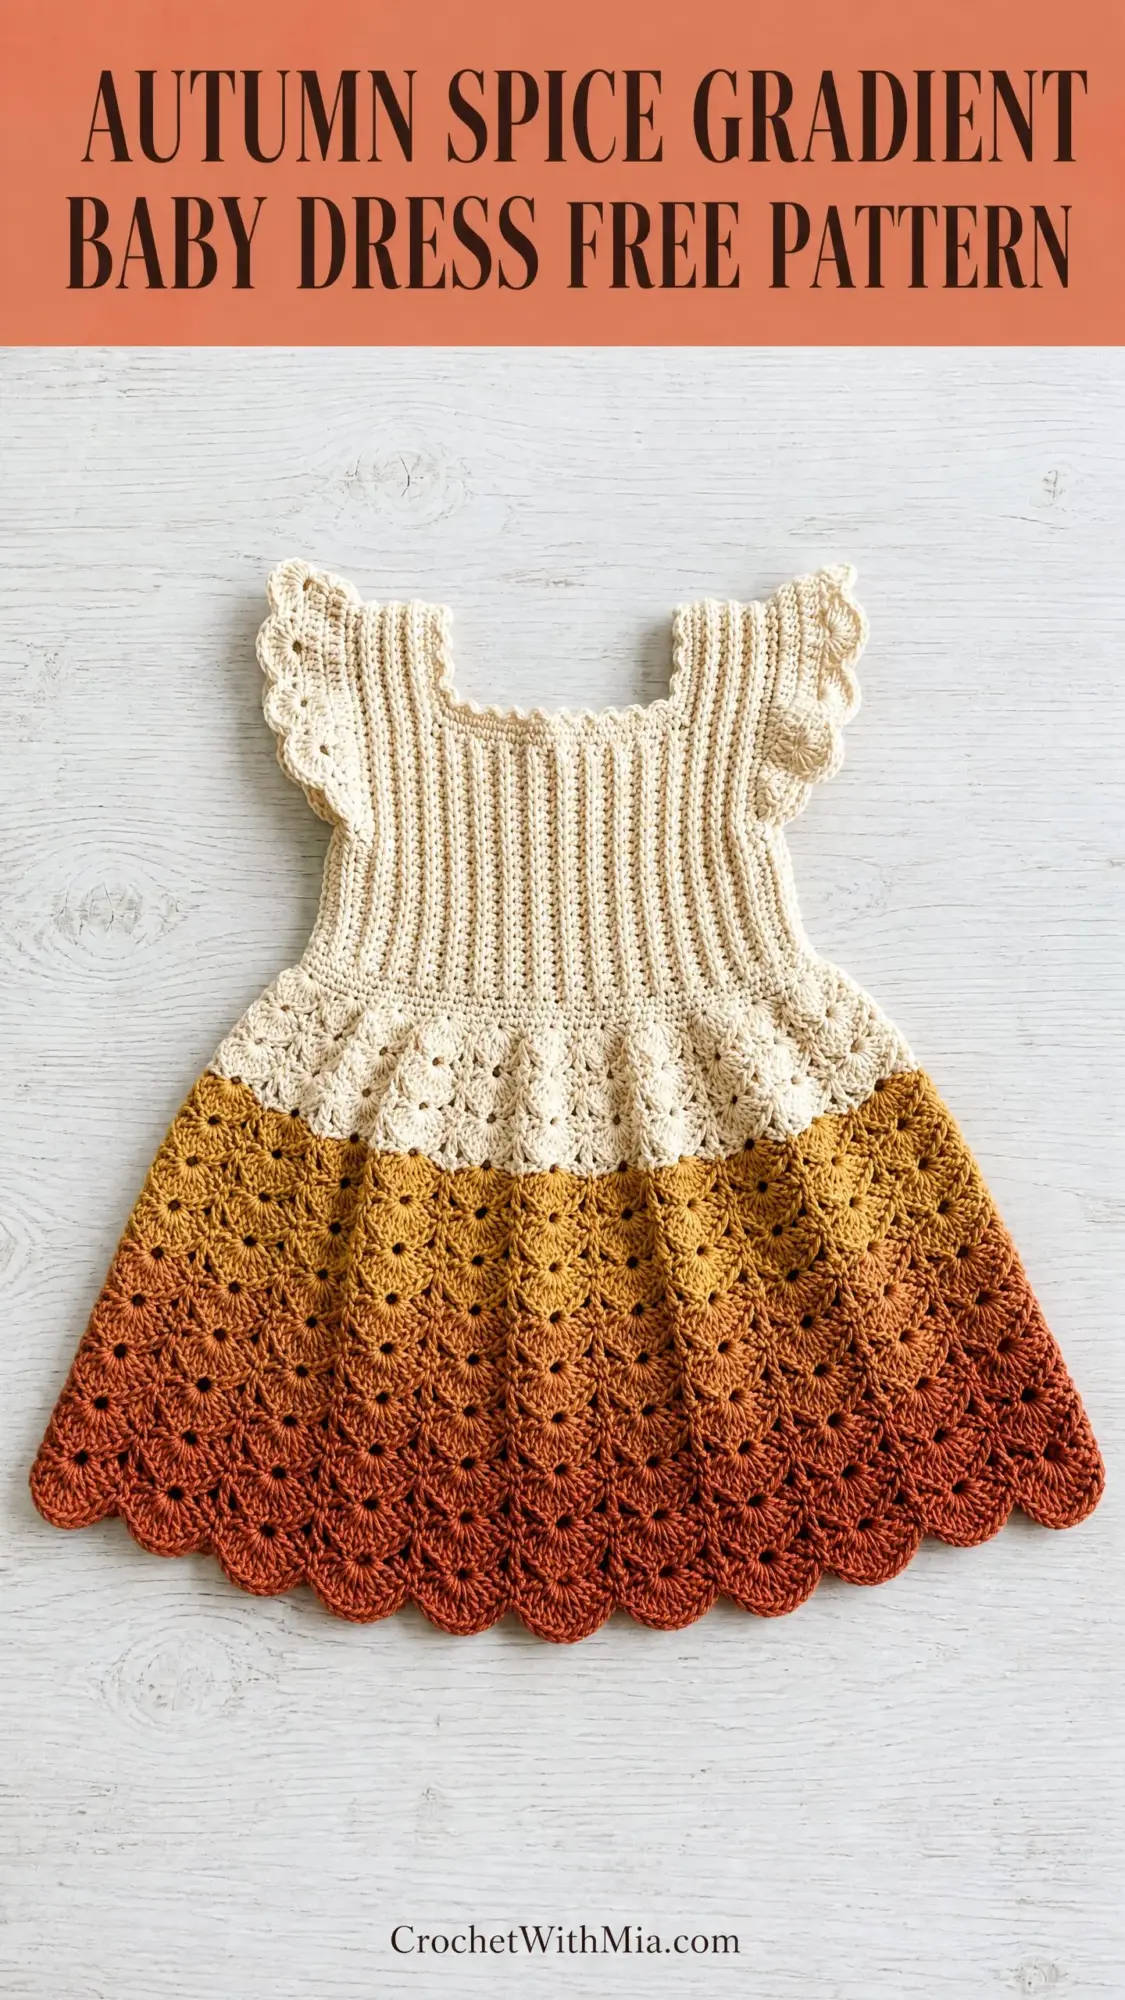
The real showstopper is the skirt. Worked in the round from the waist down, it uses a cascading fan shell stitch that creates an A-line silhouette. The color palette moves from warm cream at the bodice through golden mustard, burnt amber, and finally deep terracotta at the hem. It genuinely looks like autumn captured in yarn.
Skill Level: Advanced Beginner to Intermediate
Time Estimate: Approximately 8 to 14 hours depending on your experience level
Finished Sizes:
Materials You’ll Need
Yarn (DK weight, CYCA 3):
Recommended Yarns:
Paintbox Yarns Simply DK works beautifully for this project. Try Champagne White, Buttercup Yellow, Vintage Pink, and Burnt Red. Lion Brand Pound of Love is another excellent choice for baby items since it’s ultra-soft and machine washable. For a premium finish, Scheepjes Catona mercerized cotton gives the fan stitches crisp definition.
Hooks:
Notions:
Gauge (Please Check This!)
Bodice gauge with E-4 hook in single crochet back loop only ribbing:
14 stitches x 18 rows = 4 inches, lightly blocked
Skirt gauge with F-5 hook in fan shell pattern:
1 fan shell repeat (9 stitches) = approximately 1.75 inches wide
4 rounds of fan shell = approximately 1.25 inches tall
Gauge matters for garments! Make a swatch of at least 4 inches square in each stitch pattern before starting. Adjust your hook size up or down as needed.
Abbreviations and Stitch Definitions
Before we dive into the pattern, let’s define every stitch you’ll use:
beg = beginning
BLO = back loop only (insert your hook under only the back loop of the stitch, not both loops)
ch = chain
ch-sp = chain space (the gap created by a chain in the previous row)
dc = double crochet (yarn over, insert hook, pull up loop, yarn over and pull through 2 loops, yarn over and pull through remaining 2 loops)
hdc = half double crochet
rep = repeat
rnd = round
RS = right side
sc = single crochet (insert hook, pull up loop, yarn over and pull through both loops)
sk = skip
sl st = slip stitch
sp = space
st(s) = stitch(es)
WS = wrong side
Special Stitches for This Crochet Pattern
Fan Shell (used in the skirt)
Work (2 dc, ch 1, 2 dc, ch 1, 2 dc) all into the same stitch or space. This creates a 6-dc fan with two chain-1 spaces. Think of it as a little shell that fans out. Once you make one, you’ll immediately see how the pattern gets its beautiful texture.
BLO Ribbing
This is just single crochet, but you insert your hook into the back loop only instead of both loops. This creates raised ridges that look like knitted ribbing and give the fabric stretch. Perfect for a bodice that needs to slip over a baby’s head.
Ruffle Edging
Work 3 dc into each stitch around an opening, then follow with 1 sc into each dc. The extra stitches create the ruffle effect naturally.
Scallop Hem Border
Work 1 sc, skip 2 stitches, 5 dc in next stitch, skip 2 stitches, repeat around. This creates those pretty scalloped points at the bottom of the skirt.
Step by Step Pattern Instructions
Bodice Front Panel
Using Color A and your E-4 hook, chain 33 (37 for larger size).
Row 1 (WS): Sc in 2nd ch from hook and in each ch across. Turn. [32 (36) sc]
Row 2 (RS): Ch 1, sc BLO in each st across. Turn. [32 (36) sc]
Rows 3 through 20 (22 for larger size): Repeat Row 2. [32 (36) sc]
Your bodice front panel should now measure approximately 4.5 inches (5 inches for larger) tall. Do not fasten off.
Armhole Shaping
Row 21 (23): Ch 1, sc BLO in first 8 (9) sts only. Turn. [8 (9) sc] This creates your left shoulder section.
Rows 22 through 24 (24 through 26): Ch 1, sc BLO across. Turn. [8 (9) sc]
Fasten off Color A on the left shoulder. Leave a 12-inch tail for seaming later.
Now return to Row 20 (22). Count 8 (9) stitches from each edge. The center 16 (18) stitches form the neckline opening. Skip those center stitches and rejoin Color A in the 25th (28th) stitch from the left edge.
Row 21 (23) Right Shoulder: Ch 1, sc BLO in first st and remaining 7 (8) sts. Turn. [8 (9) sc]
Rows 22 through 24 (24 through 26): Ch 1, sc BLO across. Turn. [8 (9) sc]
Fasten off with a 12-inch tail.
Bodice Back Panel
Work exactly the same as the Bodice Front Panel, Rows 1 through 24 (26), including all shoulder shaping. The back neckline is identical to the front.
Joining the Bodice
Shoulders: Hold front and back panels with wrong sides together (right sides facing out). Using your yarn needle and the Color A tail, whipstitch the right front shoulder to the right back shoulder across 8 (9) stitches. Repeat for the left shoulder.
Sides: With wrong sides still together, align the side edges. Leave the top 4 rows open on each side for armhole openings. Whipstitch the side seams from the bottom edge through Row 20 (22).
Checkpoint: Your joined bodice should measure approximately 5.5 (6) inches tall from waist to shoulder seam and approximately 18 (20) inches in circumference at the waist. The armhole openings should span about 2 inches vertically on each side.
Waist Ruffle (Transition to Skirt)
This ruffle creates the peplum effect and establishes your stitch count for the skirt.
With RS facing and your F-5 hook, join Color A with a sl st to any stitch at the bottom edge of the bodice.
Rnd 1: Ch 3 (counts as first dc), work 1 dc in same st, work 2 dc in each st around. Sl st to top of beg ch-3. [64 (72) dc]
Rnd 2: Ch 3, dc in same st, dc in next st, (2 dc in next st, dc in next st) around. Sl st to top of beg ch-3. [96 (108) dc]
Rnd 3: Ch 1, sc in each st around, adjusting count as follows:
These counts ensure your fan pattern divides evenly.
Skirt (The Fun Part!)
The skirt is worked in joined rounds using your F-5 hook. All rounds begin with the appropriate chain and end with a slip stitch to join.
Color Sequence:
Skirt Rnd 1 (RS, Color A): Ch 1, sc in same st as join, sk 3, (2 dc, ch 1, 2 dc, ch 1, 2 dc) in next st, sk 3, (sc in next st, sk 3, fan shell in next st, sk 3) rep around. Sl st to first sc. [11 (12) fans, 11 (12) sc]
Rounds 2 through 4: Continue in established fan shell pattern. Work fans into the center ch-sp of previous fans, work sc into sc between fans.
Round 5 (Increase Round): Work fan shells as established, but in each fan center ch-sp, work (2 dc, ch 1, 3 dc, ch 1, 2 dc). This adds 1 dc per fan. [11 (12) fans with 7 dc each]
Rounds 6 through 7: Work in established pattern with Color A.
Round 8: Work final round in Color A, changing to Color B on the last yarn over of the final sl st.
Rounds 9 through 12: Work in established pattern with Color B.
Round 13 (Increase Round): In each fan center ch-sp, work (2 dc, ch 1, 4 dc, ch 1, 2 dc). Each fan now has 8 dc.
Round 14: Work final round in Color B, change to Color C.
Rounds 15 through 18: Work in established pattern with Color C.
Round 19 (Increase Round): In each fan center ch-sp, work (2 dc, ch 1, 5 dc, ch 1, 2 dc). Each fan now has 9 dc.
Round 20: Work final round in Color C, change to Color D.
Rounds 21 through 25: Work in established pattern with Color D.
Round 26 (Final Increase Round): In each fan center ch-sp, work (2 dc, ch 1, 6 dc, ch 1, 2 dc). Each fan now has 10 dc.
Checkpoint: Your skirt should measure approximately 8.5 (9.5) inches from waist to this point.
Hem Scallop Border
Before the scallop border, work a foundation sc round: Ch 1, sc in each dc and ch-sp around. Adjust to 150 sc for smaller size (25 scallops) or 162 sc for larger size (27 scallops). Sl st to join.
Round 27: Ch 1, sc in first st, sk 2, 5 dc in next st, sk 2, (sc in next st, sk 2, 5 dc in next st, sk 2) rep around. Sl st to first sc. [25 (27) scallops]
Fasten off Color D.
Ruffle Sleeve Edging (Work on Both Armholes)
With RS facing and E-4 hook, join Color A to any edge stitch at the armhole.
Rnd 1: Ch 3 (counts as dc), work 2 dc in same st, work 3 dc into each row-end around the armhole. Sl st to top of beg ch-3. (Approximately 54 to 60 dc total)
Rnd 2: Ch 1, sc in each dc around. Sl st to first sc. Fasten off.
Neckline Edging
With RS facing and E-4 hook, join Color A to any stitch along the neckline.
Rnd 1: Work 1 sc into each stitch across the back neckline (16/18 sts), 1 sc into each row-end at the left shoulder (about 4 sts), 1 sc into each stitch across the front neckline (16/18 sts), 1 sc into each row-end at the right shoulder (about 4 sts). Sl st to first sc. [40 (44) sc]
Rnd 2: Ch 3, 2 dc in same st, 3 dc in each st around. Sl st to beg ch-3. [120 (132) dc]
Rnd 3: Ch 1, sc in each st around. Sl st to first sc. Fasten off.
Finishing Your Baby Dress
Weave in all ends using your yarn needle. Thread through at least 2 inches of fabric in two directions before trimming.
Wet block by soaking in cool water with gentle wool wash for 15 to 20 minutes. Gently press out water (don’t wring!), roll in a towel, then lay flat and pin to measurements. Pin each scallop point outward to define the shape. Allow to dry completely.
Size Customization Tips
Want to size up? For 2T to 3T, add 8 stitches to each bodice panel and one additional fan repeat to the skirt. For 4T to 5T, add 16 stitches to bodice panels and 2 additional fan repeats.
To adjust length only, add or remove rounds within any color band. Each round adds approximately 0.3 inches.
Care Instructions
Acrylic versions: Machine wash gentle cycle, cold water, lay flat to dry.
Cotton versions: Hand wash in cool water, lay flat to dry.
Store folded, not hung, to prevent shoulder stretching.
Thank you so much for choosing this crochet baby dress pattern! I hope you love making it as much as I loved designing it. There’s something incredibly satisfying about watching those fan stitches build up round after round, and the gradient effect just gets better as you go. If you make one, I’d absolutely love to see it. Tag me on Instagram or share a photo in our Facebook group.
If this pattern is calling your name but life is busy right now, go ahead and pin it to your favorite Pinterest board so you can find it when you’re ready. And please drop a comment below if you give it a try. I read every single one, and I love hearing how your projects turn out!