
Last summer, I found myself scrolling through vacation photos and feeling genuinely frustrated. Every swimsuit or bodysuit I owned looked exactly like everyone else’s. Mass produced. Forgettable. I remember thinking, "I literally make things with yarn for a living. Why am I not wearing something I created?"
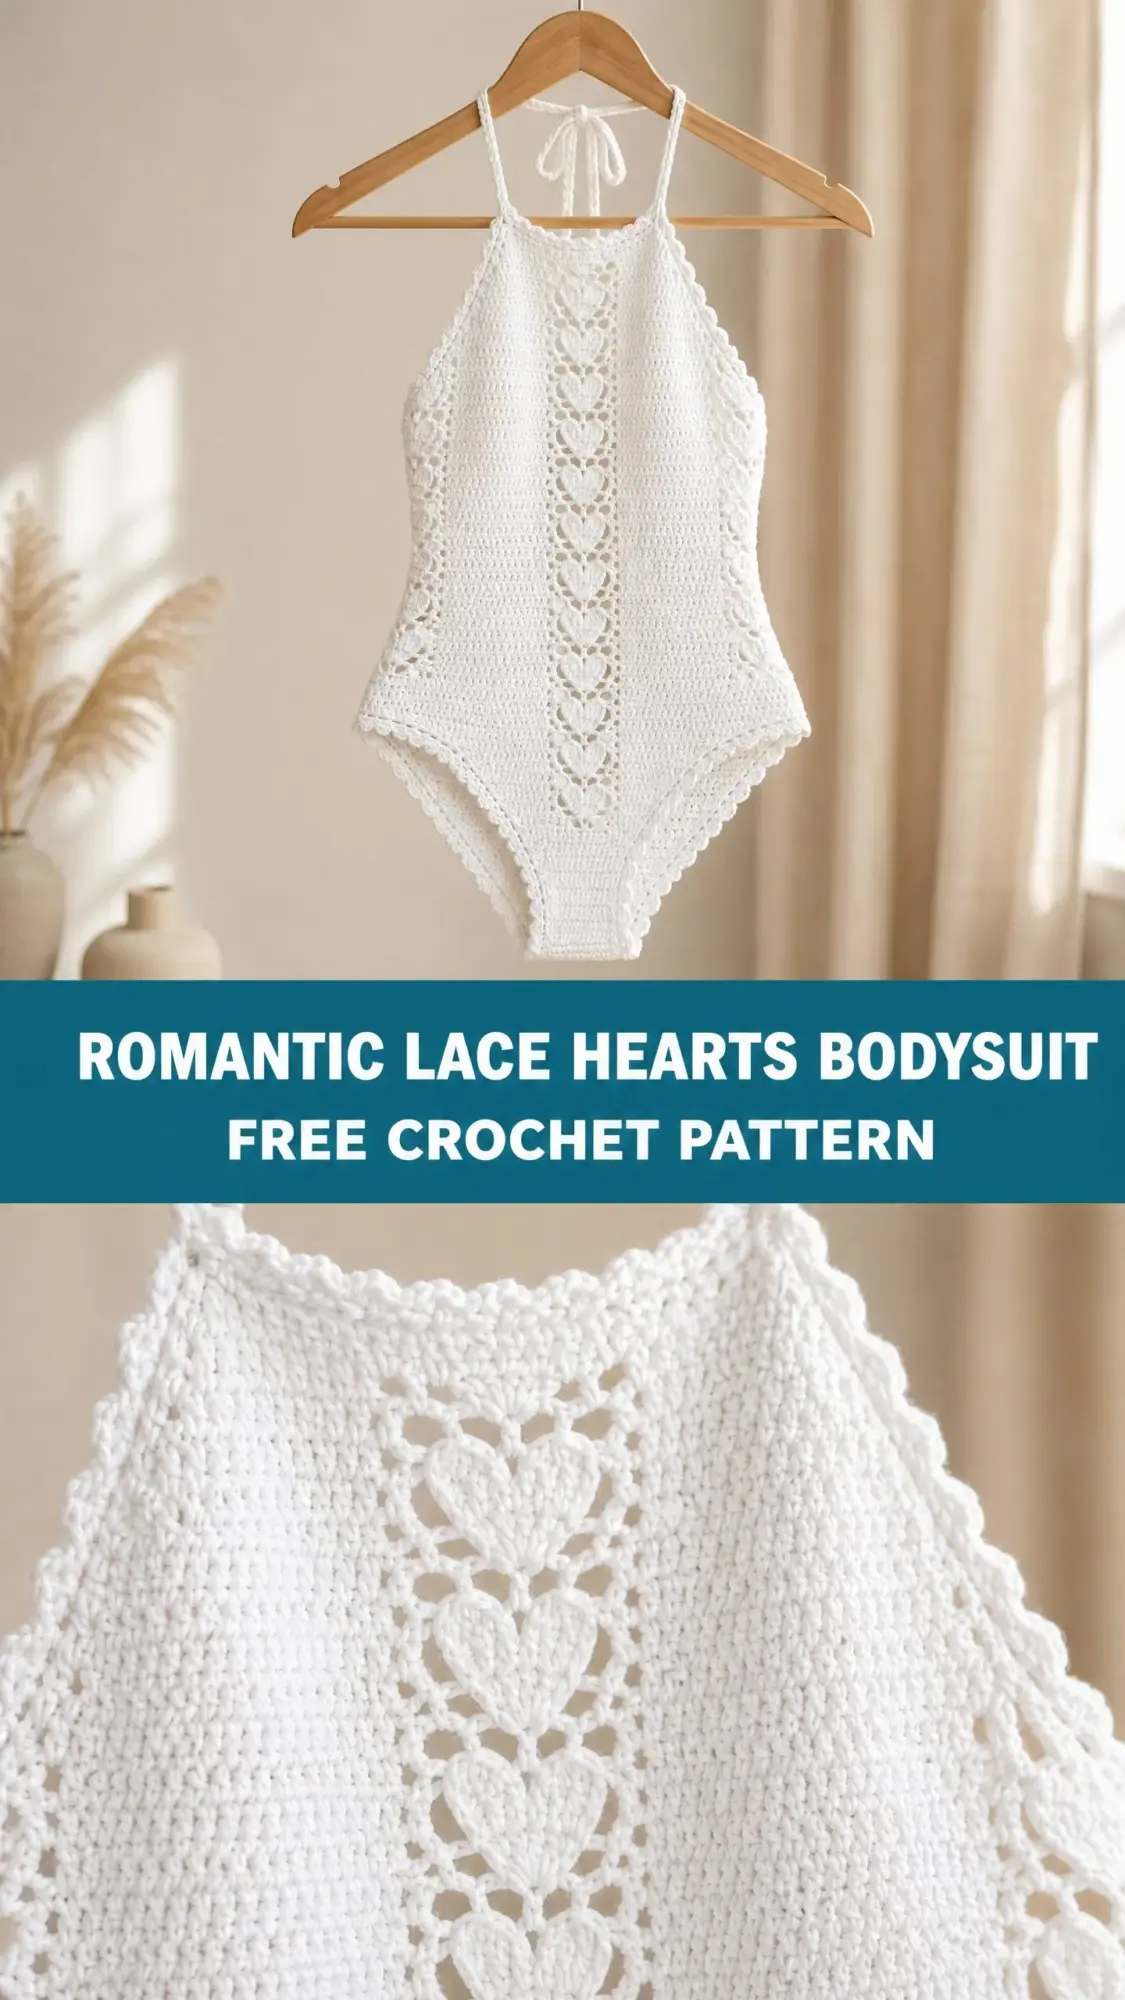
That thought stuck with me for weeks. I started sketching during my morning coffee, playing with the idea of a crocheted bodysuit that felt romantic and feminine but still wearable. Something with structure at the sides but delicate openwork down the center. The lace heart panel came to me while I was supposed to be watching a movie, and I grabbed my hook before the credits even rolled.
What you see here is the result of about three months of tweaking, frogging, and perfecting. The Romantic Lace Hearts Bodysuit is everything I wanted it to be. Fitted but flattering. Intricate but achievable. The kind of piece that makes people ask, "Wait, you made that yourself?"
About This Crochet Pattern
This bodysuit is a fitted one-piece garment worked primarily in rows from the bottom hem upward. The construction might sound intimidating at first glance, but I promise it breaks down into very manageable sections. You will work a front panel and a back panel separately, shape them with straightforward increases and decreases, then join them at the sides.
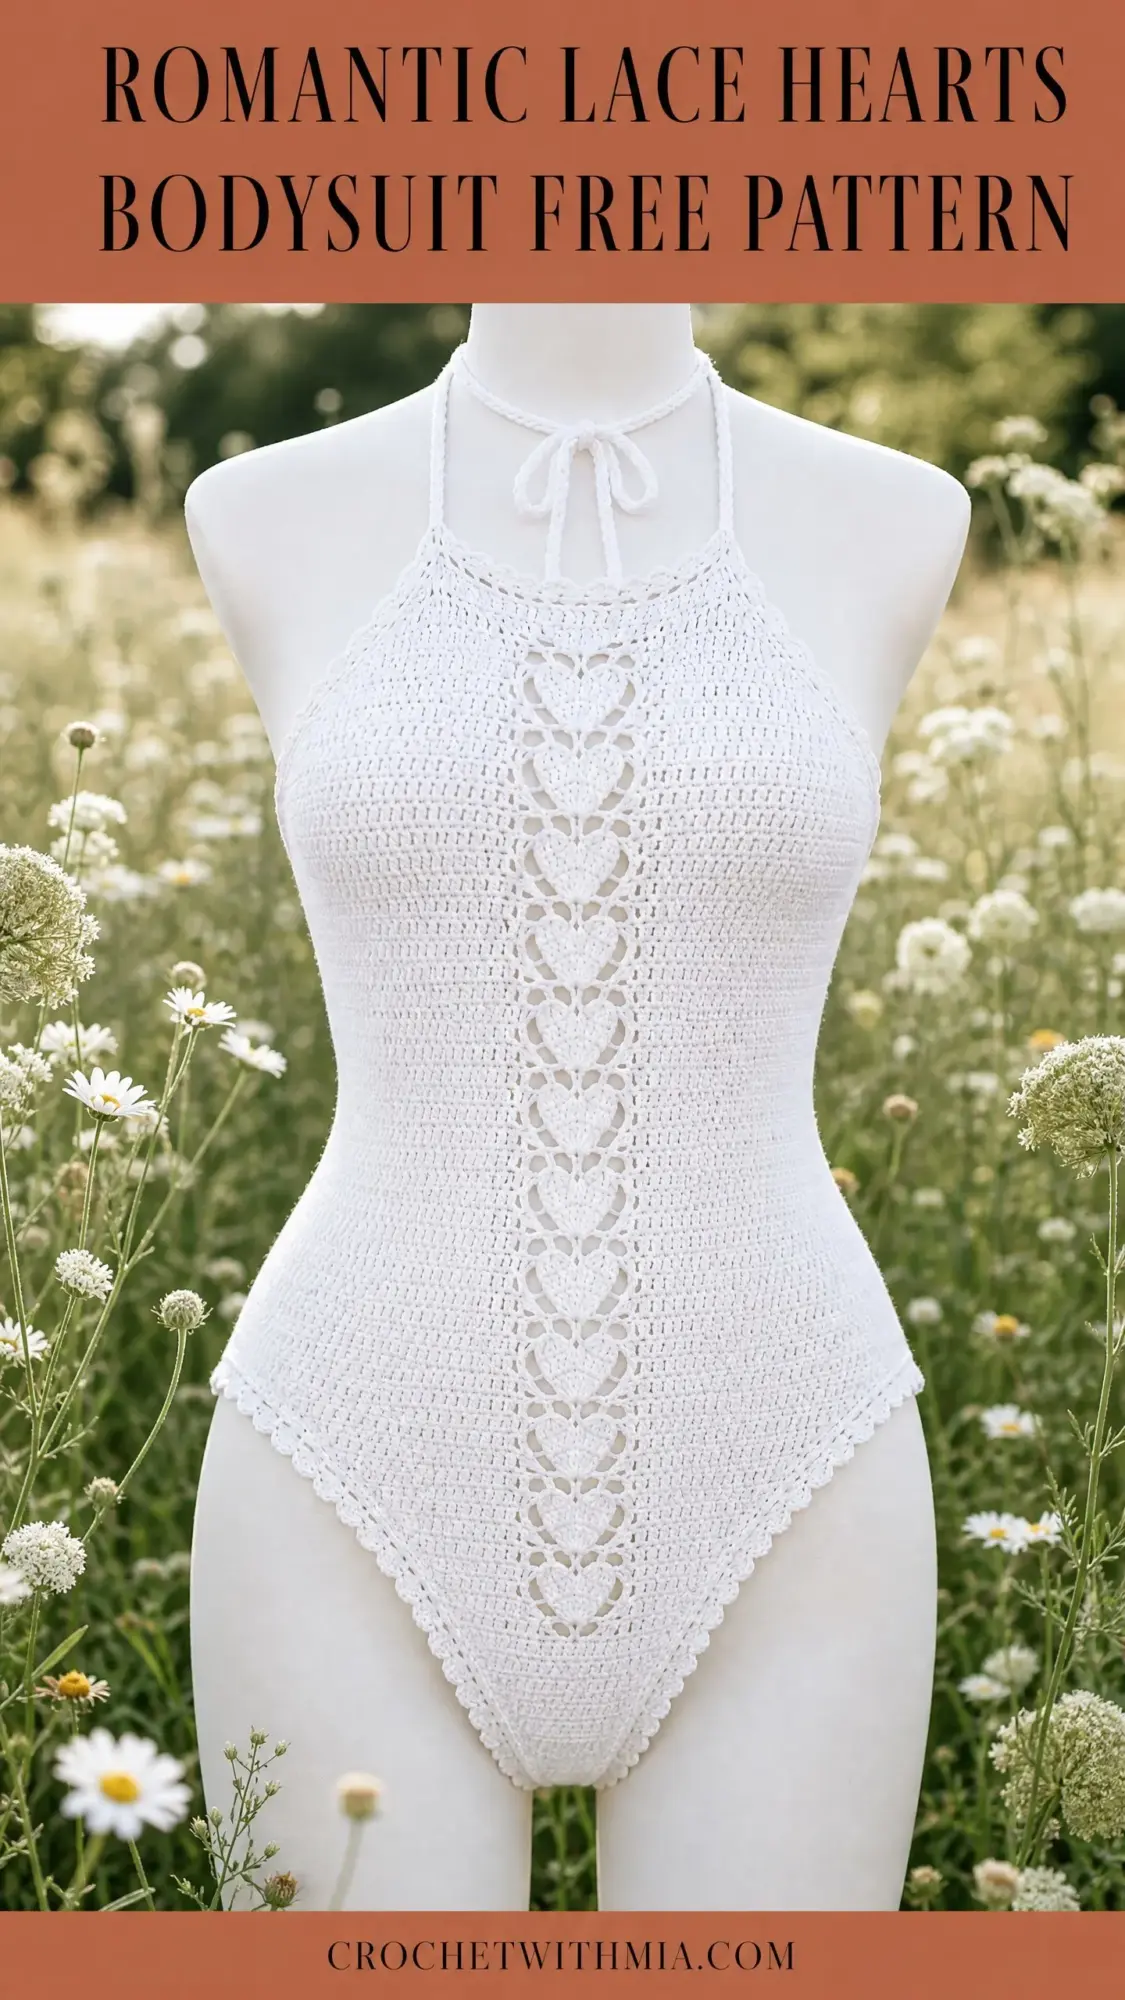
The showstopper element is the central panel of openwork lace hearts running vertically along both the front and back bodice. These hearts are flanked by solid single crochet (sc) fabric that provides structure, support, and coverage where you need it most. The neckline features a high halter style with two thin strap chains that tie at the nape of your neck. The leg openings and hem get a delicate scallop edging that adds a feminine finishing touch.
I would classify this pattern as intermediate to advanced. You should feel comfortable with shaping a fitted garment through stitch count increases and decreases. You will also need confidence joining two separately worked panels and following a multi-row lace repeat within a mostly single crochet field. If you can crochet a flat rectangle but have not tackled shaping before, I recommend practicing the lace heart panel on a swatch first. Get comfortable with that rhythm before committing to the full garment.
Finished Measurements
This pattern is written for a US women’s Small with the following measurements:
Size customization notes are included at the end of the pattern for those who need adjustments.
Materials You Will Need
Yarn: Approximately 900 to 1100 yards (820 to 1005 meters) of DK weight (CYCA 3) cotton or cotton-blend yarn. The finished fabric must be dense enough to be opaque at the sides yet open and lacy at the center panel. Look for a smooth, plied cotton with good stitch definition. This helps the heart motifs read clearly.
Yarn Suggestions:
Hooks:
Notions:
Gauge Information
Gauge is mandatory for this garment. A difference of even half a stitch per inch will result in a bodysuit that is 1 to 2 inches too large or too small at the bust.
After blocking:
Swatch, block, and measure before beginning. Cotton can relax slightly after its first wash, so test your gauge swatch after wetting and drying the fabric.
Abbreviations Used in This Pattern
Special Stitches and Techniques
Scallop Stitch (for all hem and leg edging)
This stitch works over a multiple of 6 stitches plus 1.
1. Insert hook into designated stitch, yarn over, pull up a loop, yarn over, pull through both loops (single crochet made).
2. Skip 2 stitches.
3. Work 5 double crochet into the next stitch (shell made).
4. Skip 2 stitches.
5. Work 1 single crochet into the next stitch.
6. Repeat steps 2 through 5 across until 1 stitch remains, ending with 1 single crochet in the final stitch.
Each scallop unit consumes 6 stitches and produces 1 sc, 1 shell of 5 dc, 1 sc.
Lace Heart Panel
This is the central vertical motif column running down both front and back. The heart panel is 10 stitches wide and repeats over 12 rows. It is worked as part of the flat row instructions, meaning the surrounding sc fabric is worked on the same row as the heart panel rows.
Mark stitches 44 through 53 at setup. Move markers up every 12 rows to track the repeat.
Row 1 of heart (RS): sc in first 2 sts of panel, ch 2, sk 2 sts, sc in next 2 sts, ch 2, sk 2 sts, sc in last 2 sts. (10 sts worked, 4 ch-sps created)
Row 2 of heart (WS): sc in first 2 sts, 2 sc in ch-2 sp, sc in next 2 sts, 2 sc in ch-2 sp, sc in last 2 sts. (10 sc)
Row 3 of heart (RS): sc in first 3 sts, ch 3, sk 4 sts, sc in last 3 sts. (6 sc + 1 ch-3 sp)
Row 4 of heart (WS): sc in first 3 sts, 3 sc in ch-3 sp, sc in last 3 sts. (10 sc)
Row 5 of heart (RS): sc in first 2 sts, ch 1, sk 1 st, sc in next 4 sts, ch 1, sk 1 st, sc in last 2 sts. (8 sc + 2 ch-1 sps, counts as 10)
Row 6 of heart (WS): sc in first 2 sts, sc in ch-1 sp, sc in next 4 sts, sc in ch-1 sp, sc in last 2 sts. (10 sc)
Row 7 of heart (RS): sc in first st, ch 2, sk 2 sts, sc in next 4 sts, ch 2, sk 2 sts, sc in last st. (6 sc + 2 ch-2 sps, counts as 10)
Row 8 of heart (WS): sc in first st, 2 sc in ch-2 sp, sc in next 4 sts, 2 sc in ch-2 sp, sc in last st. (10 sc)
Row 9 of heart (RS): sc in first 2 sts, ch 2, sk 2 sts, sc in next 2 sts, ch 2, sk 2 sts, sc in last 2 sts. (6 sc + 2 ch-2 sps, counts as 10)
Row 10 of heart (WS): sc in first 2 sts, 2 sc in ch-2 sp, sc in next 2 sts, 2 sc in ch-2 sp, sc in last 2 sts. (10 sc)
Row 11 of heart (RS): sc in first 4 sts, ch 2, sk 2 sts, sc in last 4 sts. (8 sc + 1 ch-2 sp, counts as 10)
Row 12 of heart (WS): sc in first 4 sts, 2 sc in ch-2 sp, sc in last 4 sts. (10 sc)
After Row 12, begin again from Row 1.
V-Decrease
This is identical to sc2tog. Insert hook into next stitch, yarn over, pull up loop (2 loops on hook). Insert hook into following stitch, yarn over, pull up loop (3 loops on hook). Yarn over, pull through all 3 loops. Net decrease of 1 stitch.
Pattern Notes Before You Begin
1. The pattern works in two flat panels (front and back), each begun at the lower hem and worked upward. Panels are seamed at the sides using slip stitch seaming on the wrong side.
2. All turning chains count as 0 stitches. Chain 1 to turn does not count as a stitch. Insert your hook into the first stitch of every row, not into the turning chain.
3. Right Side (RS) rows are odd-numbered rows throughout the flat panel sections unless otherwise noted.
4. Place a removable marker at each edge of the 10-stitch heart panel column at the beginning. Move markers upward every 12 rows.
5. The front and back panels are nearly identical, but the front has a slightly taller neckline than the back. Read each section carefully.
6. Leave a tail of at least 6 inches (15 cm) when beginning and ending each section for weaving in later.
Step by Step Crochet Pattern Instructions
Front Panel
Foundation Chain: Ch 97.
Row 1 (RS): Sc in 2nd ch from hook and in each ch across. Turn. (96 sc)
Row 2 (WS): Ch 1, sc in each st across. Turn. (96 sc)
Place stitch markers around stitches 44 through 53 (counting from the right edge when RS faces you). These 10 stitches form your heart panel column.
Rows 3 through 14: Work in sc across entire row, substituting Heart Panel Rows 1 through 12 for stitches 44 through 53 on the appropriate rows. Turn at end of each row. (96 sts each row)
After Row 14, you have completed one full 12-row heart repeat. Reset heart panel row counter to Heart Row 1.
Hip Shaping Decreases
The hips measure 96 stitches. The waist target is 72 stitches. You will decrease 24 total stitches (12 at each side edge) over 24 rows (Rows 15 through 38), working a sc2tog at each end of every other RS row.
Row 15 (RS): Ch 1, sc2tog over first 2 sts, sc across to last 2 sts, sc2tog. Turn. (94 sc)
Row 16 (WS): Ch 1, sc in each st across. Turn. (94 sc)
Continue this pattern of decreasing on RS rows and working even on WS rows:
Checkpoint 1: After Row 38, the front panel should measure approximately 5.5 inches (14 cm) tall. Waist width should be approximately 13 inches (33 cm).
Waist Even Section
Rows 39 through 44 (6 rows): Ch 1, sc in each st across. Continue heart panel as established. Turn at end of each row. (72 sc each row)
Bust Shaping Increases
Target bust width is 88 stitches. You will increase 16 stitches total (8 at each side) over 16 rows (Rows 45 through 60), working 2 sc in the first and last stitch of every other RS row.
Row 45 (RS): Ch 1, 2 sc in first st, sc across to last st, 2 sc in last st. Turn. (74 sc)
Row 46 (WS): Ch 1, sc in each st across. Turn. (74 sc)
Continue this pattern:
Checkpoint 2: After Row 60, the front panel should measure approximately 9.25 inches (23.5 cm) tall. Bust width should be approximately 16 inches (40.6 cm).
Bust Even Section
Rows 61 through 66 (6 rows): Ch 1, sc in each st across. Continue heart panel as established. Turn. (88 sc each row)
Underarm Shaping
Row 67 (RS): Sl st across first 22 sts. Ch 1, sc in same st as last sl st and in each of next 43 sts. Leave remaining 22 sts unworked. Turn. (44 sc)
Row 68 (WS): Ch 1, sc in each st across. Turn. (44 sc)
Halter Neck Shaping
Decrease 2 stitches per RS row (1 at each edge) for 8 RS rows.
Row 69 (RS): Ch 1, sc2tog, sc across to last 2 sts, sc2tog. Turn. (42 sc)
Row 70 (WS): Ch 1, sc in each st across. Turn. (42 sc)
Continue decreasing on RS rows:
Split for Halter Straps
Divide the 28 stitches evenly: left strap = stitches 1 through 14, right strap = stitches 15 through 28.
Right Strap:
Row 85 (RS): Ch 1, sc in first 14 sts. Turn. Leave remaining 14 sts unworked. (14 sc)
Row 86 (WS): Ch 1, sc in each st across. Turn. (14 sc)
Row 87 (RS): Ch 1, sc2tog, sc across to last 2 sts, sc2tog. Turn. (12 sc)
Continue decreasing on RS rows:
Rows 93 through 96: Work even on 8 stitches. Ch 1, sc in each st across. Turn. (8 sc)
Strap Tie: At the end of Row 96, ch 60. Sl st back down the chain to form a cord. Fasten off and weave in end.
Left Strap: Rejoin yarn with RS facing at stitch 15 of Row 84. Work Rows 85 through 96 and strap tie exactly as written for Right Strap.
Front Panel Complete.
Back Panel
Work Rows 1 through 66 exactly as written for the Front Panel, including all shaping and the heart panel column. (88 sc after Row 66)
The back panel is shorter in the bodice above the armhole than the front.
Row 67 (RS): Sl st across first 22 sts, ch 1, sc in same st and across next 43 sts. Leave remaining 22 sts unworked. Turn. (44 sc)
Row 68 (WS): Ch 1, sc in each st across. Turn. (44 sc)
Row 69 (RS): Ch 1, sc2tog, sc across to last 2 sts, sc2tog. Turn. (42 sc)
Row 70 (WS): Ch 1, sc in each st across. Turn. (42 sc)
Row 71 (RS): Ch 1, sc2tog, sc across to last 2 sts, sc2tog. Turn. (40 sc)
Row 72 (WS): Ch 1, sc in each st across. Turn. (40 sc)
Split Back Straps
Divide 40 stitches: left strap = stitches 1 through 20, right strap = stitches 21 through 40.
Back Right Strap:
Row 73 (RS): Ch 1, sc2tog, sc across first 18 sts, sc2tog. Turn. (18 sc)
Continue decreasing on RS rows until you reach 8 stitches at Row 84.
Rows 85 through 88: Work even on 8 stitches.
Back Strap Tie: Ch 60, sl st back down chain. Fasten off.
Back Left Strap: Rejoin yarn at stitch 21 of Row 72. Work identically to Back Right Strap.
Back Panel Complete.
Assembly and Finishing
After both panels are complete, you will shape the crotch gusset, join the side seams, and add the scallop edging to the hem and leg openings. Block all pieces before seaming for the best results.
Use slip stitch seaming on the wrong side to join the front and back panels at the side edges. Work the scallop edging around the bottom hem and both leg openings using your smaller hook (C-2 / 2.75 mm).
Weave in all remaining ends with your tapestry needle. Give the finished bodysuit a final wet block, pinning it to your blocking mat to open up the lace hearts and set the shape.
Tips for Success with This Crochet Tutorial
Keep a separate tally for your heart panel rows. It helps to write "Heart Row 1, Heart Row 2" on a sticky note and check them off as you go. Trust me on this one.
Do not skip the gauge swatch. This is a fitted garment, and fit matters. If your gauge is off, adjust your hook size and try again.
Cotton yarn does not have much memory, so blocking is essential. The lace hearts will really pop after a good wet block.
If you plan to wear this as a swimsuit, consider adding swimwear lining fabric. Crocheted cotton fabric alone is not opaque when wet.
Thank you so much for choosing this pattern. I truly hope you love making it as much as I loved designing it. If you finish your Romantic Lace Hearts Bodysuit, I would absolutely love to see photos. Tag me on Instagram or share in our Facebook group.
If this pattern is calling your name but you are not quite ready to start, go ahead and pin it to your Pinterest boards so you can find it later. And please drop a comment below if you make one. I read every single comment, and seeing your finished projects genuinely makes my day.