
This is hands down one of the CUTEST keychain projects you will ever make. I mean it. This little rainbow pastel jellyfish works up in just 3 to 5 hours, uses tiny amounts of yarn from your stash, and looks absolutely impressive dangling from a bag or set of keys.
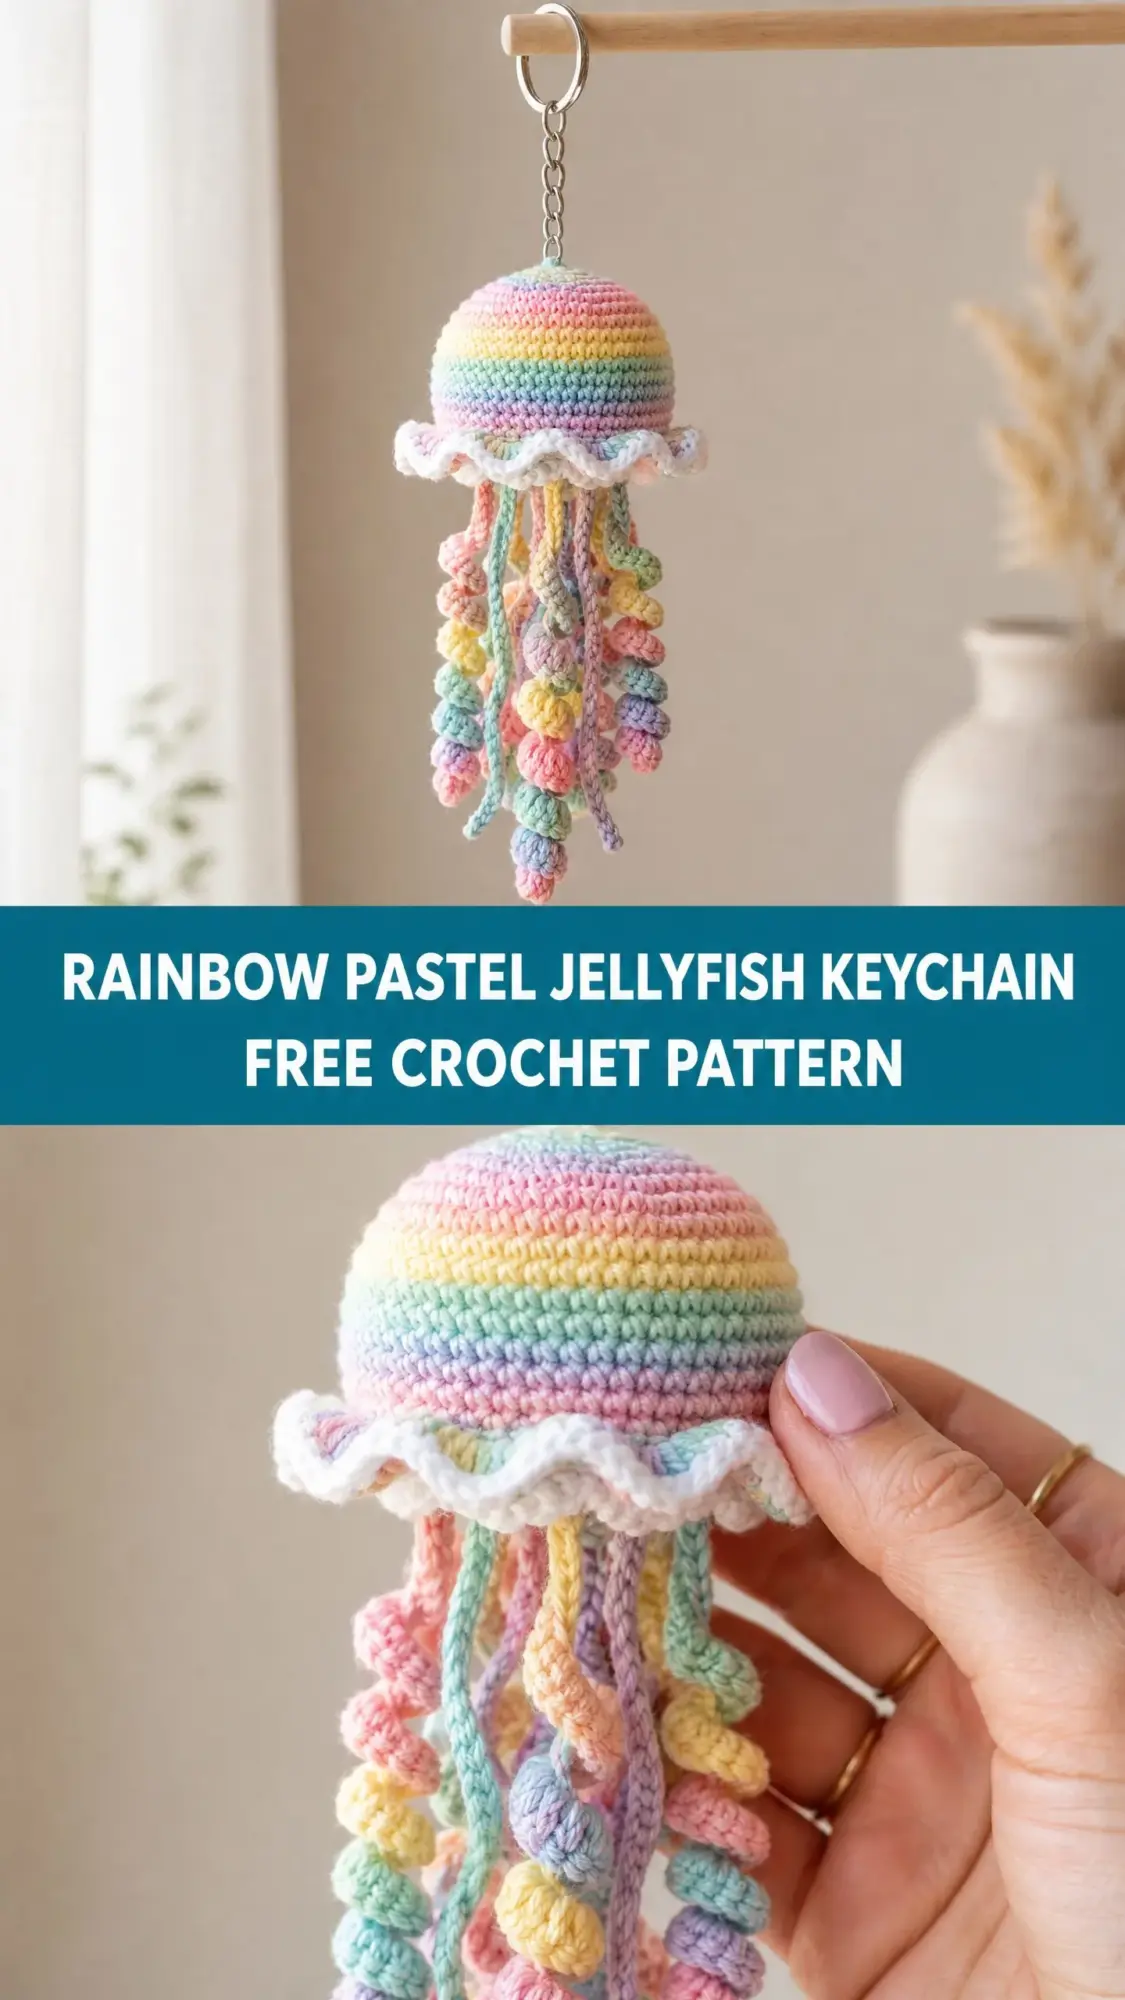
The best part? Once you get the hang of the curly tentacles, you will want to make these for everyone you know. They make incredible last minute gifts because they are small, quick, and undeniably adorable.
If you have ever wanted to try amigurumi but felt intimidated by full sized stuffed animals, this is your perfect gateway project. Small commitment, big payoff. Let me walk you through every single step.
What You Are Making
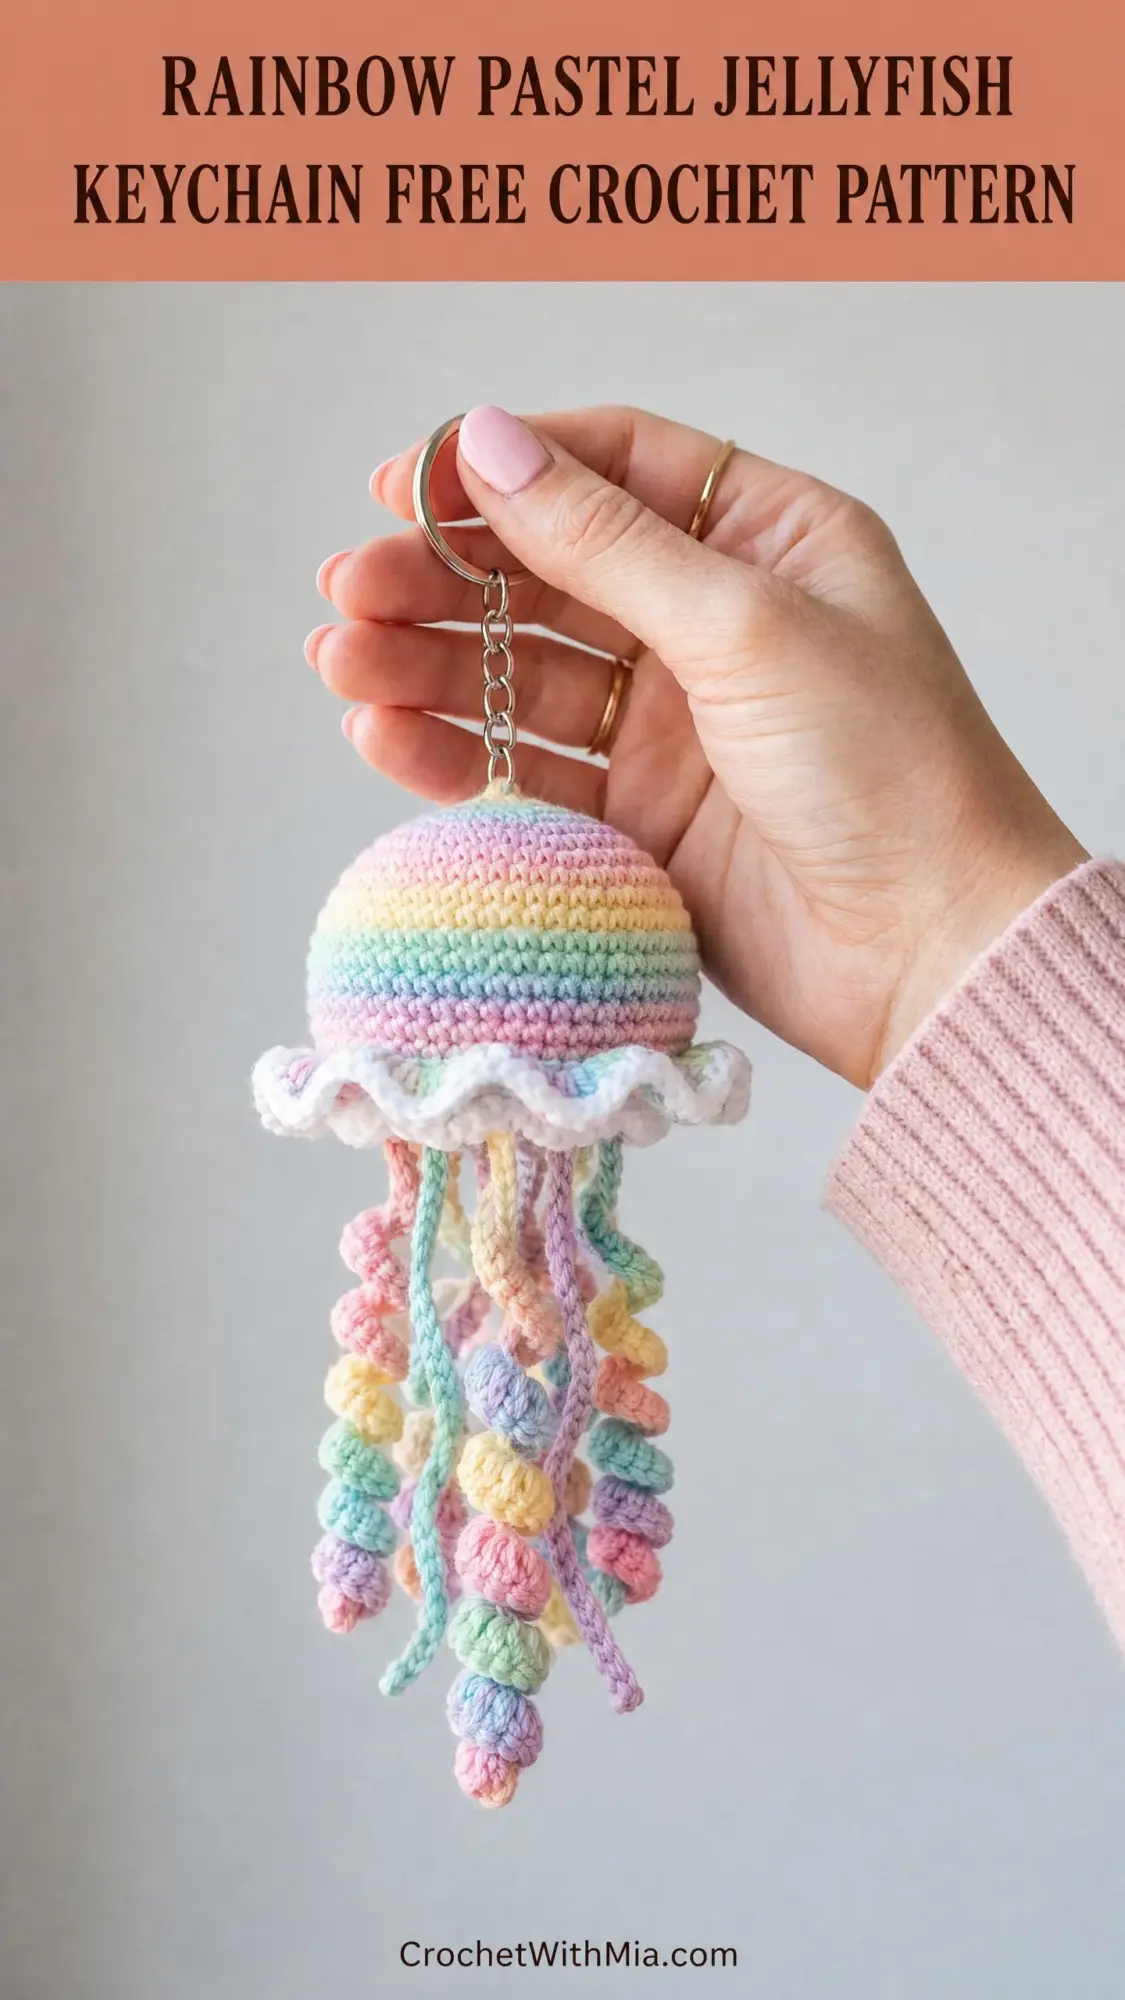
This pattern creates a stuffed dome shaped jellyfish bell worked in the round from top to bottom. The bell features gorgeous horizontal pastel stripes that transition smoothly from pink through lavender, yellow, mint, and blue. A white ruffled frill collar circles the base of the dome, giving that classic jellyfish silhouette. Multiple curly tentacles in assorted pastel colors hang below, complete with little bead like gathered nodes along their length.
The construction is modular and logical. You crochet the dome first, add the frill while the dome is still open, stuff it, close it up, then attach the tentacles. A keychain ring connects at the crown, and you have yourself a whimsical ocean inspired accessory.
Finished size: The dome measures approximately 2.25 inches (5.7 cm) across. Total length including tentacles runs about 5.5 to 6 inches (14 to 15 cm), not counting the keychain hardware.
Skill Level
I would call this intermediate level. The dome uses standard amigurumi shaping that adventurous beginners can absolutely follow. However, the ruffled frill requires working into a specific row at an angle, and the curling tentacles use a clever stitch count trick that needs careful tension control.
If you are comfortable with working in continuous rounds, magic rings, and color changes, you will do great. If those terms sound unfamiliar, I will explain each one as we go.
Materials You Will Need
Yarn: DK weight (CYCA #3) or light worsted in the following colors. You only need small amounts of each.
Hook: US size E-4 (3.5 mm) for the dome and frill. Optionally, use a US size D-3 (3.25 mm) for tentacles to encourage tighter curl.
Notions:
Yarn Recommendations
Any smooth, plied DK or light worsted yarn works beautifully here. I recommend avoiding fuzzy or textured yarns like mohair blends because they obscure the striped stitch pattern on the dome.
Some specific suggestions:
Lion Brand Comfy Cotton Blend in shades Blush, Lavender Ice, Lemon Drop, Spearmint, and Sky. The cotton acrylic blend gives excellent stitch definition for those crisp stripes.
Paintbox Yarns Simply DK in shades Dusty Rose, Soft Lilac, Buttercup Yellow, Mint Green, and Powder Blue. Consistent twist and smooth fiber make color changes very clean.
Scheepjes Catona held single strand. This fingering or sport weight produces a slightly smaller dome (around 2 inches) but gives extremely crisp stitch definition and comes in a gorgeous range of pastels.
Cotton or cotton blend yarns help the tentacles hold their curl shape more firmly over time compared to 100% acrylic.
Gauge
With US E-4 (3.5 mm) hook and DK weight yarn in single crochet worked in continuous rounds:
5 stitches = 1 inch (2.5 cm)
5 rounds = 1 inch (2.5 cm)
Gauge matters for achieving the stated finished size. A tighter gauge produces a smaller, firmer dome. A looser gauge produces a softer, larger dome. If this is your first amigurumi project, I recommend swatching in the round.
Abbreviations and Stitch Definitions
Let me break down every abbreviation you will encounter. I am using US crochet terms throughout.
ch = chain: Yarn over, pull through loop on hook.
sl st = slip stitch: Insert hook, yarn over, pull through both the stitch and the loop on your hook in one motion.
sc = single crochet: Insert hook into stitch, yarn over and pull up a loop (2 loops on hook), yarn over and pull through both loops.
sc2tog = single crochet two together (decrease): Insert hook into next stitch, yarn over and pull up a loop, insert hook into following stitch, yarn over and pull up a loop (3 loops on hook), yarn over and pull through all 3 loops. This turns 2 stitches into 1.
inc = increase: Work 2 sc into the same stitch. This turns 1 stitch into 2.
MR = magic ring (also called adjustable ring): A method of starting crochet in the round that creates a tight, closed center. Make a loop with your yarn, insert hook, pull up a loop, chain 1, then work your stitches into the ring. Pull the tail to close the center hole.
BLO = back loop only: Insert your hook under only the back loop of the stitch (the loop farthest from you).
FLO = front loop only: Insert your hook under only the front loop of the stitch (the loop closest to you).
st(s) = stitch(es)
rnd(s) = round(s)
rep = repeat
pm = place marker
dc = double crochet: Yarn over, insert hook into stitch, yarn over and pull up a loop (3 loops on hook), yarn over and pull through 2 loops (2 loops remain), yarn over and pull through remaining 2 loops.
Special Techniques
The Curling Tentacle Technique
This is the magic behind those adorable spiraling tentacles. Here is how it works:
1. Create a foundation chain of the specified length.
2. Starting in the 2nd chain from hook, work 3 sc into each chain across.
3. Do not turn.
The excess stitches relative to the foundation cause the strip to spiral and curl automatically. No shaping needed. The degree of curl depends on your tension. Tighter tension equals tighter spiral. Looser tension equals looser wave.
The Ruffled Frill Technique
The frill creates that beautiful wavy collar around the jellyfish bell:
1. Join yarn to the designated round using the front loop only.
2. Ch 3 (this counts as your first dc).
3. Work 2 more dc into the same front loop (3 dc total in first stitch).
4. Work 3 dc into each front loop around.
5. Sl st to the top of starting ch-3 to join.
This triple density increase causes the frill to ruffle and flare outward automatically. Trust the process.
Pattern Instructions
The Dome (Bell)
The dome is worked from the top (where your keychain attaches) downward to the widest point, then decreased back inward to form a closed bottom hemisphere. Work in continuous rounds without joining or turning. Use a stitch marker to track the beginning of each round and move it up as you go.
Color sequence for dome stripes (top to bottom):
Color change tip: Make color changes at the last yarn over of the final stitch of the current round. Drop the old color, pick up the new color, and pull through to complete the stitch.
Rnd 1: With Color A, make a MR. Work 6 sc into the ring. Pull ring closed. Do not join. (6 sc)
Rnd 2: Work 2 sc into each st around. (12 sc)
Rnd 3: Change to Color B. [Sc in next st, inc in next st] 6 times. (18 sc)
Rnd 4: Change to Color C. [Sc in next 2 sts, inc in next st] 6 times. (24 sc)
Rnd 5: Change to Color D. [Sc in next 3 sts, inc in next st] 6 times. (30 sc)
Rnd 6: Change to Color E. [Sc in next 4 sts, inc in next st] 6 times. (36 sc)
Rnd 7: Change to Color C. [Sc in next 5 sts, inc in next st] 6 times. (42 sc)
Rnd 8: Change to Color B. [Sc in next 6 sts, inc in next st] 6 times. (48 sc)
Rnd 9: Change to Color A. Sc in each st around. (48 sc)
Checkpoint: Your dome should measure approximately 2.25 inches (5.7 cm) across at its widest point. It will look like a flat disk with gentle cupping. Place a locking stitch marker in the front loop of Round 9 so you can find this row for frill attachment.
Stop here and work the frill before continuing.
The Frill
Work the frill into the front loops of Round 9 while the dome is still open. Do not stuff yet.
Step 1: Join Color W (White) to any front loop of Round 9 with a sl st.
Step 2: Ch 3. This counts as the first dc.
Step 3: Work 2 more dc into the same front loop. (3 dc in first st)
Step 4: Work 3 dc into the front loop of each remaining stitch of Round 9. (144 dc total)
Step 5: Sl st to the top of the starting ch-3 to join the round.
Step 6: Fasten off and weave in the White end to the interior.
Checkpoint: The frill should ruffle and wave freely around the base of the dome. It will not lie flat. If it seems too stiff, check that you are working into front loops only and that your tension is relaxed.
Dome Decrease Section
Return to working the dome body with Color A. You will now work into the back loops of Round 9 (the back loops that were left unused when you worked the frill into the front loops).
Join Color A to any back loop of Round 9 with a sl st, ch 1, then continue in continuous rounds.
Rnd 10: Working in BLO of Round 9, sc in each st around. (48 sc)
Rnd 11: [Sc in next 6 sts, sc2tog] 6 times. (42 sc)
Rnd 12: [Sc in next 5 sts, sc2tog] 6 times. (36 sc)
Rnd 13: [Sc in next 4 sts, sc2tog] 6 times. (30 sc)
Stuff the dome firmly with polyester fiberfill now, before the opening becomes too small.
Rnd 14: [Sc in next 3 sts, sc2tog] 6 times. (24 sc)
Rnd 15: [Sc in next 2 sts, sc2tog] 6 times. (18 sc)
Rnd 16: [Sc in next st, sc2tog] 6 times. (12 sc)
Rnd 17: [Sc2tog] 6 times. (6 sc)
Add any additional stuffing needed now to fill out the dome before closing.
Fasten off, leaving a 6 inch (15 cm) tail. Thread the tail onto a yarn needle and draw through the front loops of all 6 remaining stitches. Pull tight to close. Weave the tail to the inside and knot securely.
Attaching the Keychain Hardware
Method 1 (recommended): Before pulling the magic ring completely closed at the top of the dome during Round 1, thread the small chain connector of the keychain hardware through the loop of the magic ring. Then pull the ring closed firmly. The hardware is now locked to the top of the dome.
Method 2 (post assembly): Cut a 10 inch (25 cm) length of Color A. Thread it onto a yarn needle and stitch a small loop through the top center of the dome, going through the closed magic ring area several times to reinforce. Thread the keychain chain connector through this loop and secure with a knot. Trim excess.
The Tentacles
Each tentacle is a foundation chain worked with 3 sc per chain, creating automatic spiral curl. The bead like nodes along the tentacles come from working 5 sc into every 3rd chain, creating gathered points.
Use any single pastel color per tentacle, or change colors for a multicolor effect. The pictured piece uses individual solid color tentacles in Colors A, B, C, D, E, and F mixed randomly.
Standard Tentacle (make 6):
Foundation: Ch 21.
Row 1: Starting in 2nd ch from hook, [3 sc in next ch, 3 sc in next ch, 5 sc in next ch (bobble gather point)] across, ending with 3 sc in last ch.
Fasten off, leaving a 10 inch (25 cm) tail for attachment.
Long Tentacle (make 3):
Foundation: Ch 31.
Row 1: Starting in 2nd ch from hook, [3 sc in next ch, 3 sc in next ch, 5 sc in next ch] across, ending with 3 sc in last ch.
Fasten off, leaving a 10 inch (25 cm) tail.
Short Tentacle (make 2):
Foundation: Ch 16.
Row 1: Starting in 2nd ch from hook, [3 sc in next ch, 3 sc in next ch, 5 sc in next ch] across, ending with 3 sc in last ch.
Fasten off, leaving a 10 inch (25 cm) tail.
Total: 11 tentacles (6 standard, 3 long, 2 short)
Checkpoint: Each tentacle should curl and spiral freely when held by one end. If a tentacle lies flat, your tension may be too loose. Try working with a hook one size smaller (US D-3 / 3.25 mm).
Attaching the Tentacles
Step 1: Thread the long tail of each tentacle onto a yarn needle.
Step 2: Insert the needle up through the bottom of the dome, entering at the row just above where the frill is attached (Round 10 of the decrease section).
Step 3: Pull the tentacle through until approximately 0.25 inch (0.6 cm) of the tail is inside the dome, then tie a secure overhand knot with the tail against the nearest interior strand of yarn.
Step 4: Thread the remaining tail back through the interior of the dome and trim close.
Step 5: Repeat for all 11 tentacles, distributing them evenly around the underside of the dome. Place long tentacles toward the center back and sides, short tentacles at the front, and standard tentacles filling the remainder. Space them approximately every 4 stitches around the 48 stitch base row.
Size Customization Tips
Larger jellyfish (approximately 3 inch dome): Switch to worsted weight yarn and a US G-6 (4 mm) hook. Keep the same round by round instructions. Increase tentacle foundation chains by 10 chains each.
Smaller jellyfish (approximately 1.5 inch dome): Use fingering weight yarn and a US B-1 (2.25 mm) hook. Reduce to 6 stitches in the magic ring and work increases of 4 stitches per round through 6 rounds, ending at 30 stitches at the widest point. Decrease back in mirror order. Shorten tentacle chains by 6 stitches each.
More tentacles: The 48 stitch base accommodates up to 16 tentacles spaced every 3 stitches.
Finishing Your Jellyfish Keychain
Weave in all remaining ends securely, especially color change tails inside the dome. Knot each tail against an interior yarn strand before weaving to prevent unraveling over time.
For cotton or cotton blend yarn: You may lightly mist the tentacles with water and gently stretch and reshape them, then allow to dry flat. This relaxes uneven tension and sets the spiral shape. Do not block the dome itself, as this can cause stuffing to lump.
For acrylic yarn: No blocking needed. Simply fluff and shape the tentacles by hand.
The frill can be lightly starched with diluted fabric starch spray if you want it to hold a more defined wavy shape, though this is entirely optional.
Care Instructions
Hand wash in cool water with mild soap. Gently press out excess water without wringing. Reshape the dome and tentacles by hand. Lay flat or hang to dry. Keep away from heat sources, as polyester fiberfill can shift and compress permanently if exposed to high heat. Remove the keychain hardware before washing and reattach when fully dry.
You Did It!
I hope you had so much fun making this adorable little rainbow pastel jellyfish keychain. These really are such a satisfying quick project, and I love seeing the color combinations people come up with. Thank you for choosing this pattern and trusting me to walk you through it.
If you loved making this, go ahead and pin it to your Pinterest boards so you can find it again later or share it with your crochet loving friends. And please, please leave a comment below if you make one. I would absolutely love to see your finished jellyfish!