
Last summer, my niece went through what I can only describe as a marine biology phase. Every conversation circled back to ocean creatures, and jellyfish topped her list of favorites. She would show me videos of them floating through the water for what felt like hours, pointing out how they looked like little aliens from another planet.
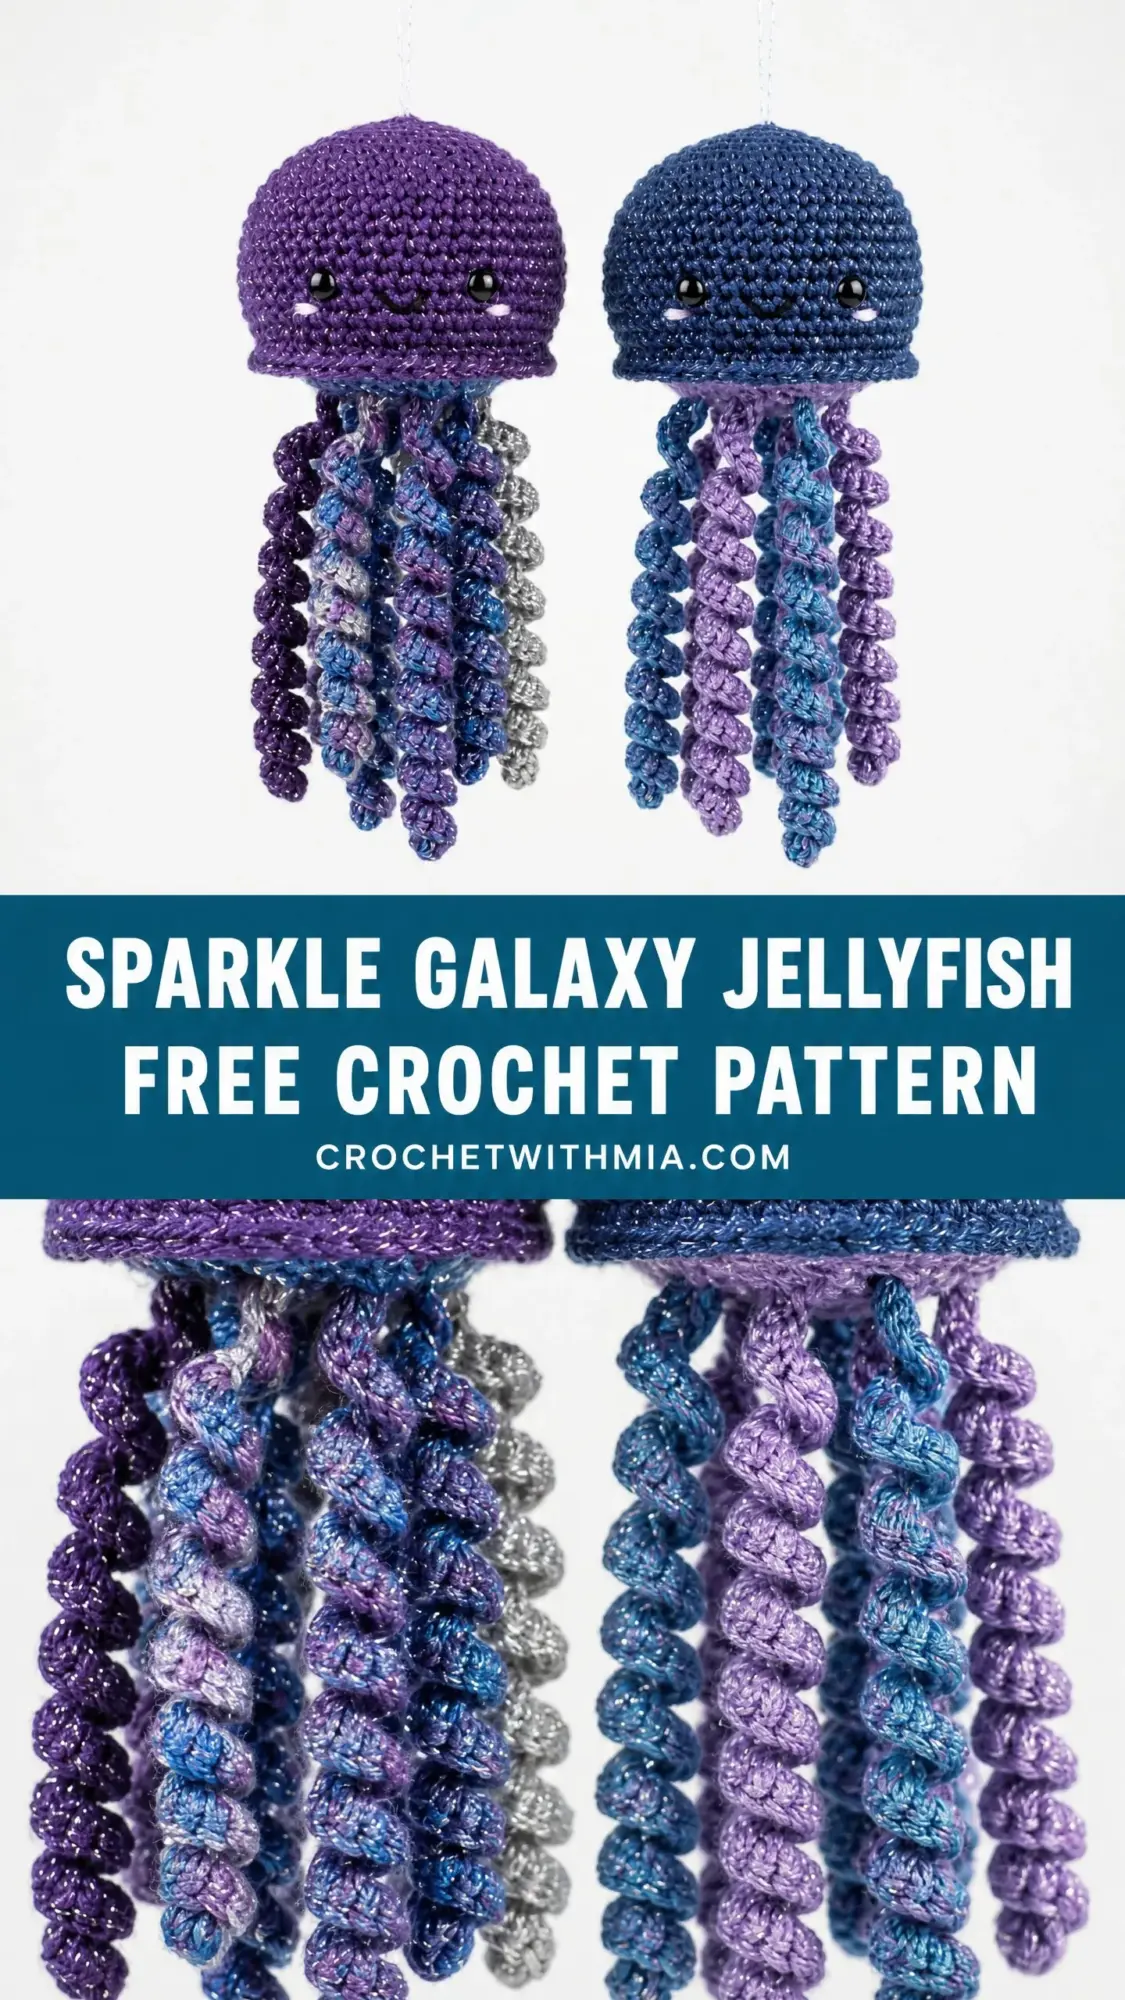
When her birthday rolled around, I knew exactly what I wanted to make. Something sparkly, something whimsical, something that captured all that ethereal beauty she loved so much. I grabbed some shimmery purple thread from my stash and got to work on these little hanging jellyfish, and honestly? They turned out even better than I imagined.
Now I want to share this crochet pattern with you because these little guys bring so much joy. They make perfect nursery mobiles, quirky home decor, or gifts for anyone who loves the ocean. Plus, that tentacle technique is genuinely fun once you get the hang of it.
About This Jellyfish Crochet Pattern
This amigurumi jellyfish pattern creates an adorable hanging decoration with a smooth dome-shaped bell and cascading spiral tentacles. The finished piece measures approximately 3.5 inches wide at the bell and 9 inches total length including the tentacles. Each jellyfish takes roughly 3 to 5 hours to complete, with the tentacles being the most time-consuming part.
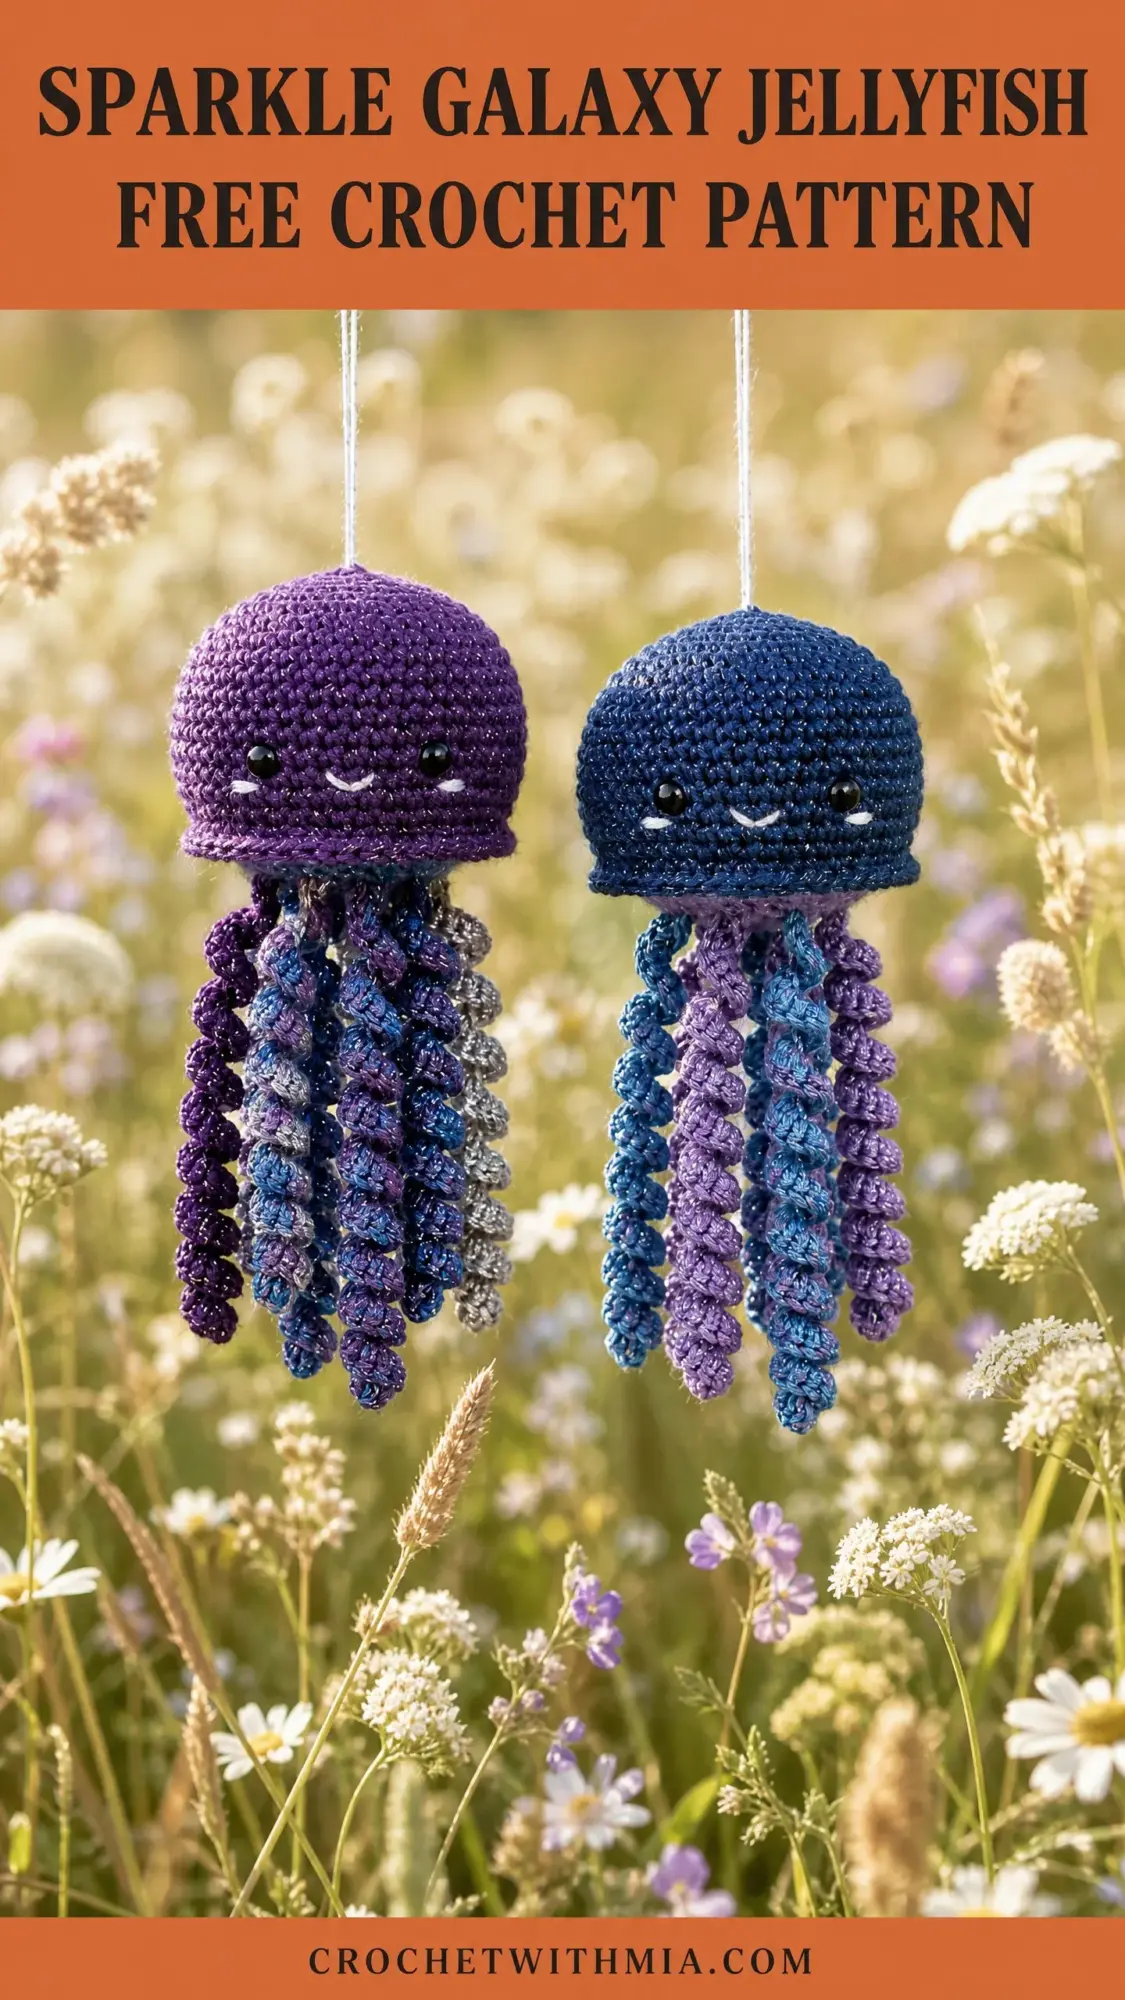
The pattern includes two colorways. Cosmic Purple features a bright violet bell with multicolor purple, blue, and silver tentacles. Deep Ocean uses a steel blue bell with blue and lavender tentacles. Both look absolutely stunning when hung near a window where the light catches that metallic sheen.
Skill level sits at intermediate. You should be comfortable with magic rings, working in continuous rounds, and attaching safety eyes. The tentacles use a specialized slip stitch spiral technique that I will walk you through completely. If you have made a few amigurumi projects before, you will handle this beautifully.
Materials You Will Need
Yarn:
Hook: US size 7 steel crochet hook (1.65 mm), or size needed to obtain gauge.
Other supplies:
Yarn Suggestions
For that gorgeous sparkle effect visible in the finished piece, I recommend these options:
Aunt Lydia’s Classic Crochet Thread Size 10 works wonderfully. It is widely available, has excellent stitch definition, and the mercerization gives it a subtle sheen.
DMC Petra Crochet Cotton No. 5 offers beautiful drape and color clarity. You may need to adjust your hook size slightly.
Paintbox Simply Glitter DK held at fingering tension adds extra sparkle. Just swatch first to hit your gauge.
Whatever you choose, stick with smooth, firmly twisted yarn. Avoid anything fluffy or fuzzy because you need clear stitch visibility for the spiral tentacle technique.
Gauge
10 single crochet stitches by 11 rounds equals 1 inch by 1 inch (2.5 cm by 2.5 cm), worked in continuous rounds with size 10 crochet thread on a US size 7 steel hook.
Gauge matters here for achieving the correct bell size and tentacle proportions. Take a few minutes to swatch before diving in.
Abbreviations
Let me break down every stitch abbreviation you will encounter:
Special Techniques
Slip Stitch Spiral Cord (Tentacles)
This technique creates those tightly coiled, springy tentacles that make this jellyfish so charming. Here is how it works:
Chain the required number of stitches. Starting in the second chain from hook, work 3 slip stitches into each chain all the way back to the start. Insert your hook into the same chain three times in succession, completing a slip stitch each time before moving to the next chain.
The magic happens because you are putting three slip stitches where normally you would put one. This forces the cord to curl into a natural spiral without any blocking or shaping. Trust the process and watch your tentacle come to life.
Ruffle Increase Round
This creates the flared brim at the bottom of the bell. Simply work 3 single crochets into every stitch around. This triples your stitch count and produces that beautiful frill.
Pattern Notes Before You Begin
A few things to keep in mind as you work:
The bell is worked in continuous rounds from the top down. No joining, no turning. Use a stitch marker at the beginning of each round and move it up as you go. This keeps you from losing your place.
Insert safety eyes after round 10 and before you finish stuffing. Position them 6 stitches apart horizontally, centered on what will be the face.
The ruffle brim is worked into the front loops only of the final bell round. This creates a visible ridge line and gives you a stable attachment point for the tentacles.
All stitch counts appear in parentheses at the end of each round.
Step by Step Crochet Pattern Instructions
Bell (worked in Color A)
Rnd 1: Work 6 sc into MR. Pull ring closed. (6 sc)
Rnd 2: Inc in each st around. (12 sc)
Rnd 3: [Sc in next st, inc in next st] 6 times. (18 sc)
Rnd 4: [Sc in next 2 sts, inc in next st] 6 times. (24 sc)
Rnd 5: [Sc in next 3 sts, inc in next st] 6 times. (30 sc)
Rnd 6: [Sc in next 4 sts, inc in next st] 6 times. (36 sc)
Rnd 7: [Sc in next 5 sts, inc in next st] 6 times. (42 sc)
Rnd 8: [Sc in next 6 sts, inc in next st] 6 times. (48 sc)
Rnd 9: [Sc in next 7 sts, inc in next st] 6 times. (54 sc)
Rnd 10: Sc in each st around. (54 sc)
Checkpoint: Your dome should measure approximately 1.75 inches across. Now is the time to insert your safety eyes. Space them 6 stitches apart, centered between increase groups. Snap the backings on firmly.
Rnd 11: Sc in each st around. (54 sc)
Rnd 12: Sc in each st around. (54 sc)
Rnd 13: Sc in each st around. (54 sc)
Rnd 14: [Sc in next 7 sts, sc2tog] 6 times. (48 sc)
Rnd 15: Sc in each st around. (48 sc)
Rnd 16: [Sc in next 6 sts, sc2tog] 6 times. (42 sc)
Begin stuffing the bell lightly with fiberfill now. Do not overstuff. You want the dome to hold its shape but remain soft. Keep adding stuffing as you work the final decrease rounds.
Rnd 17: [Sc in next 5 sts, sc2tog] 6 times. (36 sc)
Rnd 18: [Sc in next 4 sts, sc2tog] 6 times. (30 sc)
Rnd 19: Sc in each st around. (30 sc)
Rnd 20: Sc in each st around. (30 sc)
Do not fasten off yet. Add any final stuffing through the opening before working the brim.
Brim
Rnd 21 (Brim foundation): Working in BLO only, sc in each st around. (30 sc)
Rnd 22 (Ruffle): Working in both loops, work 3 sc into every st around. (90 sc)
Fasten off Color A. Weave in the end securely on the inside of the bell.
Checkpoint: Your ruffle should flare outward clearly. The bell should sit dome-up with the ruffled brim forming a flat fringe around the opening. Total bell height should be approximately 2.75 inches from top to brim.
Tentacles
Make 12 tentacles total per jellyfish. You will alternate between Color B and Color C, making 6 of each color. The varied lengths create that beautiful cascading effect.
Short tentacle (make 4 total, 2 in Color B and 2 in Color C):
Ch 30. Beginning in 2nd ch from hook, work 3 sl st into each ch across. (87 sl sts total across 29 chain spaces)
Fasten off, leaving a 6-inch tail.
Medium tentacle (make 4 total, 2 in Color B and 2 in Color C):
Ch 40. Beginning in 2nd ch from hook, work 3 sl st into each ch across. (117 sl sts total across 39 chain spaces)
Fasten off, leaving a 6-inch tail.
Long tentacle (make 4 total, 2 in Color B and 2 in Color C):
Ch 50. Beginning in 2nd ch from hook, work 3 sl st into each ch across. (147 sl sts total across 49 chain spaces)
Fasten off, leaving a 6-inch tail.
Attaching Tentacles
The 30 brim stitches from Rnd 21 serve as your attachment ring. Use your tapestry needle to thread each tentacle tail through the back loop ridge at evenly spaced intervals.
Space your 12 tentacles by attaching one every 2 to 3 stitches around the 30-stitch brim ring. Alternate short, medium, and long tentacles as you go. Also alternate Color B and Color C so no two same-color tentacles sit directly next to each other.
Suggested attachment order (repeat twice to use all 12): short B, long C, medium B, short C, long B, medium C.
Pull each tail through from outside to inside, knot securely, and weave the tail into the inner surface of the bell. After attaching all tentacles, give each one a gentle tug to test security. Then let those spiral curls drape freely.
Face Embroidery
Thread your tapestry needle with 12 inches of white or off-white thread. Bring the needle up from inside the bell approximately 2 rounds below the eyes, centered between them.
Create a small curved smile using 3 to 4 short straight stitches. Form a gentle upward arc approximately 4 stitches wide and 1 stitch tall. Knot the thread securely inside the bell and trim.
For extra cuteness, add a single tiny straight stitch highlight below each eye for that eye glint you see in the finished piece. Just one perpendicular stitch, 1 stitch wide, works perfectly.
Hanging Loop
Cut 12 inches of white or silver hanging thread. Thread both ends onto your tapestry needle and push through the top center of the dome at the magic ring closure point. Go from outside to inside and back out again to form a loop.
Tie a knot at your desired loop length above the dome. Approximately 3 to 4 inches of loop above the bell works well. Trim the excess below the knot and tuck the tail into the magic ring center.
Size Customization Tips
For a larger jellyfish: Continue the increase pattern through additional rounds before beginning the straight rounds. Each additional increase round adds 6 stitches and approximately 0.4 inches to the dome diameter. Scale tentacle chain lengths up by adding 10 chains per length category.
For a smaller jellyfish: Stop increases at round 7 or 8 instead of round 9. Reduce tentacle chain lengths to 20, 30, and 40 chains respectively.
For denser tentacles: Increase from 12 to 18 tentacles by adding 3 additional tentacles of each length. Space them into every other brim stitch.
Finishing and Care
Wet-block the finished bell if the dome looks uneven. Dampen with cool water, shape with your fingers into a smooth hemisphere, and let it air dry dome-side up. Let the tentacles hang freely during drying to preserve their spiral curl.
For care, hand wash in cool water with mild detergent. Do not wring or twist. Gently press water out, reshape, and hang or lay flat to dry. Machine washing will cause the tentacle spirals to lose their curl and may damage metallic fibers. Store these hanging or uncompressed to keep those tentacles looking perfect.
Final Thoughts on This Jellyfish Crochet Pattern
This sparkle galaxy jellyfish crochet pattern has become one of my absolute favorites to make and gift. There is something so satisfying about watching those tentacles spiral up as you work them, and the finished piece never fails to make people smile. Whether you choose the Cosmic Purple or Deep Ocean colorway, you will end up with a stunning little creature that looks far more complicated than it actually is.
Thank you so much for choosing this pattern for your next project. I genuinely hope you love making these as much as I do. If you create your own jellyfish, I would absolutely love to see it. Tag me on Instagram or share a photo on Facebook so I can admire your work.
If this pattern caught your eye, go ahead and save it to your Pinterest boards so you can find it whenever the mood strikes. And please drop a comment below if you make one. I love hearing how your projects turn out and seeing the color combinations you choose. Happy crocheting!