
I call this one the "Little Princess Set," and it has quite a story behind it. About three years ago, I sketched out this design in a worn spiral notebook while waiting at my daughter’s dance recital. A friend had asked me to create something special for her niece’s christening, something that would feel like an heirloom but still be soft and practical for a wiggly baby. The original sketch had tiny hearts along the hem, but as I worked through the construction, those three cascading lace tiers emerged instead.
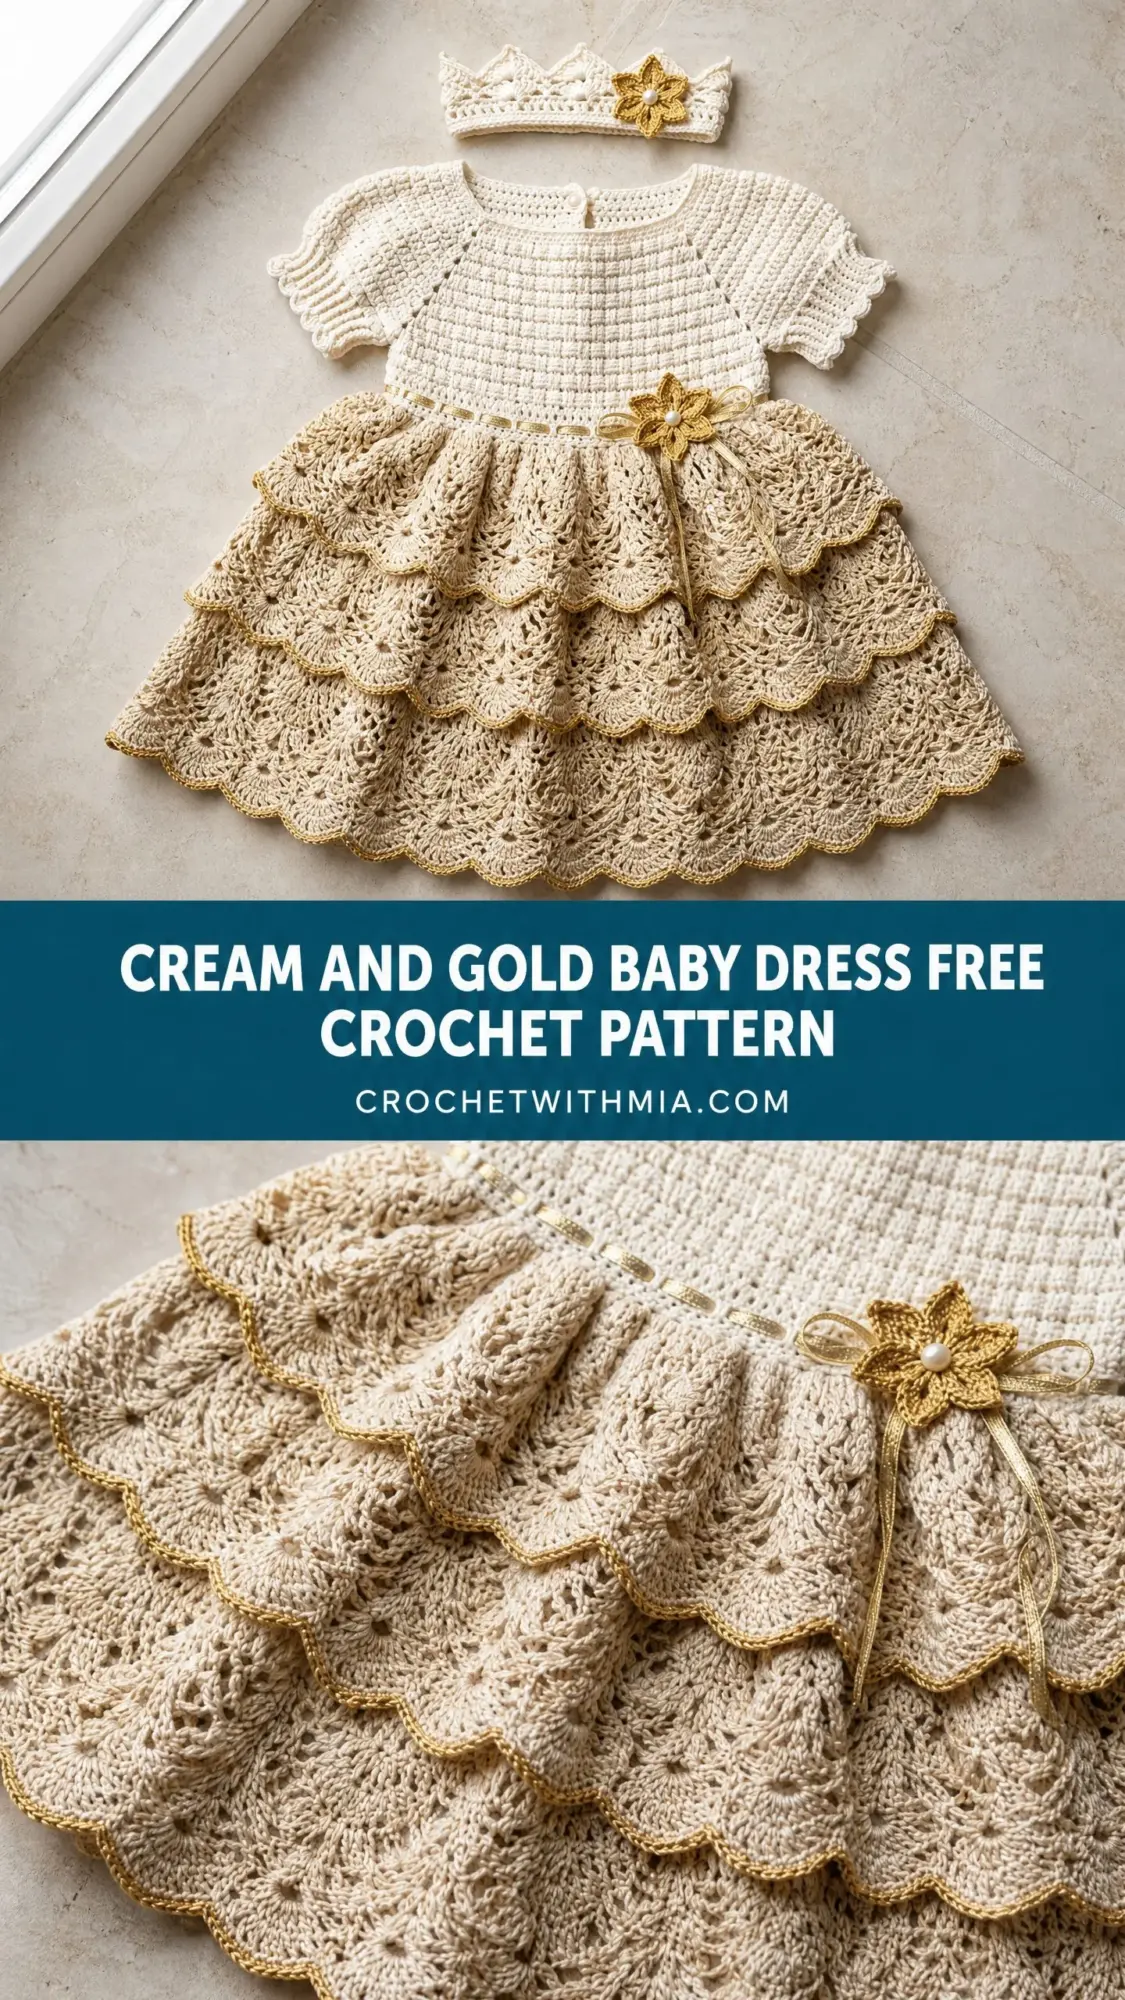
That notebook sat in my craft room drawer for two years before I finally pulled it out and refined every detail. The raglan yoke, the puffed sleeves, the delicate crown headband with its golden flower. Each element got tested and tweaked until the whole set came together exactly as I had imagined during those long dance rehearsals.
Now I’m so happy to share this pattern with you. It’s an advanced project, yes. But if you’ve been wanting to challenge yourself with garment construction and lace techniques, this cream and gold baby dress crochet pattern will teach you so much while creating something truly breathtaking.
About This Baby Dress Crochet Pattern
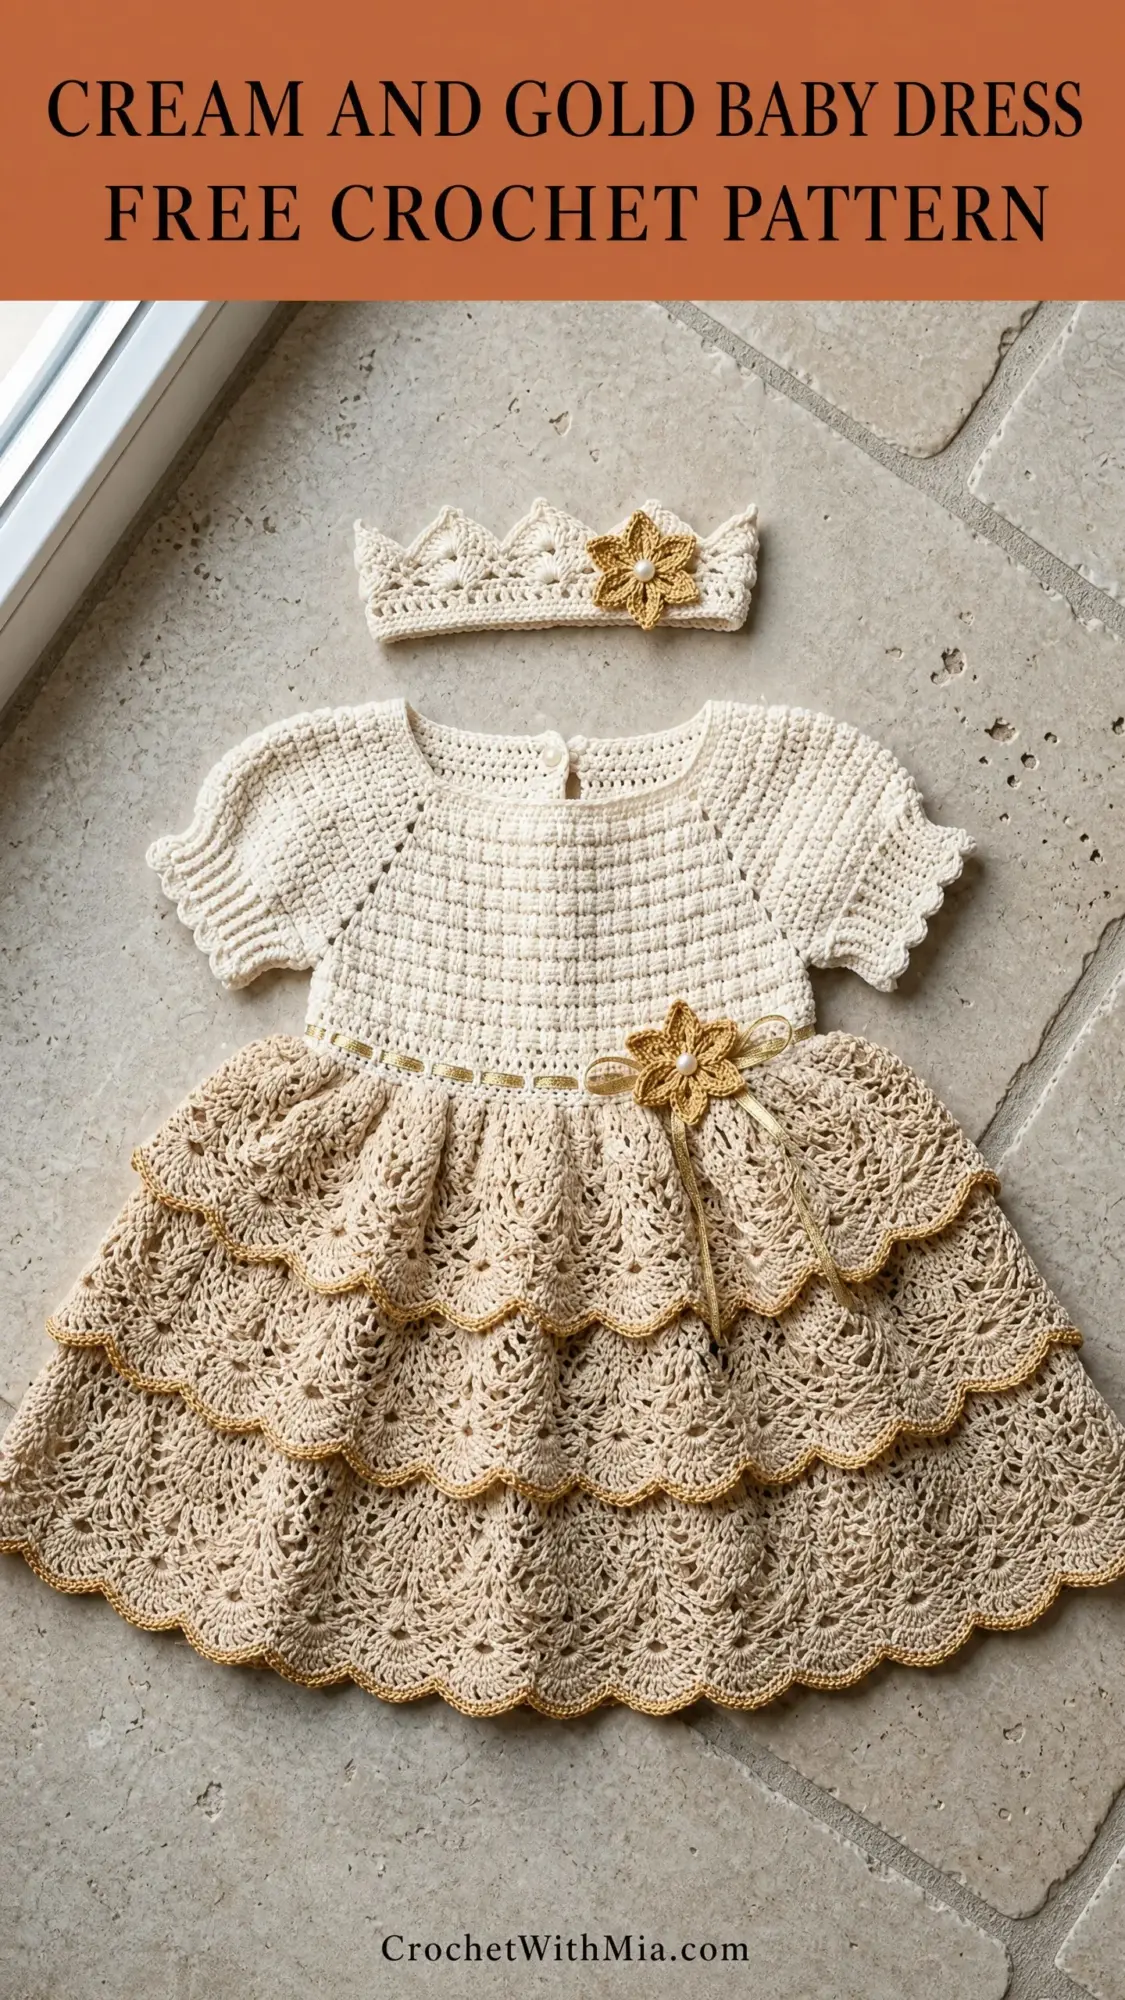
This heirloom quality set features a structured cream bodice worked in rows with raglan style shaping, a three tiered lace skirt in warm gold and cream tones, short puffed sleeves with scalloped cuffs, a back button closure, and a matching crocheted crown headband with a gold flower embellishment.
The dress is designed for babies approximately 6 to 12 months of age. The construction method is top down, which means you start at the neckline and work your way to the hem. This approach allows for easy length adjustments if needed.
Finished Measurements:
Skill Level
This is an advanced pattern. You should be comfortable with raglan yoke construction, top down garment shaping, multi row lace repeats with fan and shell motifs, working in both rows and rounds, color changes, and finishing techniques including sewn closures and floral embellishments.
Don’t let that intimidate you though. If you’ve successfully completed a few garments and worked some lace projects before, you absolutely have the skills for this. I’ll walk you through each section clearly.
Time estimate: Approximately 20 to 28 hours for the complete set, depending on your experience level.
Materials Needed
Yarn:
Hooks:
Notions:
Yarn Suggestions
Option 1: Paintbox Yarns Simply DK in Champagne White (Yarn A) and Vintage Yellow (Yarn B). This 100% acrylic yarn is widely available, machine washable, and gives excellent stitch definition for the lace tiers. For Yarn C, pair with DMC Diamant metallic thread in Light Gold.
Option 2: Drops Safran DK in Off White (Yarn A) and Golden Yellow (Yarn B). A cotton blend yarn that gives beautiful drape to the skirt tiers and is gentle against baby skin. For Yarn C, use Drops Glitter thread in Gold.
Option 3: Lion Brand Pound of Love in Antique White (Yarn A) and Butterscotch (Yarn B). Soft, affordable, and machine washable, ideal for a gift garment. For Yarn C, use Kreinik 1/8 inch Ribbon in Gold.
Substitution Note: Any DK weight yarn that achieves the stated gauge may be substituted. For Yarn A, choose a smooth yarn with good stitch definition. For Yarn B, a slightly warmer or more golden tone creates the two tone contrast visible in the finished piece. Yarn C is always held doubled with Yarn B only at edging rows and is never used alone as a main yarn. Do not substitute Yarn C with a yarn thicker than fingering weight or the scallop edgings will pucker.
Gauge
Getting gauge right is critical for any garment. Please swatch before beginning.
With D-3 / 3.25 mm hook and Yarn A, in single crochet (sc):
22 stitches x 24 rows = 4 inches / 10 cm (blocked)
With E-4 / 3.5 mm hook and Yarn B, in lace fan pattern:
The bodice is worked in single crochet (sc), which is a basic stitch where you insert your hook, yarn over, pull up a loop, yarn over, and pull through both loops. The gauge of 22 stitches per 4 inches is the controlling measurement for chest fit.
Abbreviations (US Terms)
Let me walk you through all the abbreviations you’ll encounter. If you’re newer to reading patterns, bookmark this section.
Special Stitches for This Crochet Tutorial
These are the techniques that make this baby dress pattern so beautiful. Take your time learning each one before you begin.
Puff Stitch (puff-st):
Yarn over, insert hook into indicated stitch or space, pull up a loop to height of a double crochet. Repeat this action (yarn over, insert hook into same stitch, pull up a loop) two more times for a total of seven loops on hook. Yarn over and draw through all seven loops. Chain 1 to close. One puff stitch made.
Fan Stitch (fan):
Work 7 double crochets into the same stitch or chain space. One fan made. This creates that gorgeous scalloped effect in the skirt tiers.
Shell Stitch (shell):
Work 5 double crochets into the same stitch or chain space. One shell made. Slightly smaller than a fan.
Picot (picot):
Chain 3, slip stitch into first chain made. One picot made. This adds a delicate decorative touch.
Scallop Edging (scallop-edge):
Worked as follows along any edge: slip stitch into first stitch, chain 1, (skip 2 stitches, work 5 dc into next stitch, skip 2 stitches, slip stitch into next stitch) repeat across. For corner turns, work (5 dc, chain 2, 5 dc) into corner stitch.
Crown Point (crown-pt):
Chain 4, work 1 dc into 4th chain from hook (forms a tall point), then work 2 dc along the side of that chain by inserting the hook into the body of the chain and working 2 dc. One crown point made.
Flower:
Make a magic ring. Round 1: chain 1, work 6 sc into ring, pull ring closed, slip stitch to first sc. (6 sc)
Round 2: (chain 3, 2 dc into same st, chain 3, slip stitch into same st, slip stitch into next st) repeat 6 times. Six petals made. Fasten off leaving a 6 inch tail for sewing. Thread a pearl bead to center on RS.
Raglan Increase (rag-inc):
Used at four raglan points. At each marked stitch: work 1 sc into the stitch before marker, 2 sc into marked stitch, move marker to the second of the 2 sc just worked, 2 sc into next stitch, continue in pattern. Net increase of 2 stitches at each raglan point per increase row. Four raglan points = 8 stitches increased per increase row.
Pattern Notes Before You Begin
The dress is constructed top down in the following order: yoke and bodice in Yarn A using sc rows with raglan increases, sleeves worked in rounds then joined back to body, body finished to waist, skirt tiers worked separately in Yarn B and attached at waist seam, edgings added with Yarn B plus Yarn C held together, waist ribbon channel worked, flowers made and attached, crown worked in Yarn A and Yarn B.
The back is split and worked in rows for the button placket. Right side of fabric faces outward throughout. When working in rows, turn work at the end of every row unless otherwise stated. When working in rounds, do not turn unless instructed.
Stitch markers are placed at the four raglan points at the beginning of yoke construction and moved every increase row. Label them to identify sections clearly: this helps tremendously when you’re counting stitches.
Important: Yarn C (metallic) is always held together with Yarn B when used for edging rounds and is never substituted alone. When the pattern says "Yarn B plus C held together" this means you hold one strand of each simultaneously as one working strand.
The lace fan pattern used in the skirt tiers is based on a 12 stitch repeat. All skirt tier foundation rounds must be divisible by 12.
Step by Step Instructions
Section 1: Yoke
The yoke begins at the back neck edge and is worked flat in rows, increasing at four raglan points, then joined to work in the round once the underarm stitches are set aside.
With D-3 / 3.25 mm hook and Yarn A, chain 52.
Foundation Row (WS): sc into 2nd ch from hook and into each ch across, turn. (51 sc)
Place stitch markers as follows:
Sections at start of Row 1: Right Front 7, Right Sleeve 6, Back 21, Left Sleeve 6, Left Front 7. Total 47 body sts plus 4 marked sts = 51 total.
Row 1 Increase Row (RS): ch 1, sc to 1 st before Marker 1, inc, sc in marked st, inc, sc to 1 st before Marker 2, inc, sc in marked st, inc, sc to 1 st before Marker 3, inc, sc in marked st, inc, sc to 1 st before Marker 4, inc, sc in marked st, inc, sc to end, turn. (59 sc)
Row 2 (WS): ch 1, sc in each st across, turn. (59 sc)
Row 3 Increase Row (RS): repeat Row 1 increase pattern. (67 sc)
Row 4 (WS): ch 1, sc in each st across, turn. (67 sc)
Row 5 Increase Row (RS): repeat Row 1 increase pattern. (75 sc)
Row 6 (WS): ch 1, sc in each st across, turn. (75 sc)
Row 7 Increase Row (RS): repeat Row 1 increase pattern. (83 sc)
Row 8 (WS): ch 1, sc in each st across, turn. (83 sc)
Row 9 Increase Row (RS): repeat Row 1 increase pattern. (91 sc)
Row 10 (WS): ch 1, sc in each st across, turn. (91 sc)
Row 11 Increase Row (RS): repeat Row 1 increase pattern. (99 sc)
Row 12 (WS): ch 1, sc in each st across, turn. (99 sc)
Row 13 Increase Row (RS): repeat Row 1 increase pattern. (107 sc)
Row 14 (WS): ch 1, sc in each st across, turn. (107 sc)
Row 15 Increase Row (RS): repeat Row 1 increase pattern. (115 sc)
Row 16 (WS): ch 1, sc in each st across, turn. (115 sc)
Row 17 Increase Row (RS): repeat Row 1 increase pattern. (123 sc)
Row 18 (WS): ch 1, sc in each st across, turn. (123 sc)
At this point, stitch counts across sections are approximately:
CHECKPOINT 1: After Row 18, your piece should measure approximately 3.25 inches / 8 cm from the neck edge. The yoke should look like a flat trapezoid with clear diagonal raglan lines.
Section 2: Divide for Sleeves and Work Body
Row 19 (RS): ch 1, sc across 16 Right Front sts, sc in raglan marker st, chain 4 (underarm bridge), skip 24 Right Sleeve sts, sc in next raglan marker st, sc across 39 Back sts, sc in raglan marker st, chain 4, skip 24 Left Sleeve sts, sc in next raglan marker st, sc across 16 Left Front sts, turn.
Body stitches: 16 + 1 + 4 (ch) + 1 + 39 + 1 + 4 (ch) + 1 + 16 = 83 sts across row.
Row 20 (WS): ch 1, sc across all 83 sts including into each ch of underarm bridges, turn. (83 sc)
Row 21 (RS): ch 1, sc in each st, turn. (83 sc)
Row 22 (WS): ch 1, sc in each st, turn. (83 sc)
Rows 23 to 34: ch 1, sc in each st, turn at end of each row. (83 sc per row)
At end of Row 34, do not fasten off.
Round 35: With RS facing, ch 1, sc across all 83 sts, then sl st into first sc of round to join. Do not turn. Place marker at join. (83 sc)
Rounds 36 to 40: ch 1, sc in each st around, sl st to join. (83 sc per round)
At end of Round 40, cut Yarn A and join Yarn B.
CHECKPOINT 2: After Round 40, your bodice should measure approximately 6 inches / 15 cm from the neck edge to the bottom of the bodice. The chest circumference should measure 18 inches / 46 cm.
Section 3: Waist Edging and Ribbon Channel
With Yarn B and D-3 / 3.25 mm hook:
Round 41: ch 3 (counts as first dc), dc in each st around, sl st to top of ch-3 to join. (83 dc)
Round 42: ch 3, dc in each st around, sl st to top of ch-3 to join. (83 dc)
Round 43 (ribbon channel): ch 5 (counts as dc plus ch-2), skip 1 st, (dc in next st, ch 2, skip 1 st) repeat around, sl st to 3rd ch of starting ch-5 to join. (41 dc, 41 ch-2 spaces)
Round 44 (revised): ch 1, sc in each of first 2 sts, inc, (sc in next 3 sts, inc) repeat 20 times, sc in remaining sts to end, sl st to first sc. (144 sc)
This creates the foundation for your first skirt tier. 144 is divisible by 12, giving you 12 fan repeats.
Section 4: First Skirt Tier (Upper Tier)
Switch to E-4 / 3.5 mm hook. Continue with Yarn B.
The lace pattern for all three tiers uses a 12 stitch fan repeat. Each tier is worked in 5 rounds: one setup round, three lace rounds, and one edging round.
Setup Round: ch 1, (sc in next st, ch 5, skip 5 sts) repeat around, sl st to first sc. (24 sc, 24 ch-5 sps)
Lace Round 1: sl st into ch-5 sp, ch 3, 6 dc in same sp (= 7 dc fan), ch 2, (7 dc fan in next ch-5 sp, ch 2) repeat around, sl st to top of ch-3. (24 fans, 24 ch-2 sps)
Lace Round 2: sl st into 4th dc of first fan (center dc), ch 1, sc in same dc, ch 5, (sc in center dc of next fan, ch 5) repeat around, sl st to first sc. (24 sc, 24 ch-5 sps)
Lace Round 3: sl st into ch-5 sp, ch 3, 6 dc in same sp, ch 2, (7 dc fan in next ch-5 sp, ch 2) repeat around, sl st to top of ch-3. (24 fans, 24 ch-2 sps)
Edging Round: Join Yarn B plus Yarn C held together. Sl st into ch-2 sp before first fan. Working along the bottom edge of the fans: ch 1, sc in ch-2 sp, (5 dc into next dc of fan, sc between dc 2 and 3 of fan, 5 dc into next dc of fan, sc in ch-2 sp between fans) repeat around, sl st to first sc. Fasten off Yarn C. Continue with Yarn B only.
This edging creates the beautiful scalloped edge visible at each tier.
Section 5: Second and Third Skirt Tiers
For the layered effect, the second and third tiers attach to the underskirt at different points.
After completing Tier 1, work the dress body/underskirt straight down:
Rounds 45 to 52: ch 1, sc in each st around, sl st to join. (144 sc per round)
Tier 2 attaches at Round 47 level. Increase to 168 sts (168 / 12 = 14 repeats).
Tier 2 Foundation Round: (sc in next 6 sts, 2 sc in next st) repeat 24 times. (168 sc)
Work the LACE TIER PATTERN with 168 as base count, giving you 28 fans per round.
Tier 3 attaches at Round 50 level. Increase to 192 sts (192 / 12 = 16 repeats).
Tier 3 Foundation Round: (sc in next 3 sts, 2 sc in next st) repeat 48 times. (192 sc)
Work the LACE TIER PATTERN with 192 as base count, giving you 32 fans per round.
Finishing the Dress
Sleeves: Return to the 24 held sleeve stitches. Join Yarn A and work in rounds for 6 rounds of sc. On the final round, work a scallop edging for the puffed sleeve effect.
Button Placket: Along the back opening, work a row of sc on each side. Create two buttonholes on the right side by chaining 2 and skipping 2 stitches at appropriate intervals.
Flowers: Make two flowers using the flower special stitch instructions. Attach one to the waist (centered over the ribbon channel) and one to the crown headband. Thread pearl beads through the centers before sewing in place.
Ribbon (Optional): Thread an 18 inch gold ribbon through the ch-2 spaces of Round 43 for a decorative waist tie.
Crown Headband
With D-3 / 3.25 mm hook and Yarn A, chain 70.
Row 1: sc in 2nd ch from hook and each ch across. (69 sc)
Rows 2 to 4: ch 1, sc in each st across, turn. (69 sc)
Row 5 (Crown Points): ch 1, sc in first 5 sts, work crown-pt, sc in next 10 sts, repeat from across, ending with sc in last 4 sts.
Switch to Yarn B and work one round of sc around the entire headband edge.
Join short ends to form a circle. Attach the flower embellishment to one side.
Tips for Success with This Baby Dress Pattern
Take breaks. This is a 20+ hour project. Working in sessions keeps your tension consistent and prevents fatigue mistakes.
Count after every increase row. The raglan shaping only works if your stitch counts are accurate. I count obsessively on garments like this.
Block each tier. The lace fans look exponentially better after blocking. Pin out each scallop to really showcase the lacework.
Use lifelines. Before starting each new section, thread a piece of scrap yarn through your live stitches. If you need to rip back, you won’t lose everything.
Wrapping Up This Crochet Pattern
I hope this cream and gold baby dress crochet pattern brings you as much joy to make as it brought me to design. There’s something deeply satisfying about creating a garment this intricate, watching it transform from a simple chain into a complete heirloom set.
The combination of textures, from the smooth single crochet bodice to the delicate lace tiers, creates a dress that photographs beautifully and feels special to wear. Whether you’re making this for a christening, a first birthday, or simply because you want to create something extraordinary, you’re going to love the finished result.
Thank you so much for choosing this pattern for your next project. I’d absolutely love to see your finished dress and crown set. Tag me on Instagram or share in our Facebook group so I can celebrate your beautiful work with you.
If this pattern is calling your name, go ahead and pin it to your Pinterest boards so you can find it when you’re ready to cast on. And please drop a comment below if you make it. I read every single one and your photos genuinely make my day. Happy stitching, friend!